How to Draft a Japanese Knot Bag Pattern in a Few Simple Steps

In this tutorial, I am going to show you how to make a pattern for a Japanese knot bag. A Japanese knot bag is characterized by its asymmetrical handles, where one handle slips into the other, forming a knot that closes the otherwise open-topped bag.
No more fiddling with zippers or closers when your hands are already full! Follow along with this pattern tutorial and then proceed to learning how to sew your Japanese knot bag.
Tools and materials:
- Pattern paper
- Curved pattern ruler
- Straight ruler
- Pencil
1. Draft the body of the knot bag
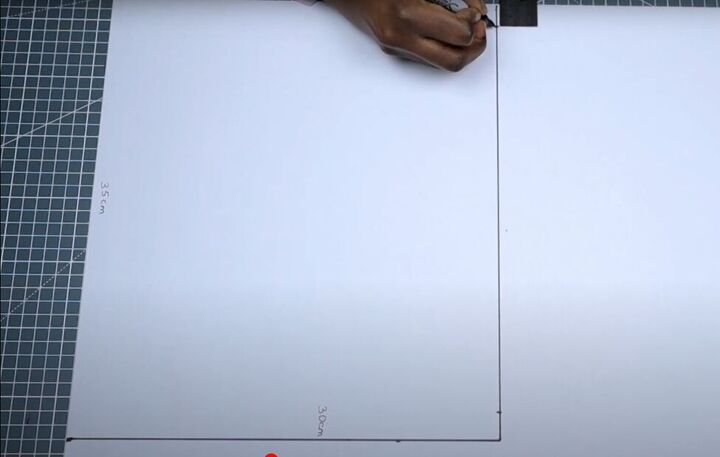
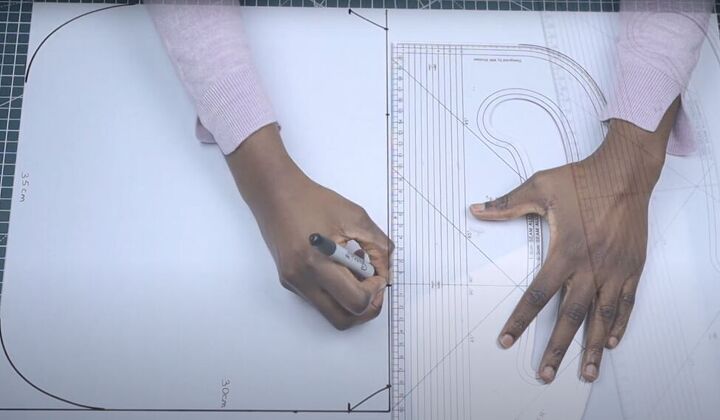
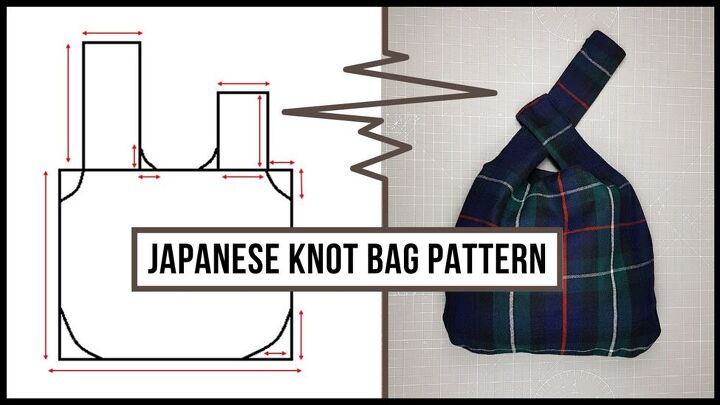
Begin drawing the body of the bag on your pattern paper, making the bottom 35 centimeters (13.78 inches). Then draw the sides of the bag 30 centimeters (11.8 inches) high. Join the side lines at the top to form a rectangle.
Mark the top line 2 centimeters (0.78 inches) in from each end, and mark 3 centimeters (1.18 inches) down from the top on each side.
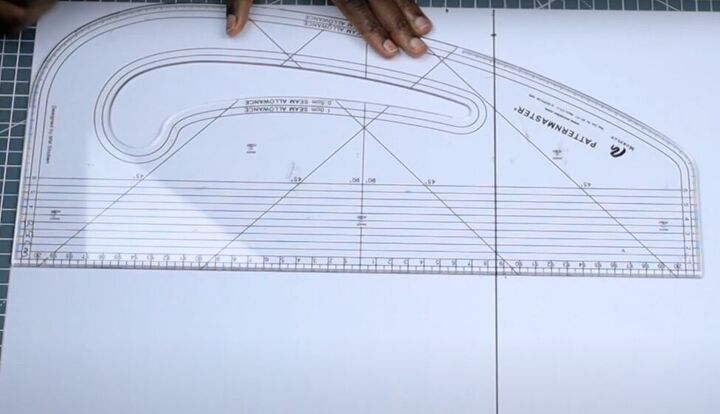
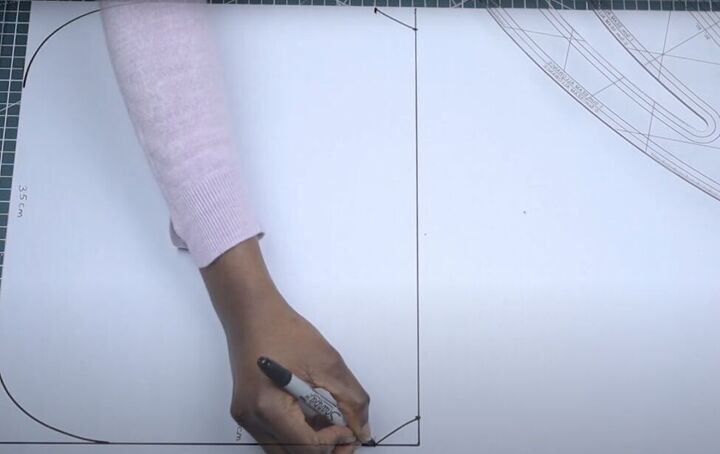
Use your Patternmaster to shape the bottom of the knot bag. Line up the Patternmaster with the bottom edge at the bottom of your bag drawing, and the curve of the Patternmaster at the bottom corner of the bag. Draw in the bottom curve. Repeat on the other bottom corner.
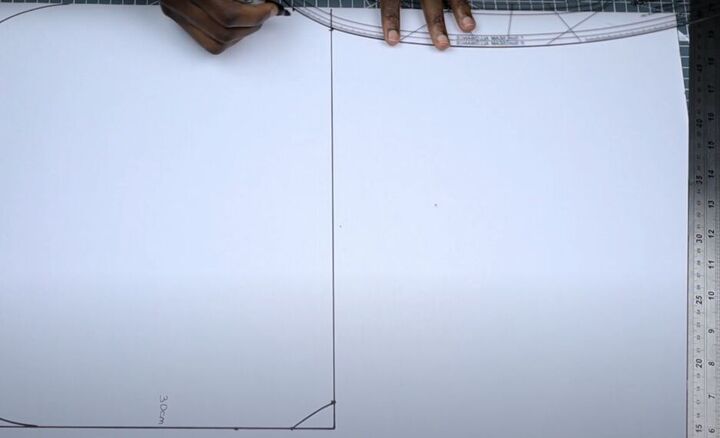
Now use the curve of your Patternmaster to join the marks at each top corner of your bag.
Mark the notches at the bottom of those curves along the sides of the pattern.
2. Draft the handles of the knot bag
To draft the back handles for the knot bag, measure 8 centimeters (3.15 inches) from the top corner curve along the top of the bag. Repeat on the other side at the top. That 8 centimeters (3.15 inches) represent the width of your back handles.
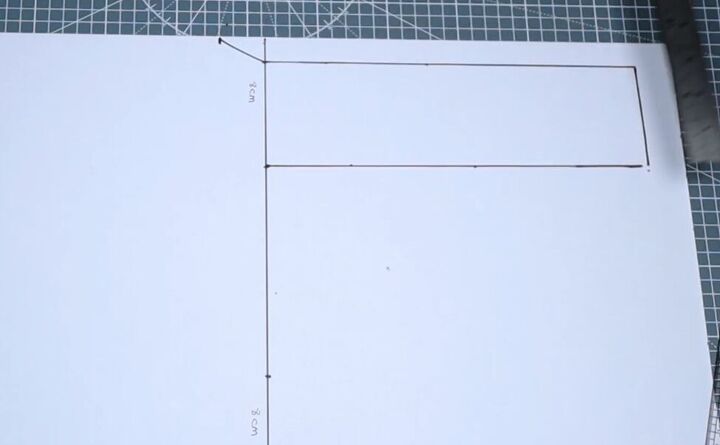
The longer handle is going to measure 26 x 8 centimeters (10.2 x 3.15 inches). Draft that handle onto the left side of your knot bag drawing.
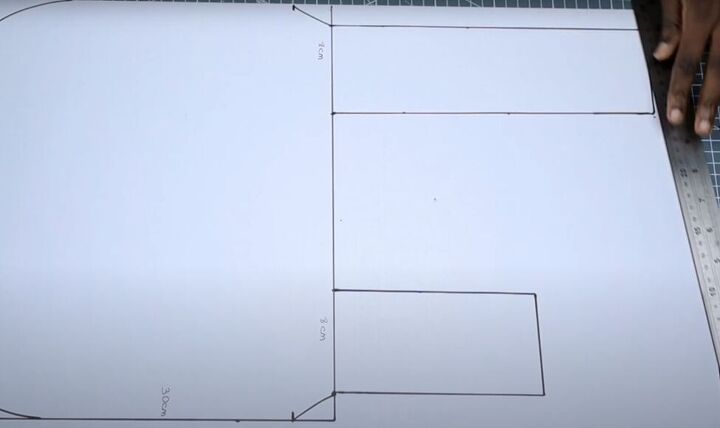
The shorter handle will measure 16 x 8 centimeters (6.3 x 3.15 inches). Draft that handle onto the left side of your knot bag drawing.
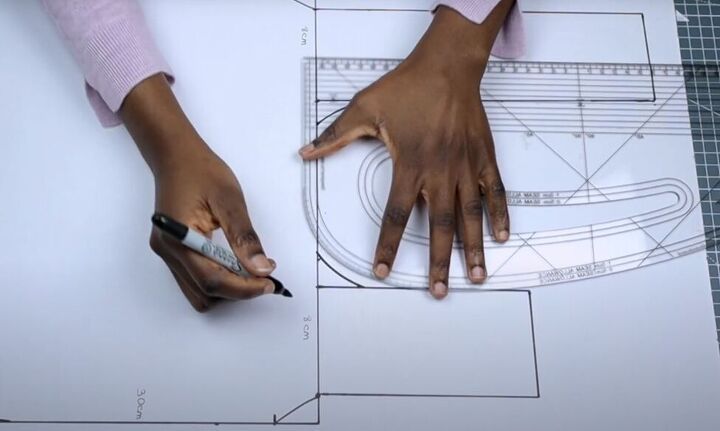
Shape the curves of the inside bottom of the handles by marking 3 centimeters up the inside bottom of the handle, and 2 centimeters along the bottom of the bag handle towards the center of the bag. Join the marks with a curved line. Repeat for the other handle.
Japanese knot bag pattern tutorial
That’s the whole pattern for your Japanese knot bag. You can either cut out the pattern for your exactly as drafted, or you can add a 1-centimeter (0.39-inch) seam allowance before cutting.
To learn how to sew the Japanese knot bag, follow my next video. If you make the pattern, or the bag, leave a comment to let me know how it turned out!
The author may collect a small share of sales from the links on this page.


Comments
Join the conversation