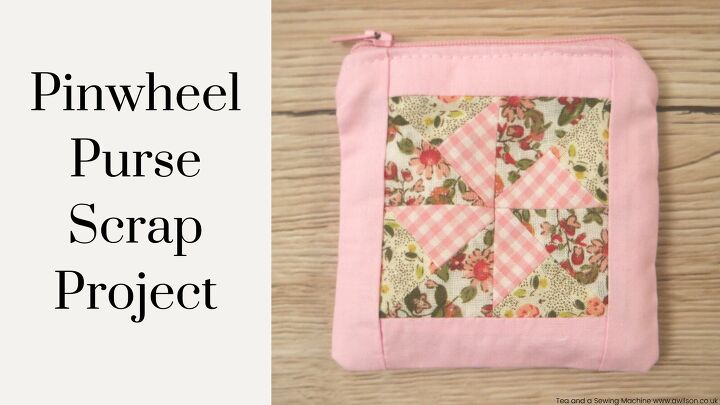
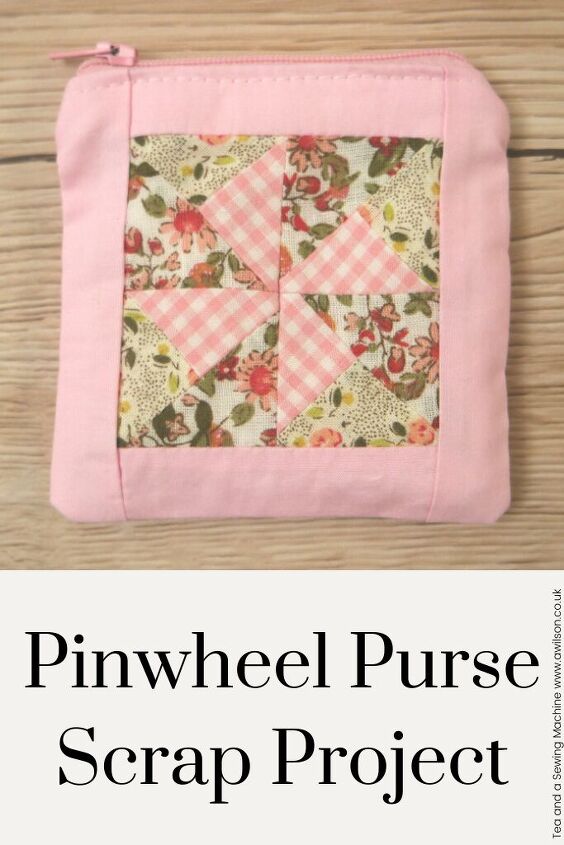
Pinwheel Purse Scrap Project
Those of us who are inclined to be messy often jump on the “Let’s Get Organised” bandwagon in January, and in my house, this year is no exception.
One of the things earmarked for sorting out is the fabric mountain behind the bedroom door.
It has got so bad that there could even be a dragon living in it and I wouldn’t know.
The worst thing is when it collapses and then nobody can get in or out!
So I’ve decided that most of it has to go.
I’ve so far sorted through about half of it, and over half of that is destined to go.
The bigger bits will be listed in my Etsy shop as remnants or fat quarters depending on their size, and some of the smaller bits will become craft kits.
Over the last couple of weeks I’ve been working on the first of what will hopefully be several new kits.
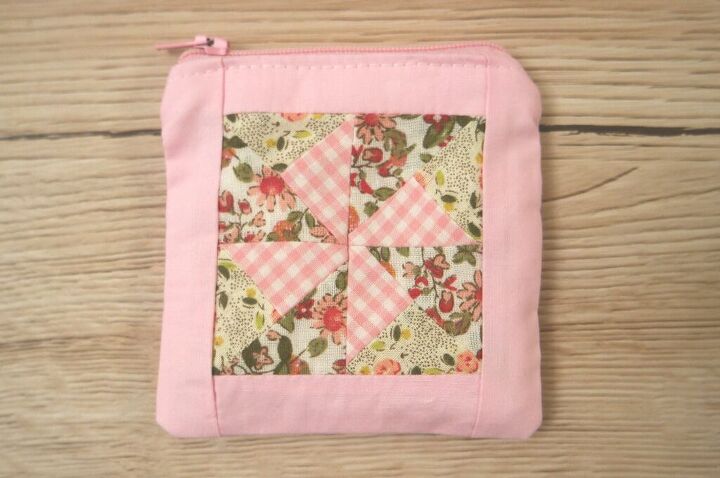
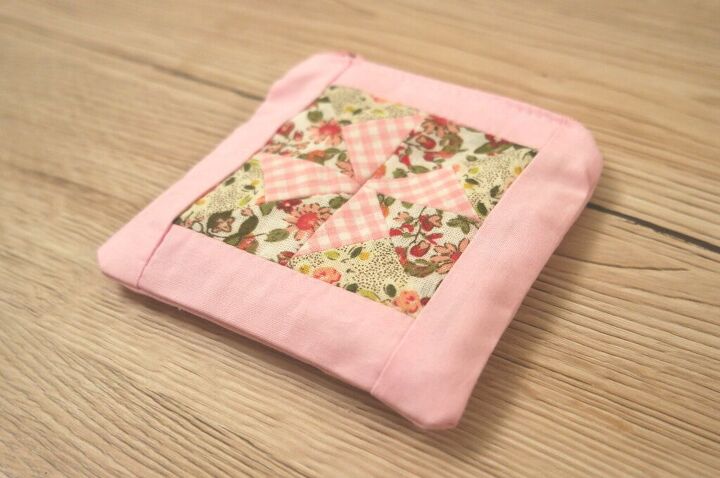
This one is a little pinwheel purse that has a pinwheel quilt block on the front. The fabric is included along with a zip, pattern pieces and instructions.
If you have some left over fabric, you might like to make one yourself! Otherwise the kits I have for sale can be found here.
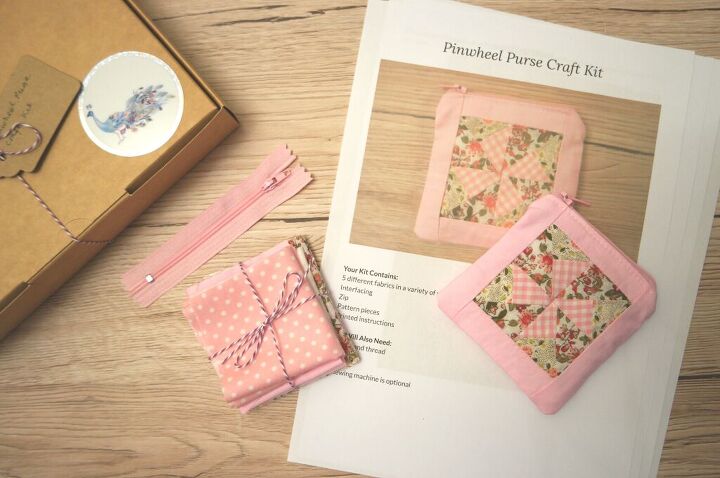
Scraps of fabric. I used 5 different fabrics. If you have about a fat quarter in total, that should be enough.
A 10 cm (4 inch) zip
A smallish piece of interfacing
Usual sewing supplies
I’ve allowed a 1 cm (1/4 inch) seam allowance.
For the lining, cut 2 pieces 12 cm x 12 cm.
Cut another piece the same size for the back of the purse outer, and 2 pieces of interfacing.
For the purse front, the easiest thing to do is to use the pattern which you can download for free at the bottom of the post.

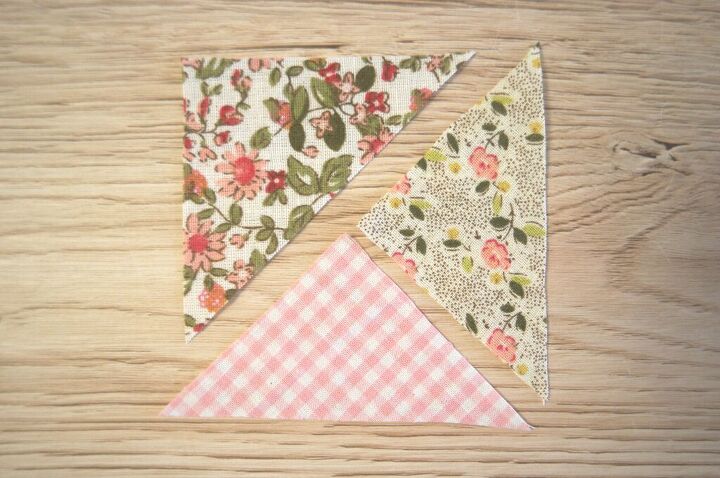
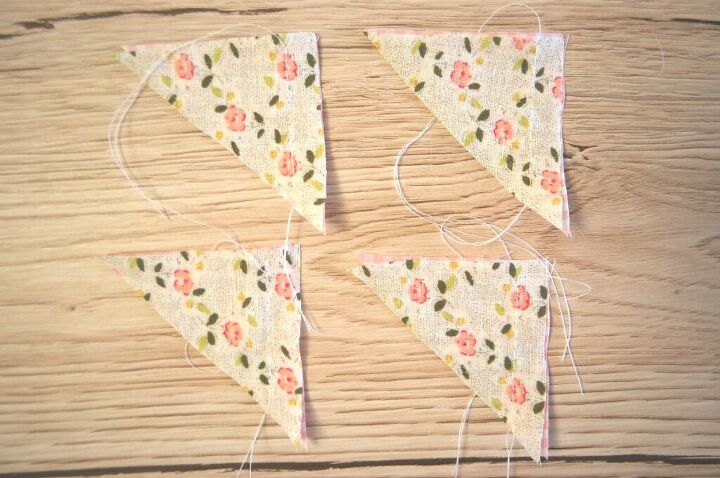
The pinwheel is made up of 4 identical squares, each with one large triangle and two smaller triangles.
To assemble the pinwheel, each square is made separately, then the squares are sewn together.
I batched the tasks for efficiency, but how you do them is up to you!
Take 2 of the smaller triangles, 1 from each fabric.
Pin, then sew them together. The right angle needs to be on the right and the lighter coloured fabric at the top.
Trim the seam and press it open.
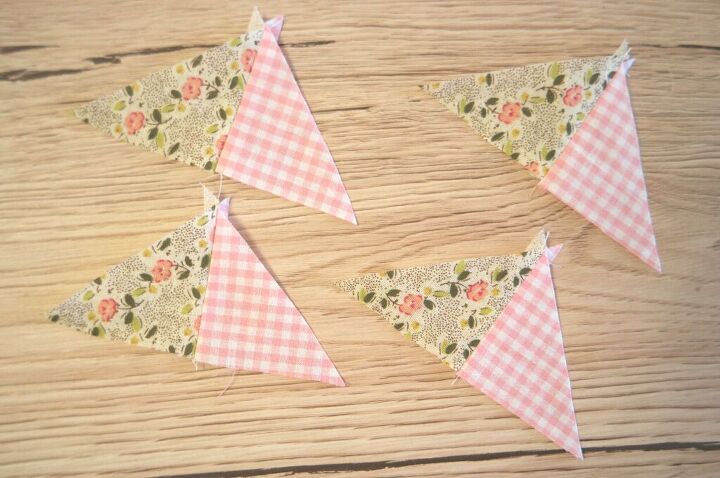
Take one of the larger triangles and place it on top of the smaller ones so that the right sides are together and the long edges are aligned.
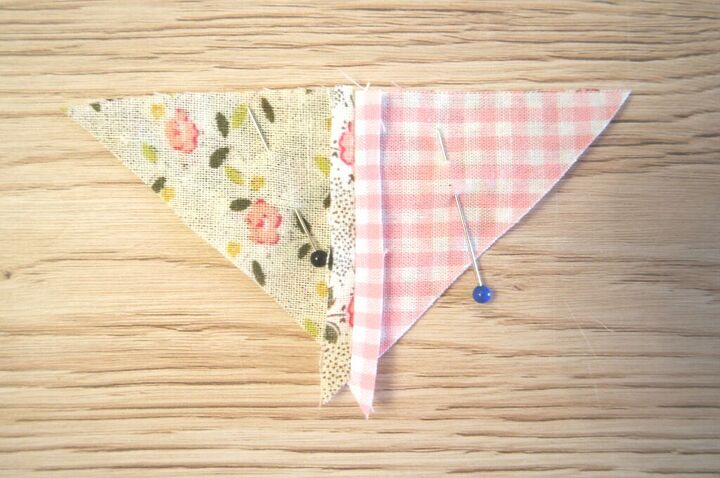
Pin, then sew along the long edge. Trim the seam and press.
Make the other three squares in the same way.
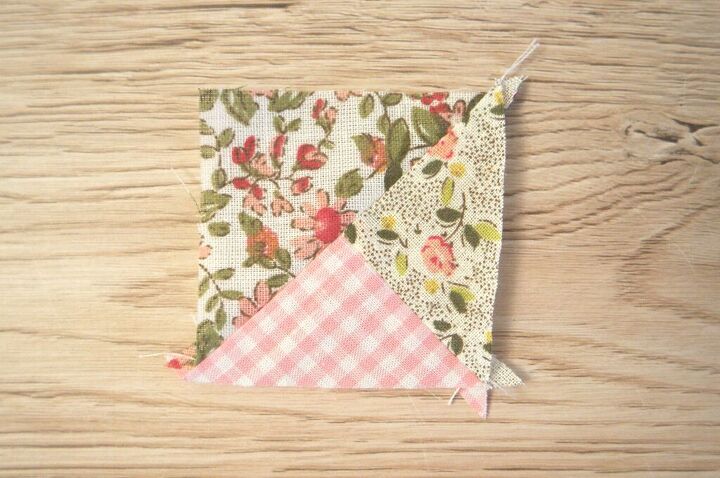
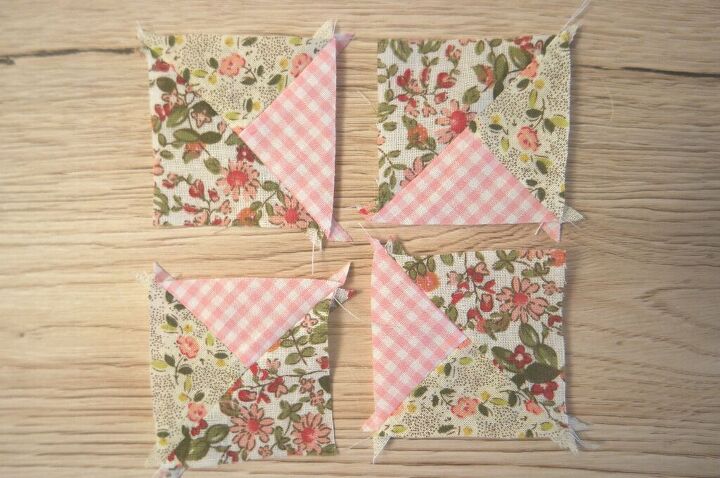
Arrange the squares so that they form a larger square. Rotate them so that they resemble the picture below.
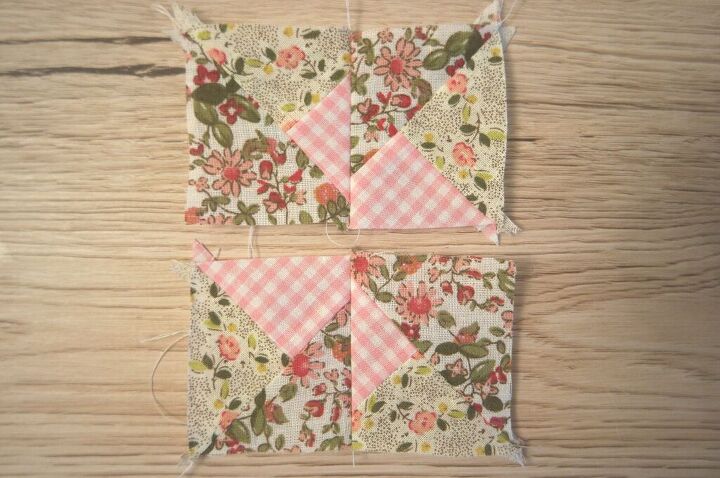
Now join two of the squares together.
Do the same with the other two.
Trim the seams and press them.
Sew the 2 sections together. I forgot to take a photo of this step!
Don’t worry if the pieces don’t match up exactly. Just try to ensure as far as possible that the seams in the centre of the square are aligned, because that bit will be most noticeable if it is off.
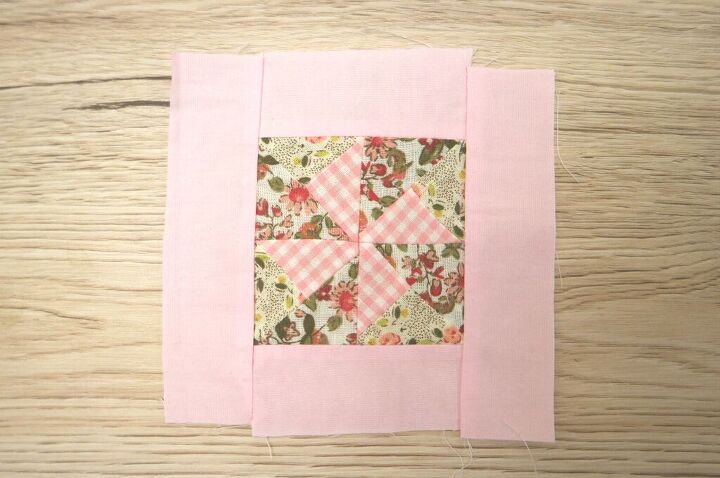
Join the shorter border pieces to the top and bottom.
Now join the longer border pieces to the sides.
Trim and press the seams.
Assembling the Purse
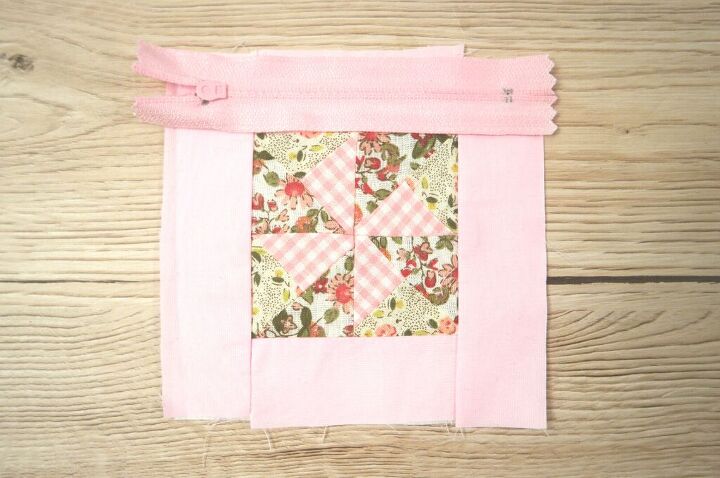
Take one of the interfacing pieces and place the purse front on top of it.
Lay the zip face down with the top edge matched up with the top edge of the purse front and the zipper on the left.
Now put one of the lining pieces on top with the right side facing down.
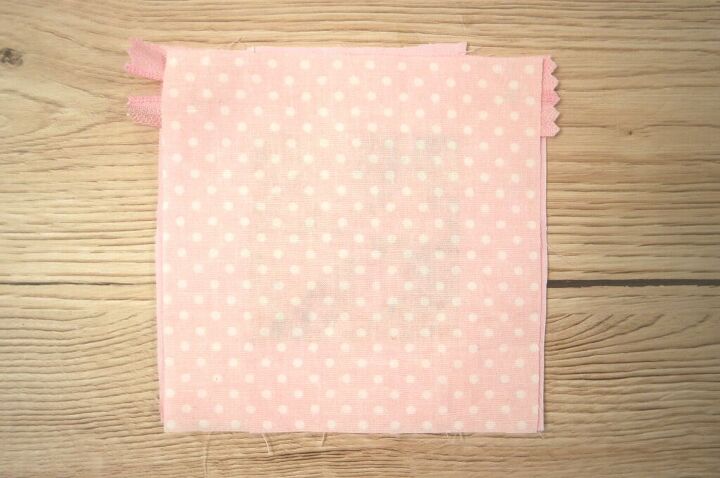
Pin, then sew, keeping close to the teeth of the zip.
Press the purse pieces away from the zip.
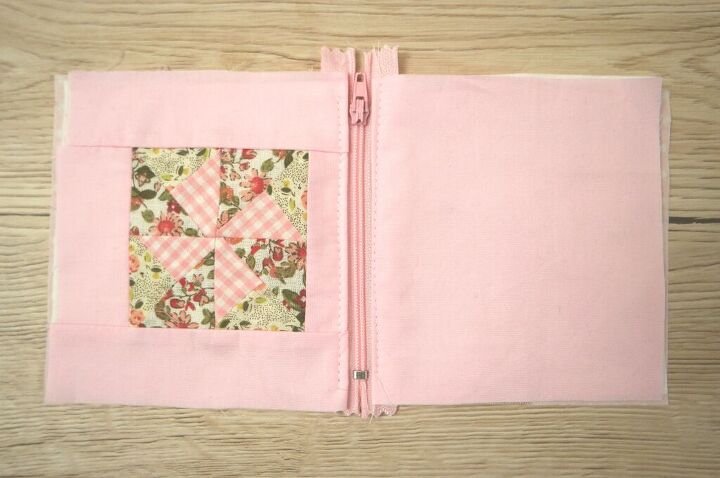
Take the purse back and place it on top of the other piece of interfacing.
Line up the free edge of the zip with the top of the purse back. The zipper will be on the left this time. Put the other lining piece on top face down. Pin all of it together, then sew. Press the outer and the lining away from the zip.
Top stitch along the seam on both sides, keeping close to the edge.
Open the zip. Don’t skip this part! If you don’t open the zip, you’ll have a frustrating time with the unpicker later!
Rearrange your purse so that the lining pieces are together on one side of the zip and the outer/ interfacing pieces are together on the other side.
At the sides, push the zip towards the lining and the seams towards the outer.
Pin the sides and the bottom edges.

Sew the side seams and the bottom edge of the outer. When you sew the bottom edge of the lining, leave a gap.
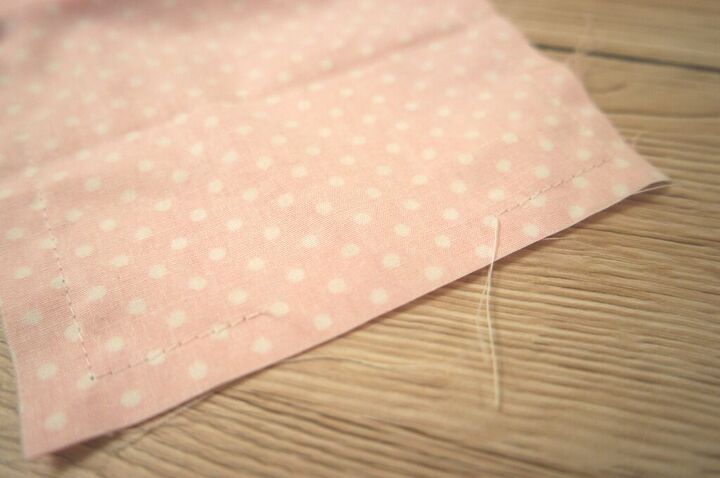
Trim the seams.
Now push the outer through the open zip, followed by the lining, and it should be the right way out! If it’s a bit crumpled, run the iron over it.
Slip stitch the opening in the lining.
Now your pinwheel purse is finished!
If you’d like the templates for the pinwheel purse front, please fill in the form below. Please note that your email address will be added to the Tea and a Sewing Machine email list. You can find out more about why I do this here, and you can unsubscribe at any time.
The author may collect a small share of sales from the links on this page.


Comments
Join the conversation