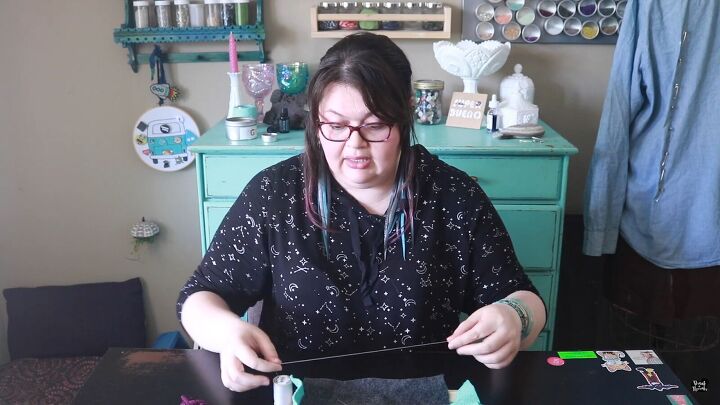
How to Make Easy DIY Adjustable Bracelets With Beads Without Clasps

We’re going to make a super simple DIY adjustable bracelet with beads without a clasp that uses a single strand of thread. This DIY beaded bracelet is a great way to use up all the extra little beads that you have laying around from your other beading projects. Let’s get beading!
Tools and materials:
- Beads
- Heavy-duty thread (such as buttonhole thread or upholstery thread)
- Beading needle
- Button
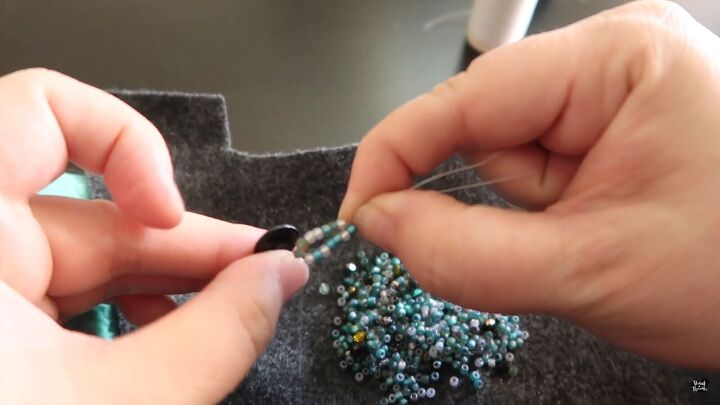
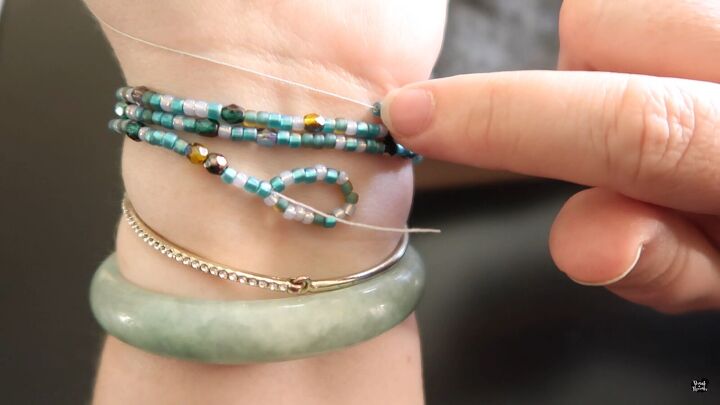
1. Cut the thread
When cutting your thread for this bracelet, just wrap it around your wrist however many times you want your bracelet to wrap.
Make sure you add about 10 inches to that because you don’t want to shortchange yourself and find that you don’t have enough thread when you’re tying your knots at the end.
2. Make the button closure
To close the bracelet, we’re going to make a button closure. To make this, you need to load up enough beads to wrap around the button closure.
How many beads like this is kind of like guesstimating. So just pick up some beads with your needle, slide them down the string, make a loop and see if your button passes through.
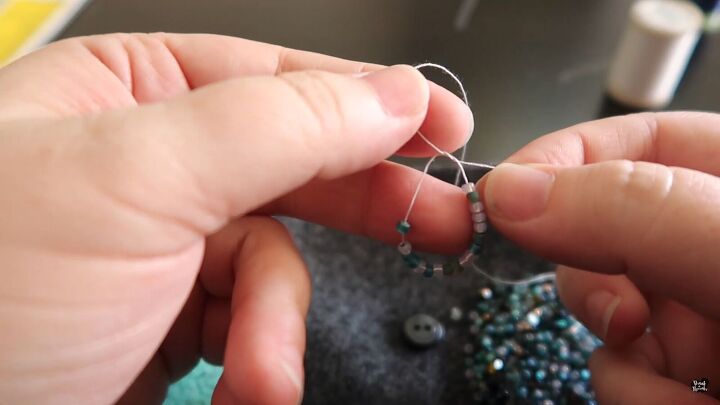
3. Tie up the loop
When you’ve got the right sized loop, tie it up with a knot. Now that you’ve got the loop, go through it one more time with your needle and thread to really reinforce it. Then, tie the knot one more time just to be safe.
You then don’t need to cut the tail of the tie, you can later bead the tail in.
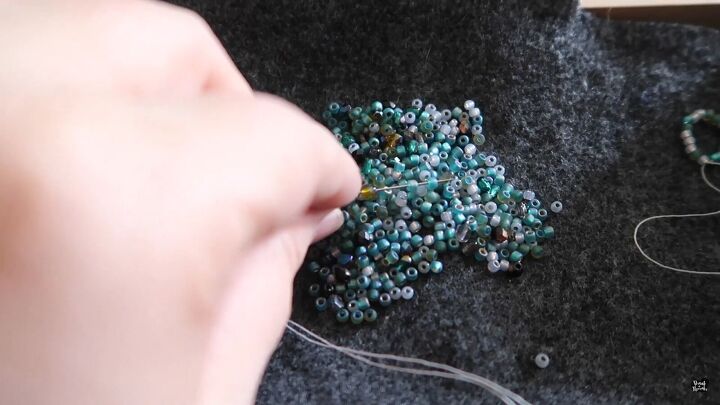
4. Add beads to the bracelet
Now start adding the beads for the body of the bracelet. It’s just a matter of feeding your beads on, trying on your bracelet, and seeing how it fits. You can stop when you want to stop; it’s just however long you want to make it.
5. Add the button
When you get close to the end, it’s time to add the button. The picture shows what your bracelet will look like when your beads are in the right place to add the button. Thread through the eye of your button a couple of times to anchor it into place, and then the button will be aligned with the button closure.
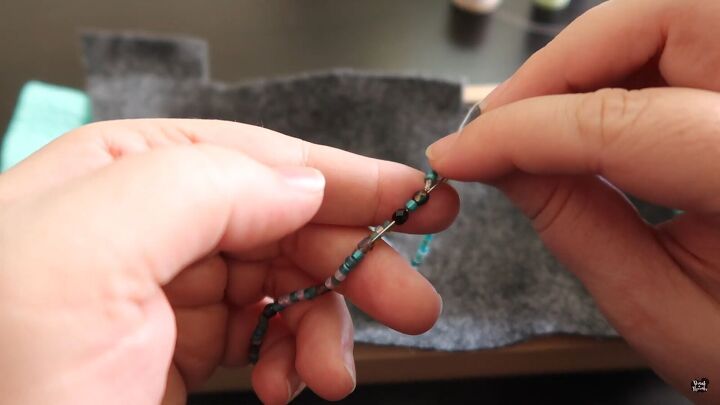
6. Tie the final knots
Tie a knot through the loop that you just made and then down through the eye of my button. Go through the beads with your needle and keep tying knots until you can't anymore. Then, come up and through the loops and pull it tight.
Instead of cutting your thread at the end, you can just stick the ends in for as far as they will go. This will all make the bracelet more secure and reinforced.
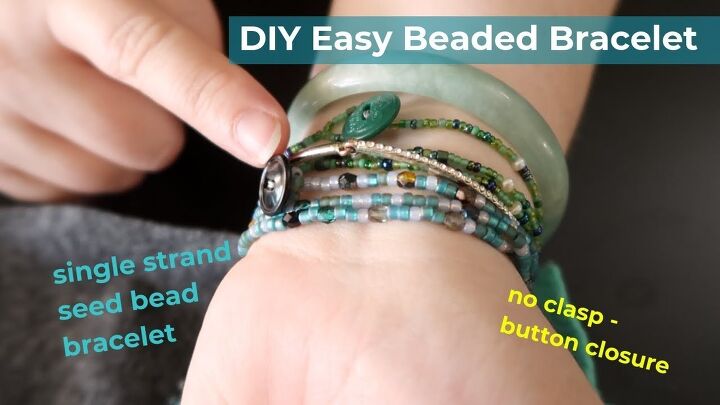
DIY adjustable bracelet with beads
And that, ladies and gentlemen, is how to make DIY beaded bracelets. The process was super straightforward, and I love how it looks. As you can see, I also made another beaded bracelet with smaller green beads.
The beauty of this project is that you can choose the size and color beads you want to use, as well as the size and color of the button. Have a go at making one that is unique and personal to you.
Let me know what your think of this tutorial and whether you'll try it out for yourself in the comments below.
The author may collect a small share of sales from the links on this page.


Comments
Join the conversation
Thanks! Seems so simple but cute 🙂