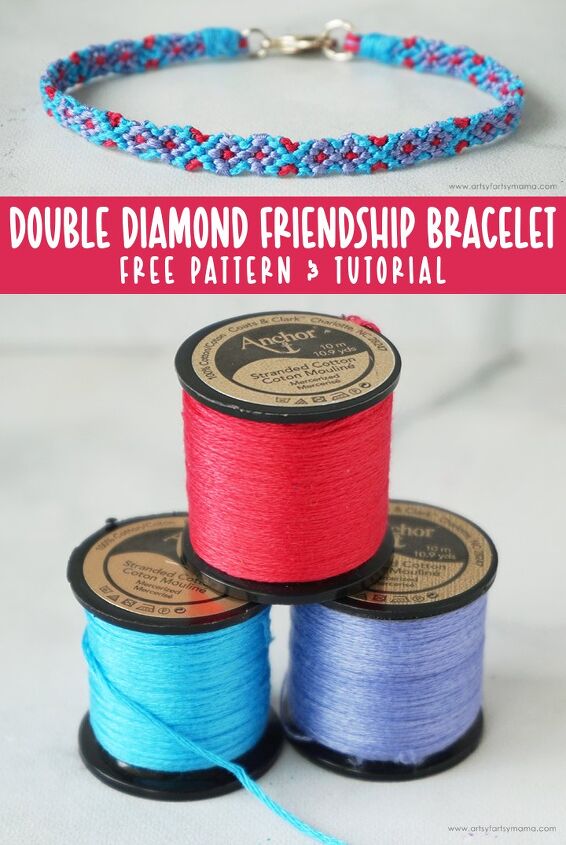
Double Diamond Friendship Bracelet
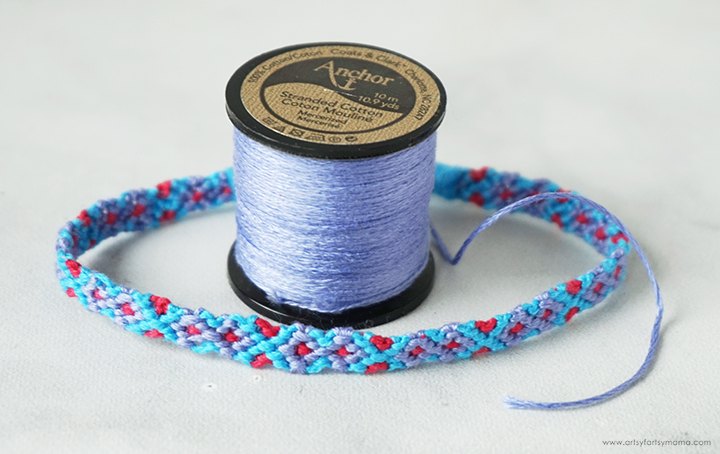
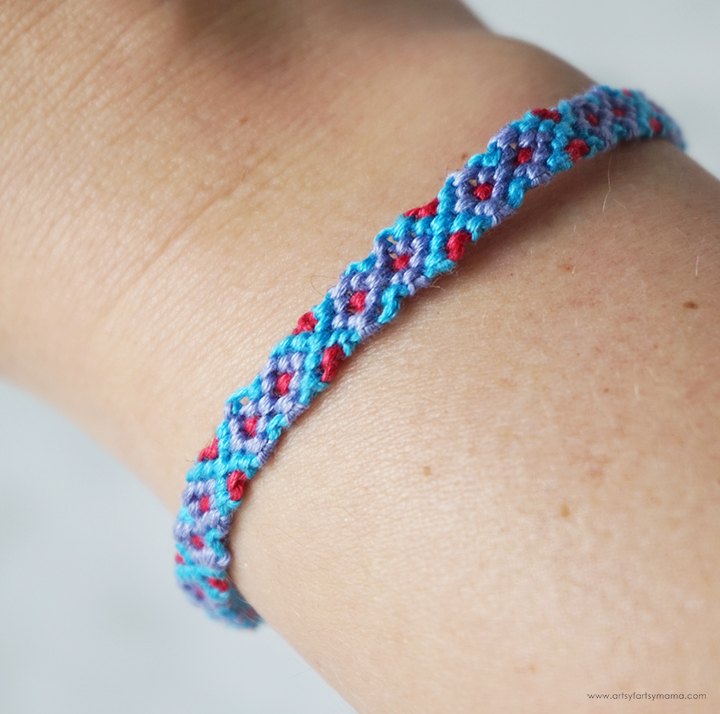
For years, making friendship bracelets are a fun afternoon craft or a summer camp activity for kids of all ages. My daughter loves making bracelets, and was looking for something a little more challenging than our Chevron Friendship Bracelet. This Double Diamond Friendship Bracelet is just what she was looking for. Made with her favorite colors of embroidery floss, this bracelet is a lot of fun to make and looks so cool!
To make your own Double Diamond Friendship Bracelet, you will need these supplies:
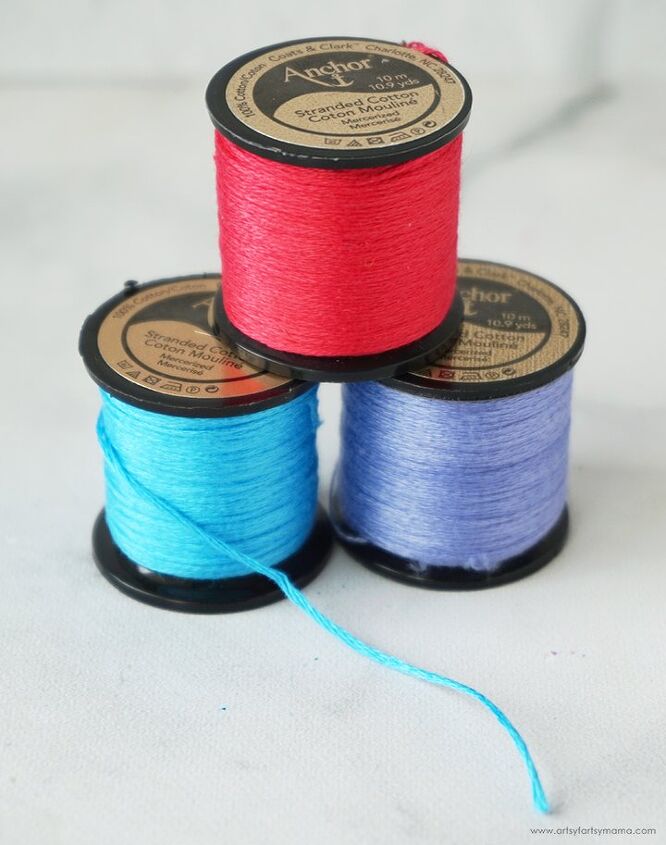
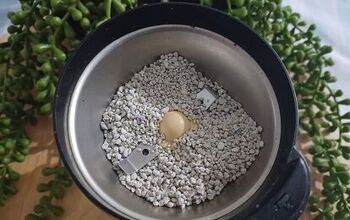
- Anchor Embroidery Floss - 3 colors
- Scissors
- Ruler
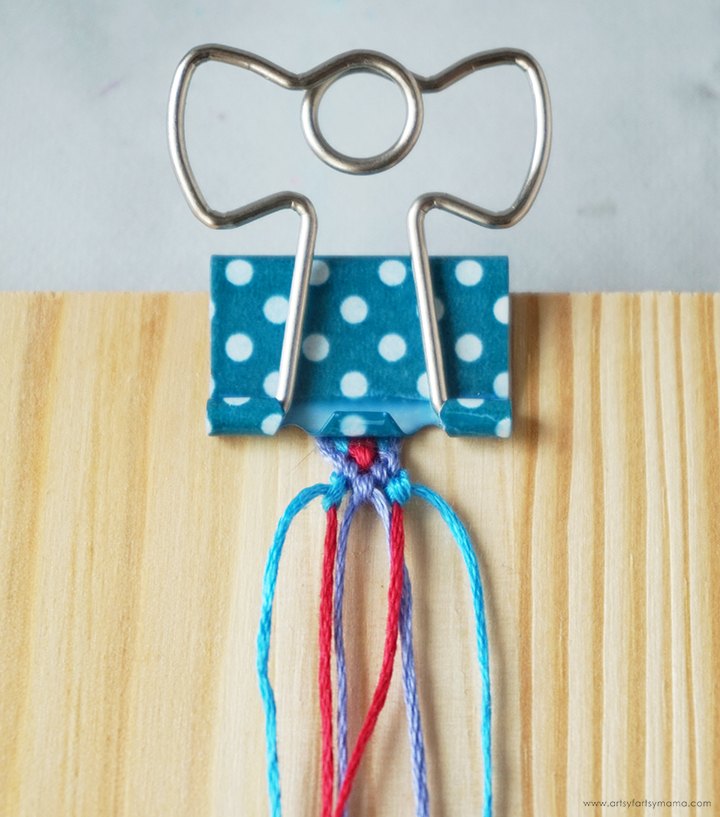
- Tape, Binder Clip, or Clipboard
- 2 Jump Rings
- Lobster Clasp
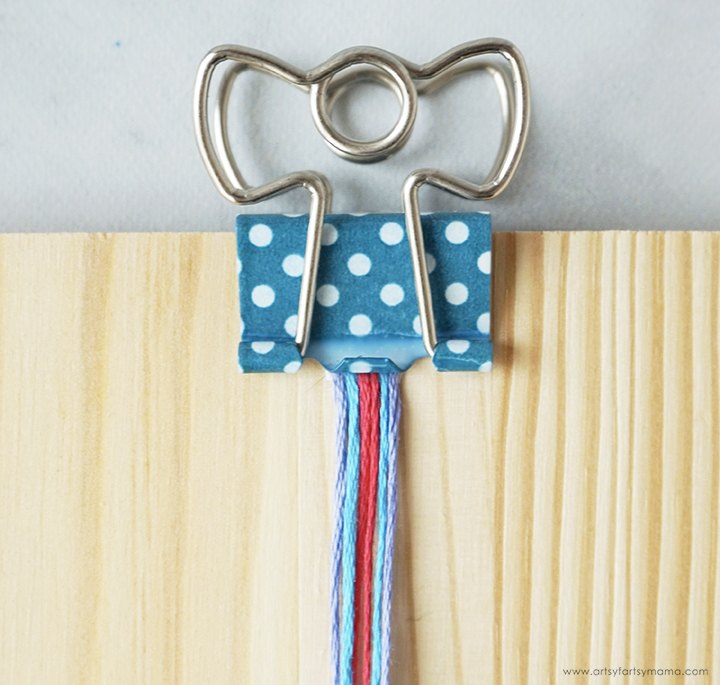
Choose three coordinating colors of embroidery floss (I love these ones on spools!). Cut two pieces of each color to measure 36" long. Alternatively, you can one 72" length of each color and then split them in half.
To make this Double Diamond Friendship Bracelet, you need to learn four types of knots: forward knot, backward knot, forward-backward knot, and backward-forward knot. If you need some help, my Chevron Friendship Bracelet tutorial shows you step-by-step how to do the first two knots. The forward-backward and backward-forward knots are simply a combination of the two.
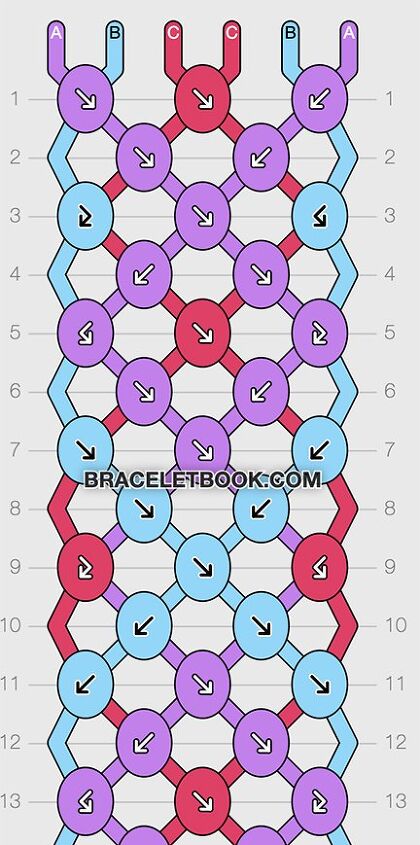
Now, to get started on the Double Diamond Friendship Bracelet! Bracelet Book has a TON of creative bracelet patterns for every level, and above is a pattern I created as a variation to make this bracelet. Feel free to use this pattern as a key to make your own friendship bracelet.
- The embroidery floss strings are color-coded and labeled at the top (and throughout the pattern) so that can see exactly where the strings need to go.
- The numbers going down the sides of the pattern will help you to work line by line.
- Arrows pointing to the right are going to be a forward knot.
- Arrows pointing to the left are going to be a backward knot.
- Bent arrows pointing to the left are going to be a forward-backward knot.
- Bent arrows pointing to the right are going to be a backward-forward knot.
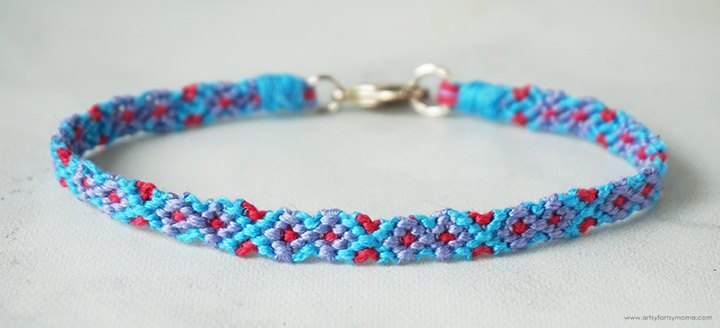
Follow the pattern, one line at a time, to tie the knots and form a bracelet. Once you get to the bottom of the pattern (line 13), start back at line 2 and repeat the pattern until the bracelet is long enough to fit your wrist.
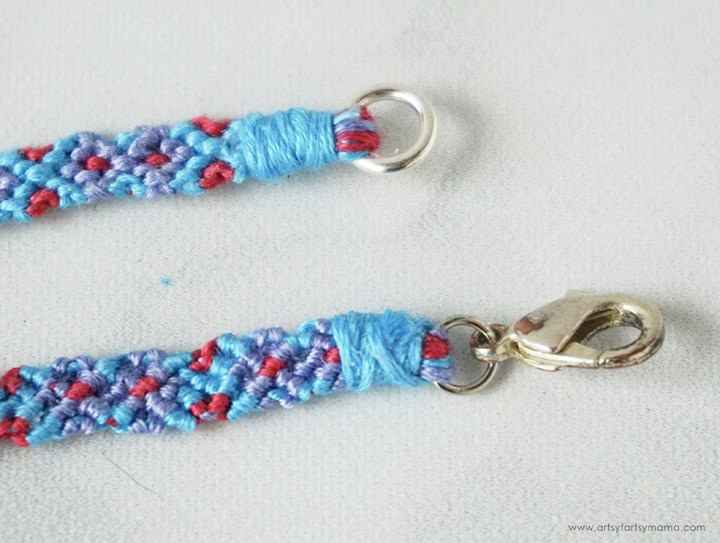
Once you get to the end of your bracelet, remove the embroidery floss from the tape, binder clip, or clipboard. To finish the ends of the bracelet, you will need 2 jump rings and a lobster clasp. Open one of the jump rings, hook it through the lobster clasp, and close the ring again.
To wear, wrap the bracelet around your wrist, and hook the lobster clasp onto the opposite jump ring.
My daughter now wants to make this bracelet in a bunch of color variations to share with her own school friends. Lucky for her, there are so many fun and vibrant colors of Anchor embroidery floss available! If you want to make bracelets with your own kids or summer camp group, the way this floss is on spools makes it convenient and easy to work with when making friendship bracelets! As always, I would love to see your creations! Share yours on Instagram, Facebook, or leave a comment/photo on the project pin on Pinterest!
The author may collect a small share of sales from the links on this page.


Comments
Join the conversation