How to Make DIY African Fabric Bracelets Using Plastic Cups

Let’s do a fun fabric bracelets DIY project! I have done many of these in the past, but this one is particular for a wide fabric bracelet. Making fabric bracelets is so fun, and you get to use household items, making this project inexpensive and accessible for anyone.
Also, it’s the perfect way to get rid of all your fabric scraps. In this fabric wrap bracelet tutorial, I will be using my lovely African prints. So, let’s get started and have some fun.
Tools and materials:
- Scissors
- Ruler
- Glue
- Pen
- Measuring tape
- Fabric
- Disposable cup
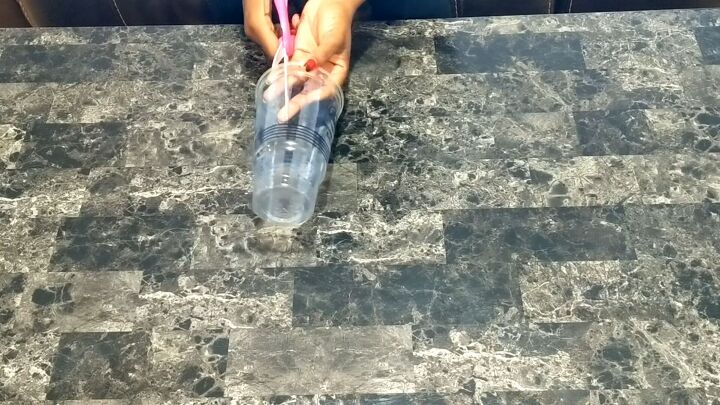
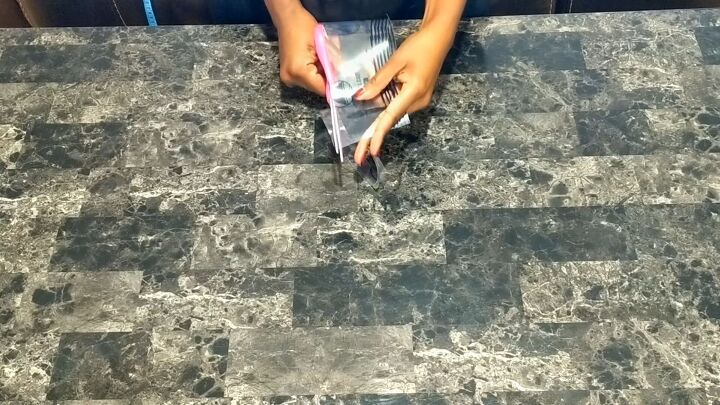
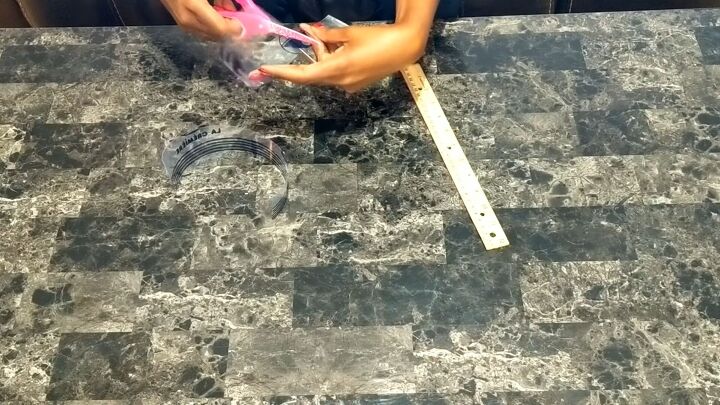
1. Cut the cup
Here, I’m using a disposable cup; most people use it as an ice cream cup. Remember, we are going to be making a wide fabric bracelet, so we need to cut a wider portion from the top. Start by snipping the cup in half, halfway through.
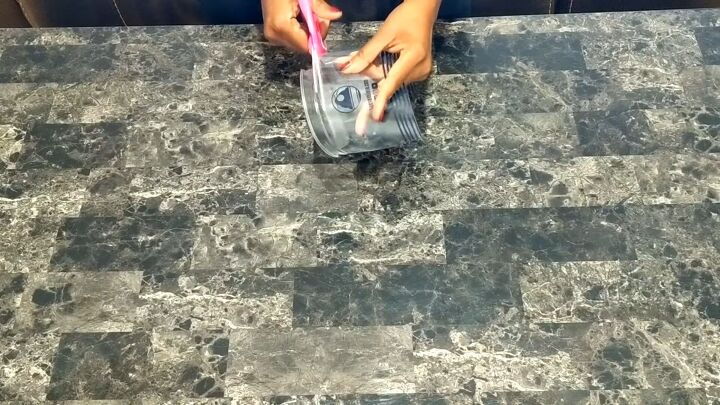
Then, cut out the bottom of the cup.
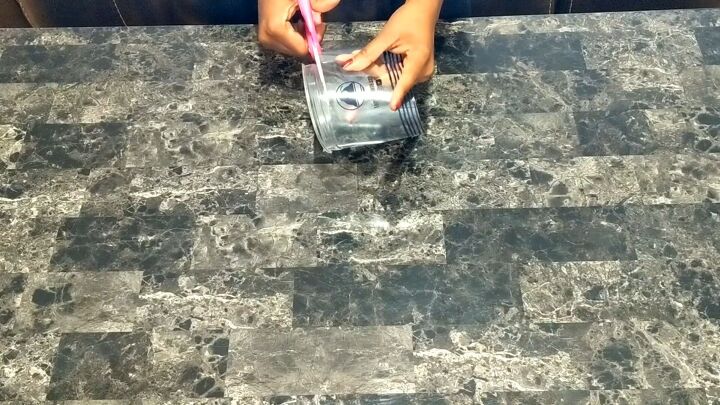
Next, cut out the top rim.
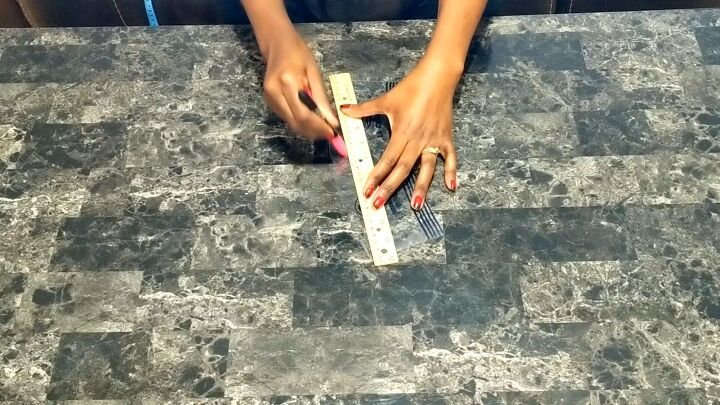
Lay the plastic flat, and draw a straight line, as shown.
Cut out the curved part, as shown. This is to ensure that your wide fabric bracelet is straight on both sides.
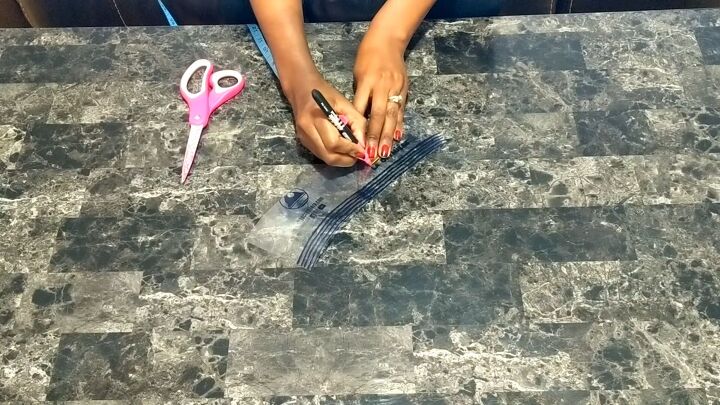
2. Measure the bracelet
Now, measure the center of the plastic and add dots lengthwise.
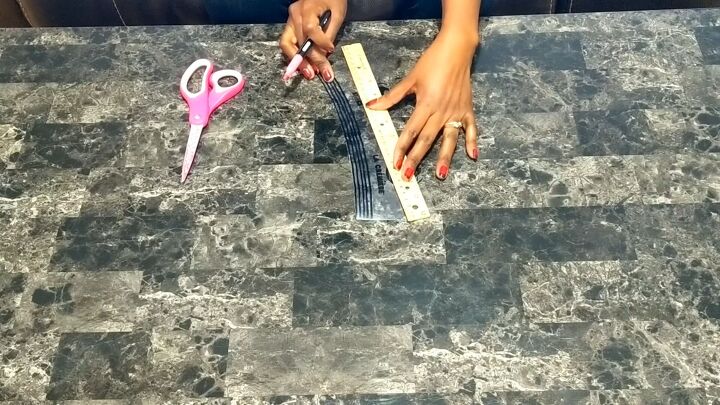
Now, draw a line along the dots and ensure that it’s straight. Then, cut out the curvy part.
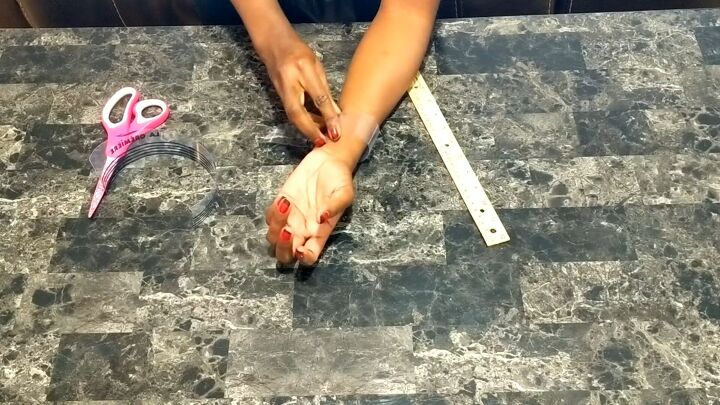
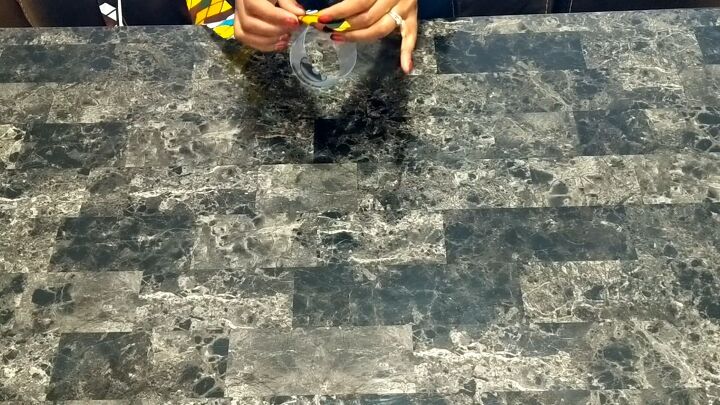
Put the plastic around your wrist to see where it fits.
Cut the plastic accordingly so it fits your wrist perfectly.

3. Glue the ends
Next, apply glue to one end of the plastic and stick the other end on top.
4. Wrap the fabric
Now, for the fun part. Take your fabric, fold it widthways, and start wrapping it around the plastic cuff.
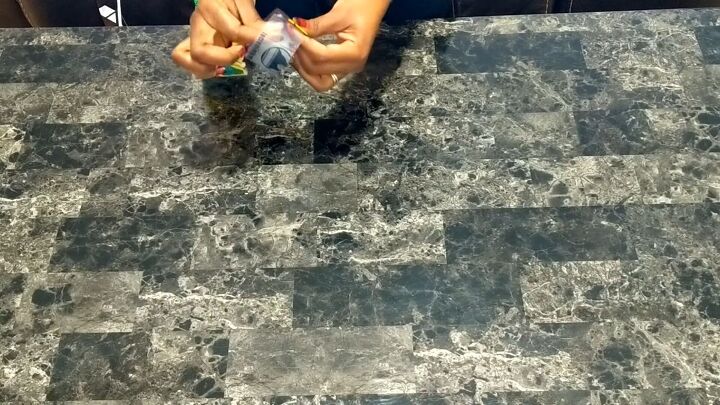
Be sure to add glue to the cuff itself as you go along. Do this in segments, as you want the glue to be fresh as you stick down the fabric.
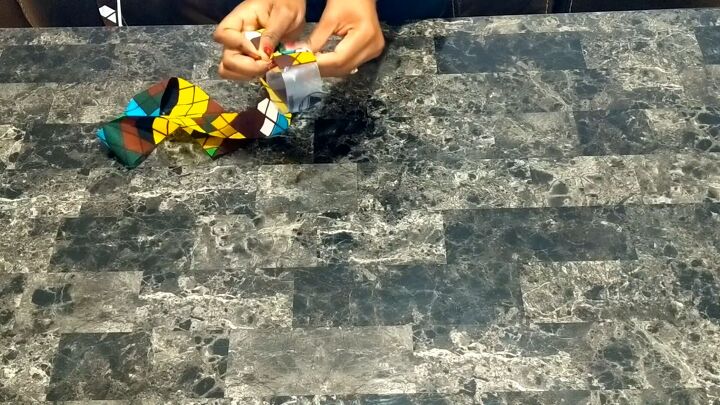
Wrap the fabric around the cuff entirely. Also, smoothen the fabric and make sure there are no bumps or bubbles.
Now, glue the end, as shown. Fold the ends into the inside of the wide fabric bracelet. Then, let the bracelet dry.

Fabric bracelets DIY tutorial
We are done! How easy was that? I love the African print; it’s so vibrant and energetic. As you can see, it’s so easy to make custom fabric bracelets. You could make a whole bunch of different prints to have in your accessory collection.
We’ve come to the end of the fabric bracelets DIY tutorial, but if you do try this, please feel free to leave a comment and let me know how it goes.
The author may collect a small share of sales from the links on this page.


Comments
Join the conversation