Learn How to Make These Beautiful Sea Foam Clay Earrings

I love making clay earrings, especially the ones that involve intricate detail and design. It looks so sophisticated and articulate. I will show you how to make clay earrings that mimic the mystical sea in today's polymer clay earrings tutorial. The color combination is incredible, and the process in itself is super fun. Let's get to it!
Tools and materials:
- Polymer clay in various turquoise and sandy tones
- Translucent clay mixed with solid colors
- Plain translucent clay
- White clay
- Acrylic roller
- Blade
- Circle cutter
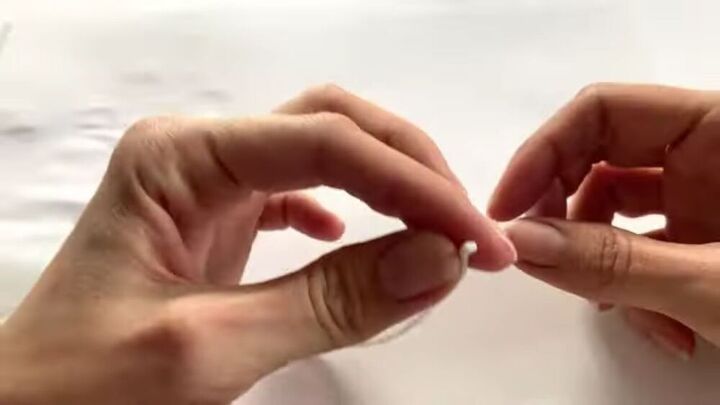
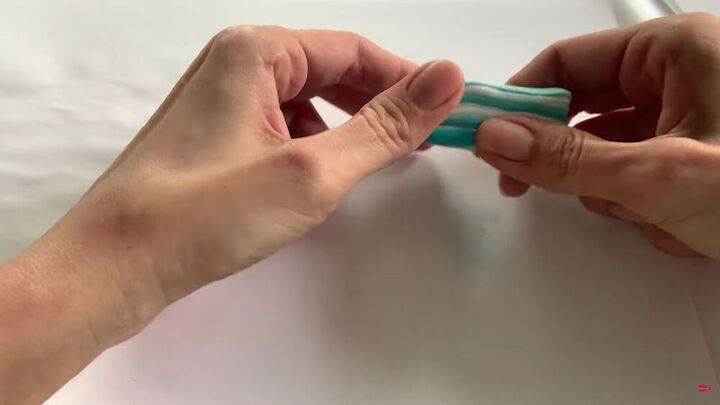
Prepare the "seafoam bubbles" clay roll
For this clay roll, you'll need translucent polymer clay covered in white clay. Roll and shape the translucent clay into a roll. Next, condition the white clay and roll it out on a flat surface. Take your translucent clay roll and roll it on the white, flattened clay so that the white clay encompasses it.
Next reduce the roll by rolling it out.
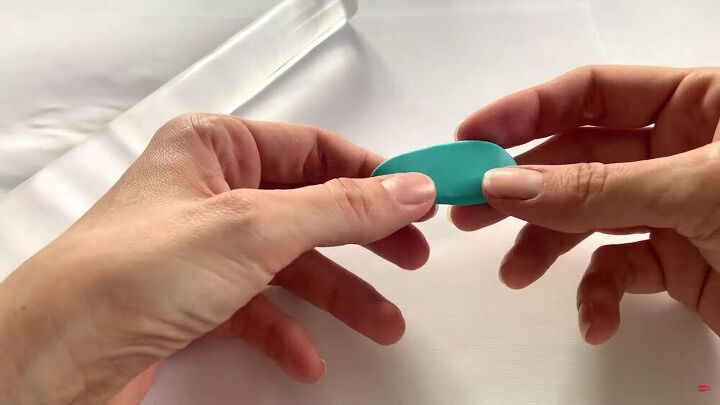
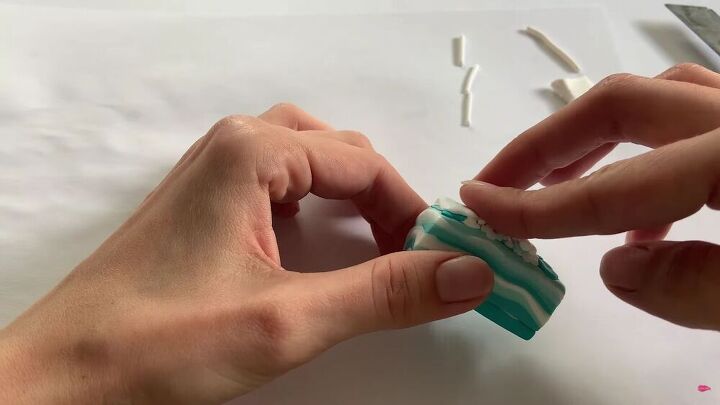
Create flat-shaped colored pieces
Now, let's start with the colors. Here, I am using turquoise. Flatten it out with a roller. Then, take another color and repeat the process.
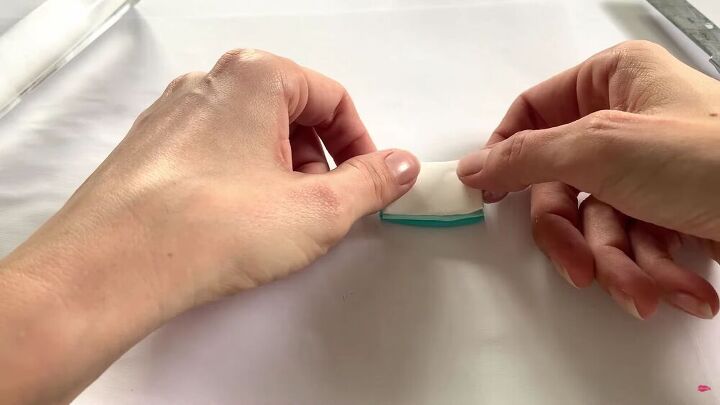
Now, when the pieces are the same size, layer the colors on top of each other. Also, cut the sides for a finished, rectangular shape.
Continue layering the turquoise and translucent turquoise layers from dark to lighter tones. Also, incorporate plain white and plain translucent layers too. To see exactly how I layer the polymer clay, check out my video from 2:36 minutes.
TIP-
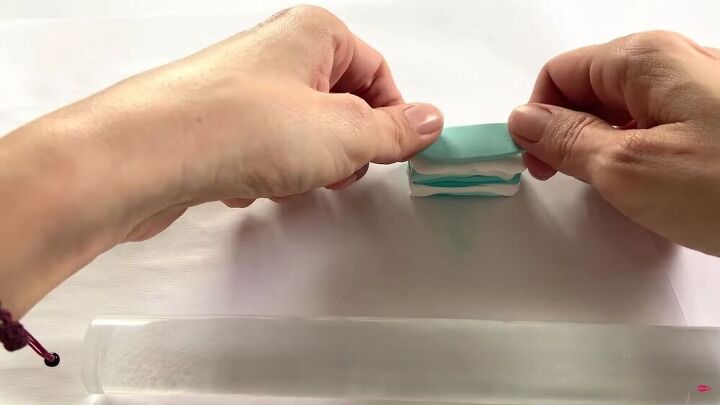
Press the rectangle together to prevent any air bubbles.
Now, once everything is layered, shape your rectangle so it forms a lovely little brick-like structure.
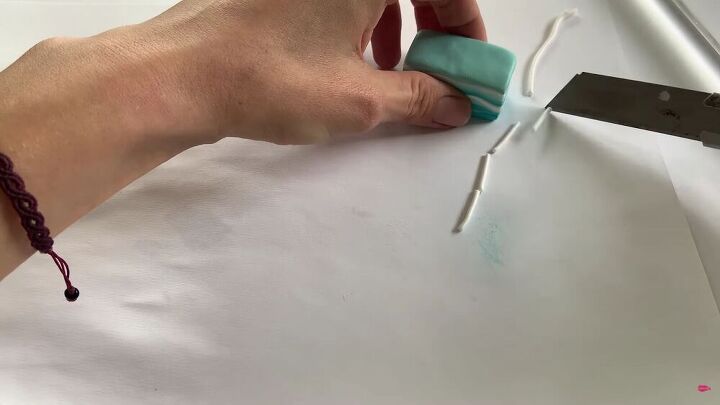
Add the seafoam
Cut the little roll you made on the first step of this polymer clay earrings tutorial and cut it the same width as the layered brick.
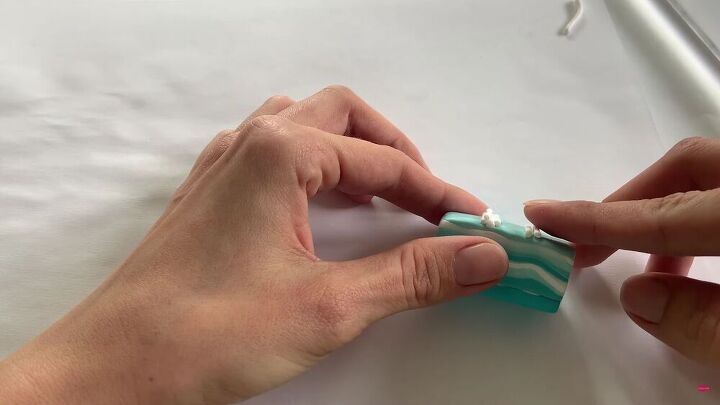
Add the tiny pieces on top of the brick so that one edge has a few rolls and the other has less.
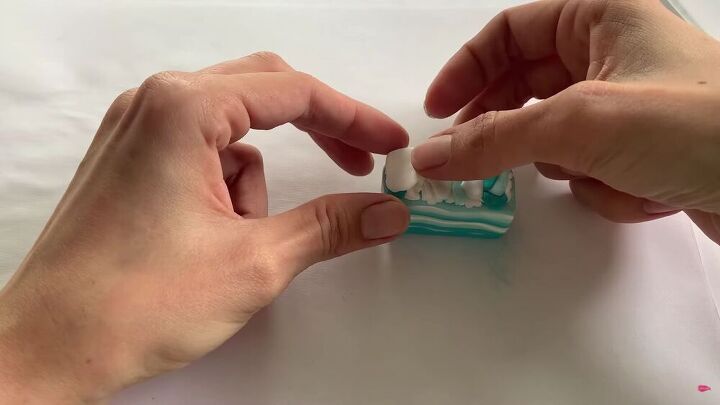
Fill the spaces by randomly tearing out clay pieces from your white, translucent, and turquoise colors. Stack them on top, as shown.
Add more "seafoam" rolls for a more in-depth effect.
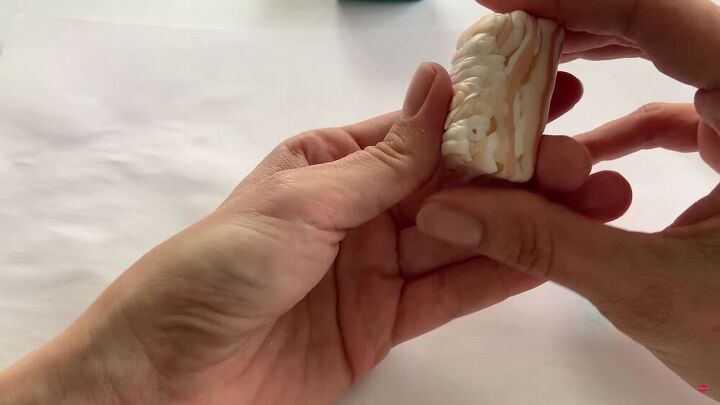
Repeat the process for the brown hues
Now, for the sandy part, repeat the same process as mentioned above. Roll out each colored clay to create flattened shapes and layer them accordingly. Start from dark to light, and don't forget to add translucent layers to the mix, too.
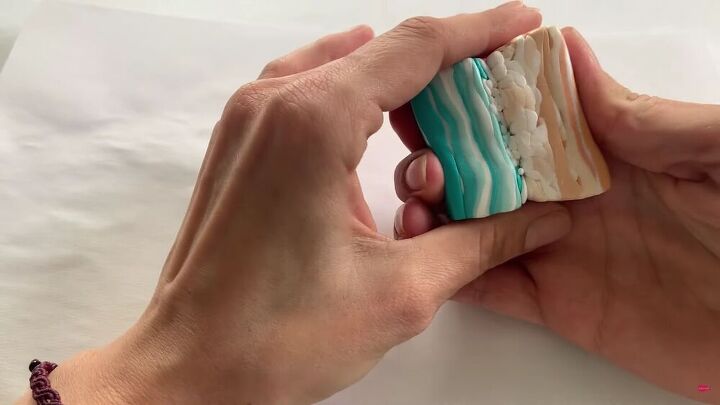
Connect the colors
When both layers are shaped and ready, connect them like so.

Now, shape the creation into a new brick and lightly roll the sides where necessary. Can you see how the colors start taking shape, like a gradient? Leave it in the fridge for a while, so it hardens. This will make it easier to slice.

Slice the block
Slice the block to approximately 3 mm (.1 inches) in thickness.
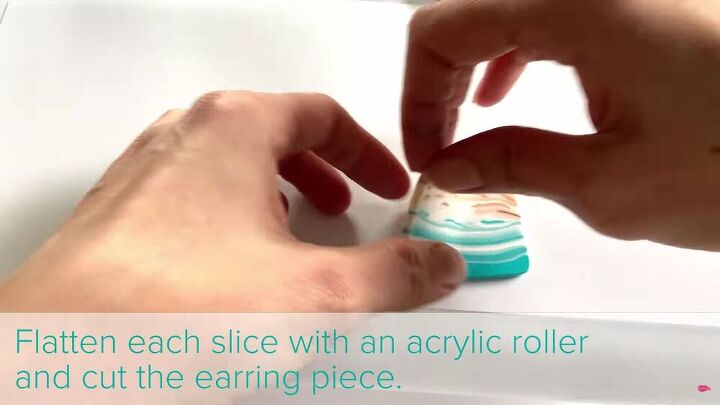
Flatten each slice with an acrylic roller.
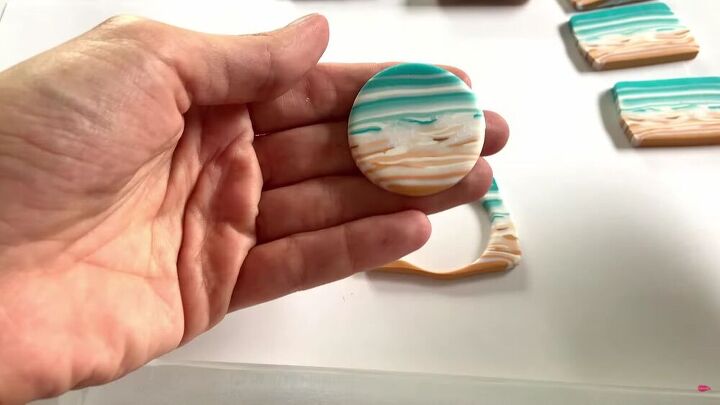
With a round cutter, cut the slice. Repeat this on all the other slices.
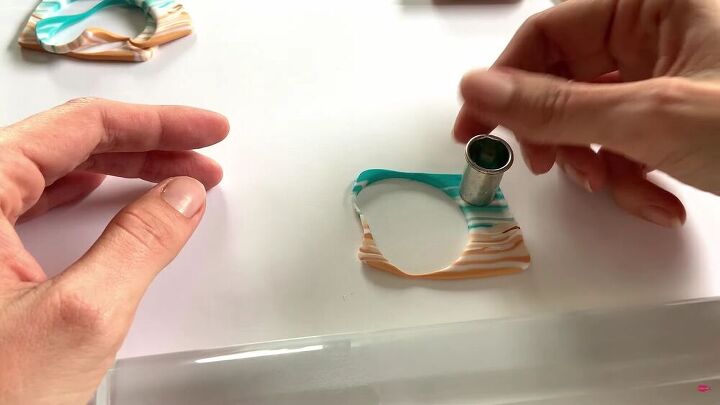
Cut smaller circles for the earring tops, too.
Bonus step
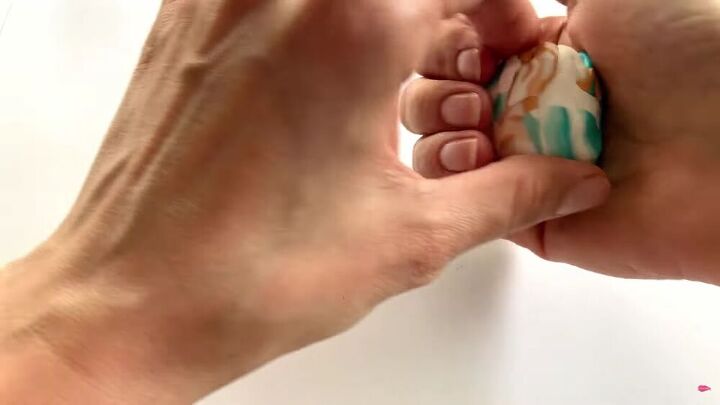
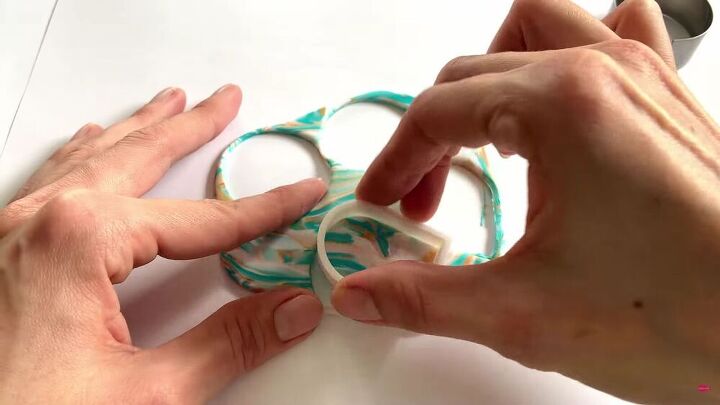
You will have some leftover clay from this project; instead of discarding it, you can create a marble effect by incorporating all the colors together and rolling it flat. Then, with a cutter, cut out some pieces, as shown. Now you also have a marbled clay earring effect! Talk about two birds with one stone, huh?
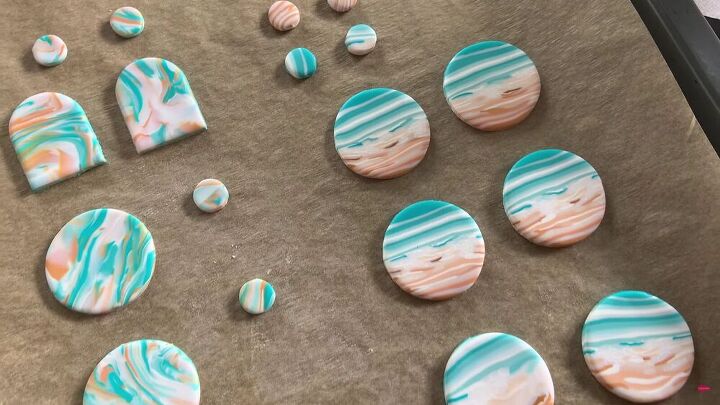
Bake your batch
Layout all your pieces on a flat surface and bake till hard.
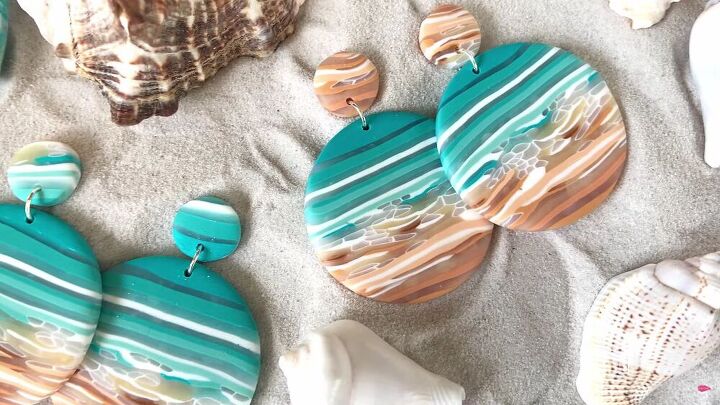
There you go, wasn't that fun? These DIY polymer clay earrings are unique, to say the least. The gradient effect is stunning, and the contrast of the turquoise and brown colors make for a perfect ensemble. I hope you enjoyed this clay earrings tutorial!
The author may collect a small share of sales from the links on this page.


Comments
Join the conversation
I read it. I loved it. But I could not begin to execute it!! I just did not understand it......
Loved this! These look so good! At which point do you drill holes for hardware? Before baking or after?