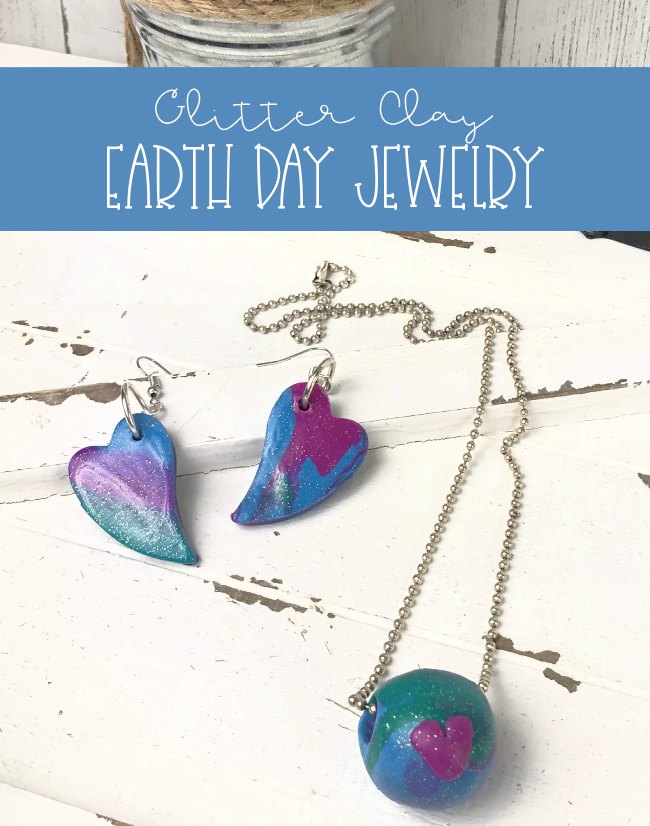
DIY Earth Day Beads
I am pretty much in love with the new Sculpey III Glitter Clay because it is truly shimmery and so easy to create with. I got seven new colors of the Sculpey III glitter clay and chose the following three to make a DIY Earth Day Beads and some earrings to match — Turquoise, Blue and Violet. It is going to be so fun to share how I made these fabulous pieces of jewelry. This post is sponsored by Sculpey but the ideas and opinions are my own.
Materials Needed for DIY Earth Day Beads
- Sculpey III Glitter Clay in Turquoise, Blue and Violet
- Clay Essentials Toolkit
- Sculpey Clay Work Mat
- Jewelry Making Supplies
- Oven for Baking Clay
- Sculpey Glaze
- Paintbrush
Directions for Making DIY Earth Day Beads
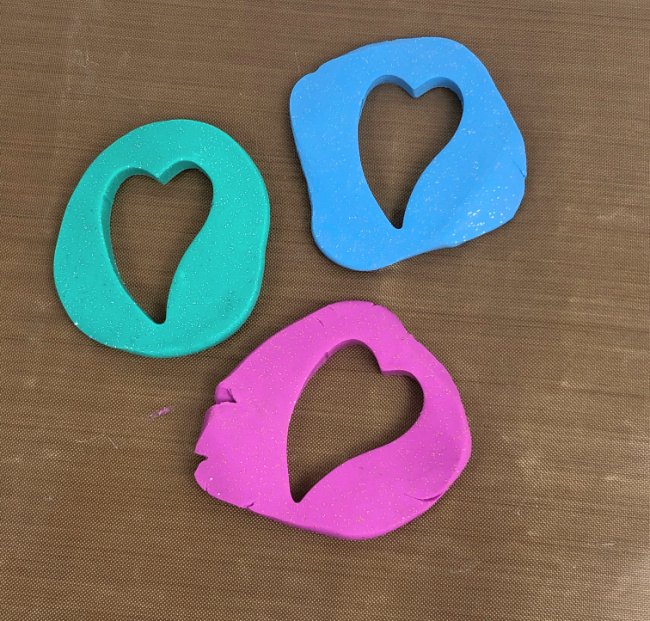
Start by opening all three colors of polymer clay and kneading them until they are pliable and soft. I wanted to see how they worked because it was my first time using the glitter clay so I rolled out three balls and used a cutter, just to play.
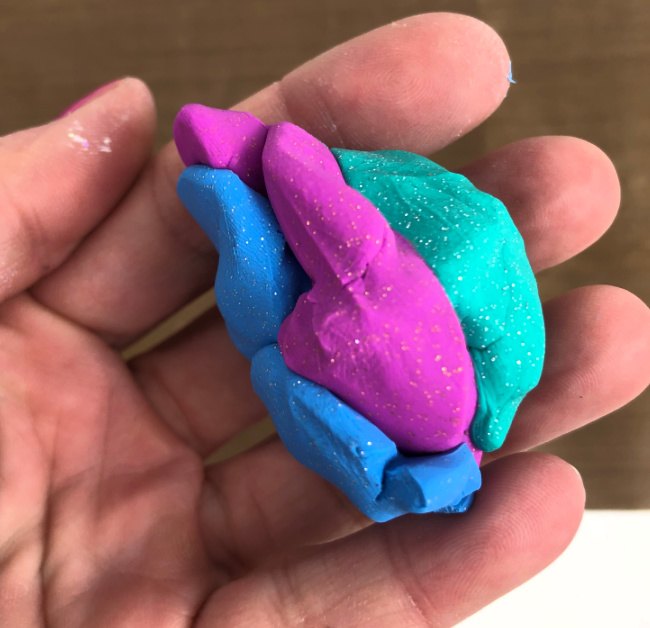
Once the three colors are kneaded, squish them together. LOOK AT ALL OF THAT SPARKLE!
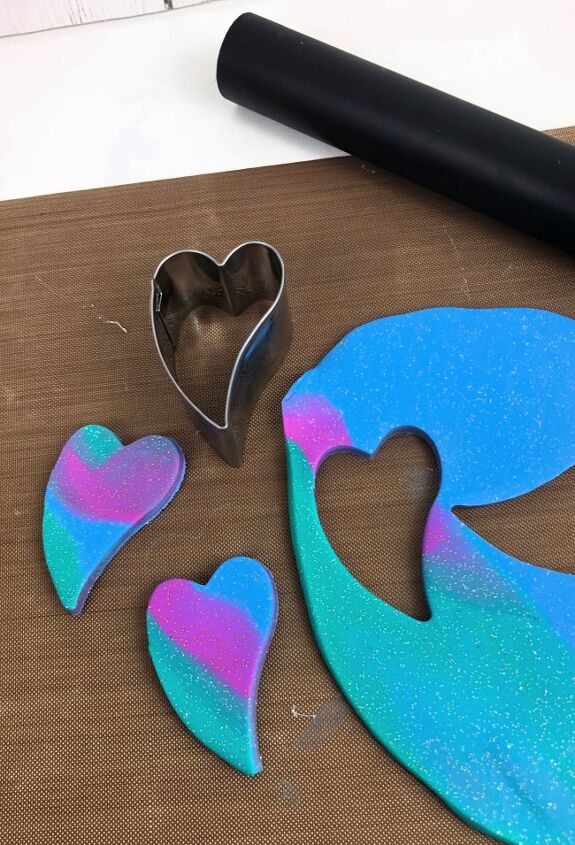
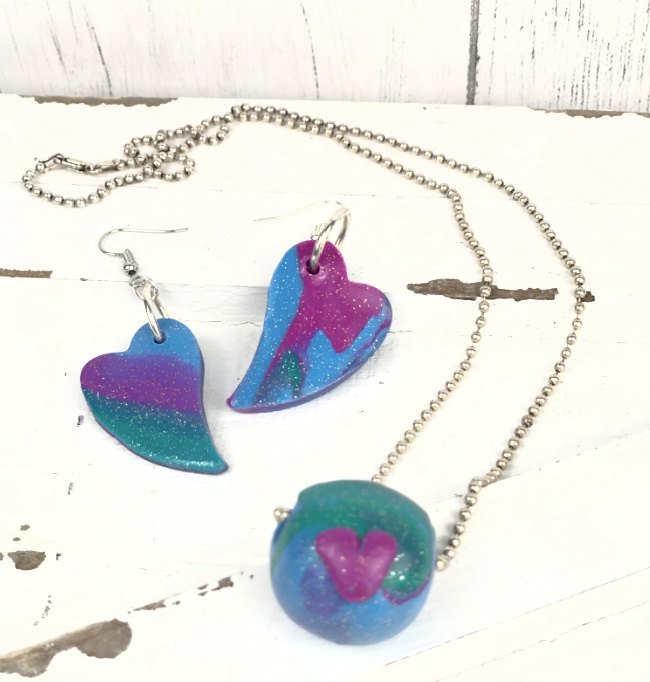
Roll the colors into a ball then smash it on the work mat and roll out. Do this a couple of times until you have the marble look that you like. Cut out whatever pieces you want for earrings using a cutter. Poke holes in the tops BEFORE baking because the polymer clay will harden in the oven.
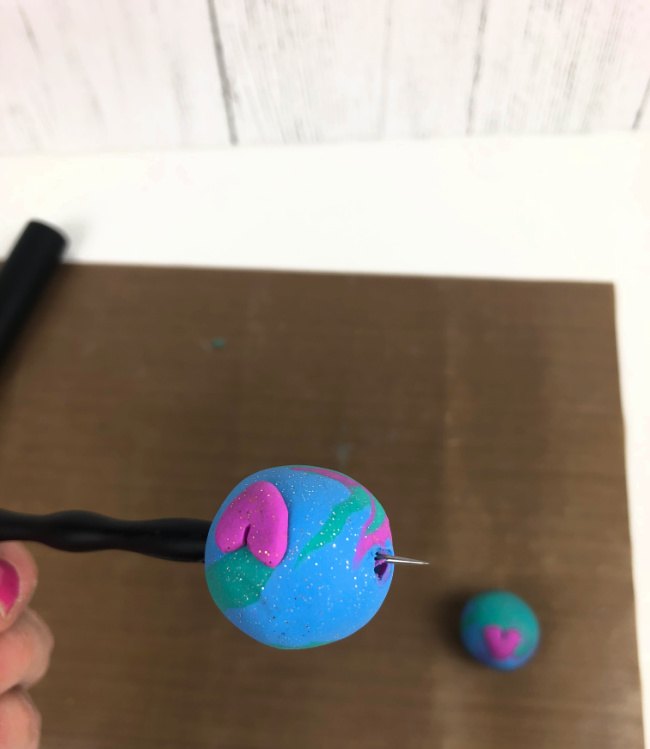
Then roll the remaining clay into a small ball, the size of bead desired. Use a clay tool to poke a hole through the middle. This hole needs to be large enough to fit a chain through. Add a little hand formed heart. Be sure to mash it good onto the bead so it well be secure.
Polymer Clay PRO TIP 1 — Put the hole towards the top if you want your bead to hang a specific way. If it is in the center it will roll.
Polymer Clay PRO TIP 2 – To remove fingerprints, use a tiny rolling pin or something super smooth and gentlyrun it across the clay.
Bake at 275 °F (130 °C) for 15 minutes per 1/4 in (6 mm) thickness. DO NOT MICROWAVE. Baking should be completed by an adult. DO NOT EXCEED THE ABOVE TEMPERATURE OR RECOMMENDED BAKING TIME. Visit Sculpey for TONS of baking tips.
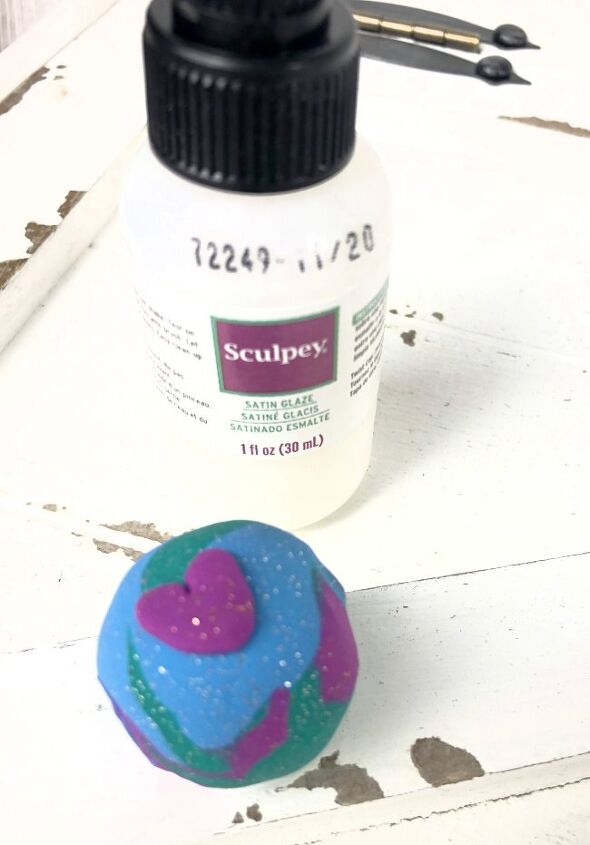
When the clay is cool, put a coat of Sculpey Glaze on your pieces for a shiny surface.
Turn your clay pieces into jewelry with items from a jewelry making kit. My favorite thing about the bead is it requires very little (as in none) jewelry making skills.
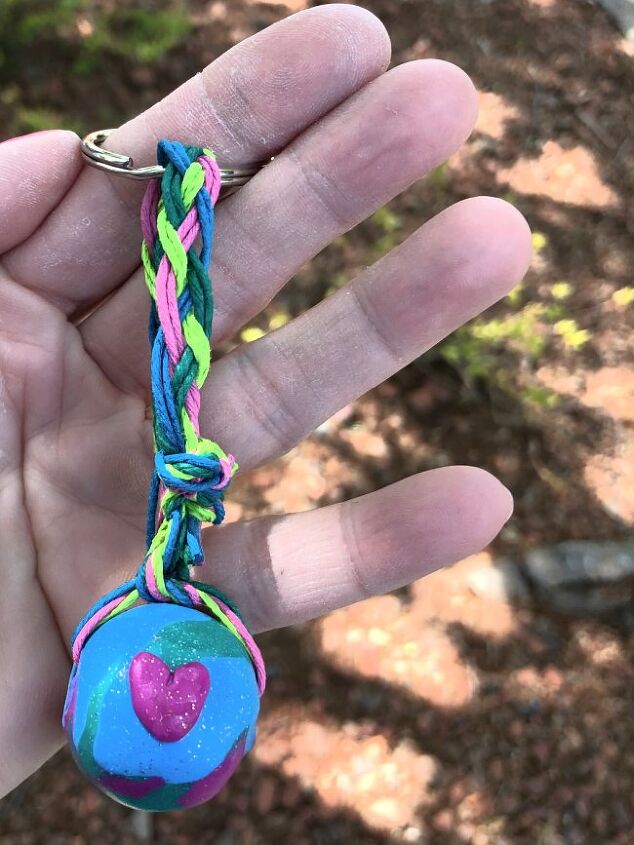
Another fun option for the bead it to use hemp cord and your friendship bracelet making skills to whip up a polymer clay keyring.
The author may collect a small share of sales from the links on this page.


Comments
Join the conversation
This is so beautiful! Thank you for sharing!