Statement Necklace DIY
They always say that the easiest way to update your look is with accessories. In the name of wardrobe updates, then, I offer the statement necklace! This basic DIY design is endlessly customizable and uses easy-to-find jewelry making supplies. (Use leftover supplies to make multiples for yourself or for gifts!) That said, this is not a beginner beading project. If you are new to jewelry making, search pinterest for “jewelry making for beginners.” You will find loads of projects to get you started. For great photos of some basic techniques, check out this website. Here are the supplies you will need! I used the small, rainbow flower beads for this tutorial, but plan to use those fun red beads for a similar project! I also used one of my favorite necklaces (previously DIY-ed) as a template. The hardware includes chain, tiger tail beading chord, crimp beads, jewelry pins, jump rings, a clasp, and earring backings. You will also need jewelry pliers and wire cutters, fyi.
They always say that the easiest way to update your look is with accessories. In the name of wardrobe updates, then, I offer the statement necklace! This basic DIY design is endlessly customizable and uses easy-to-find jewelry making supplies. (Use leftover supplies to make multiples for yourself or for gifts!) That said, this is not a beginner beading project. If you are new to jewelry making, search pinterest for “jewelry making for beginners.” You will find loads of projects to get you started. For great photos of some basic techniques, check out this website.
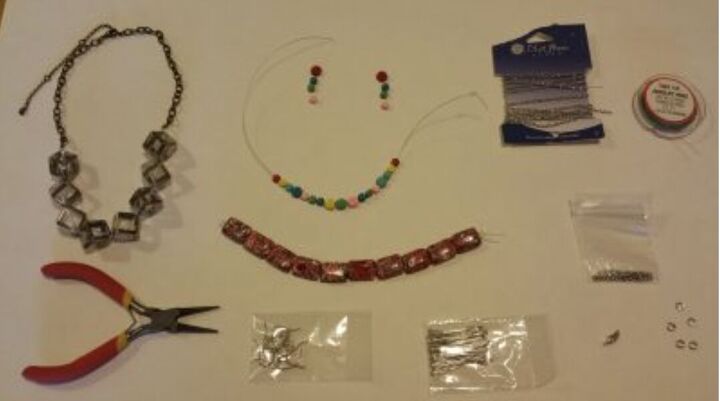
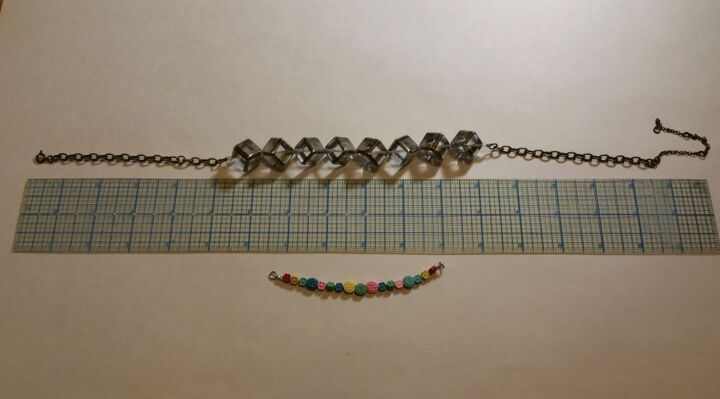
Here are the supplies you will need! I used the small, rainbow flower beads for this tutorial, but plan to use those fun red beads for a similar project! I also used one of my favorite necklaces (previously DIY-ed) as a template. The hardware includes chain, tiger tail beading chord, crimp beads, jewelry pins, jump rings, a clasp, and earring backings. You will also need jewelry pliers and wire cutters, fyi.
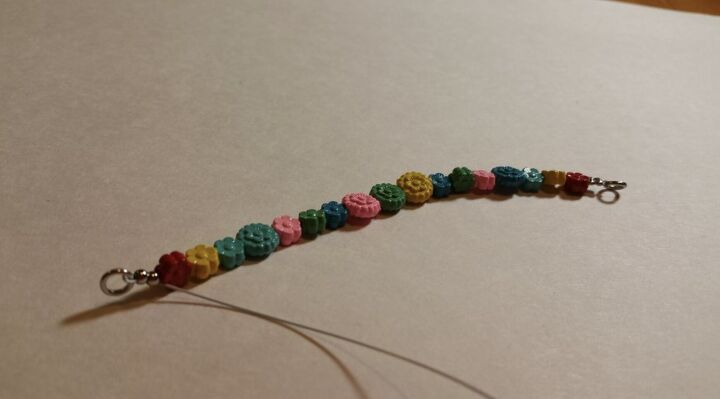
I started by arranging my rainbow beads in the order I liked and threading them onto tiger tail. (I set a few beads aside for earrings.) Next, I used crimp beads to attach a jump ring at one end of the strand. Once the crimp beads were squashed closed, I trimmed the leftover tiger tail as short as possible.
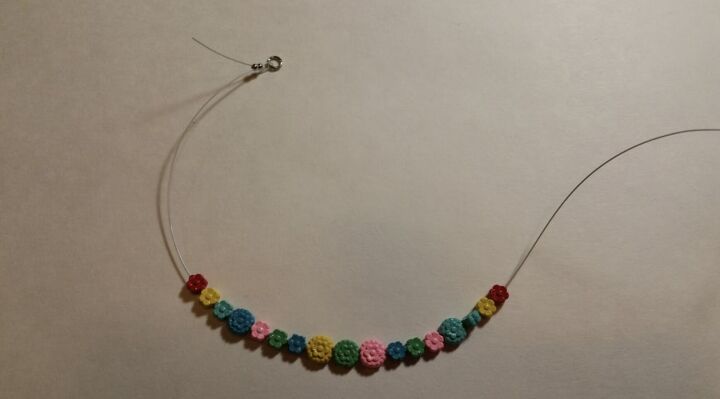
Then I did the same to the others side.
This strand of beads will be the focal point of the necklace. I’m going to add chain to each side of the strand to complete the length. I measured the bead strand against my existing necklace to see how much chain I would need to add.
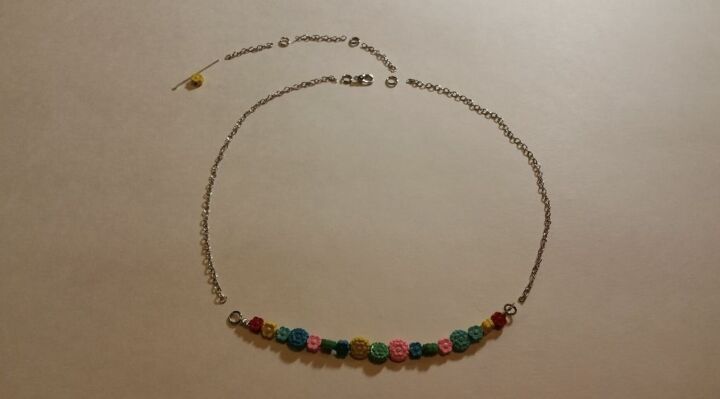
Next, I laid out all the pieces in the order they would need to be assembled.
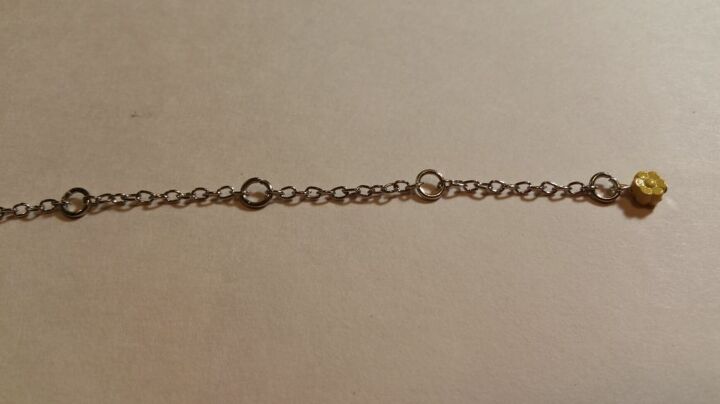
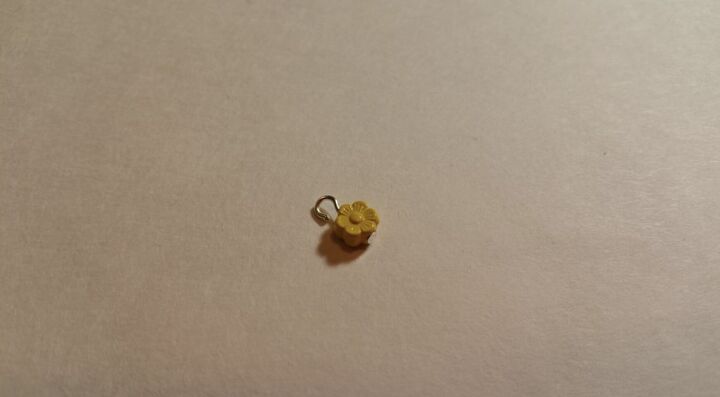
At the top of the necklace near the clasp, I added an extender chain made of short lengths of chain and jump rings (with a bead at the end, bc it’s cute!). Extender chains hugely increase the wear-ability of your necklace! You can often purchase them at the craft store, if you don’t want to make one like I did. Here are some details of the extender chain and bead.

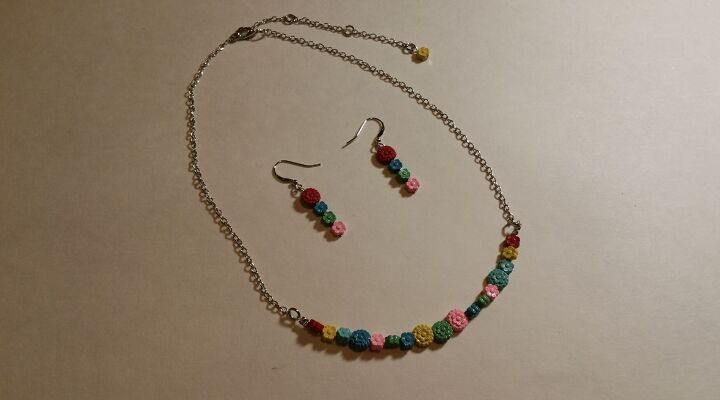
After attaching all the necklace pieces, it was time to make the earrings! These simple drops were made from my leftover beads, bead pins, and earring backings.
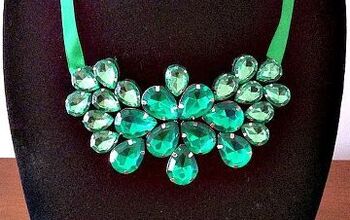
Now it’s time to make a jewelry statement! Check out my template necklace to see how larger beads and chain create a totally different look! The possibilities are endless!
The author may collect a small share of sales from the links on this page.


Comments
Join the conversation
Thank you for sharing!