How To Make DIY Dainty Stacking Wire Rings
This post may contain affiliate links for products I love and recommend.
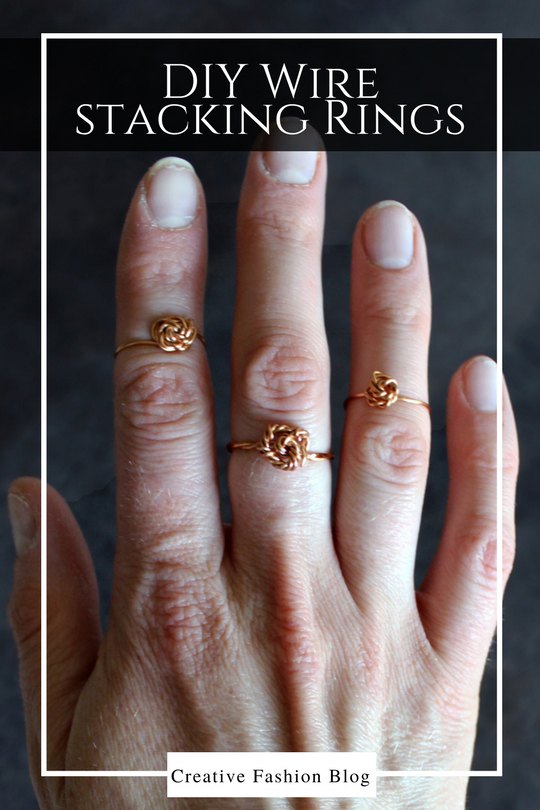
Don’t you just love stacking wire rings? However, it seems impossible to find just the right size to create a pretty little coordinating collection that doesn’t suffocate your hand or slip off in between your knuckles. My recommendation? Make your own! Today’s simple little tutorial will walk you through the easy process to make your own DIY dainty stacking wire rings in just a few minutes with only a few supplies. You can see my other ring DIYs HERE and HERE
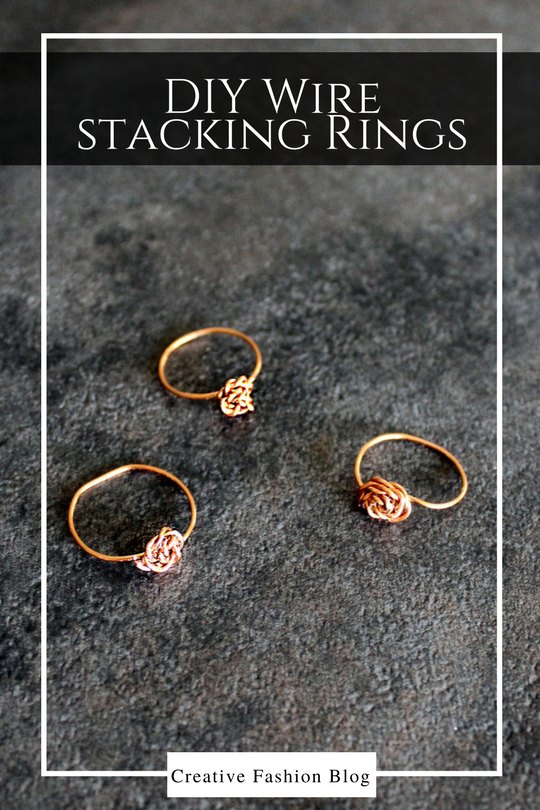
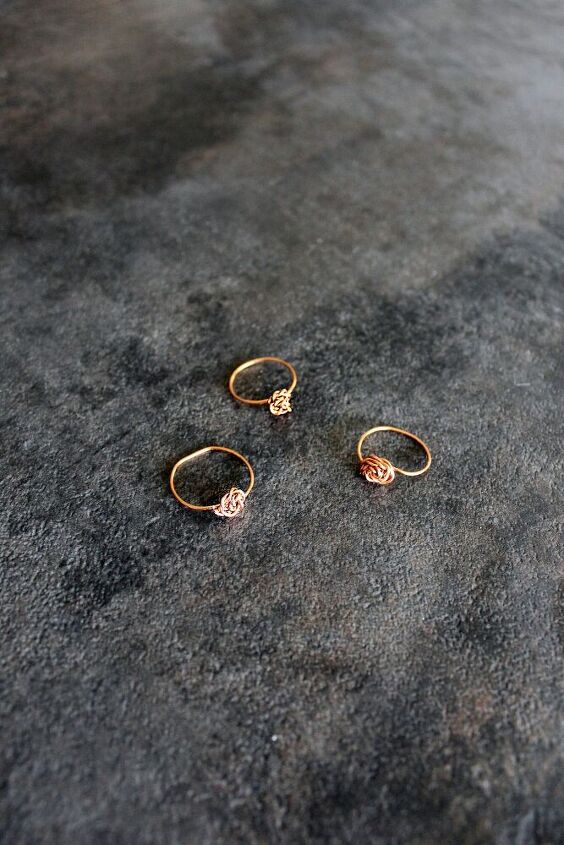
Aren’t they just so cute! I’m in love. The little twisted rose-bud detail can be as big or delicate as you’d like. Since you’ll be the one making them, you get to decide exactly how they’ll look. That’s the fun of handmade right?
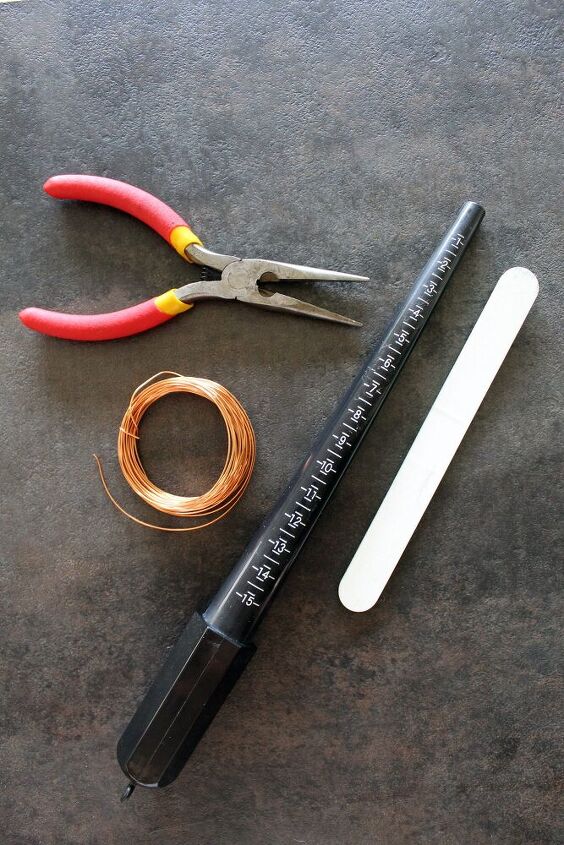
Supplies:
My supply lists are shoppable for your convenience! Below, I’ve done the hard part and included the products I use and recommend. They are affiliate links so if you choose to buy something, I will receive a small commission for future projects!
How To Make Stacking Wire Rings
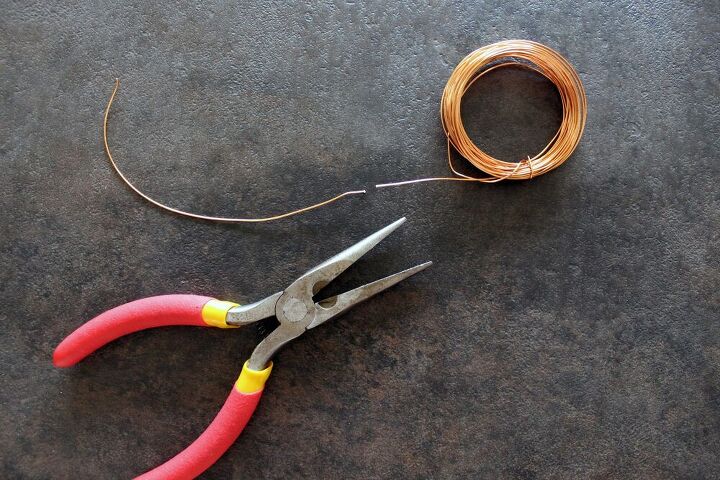
Start out by unrolling a 6″ strip of wire and cutting using your jewelry pliers.
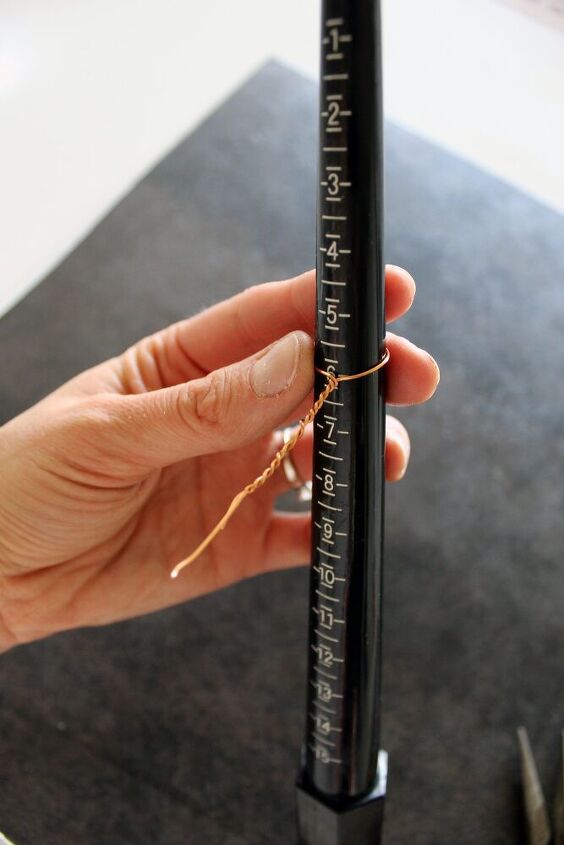
Next, wrap the wire around your ring gauge to create the correct ring size. Each little line will mark the exact size of ring you are making so you can be sure you’ll be able to wear it later.

Twist the wire tightly to create a firm circle around your ring gauge and a pretty little rope design with the excess wire.
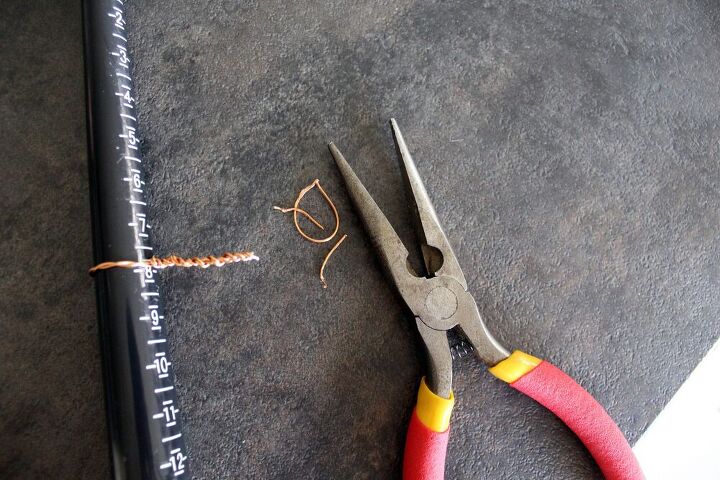
Trim off the uneven ends at the end of your twist to create a smooth finish. Once the uneven wire ends are cut off, use a nail file to smooth any rough edges.
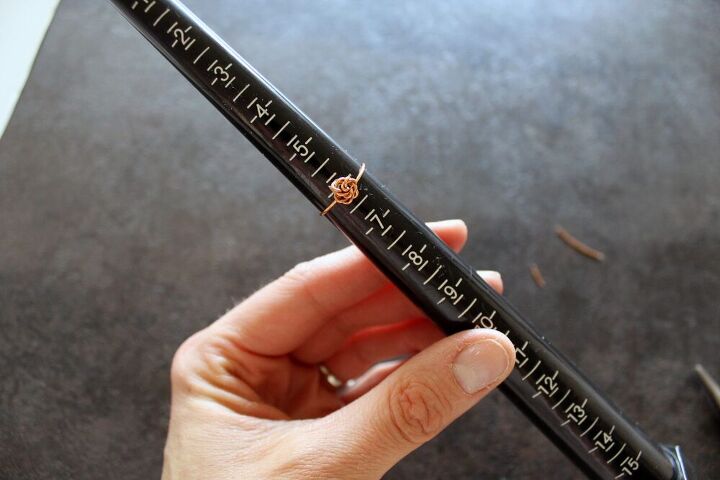
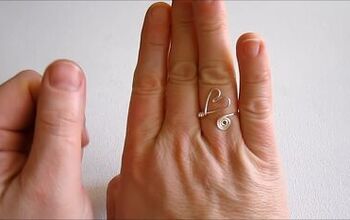
Finally, use your jewelry pliers to twist the twisted wire into a little circle at the front of your ring. From here, you should be able to easily slide your new ring off and onto your finger.
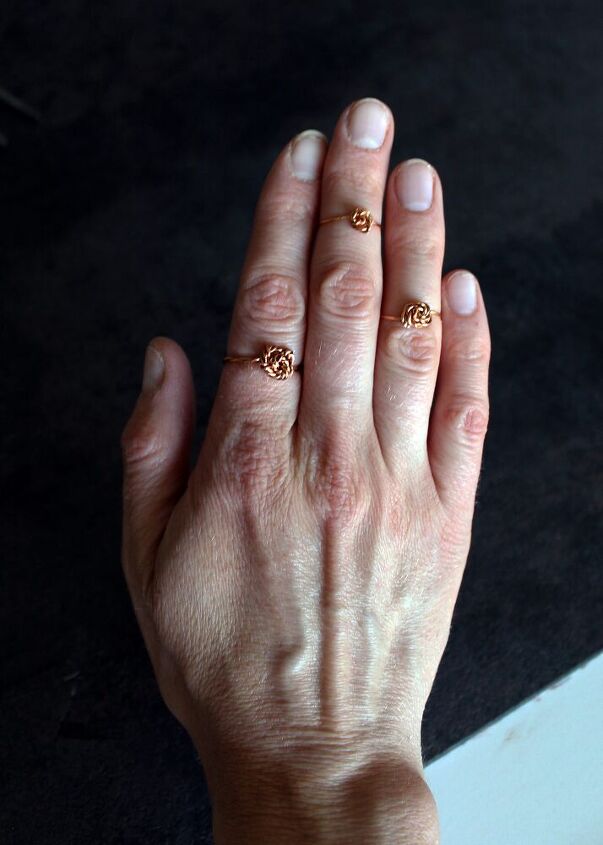
Ta da! You did it! I made several different sizes so the rings stacked on different fingers for a uniform look. I love my little stacking rings and really hoped you liked this project too! As always, if you ever have any questions while you are going through this tutorial, please don’t hesitate to ask in the comments below!
More Jewelry Tutorials You May Like
The author may collect a small share of sales from the links on this page.


Comments
Join the conversation
These are so cute!!
The ring gauge link doesn't take you to the correct product!. I can't wait to make these! So cute!