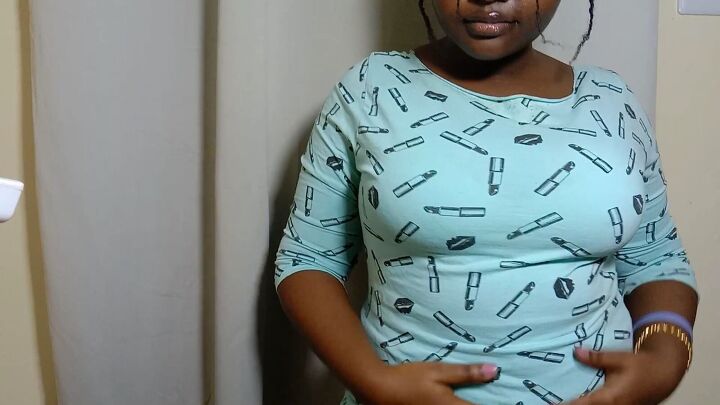
How to Upcycle a T-shirt Into a Fabulous Bodysuit

The bodysuit is an essential in every woman’s wardrobe. Today, I’m going to show you how to make a trendy bodysuit by upcycling a t-shirt. Just follow along with this beginner-friendly tutorial.
Tools and materials:
- Stretchy t-shirt to upcycle
- Tailor’s chalk
- Fabric scissors
- Needle/thread or sewing machine
- Snaps (optional)

1. Choose your t-shirt and plan
Find a t-shirt to upcycle that has a stretchy fabric.
The shirt should be comfortable (not too small) before turning it into the DIY bodysuit, to ensure a good fit.
For the bottom part of the bodysuit, you have a few options.
You can either use a pair of underwear as a pattern, create a pattern from scratch, or just cut out the shape and eyeball it, which is what I’m going to do.
It’s not so critical because the fabric will stretch to fit you perfectly.
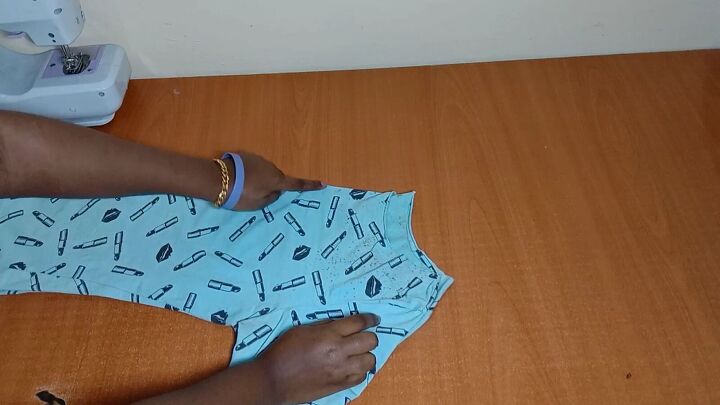
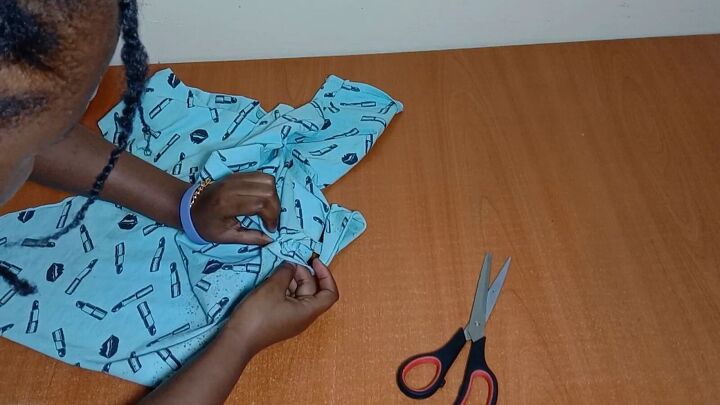
2. Mark the bottom part of the bodysuit
Lay your t-shirt out on a flat surface and mark where you want the top of the leg holes and the crotch point.
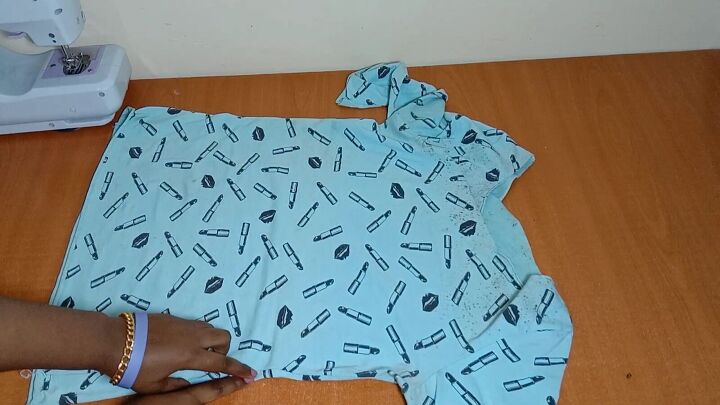
Fold your t-shirt in half so that the left and right sides are equal.
Then add a seam allowance at the crotch point of 2”. Join the new crotch point to the old hip point using tailor’s chalk. See video 1:50 - 2:25.
3. Mark the new neckline
I chose to use two different necklines for the front and back to get rid of some holes that were at the top of my shirt.
For the front neckline, mark 2.5” from the original neckline and 1.5” from the shoulder part, then draw that curve by joining those measurements together. See video 2:35 - 2:48.
For the back I want a really deep, square neckline so that I can hide all the imperfections.
Mark the square neckline, making sure that your new points match up at the shoulders for a clean cut all the way through. See video 2:55 - 3:08.
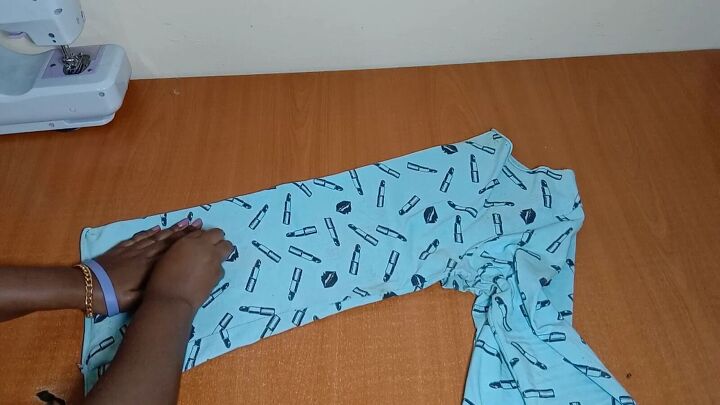
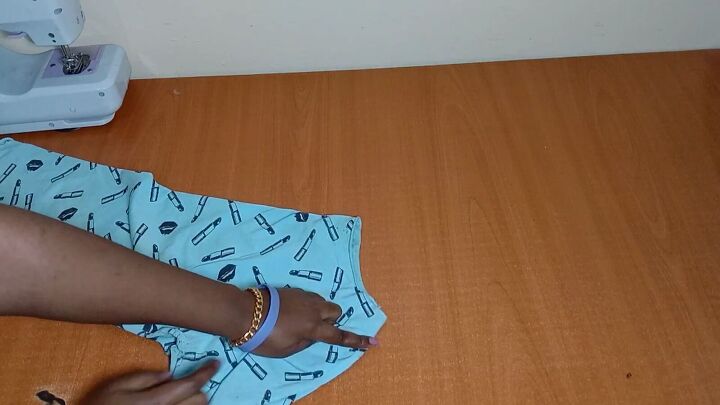
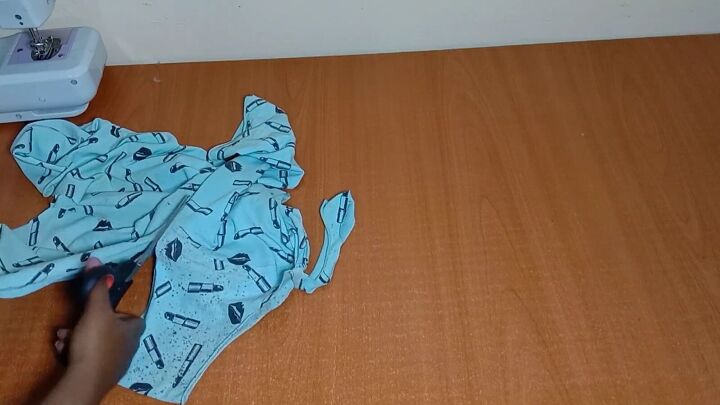
4. Cut along your markings on the bottom
With the shirt folded in half, start by cutting out the bottom part that you marked, for the leg holes.
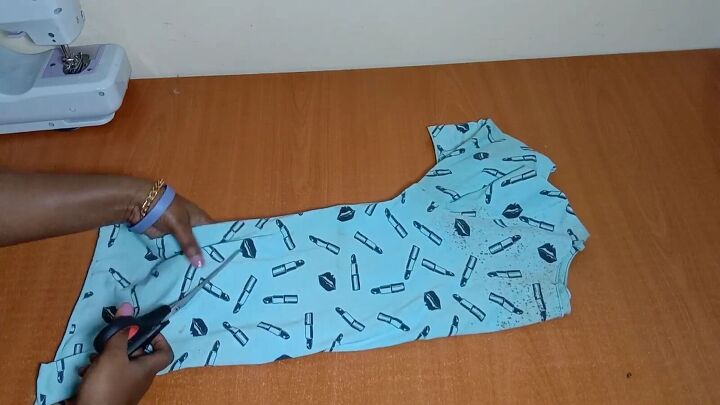
Notice the extra seam allowance at the crotch part. This is essential for a comfortable fit!
But, if you want to class it up, you can spend a bit more time adding snaps there. We will sew this in a moment.

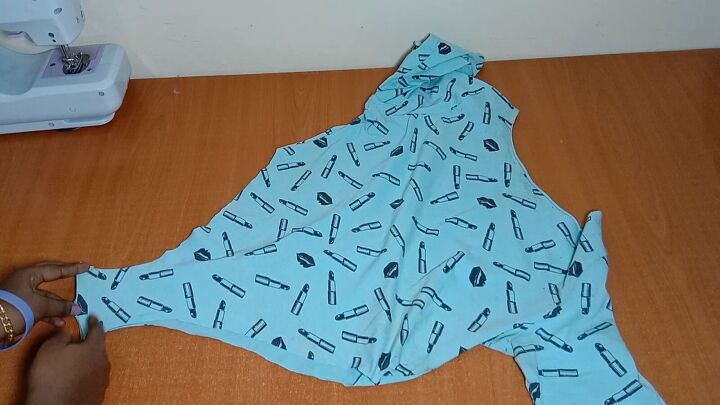
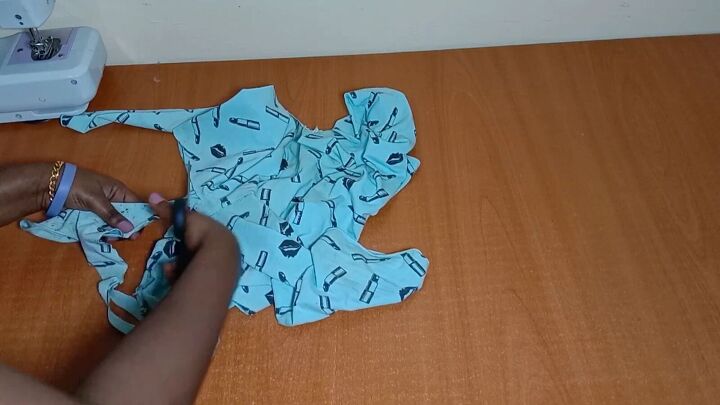
5. Cut out the front to back neckline
Cut along the markings you made for the front neckline.
Make sure to line the shirt up as you cut.
Then continue cutting the back neckline.
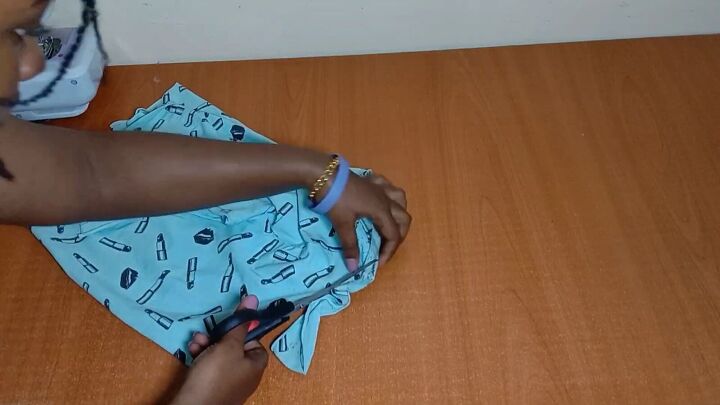
6. Sew
To sew the crotch piece, put the right sides together, then sew a zigzag stitch.
You can hand sew or use a sewing machine. Alternatively, you can sew on snaps.


7. Try on and tweak
Once trying on my DIY bodysuit, I noticed that the back neckline was a bit too wide.
To fix this, I added on a simple tie. In the end it was a happy accident and I love how it turned out.

DIY t-shirt bodysuit
I hope this t-shirt bodysuit tutorial inspired you to create your own! Share your results in the comments below.
For more DIY upcycling ideas, check out my post on a Dress to Trench Coat Upcycle.
The author may collect a small share of sales from the links on this page.


Comments
Join the conversation