How to Make Your Own Jumpsuit From Scratch (Pattern & Sewing Tutorial)

Looking to make your own jumpsuit for summer? Here’s a DIY jumpsuit sewing pattern that uses your own clothes as a template to make it. See the Part 1 video for the DIY jumpsuit pattern, then watch Part 2 to see how to sew it, step by step.
Let's get started on how to make your own jumpsuit that is so pretty and ultra-flattering for the summer!
Tools and materials:
- Jumpsuit pattern (see Part 1)
- 2-3 yards of Tencel fabric
- Scissors
- Pins
- Sewing machine
- Serger (optional)
- Ruler
- Iron
- Sleeve arm for ironing
I prefer to use Tencel fabric for this jumpsuit as it is so light and easy for summerwear. Make sure you cut the fabric with the grain parallel to the selvage.
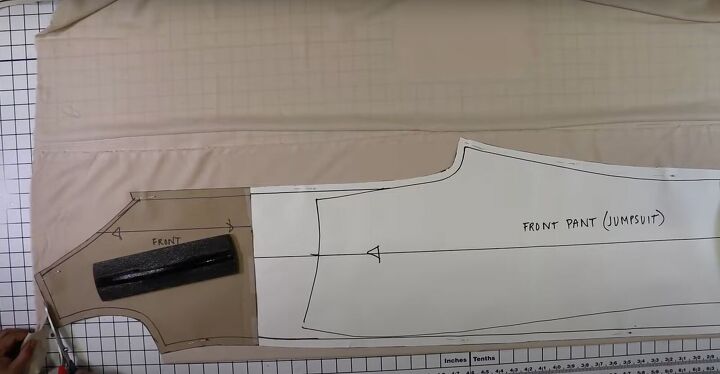
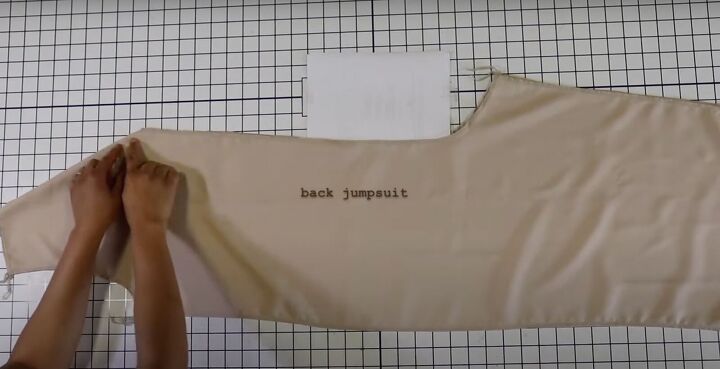
1. Cut the fabric
Lay the pattern pieces on folded fabric. Cut the fabric out. Serge all the fabric edges.
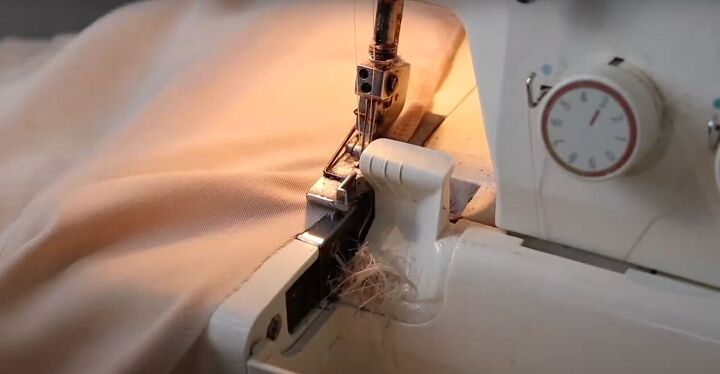
If you don’t have a serger, use a zigzag stitch on your regular sewing machine.
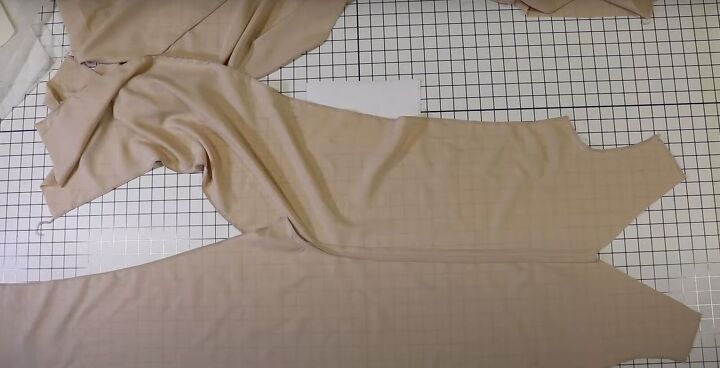
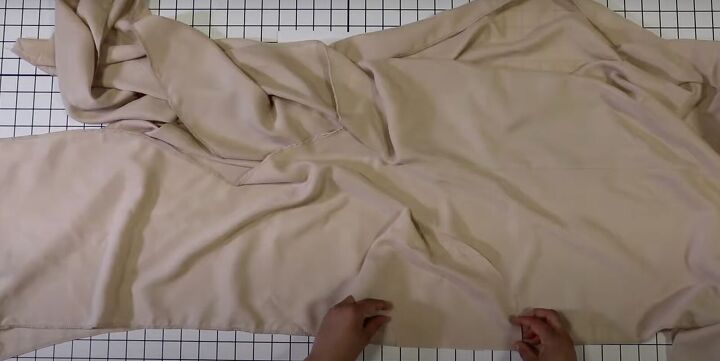
2. Sew the center seams
Lay the front pieces right sides together.
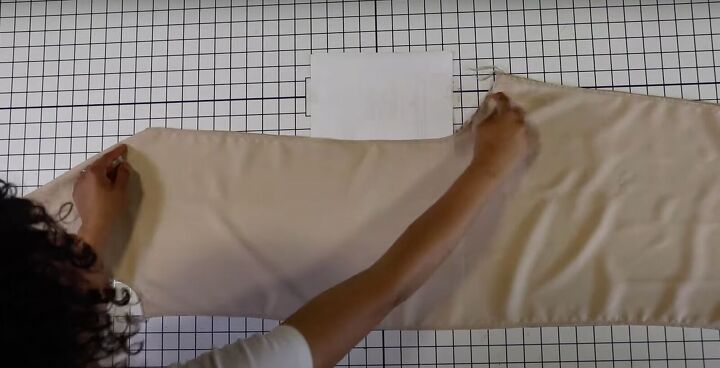
Sew up the center seam from the neckline to the crotch, stopping about 1¼ inches from the crotch point. This space will make it easier to sew the inseam later on.
Do the same for the back pieces. Don’t sew the rest of the length on either of the pieces.
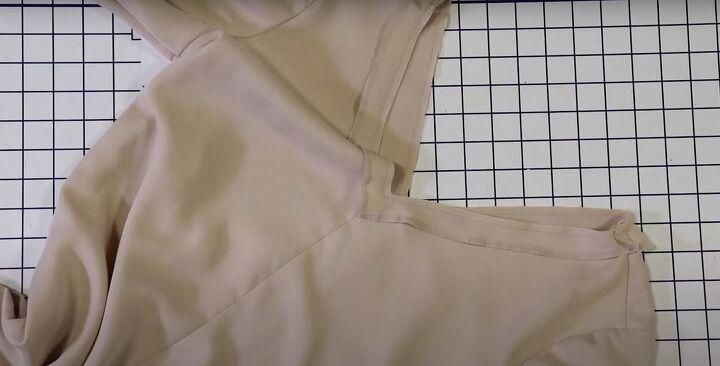
3. Sew the shoulders
Place the front and back right sides together.
Sew the shoulder seams at ½ inch. Press them open and flat.
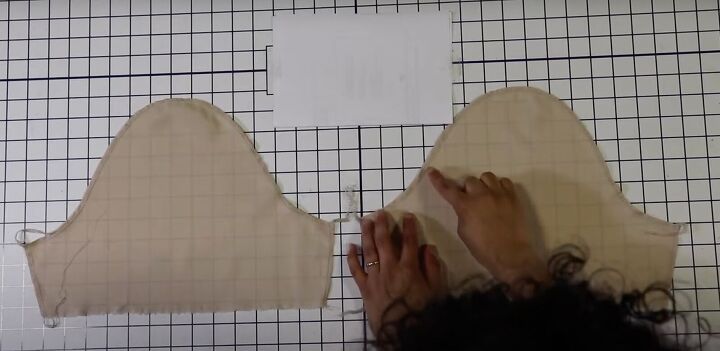
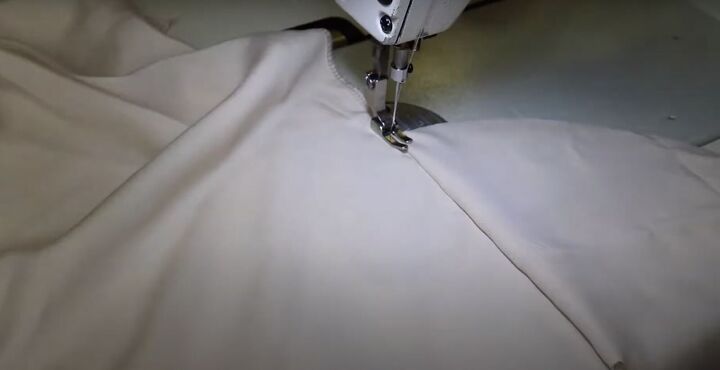
4. Sew the sleeves
Set your sewing machine to the longest stitch length. Sew the head of each sleeve at the very top of the curve with a basting or gathering stitch. Gently pull on the threads for a bit. This isn’t to create a puffed sleeve look.
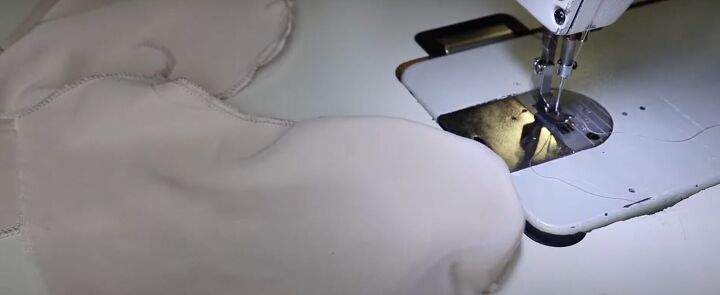
The purpose is to get a kind of curve going on so it will fit into the sleeve properly.
Lay your shoulder area right sides up and lay the sleeve down so they are right sides together.
Be mindful that the front of the armhole is shorter than the back. Match up the notches in the front and back of the sleeve, making sure they align. Ease the sleeve into the armhole.
If the sleeve is a bit bigger, pull the threads to gather it a bit more.
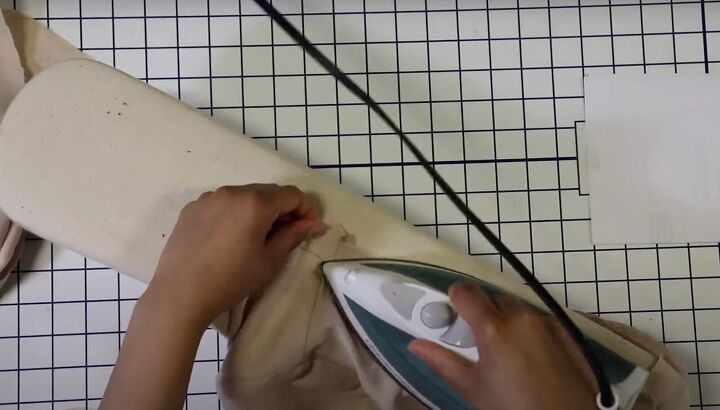
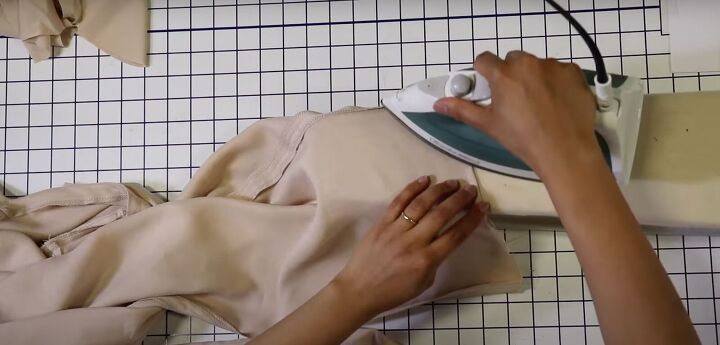
As you sew, be patient and smooth it all out. You don’t want puckers or pleats, so go slowly. Once it’s sewn, press the sleeve on a sleeve arm to flatten.
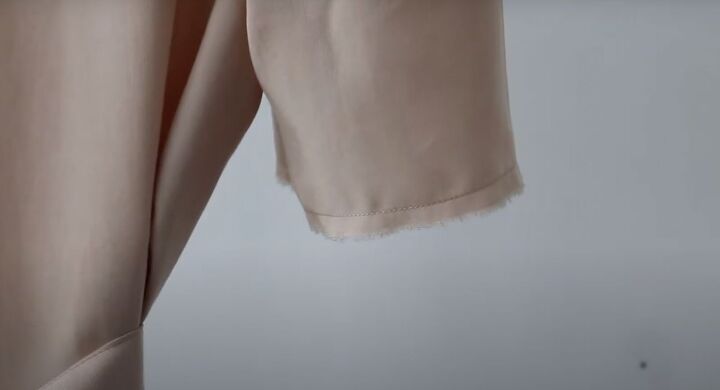
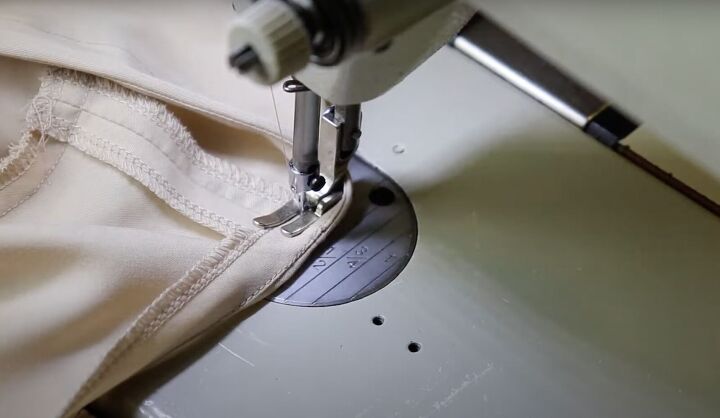
Leave the sleeve hem raw but stitch upward at ¼ inch for a nicer finish.
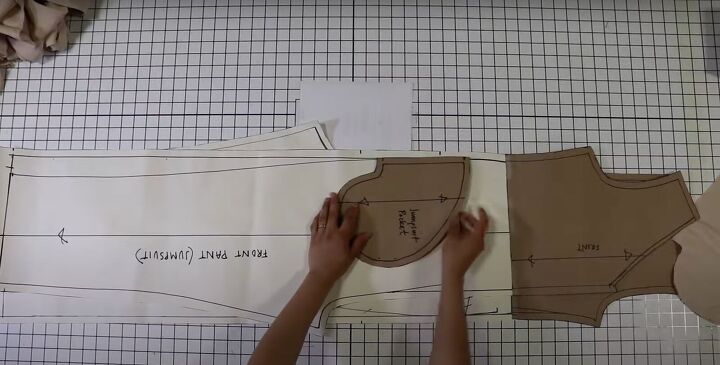
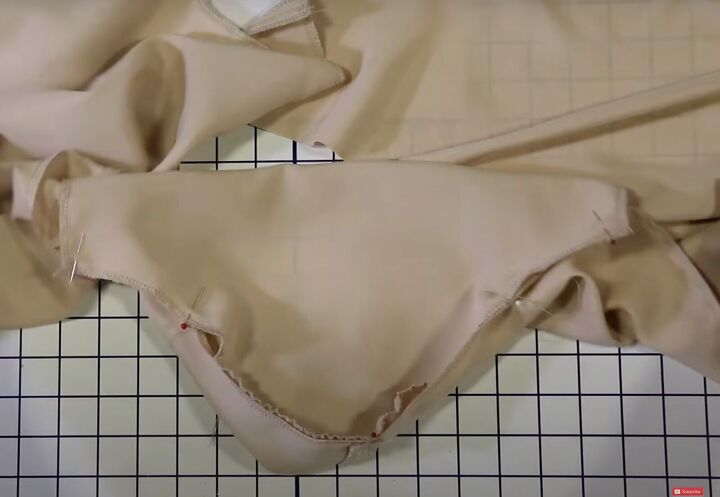
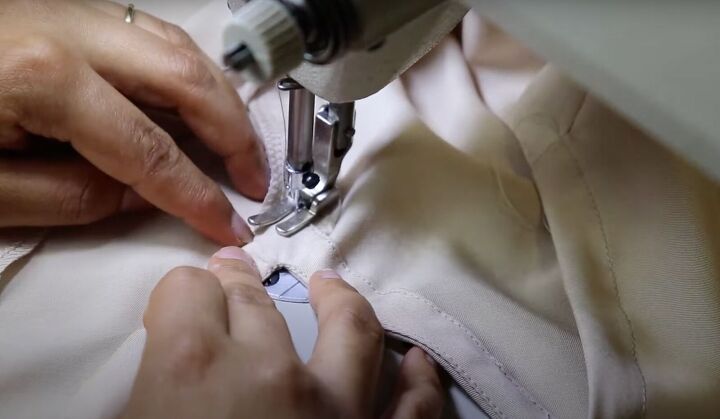
5. Attach the pockets
Line up the pocket notches with the pockets on the pants.
Sew at ¼ or ⅜ inch on the wrong side. Then, turn it over to the right side and sew a very close stitch. Do this to all 4 sides on the front and back.
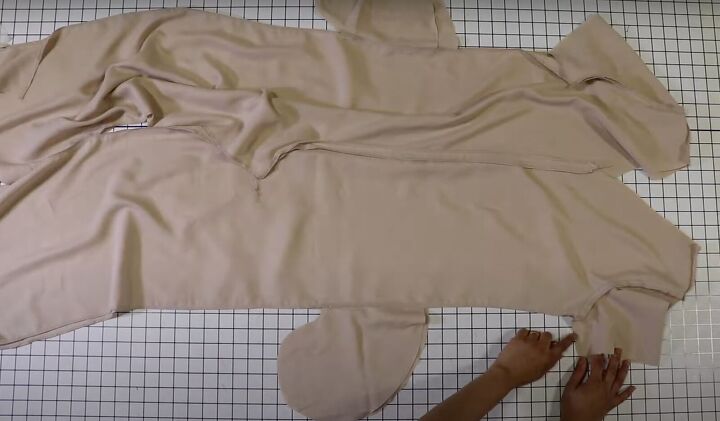
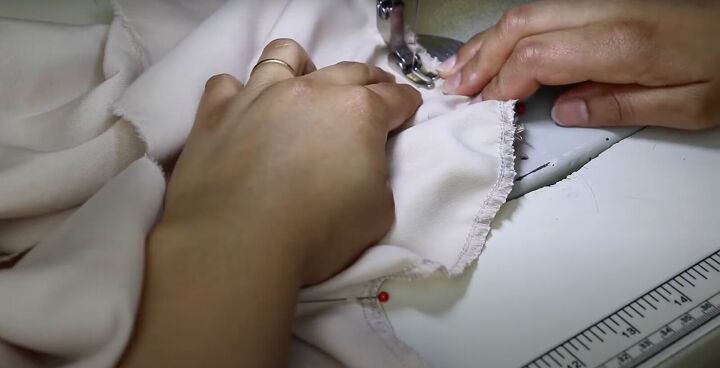
6. Sew the sides
Sew at ½ inch from the underarm to the top notch of the pocket, backstitching at the beginning and then again right at the pocket top notch.
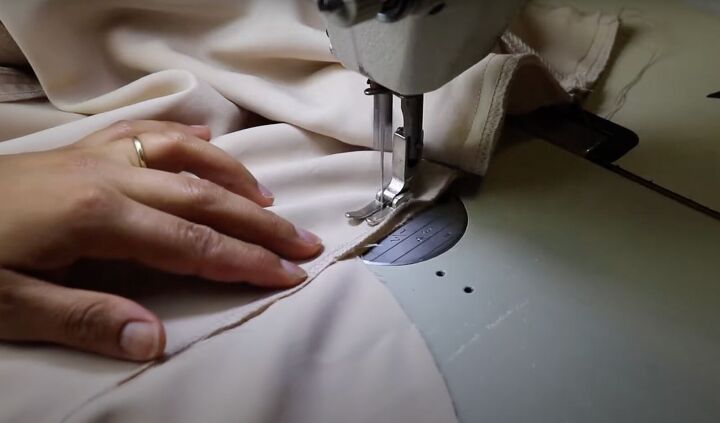
Then, sew from the bottom notch of the pocket to the hem, backstitching at the beginning and end.
Leave the pocket area seam unsewn as you’ll want to stick your hands in there!
Then sew the pockets all around the curve.
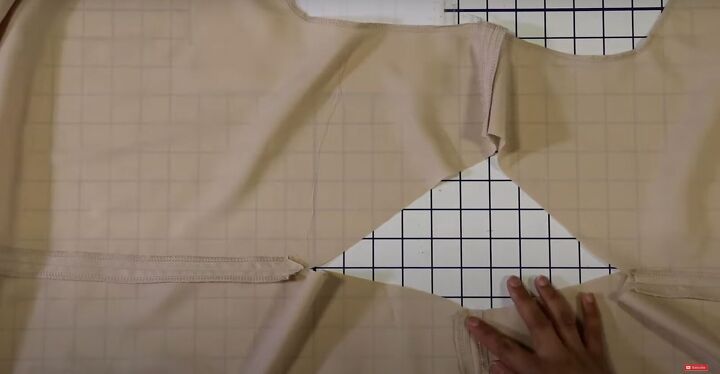
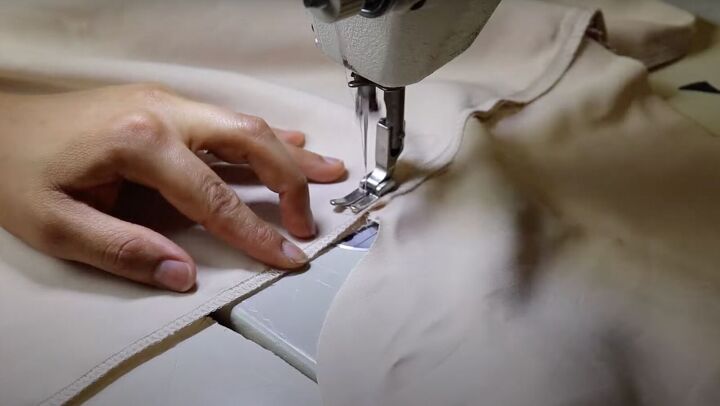
7. Sew the inseam
Now it’s time to sew the entire inseam, including the crotch area.
8. Sew the facing
Match the front and back facing to the front and back.
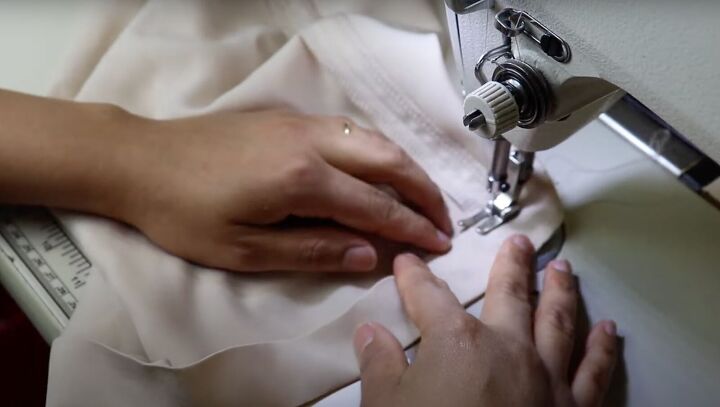
Pin them right sides together and sew at ¼ inch. Snip a bit right at the front and back V so it's easier to turn the neckline out properly.
Press with the seam allowance towards the facing.

Stitch down like you did the pockets - with a really close stitch! This keeps the neckline nice and flat. There are 2 ways to finish the neckline.
You can fold over the edge at ¼ inch and sew all the way around it. This gives a clean finish but it’s also a bit harder. You may want to iron this fold in place first before sewing.
An easier method is to serge the edge and then sew it down. If you haven’t got a serger, sew the edge with a zigzag stitch before stitching it down.
Press the neckline after sewing.
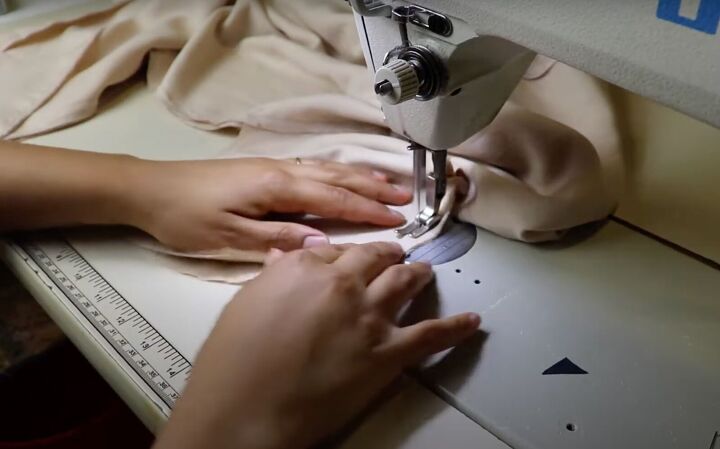
9. Sew the hem
Fold up the hem ¼ inch and press flat.
Them fold it up an additional 1¼ inches and press it flat again. Sew it right along the edge with a very close stitch.
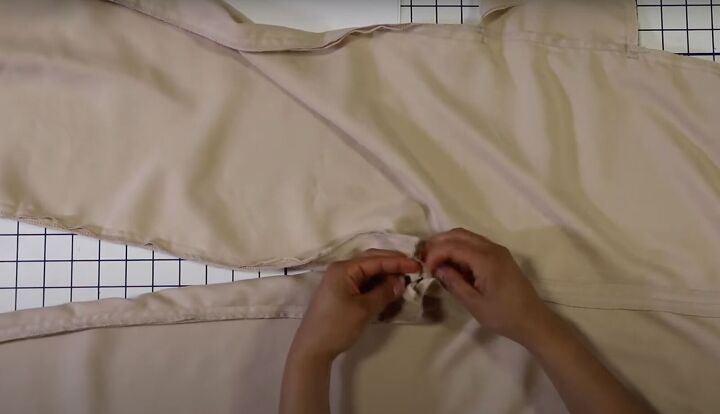
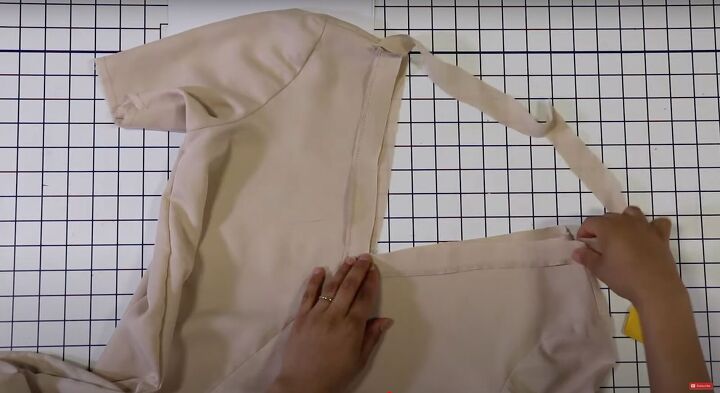
10. Sew the sash (optional)
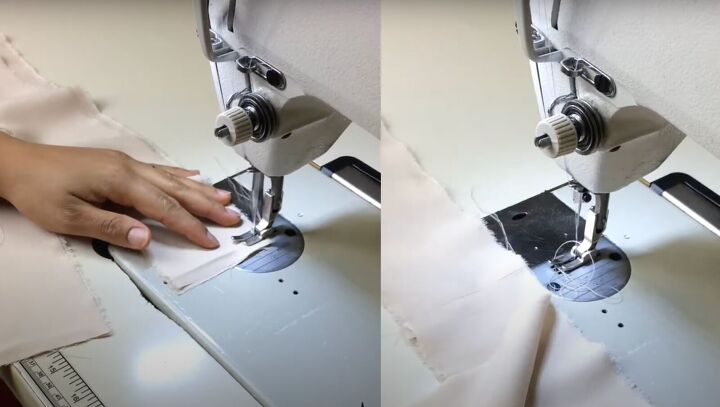
You can wear this jumpsuit with any belt, but if you choose to make a double-weight fabric sash, you’ll need 2 pieces of fabric that are the length of your waist multiplied by 2 and at least 3 inches wide.
If you don’t have a long enough piece of fabric, join two pieces together as seen above on the left side of the frame.
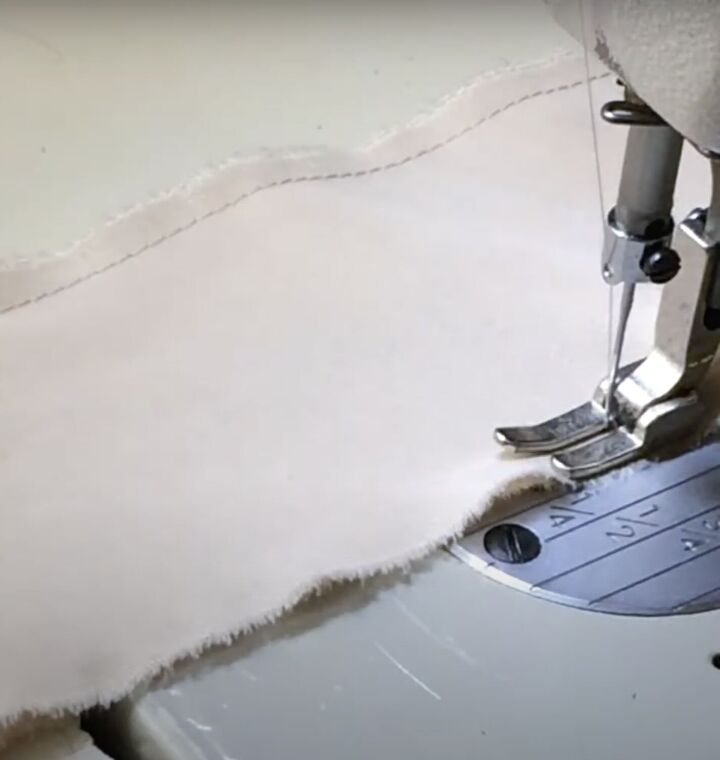
Lay the 2 pieces of fabric, wrong sides together and sew at ¼ inch around the edge. Leave the frayed edge to match the sleeve. To get the frayed look, simply rip the fabric!


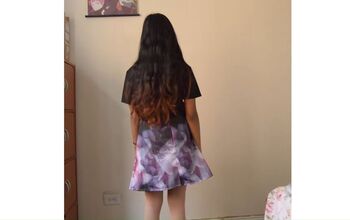
Make your own jumpsuit tutorial
You’re done with the jumpsuit sewing tutorial! I hope my DIY jumpsuit tutorial helped you make your own jumpsuit. If you made it, please comment below and share your photos.
The author may collect a small share of sales from the links on this page.


Comments
Join the conversation