Lifting Makeup Tutorial for Mature Skin

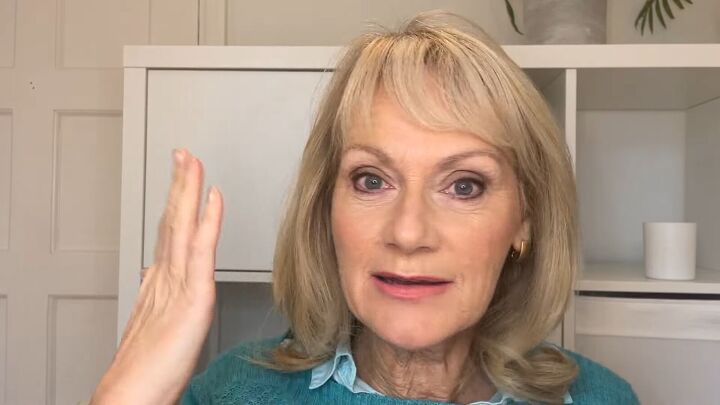
In this makeup tutorial for mature skin, I demonstrate how to add an instant lift to your everyday makeup.
The makeup I’m using is from the Look Fabulous Forever range, made specifically for mature skin. However, you can achieve the same results with any brand of makeup.
This method uses just 3 additional products, specifically designed for older women. Follow along for this (faux) makeup face lift.
Tools and materials:
- Lid color in golden mist
- Lip brush
- Eye highlighter
- Concealer brush
- Lip shine
1. Apply your everyday makeup
Start off this lifting face makeup with your usual, everyday products as a base.
I’ve already applied my base makeup as well as eyeshadow, lip liner and lip color.
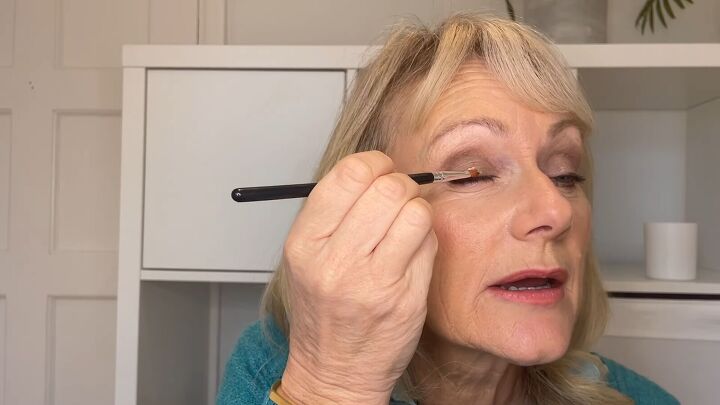
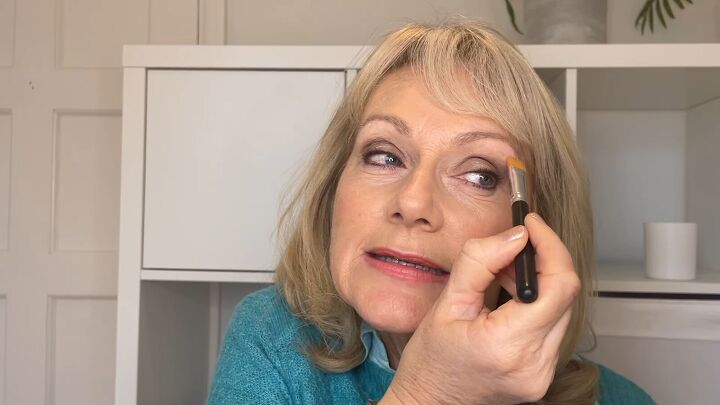
2. Add lid color to the center of your eyelids
Once your base eye makeup is ready, apply a small amount of the golden, lid color to the center of each eyelid.
You can choose a cooler shade if you prefer. Use this product sparingly for just a touch of shine at the inner third of your lids.
This product is slightly sticky, so keep your eyes mostly closed until it dries.
Use a lip brush to gently blend the color. Use your finger as needed to further smooth the color, making sure you aren’t removing it.
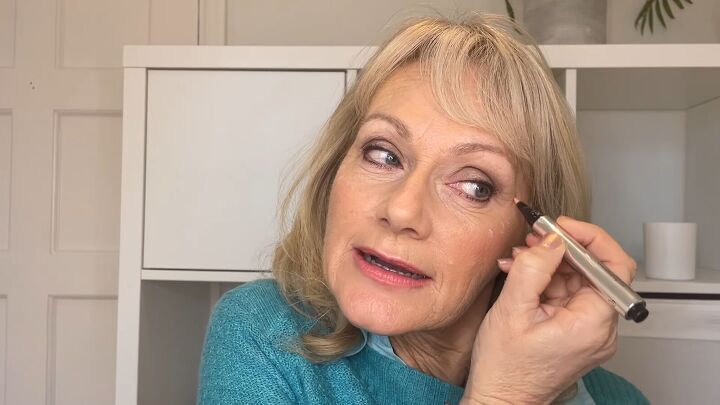
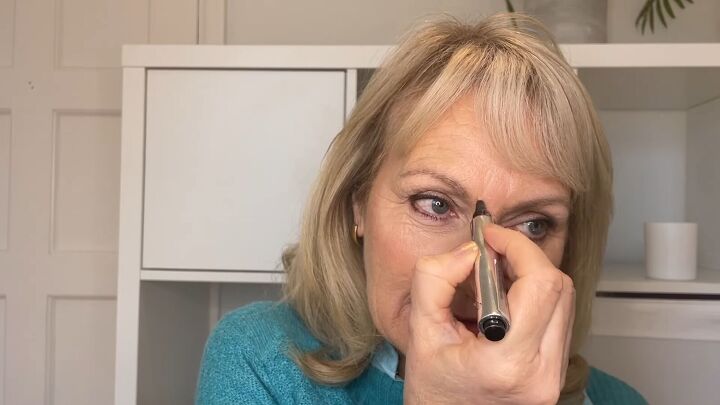
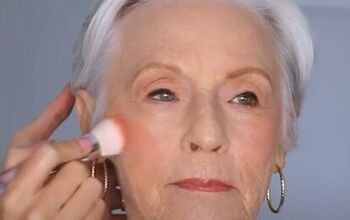
3. Apply eye highlighter pen under your eyebrows
I call this product the magic pen! I like to apply this in a few areas.
Click the top of the pen to release the makeup and start by applying it just under the highest part of your eyebrows.
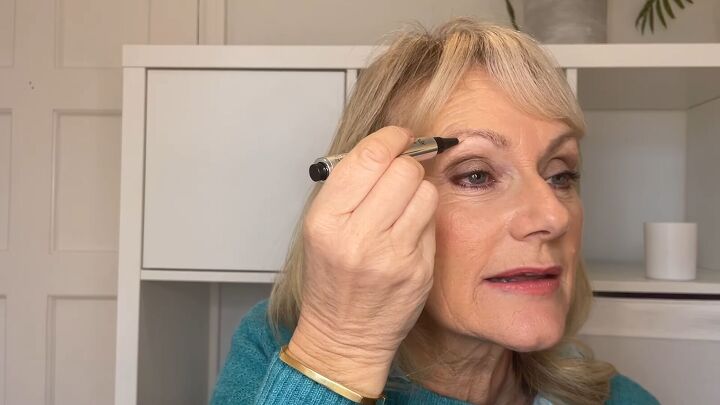
Then, use a small concealer brush or clean fingers to blend that in.
4. Apply the highlighter pen at your cheekbones
Now, apply this product on your cheekbones in a C shape. I don’t want a very shiny look, which is what I might’ve done when I was younger.
To avoid highlighting fine lines around the cheeks, apply just a few dots of the product on each cheekbone.
This adds a subtle dewiness, reflecting the light when you turn your face.
Then, with your fingers, dab the product in to blend it.

5. Apply the highlighter pen to your nose
To slim the nose, draw a line down the center of your nose with the highlighter pen.
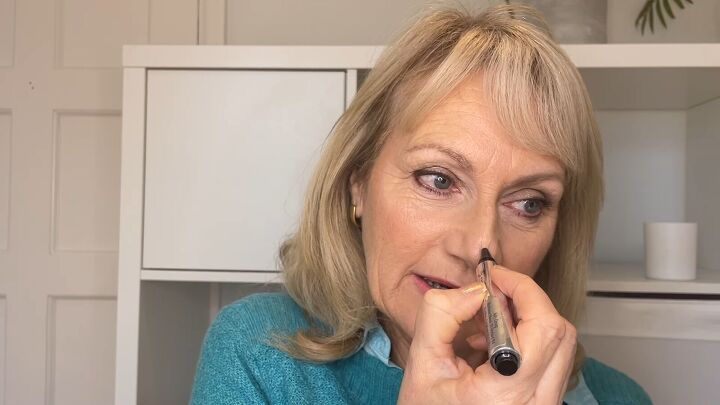
Then blend it by dabbing the line with your finger.
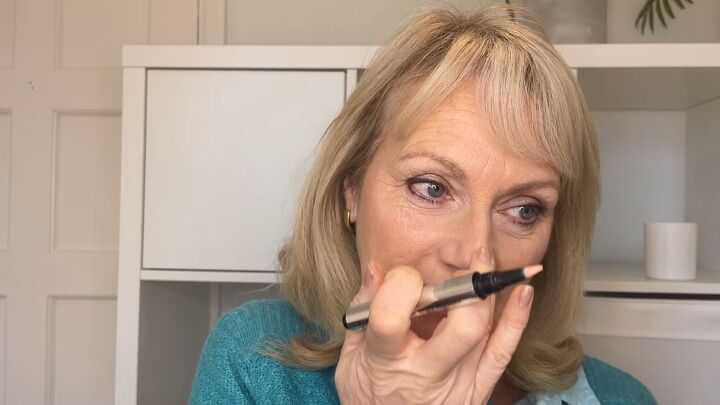
6. Use the highlighter pen on wrinkles
You can also apply this product to any fine lines that you want to soften them, since light brings them forward.
For example, you can apply this to frown lines around your mouth.
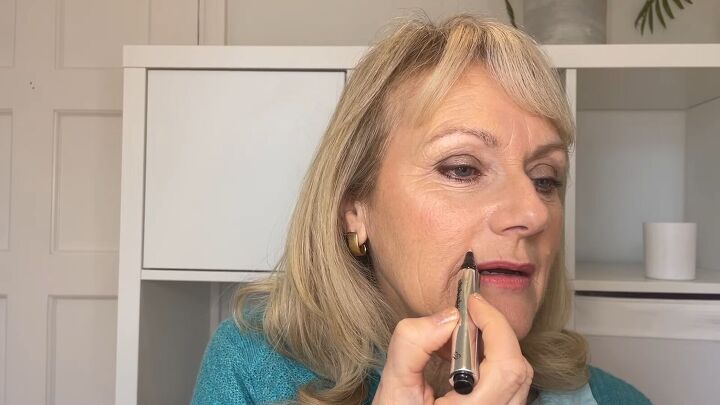
7. Highlight your cupid’s bow
Another tip is to apply the highlighter pen along your cupid’s bow to make your lips slightly pop.
Make sure you only apply a small amount to the top, center area. You don’t want it to look like you just drank a frothy cappuccino!
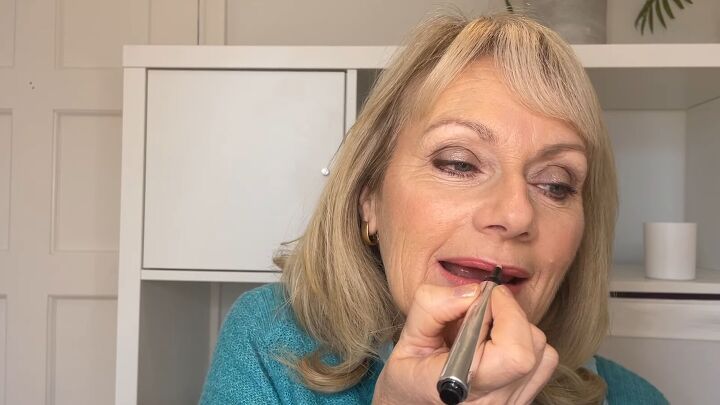
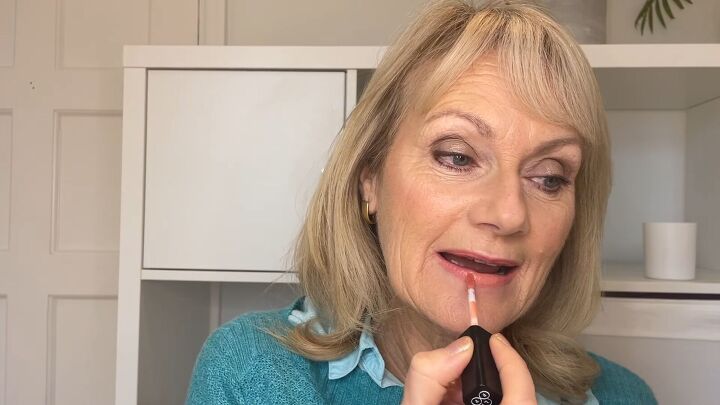
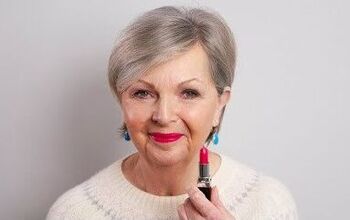
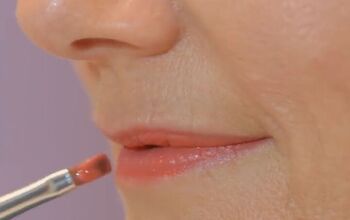
8. Add fullness to your lips
This step occurs after you’ve applied your regular lip liner to the outer edges of your lips and filled in with lip color.
For an instant brightening effect, apply a lip shine. Choose a neutral, warm or cool shade depending on your skin tone.
If you love your base color and don’t want to alter it, choose a clear gloss.
Apply the lip shine just to the center of your top and bottom lip.
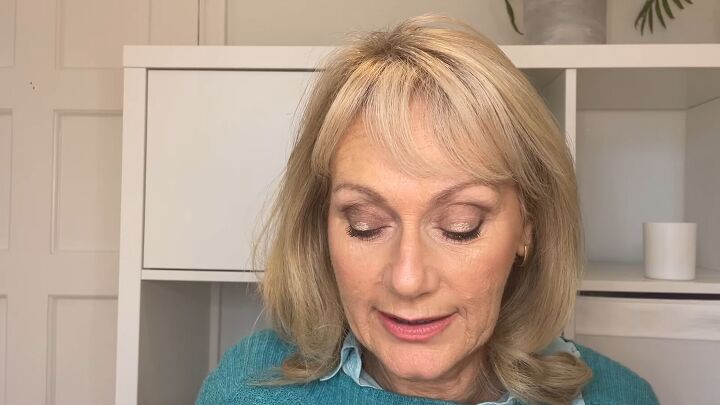
Here are the final results of this makeup face lift:
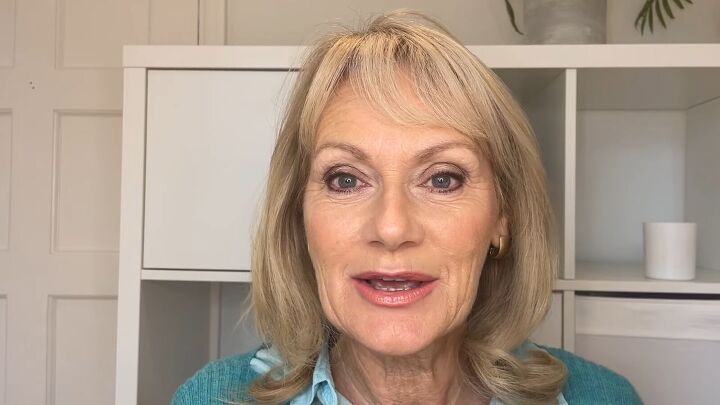
Makeup tutorial for mature skin
If you’re feeling a bit dull and you want a makeup face lift, use a lid color, highlighter pen and lip shine following this easy, mature skin makeup tutorial.
Let me know what you think in the comments below!
For more content on makeup for mature skin, check out our Easy Neutral Makeup Look for Older Women.
The author may collect a small share of sales from the links on this page.


Comments
Join the conversation
U look Beautiful!!!!! Great Job!!!🤩
this person has other products on her eyes why not talk about that also eyeliner, mascara etc