Quick and Easy Nail Stamping Tutorial

Nail stamping is a fun, new trend that gives you an easy way to create designs on your dip-powdered nails without needing any artistic skills.
That makes this technique perfect for beginners! Let’s get started.
Tools and materials:
- Sticky base coat
- Gel polish
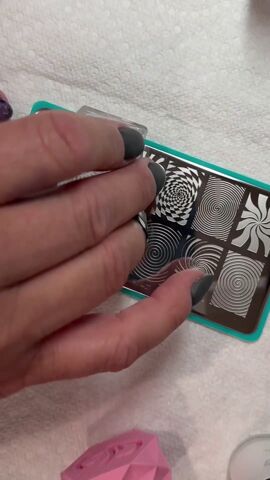
- Nail stamping kit (with a scraper and stamper)
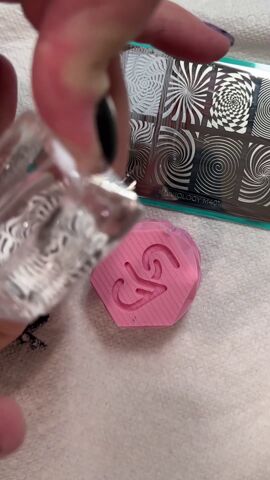
- Acetone
- Glossy top coat
1. Apply a sticky base coat
We’ll be applying the nail stamped over already dip-powdered nails so if you haven’t done that yet, do so now.
After your nails are dip-powdered, apply a sticky base coat over the nail.
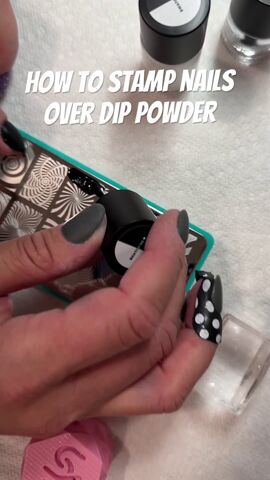
2. Apply nail polish to the stamp
Pick out the stamp you want, and cover it with a layer of your desired nail polish color.

3. Scrape off the polish
Quickly scrape off the excess polish from the stamp.
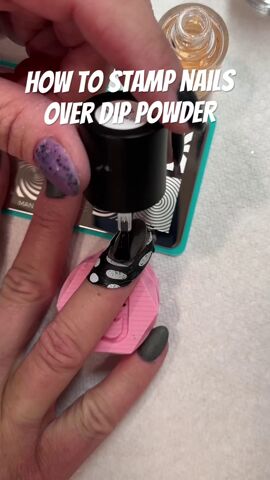
4. Roll the stamper over the stamp
Roll the silicone stamper over the polished stamp to pick up the paint.
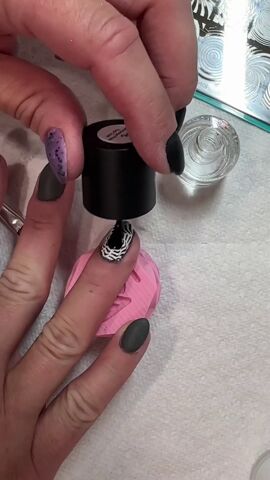
5. Apply the stamp to your nail
With the paint stamped onto the silicone, press the design onto your nail.

6. Clean up the excess paint
Use pure acetone to clean up any excess paint around the nail.
7. Apply a top coat
Apply a glossy top coat over the nail.
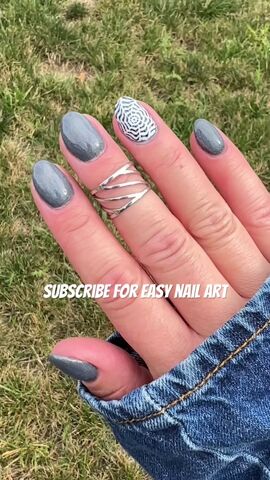
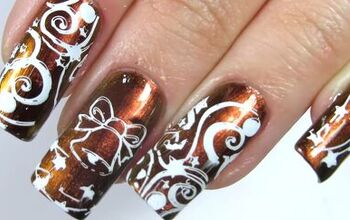
Nail stamping
Here are the finished nails! Nail stamping is that easy.
Let me know if you’ll try this technique out or if you’ll keep manually drawing your nail designs below!
How to Easily Fix a Badly Broken Nail With a Teabag & Some Superglue
The author may collect a small share of sales from the links on this page.


Comments
Join the conversation