How to Use Halloween Nail Stamping Plates For Fast & Easy Nail Designs

This is one of the easiest ways to get spooky or sexy Halloween nail polish because you don’t need any special skills! You will need Halloween nail art stamping plates and nail polish. I used the Whats Up Nails - B023 Creepin It Real Stamping Plate. Here are the best Halloween nail stamping ideas!
Tools and materials:
- Stamping plates with Halloween designs
- Nail polish in at least 2 colors
- Nail stamping kit
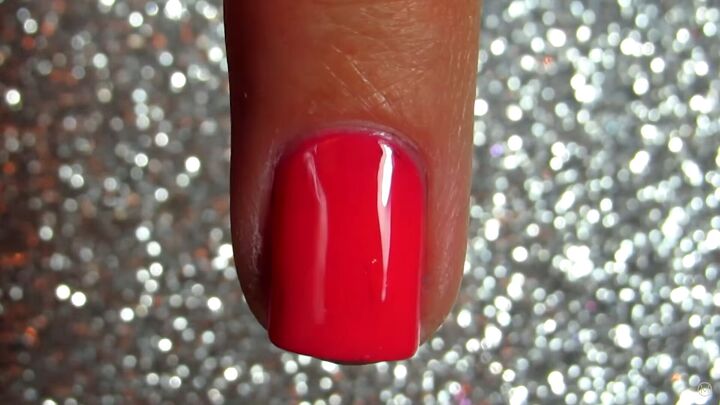
1. Apply regular polish to your nails
You first have to polish your nails to cover the nail bed. For Halloween, you may want to use specific colors like red, white, or orange as the bottom base. Wait until your nails are perfectly dry before proceeding to the next step.
2. Use the nail stamping kit
The best look is where you contrast colors. Apply a coat of nail polish onto the Halloween design stamp plate. Here are some easy Halloween nail stamping ideas...
Scrape the polish down the stamp with the scraper tool.
With a rolling motion, press the stamper onto the stamp plate to transfer the design to the stamper.
Wait until it dries. Remove any excess nail polish from your skin carefully with nail polish remover.
3. Apply a top coat
Apply a clear top coat to seal in the design.
Halloween nail stamping plates tutorial
I hope you enjoyed this Halloween nail stamping plates tutorial! Let me know what you think in the comments. This is a great way to get spooky Halloween nails easily. I’ll see you next time!
Enjoyed the project?
Suggested materials:
- Stamping plates with Halloween designs
- Nail polish in at least 2 colors
- Nail stamping kit
- Clear top coat
- Nail polish remover
The author may collect a small share of sales from the links on this page.


Comments
Join the conversation
where don you get stamps?
if I knew where to get the stamps, I would.