Nail Stamping Tutorial: Create a Cute and Easy Penguin Nail Art Design

If you want a super cute nail design but you don’t know how to nail stamp, I’ve got you!
Follow along with my step-by-step tutorial to create the sweetest penguin nail art that’s perfect for the winter holiday season.
Tools and materials:
- Hand rest
- Dip cups
- Protective manicure gloves
- Sticky base
- White glitter dip powder
- Orange wood stick
- Clear tape
- Nail brush
- Cuticle pusher tool
- Stamping plate with penguins
- Card
- Stamper tool
- Lint roller
- Black, green, white and red stamping polish
- Nail art palette
- Toothpick
- Paper cupcake liner
- Smudge-free top coat
- Nail file
- Buffing block
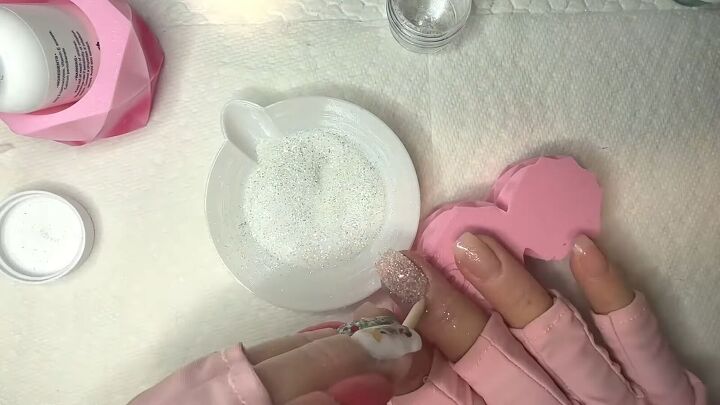
1. Apply 2 layers of white glitter dip powder to your middle and ring finger nails
Paint on a layer of sticky base on your middle finger, then dip it into a shimmery dip powder. Clean the edges with an orange wood stick.
Then use a piece of tape on your finger pad to gently press on the glitter to help it stick.
Repeat on your ring finger nail. Use a nail brush to wipe off any excess powder from the nails.
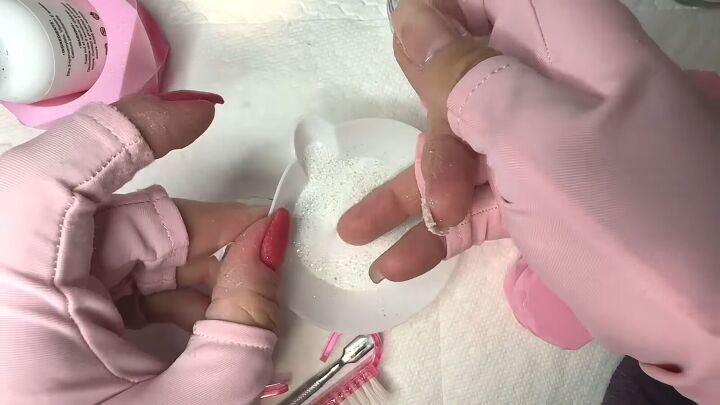
Apply a 2nd coat to those nails and dip them again in the shimmery powder.
Repeat the pressing and cleaning process to deal with loose powder.
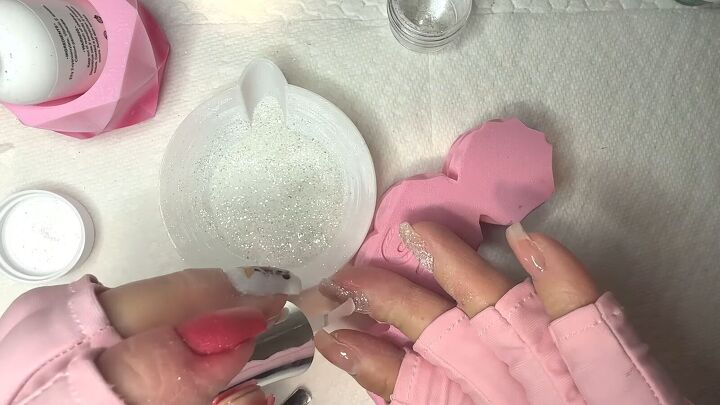
2. Apply green shimmer dip powder to your thumb, index and pinky fingernails
Apply a sticky base layer to your thumb nail and pour a mint green glitter powder over the nail.
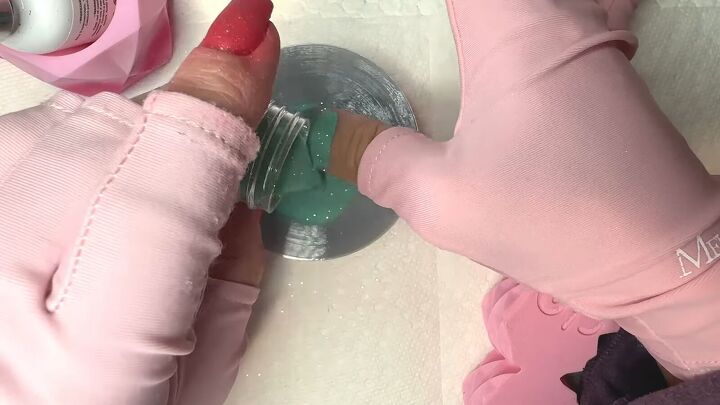
Paint a sticky base on your index finger and lay it flat in the green shimmer powder.
You might find it easier to lay your nail flat, like this, when using a shimmer powder.
I often do a combination of pouring and dipping the nails.
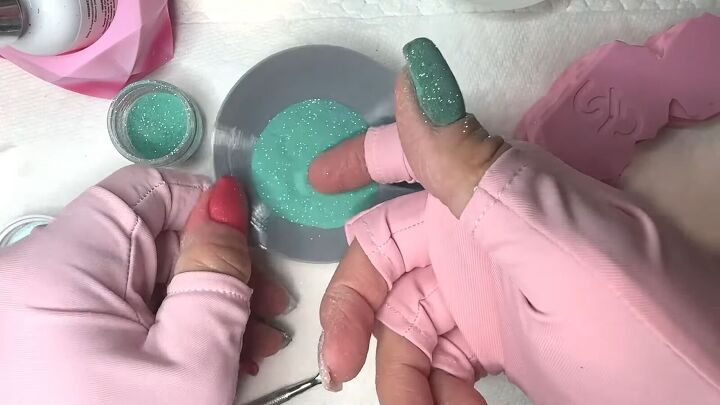
Clean up the excess powder with a nail brush. Use a cuticle pusher tool to press back the cuticle.
Then apply a 2nd layer of sticky base and re-dip (or pour over) those nails for a 2nd layer of green shimmer.
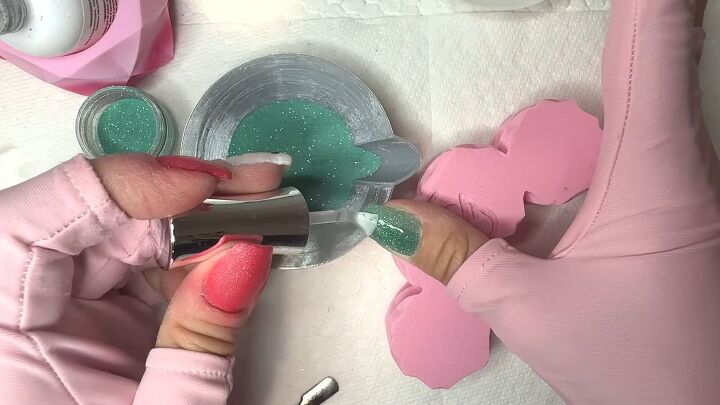
Normally at this point I would apply clear dip powder and activator over the nails. We won’t do that this time.
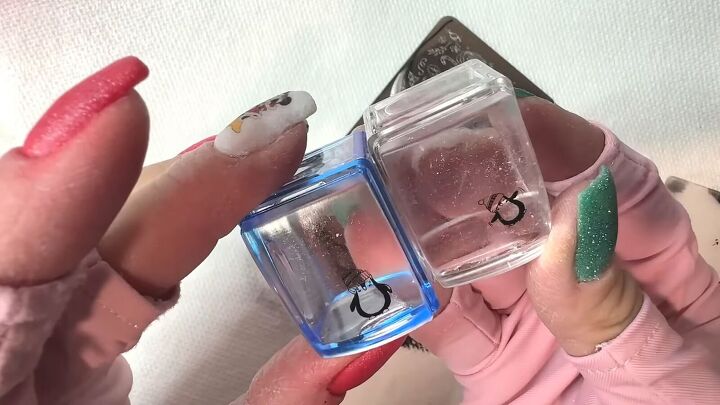
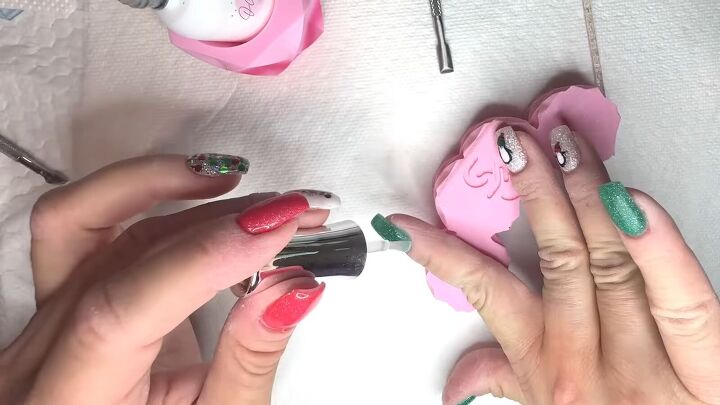
3. Pick up a black penguin from your stamp plate
Paint black polish onto a penguin stamp, but don’t flood the plate with too much polish.
Smooth it with a card. Use a lint roller on your stamper to remove any particles.
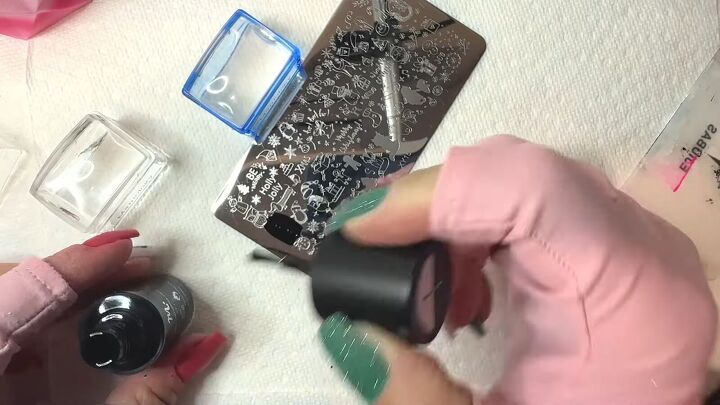
Then press it onto the painted penguin to pick up the image.
Use the lint roller again to remove any part of the stamp plate that you didn’t mean to pick up.
Repeat to pick up however many penguins you want for this festive, DIY nail stamping!
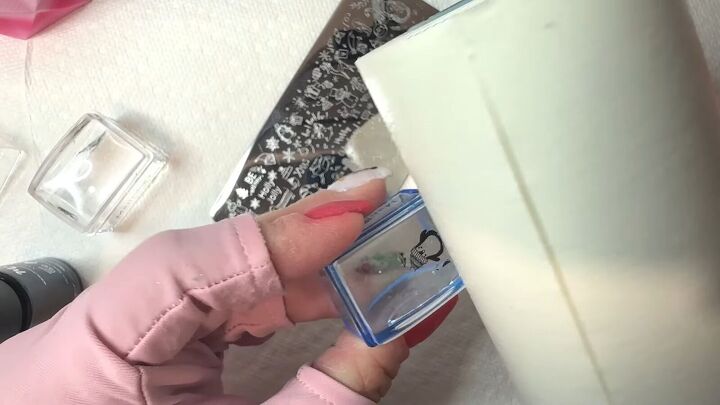
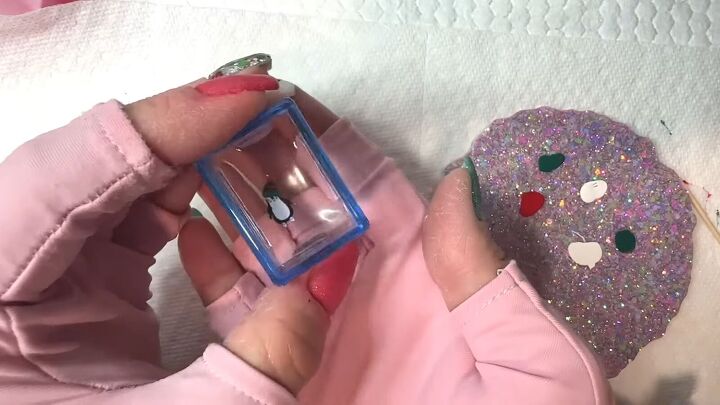
4. Color in your reverse stamp
Be sure that the black polish of the stamp is dry.
Then put red, white and green stamper polish on a nail art palette.
Use a toothpick to color in details of the penguin stamp.
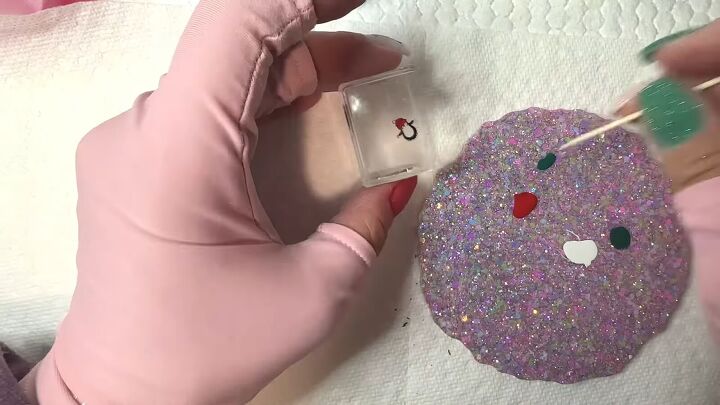
It’s okay if you cover parts of your initial, stamped image because, as you’ll see when you flip the stamp over, what’s going to show up on your nail is only what you can see from the outside.
5. Apply clear dip powder to your nails
Paint a clear layer on your green nails and activate them with a clear, dip powder.
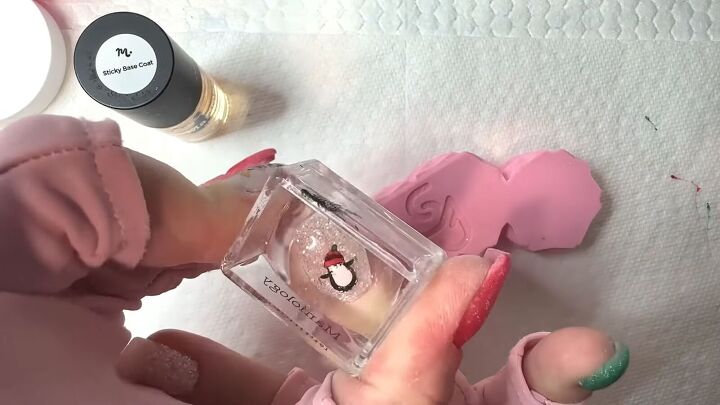
6. Apply sticky base and your penguins
Apply a layer of sticky base to one of your white nails and once it feels tacky, press on a penguin stamp.
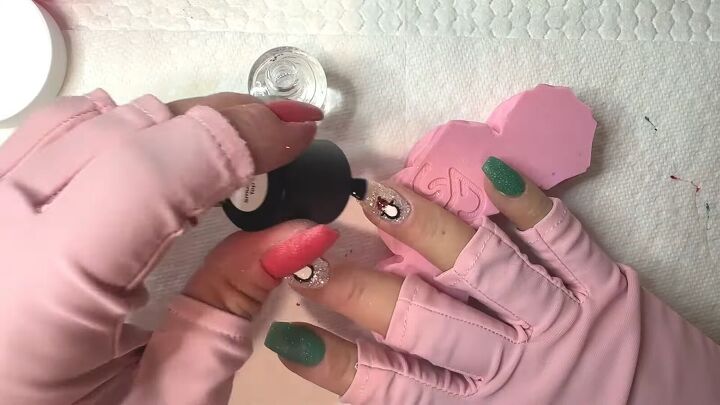
7. Apply top coat, dip base and clear powder followed by activator
Once the penguin-stamped nails are completely dry, finish off with a smudge-free top coat.
Then apply a dip base and clear dip powder.
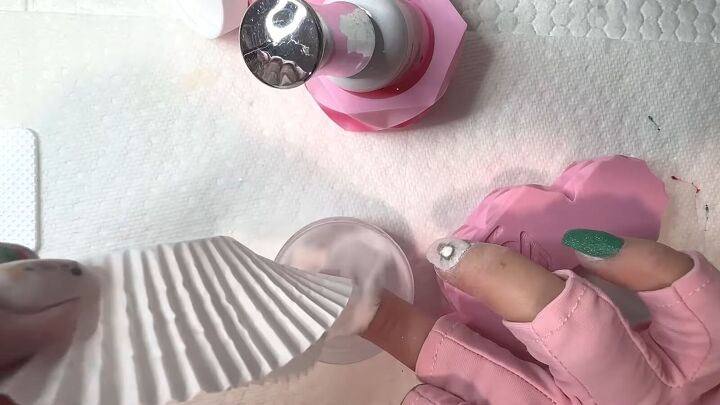
Then apply a layer of activator polish to all of the nails.
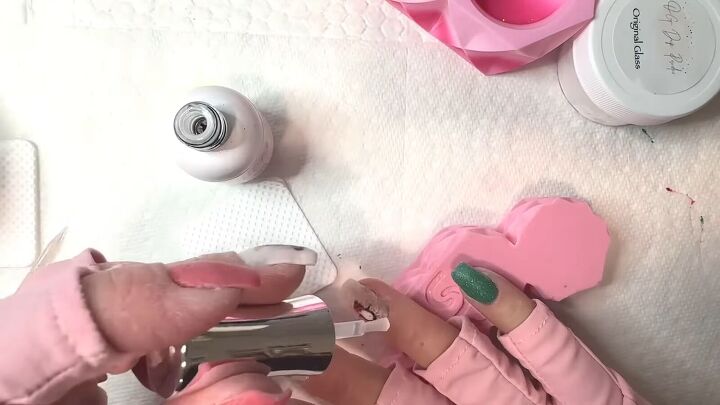
8. Apply a top coat
Once the activator hardened the nails, I filed, buffed and shaped all the nails off-camera. Then apply a clear top coat to all the nails.
Here are the results of this DIY nail stamping:
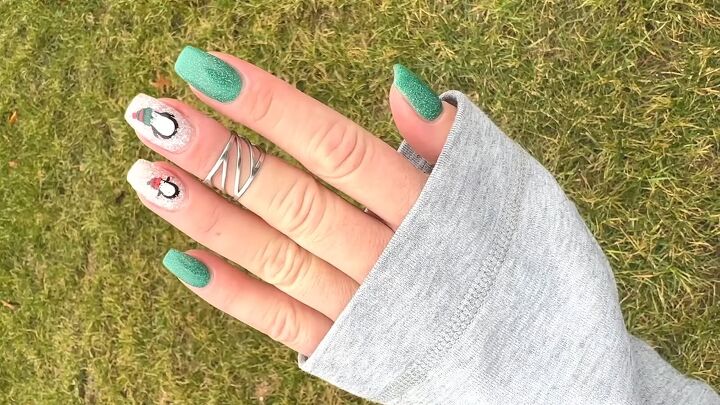
Penguin nail art
Let me know in the comments what you think of this festive, penguin nail art.
Next, learn how to DIY glazed pink Hailey Beiber nails at home.
The author may collect a small share of sales from the links on this page.


Comments
Join the conversation