How to Make a Delicate Bralette Out of Leftover Bridal Lace

If you’re a bride-to-be, a new bride, or a bride who saved her bridal lace a long time ago, here’s a great makeover for your bridal lace! Follow along with this tutorial to learn how to make a bralette (yes, as in lingerie) from your leftover lace.
Of course, you could make this with any other lace you have lying around. I’ll include the pattern and instructions to sew the bralette in this tutorial, so let’s get right into it!
Tools and materials:
- Bridal lace
- Lingerie elastic (2 widths)
- Thin-width lace trim
- Scrap fabric
- Sewing pins
- Marker
- Scissors
- Thread
- Sewing needle
- Sewing machine
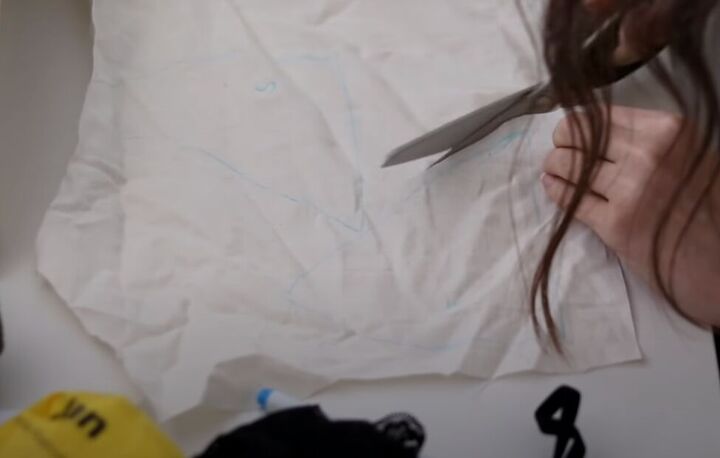
1. Create your DIY bralette pattern
Use a bra that fits you well as your pattern guide. Fold the bra in half and trace out the side panel of your bra and one cup onto scrap fabric, adding a half-inch seam allowance. Cut out the pattern.
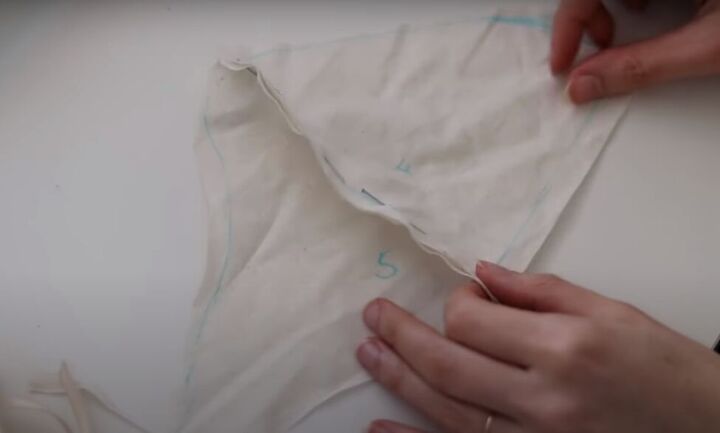
With right sides facing, pin the outside edge of the cup to the front edge of the side panel to see how the whole cup and side will look. Unpin the pieces before you transfer the pattern to your lace fabric.
Copy the first cup to make your second bralette cup.
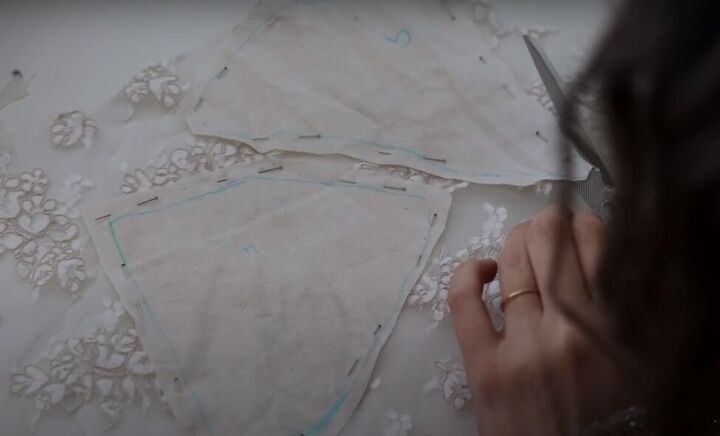
Finally, pin the bralette pattern pieces to your bridal lace and cut the pieces from your lace.
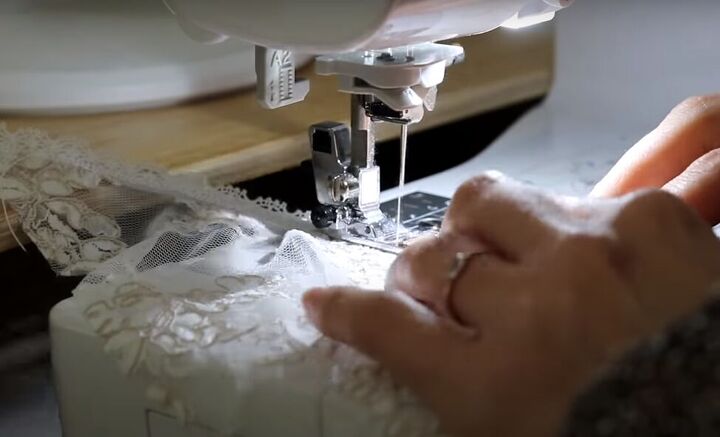
2. Sew the bralette cups
With right sides together, pin the outer edge of the cup to the front edge of the side panel and sew the side seam. Trim the excess fabric from the seam allowance.
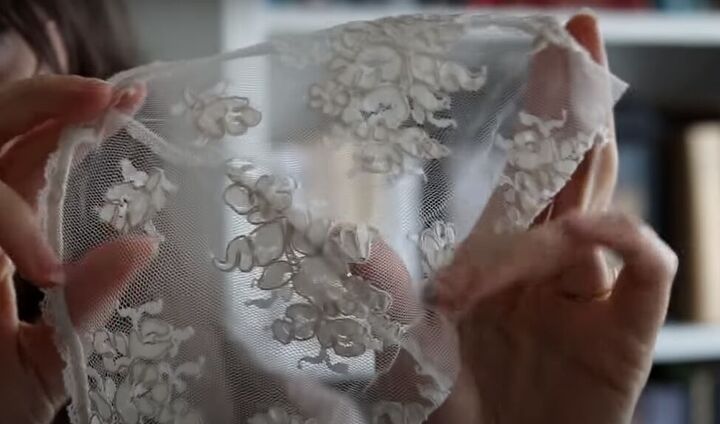
Repeat for the second cup, making the cup in mirror image to the first.
Note: I struggled to sew the delicate fabric, so I sometimes switched to hand-sewing.
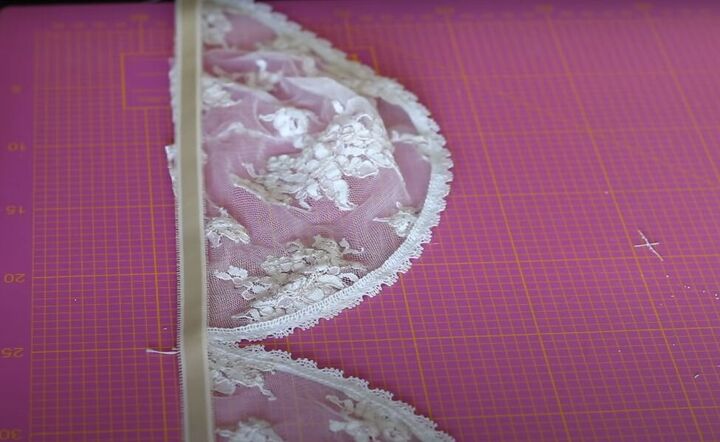
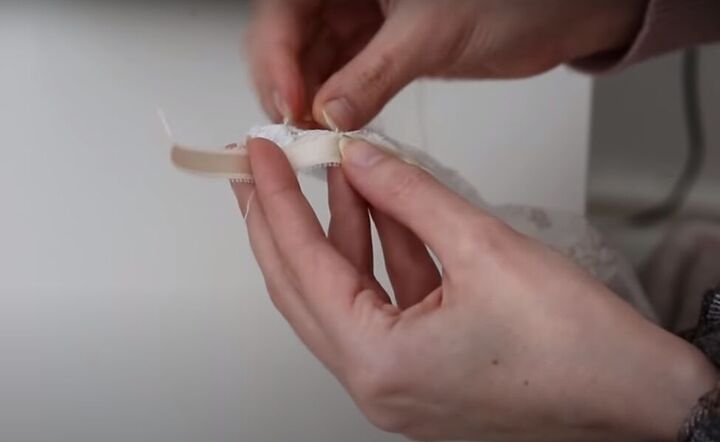
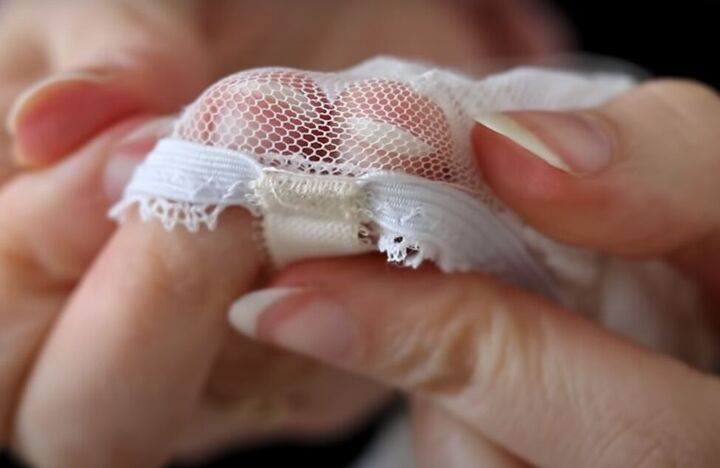
3. Trim the bralette cups
Sew thin-width decorative lace to matching width elastic, and then sew that decorative elastic around the upper edge of both cups so the edge of the lace extends above the elastic and is visible above the cups.
4. Join the cups
Lay the two cups side-by-side and pin the wider lingerie elastic across the bottom of the cups, to join them. Extend the elastic beyond the ends of the bralette because you will use those ends to close the bra in the back.
Hand-sew the lingerie elastic to the wrong side of the bralette using a whip stitch.

5. Secure the back of the bralette
Fold the two ends of the elastic into each other to get an interlocking fold of fabric as shown above. Then sew across the top of the fold to secure it.
6. Make bralette shoulder straps
Use your lingerie elastic to cut shoulder straps to fit and hand-sew them in place to the bottom edge of the elastic lace trim of your bralette at the front, and to the elastic strap at the back.
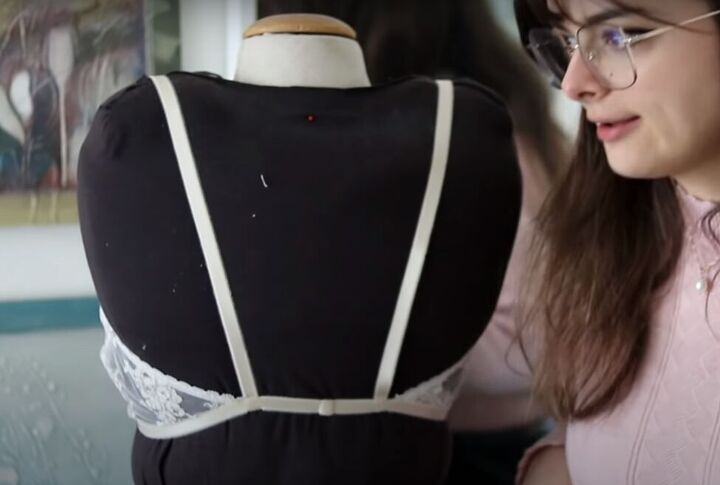
This is how it looks at the back.
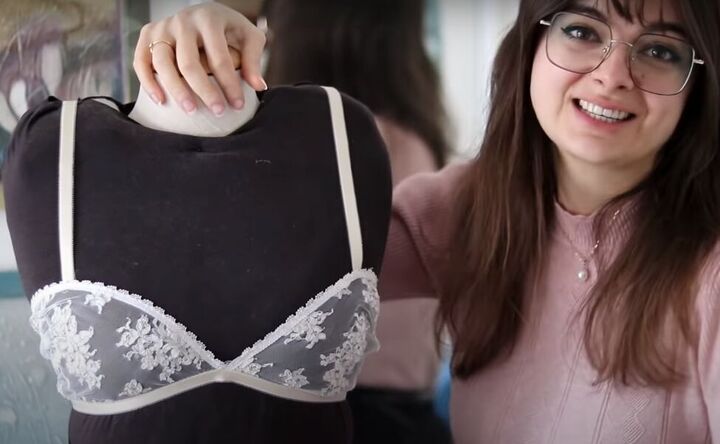
How to make a bralette out of lace
Here’s the completed bridal lace bralette from the front. It’s not a very structured or supportive bra, but it’s elegant and decorative and a very personal way to use your bridal lace.
If you decide to give this DIY bridal lace bralette a try, please let me know in the comments how it worked for you.
The author may collect a small share of sales from the links on this page.


Comments
Join the conversation
Beautiful lace. Thanks for sharing your tutorial.