How to Alter Pants the Quick and Easy Way

In this tutorial, I’m going to show you how to alter pants legs to make them fit better to your body.
We’ll be taking out the seat and the waist from a pair of army cargo pants. Let’s get started!
Tools and materials:
- Scissors
- Measuring tape
- Seam ripper
- Sewing machine
- Iron or heat press
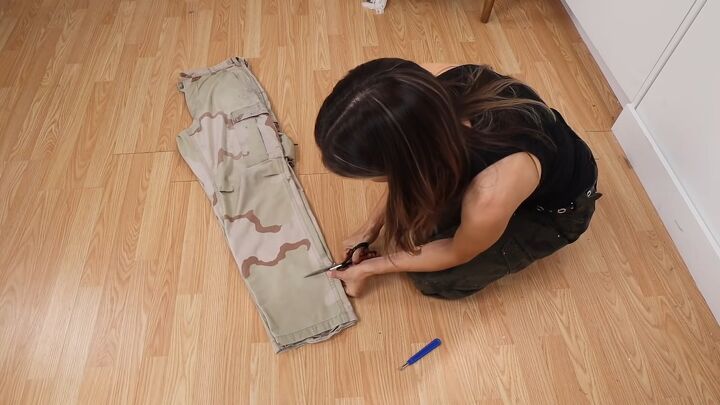
1. Shorten your pants
Mark where you want to hem the pants and then cut the bottom off.
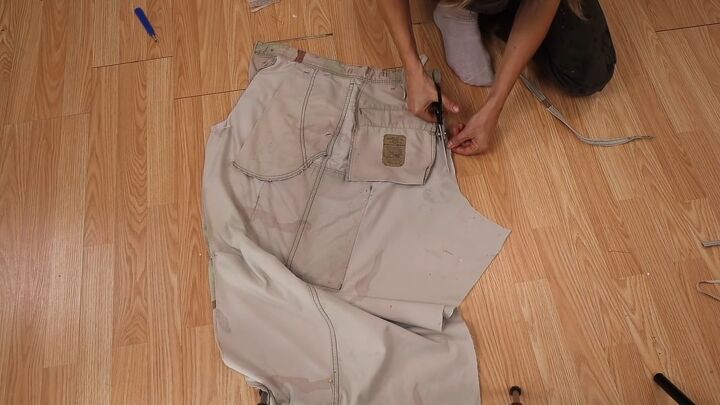
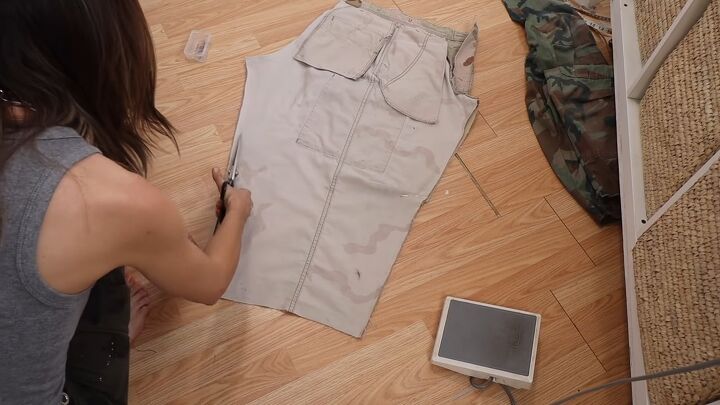
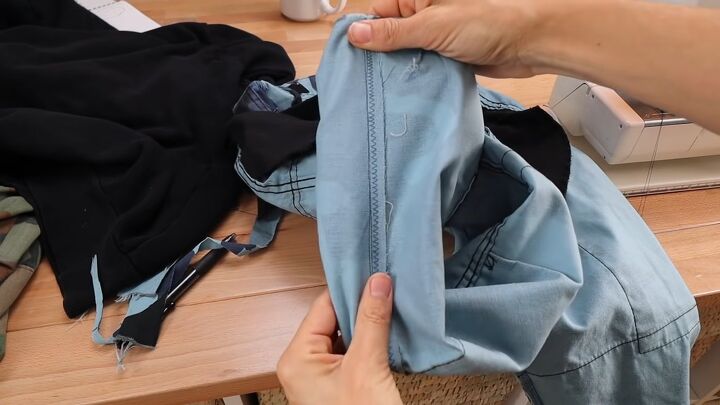
2. Cut off the inseam
Cut open the entire inseam. Make sure you have really strong and sharp fabric scissors.
Push against the left-hand side of the inseam so you’re cutting it as tight to that seam as possible.
Then, cut off the seam entirely so you have two, clean finished edges.
You could seam rip these open, but since we’re going to be cutting off fabric out of the pants anyway to resize them, cutting them open will save all of that time.
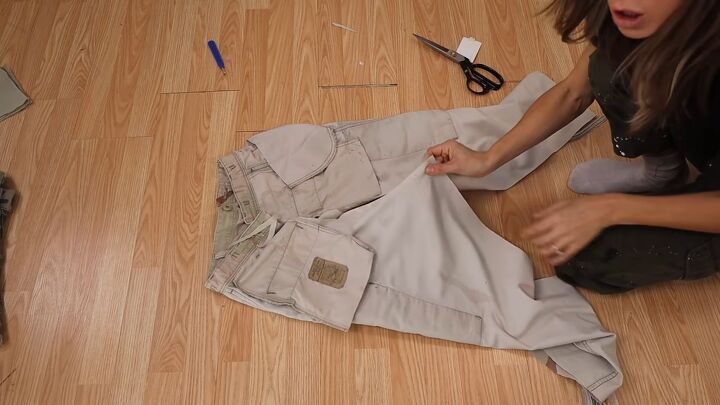
3. Fold the pants in half
Fold the pants in half so the fronts are together and the backs are together and you’re looking at the side seam.
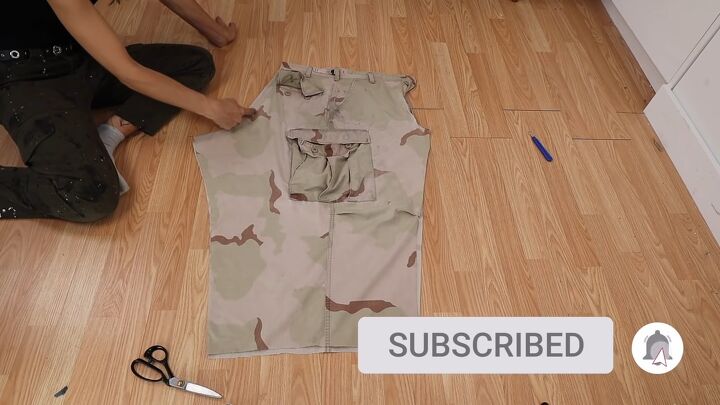
This is where we’re going to cut some volume out in order to take in the hips so it's fitted all the way around our hips and waist.
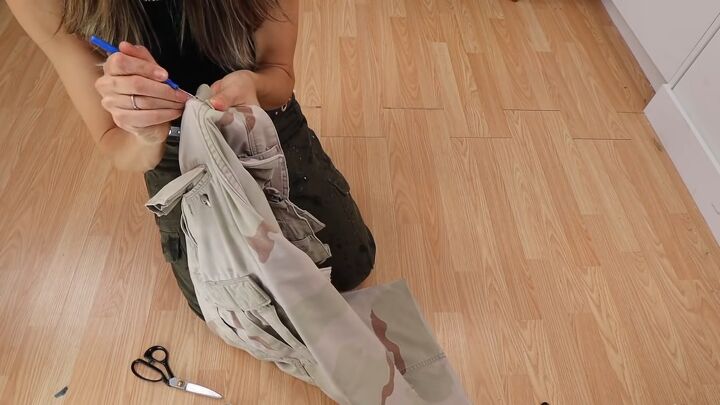
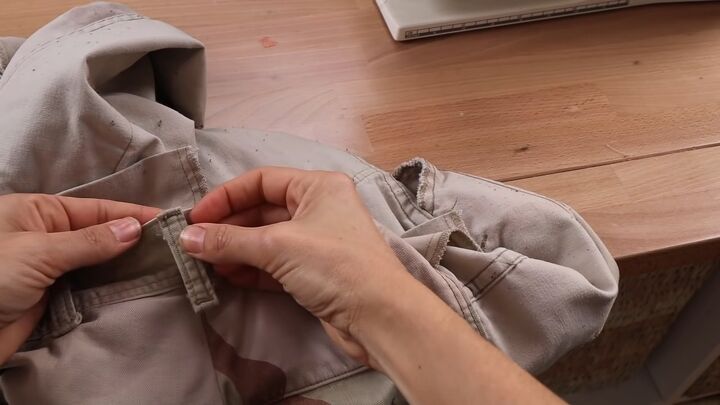
4. Remove the belt loop
Remove the belt loop and save it to reattach later and disguise the seam.
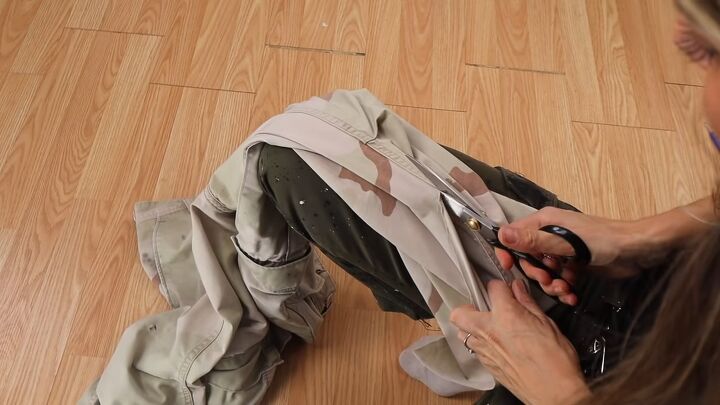
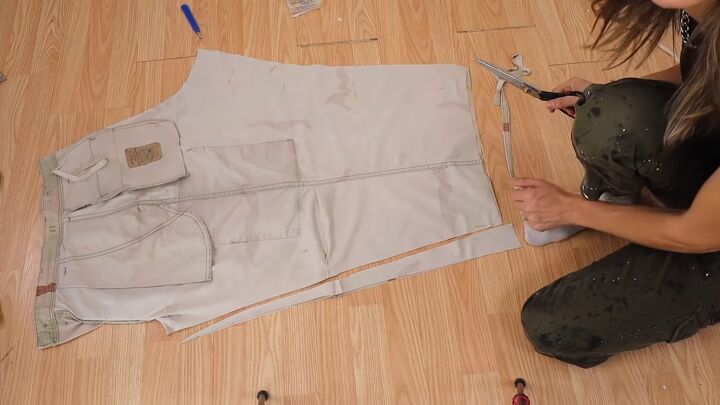
5. Cut off the back seam
Cut open the entire back seam using the same technique as you did with the inseam.
This amount has already been removed from our pants, so when you sew it back together, this plus the seam allowance is how much smaller it’s getting without taking or cutting anymore.
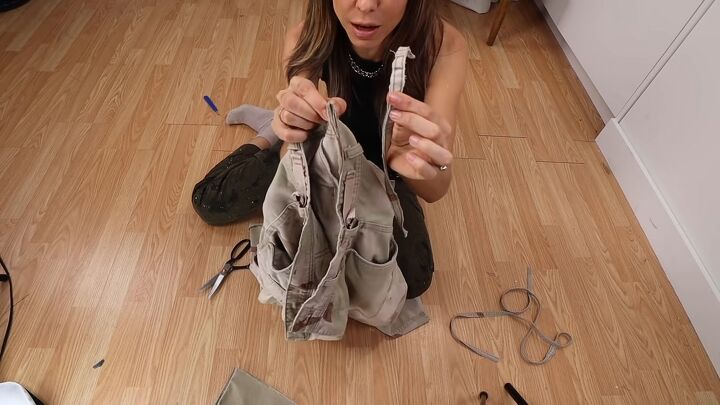
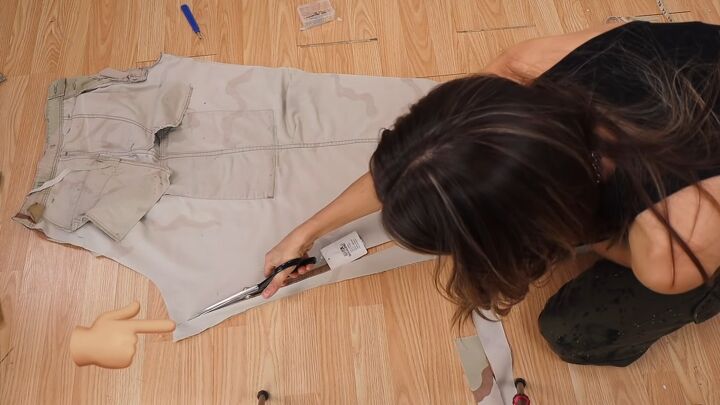
6. Take off more if needed
If you want to take off more, flip the pants inside out so the backs and fronts are together.
Start at the waist and cut off a little more volume out of the waist and hips, following the lines of the pants.
I only need to take about a quarter of an inch from either side, giving me about half an inch cutting off.
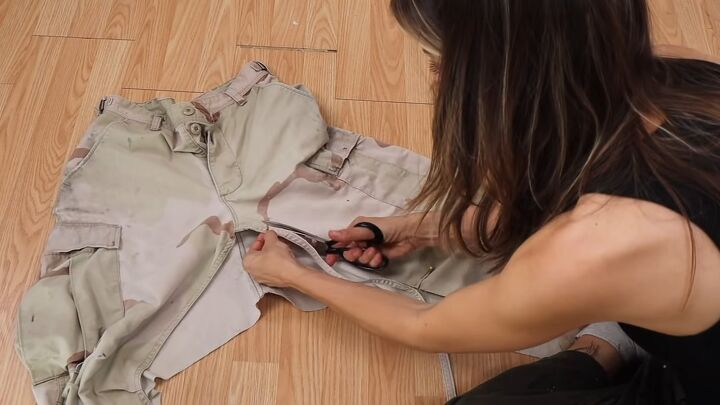
7. Cut the taper on the front and back sides of the pants
Pin where you want to start the taper at your widest point (the widest amount you’re cutting off) and gradually merge right back into the existing seam at the very top.
The measurement for my taper is 7 ½ inches folded and 15 inches all the way around.
Flip it over and cut the back side of the leg.
If you’re only tapering, do it exactly like we just did the front but if you cut out a little bit of volume as in step 6, then you’re going to go however far in as you cut off from that seam.
This is because we made the rise longer by cutting volume out, so we want to get that rise back. If you took out a half-inch, cut about a half-inch.
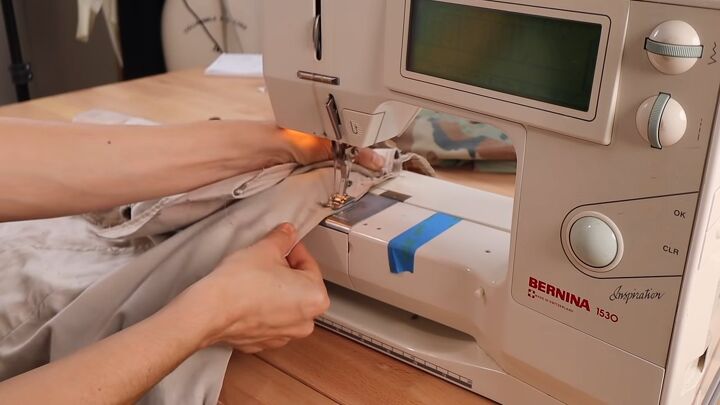
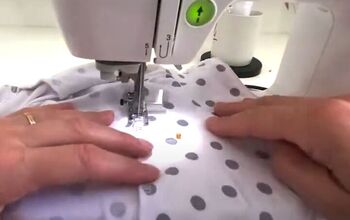
8. Sew the pants closed
Pin and sew it back together. If you only did the taper, just sew up the legs.
If you opened up the back in step 6, sew that closed first.
I recommend sewing it in a super loose stitch so you can try it on. If it’s good, then you can reinforce it.
9. Adjust as needed
When I tried them on, I realized it was a little too baggy and I needed to take more out.
I ripped out the stitches and cut up the knee and the thigh to shave another 1 ½ in-2 inches. Then, I sewed it back together.

10. Reinforce the stitches
Once the pants fit right, go back over the stitches with a tiny stitch.
Sew the seam allowance with a zig-zag stitch so it won’t fray or use a serger.
11. Reattach the belt loop
This is going to disguise the fact that you took out the waistband, and help it look like it was always that way.
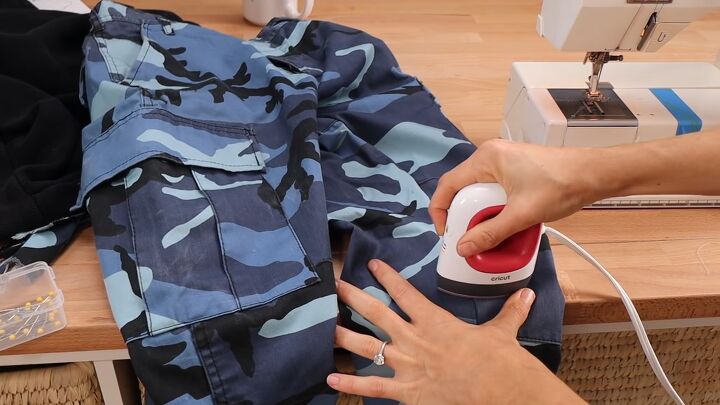
12. Press the seams
Press the seams with an iron or heat press so they lay fat.
13. Sew the seam for a double stitch effect (optional)
If you want a double stitch effect that’s on a lot of denim cargo pants, press your seam to one side and then stitch it down ¼-inch away from the seam.
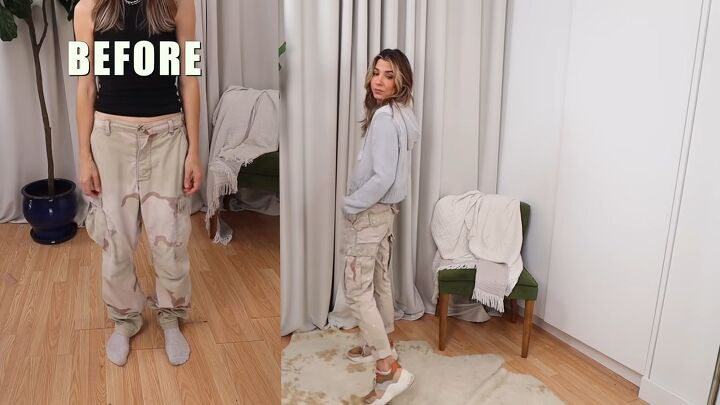
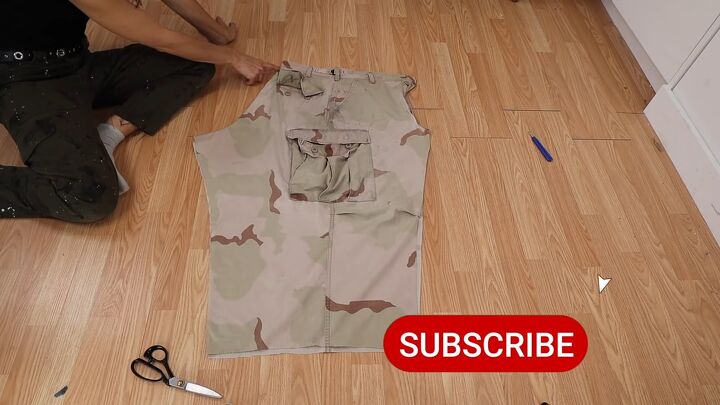
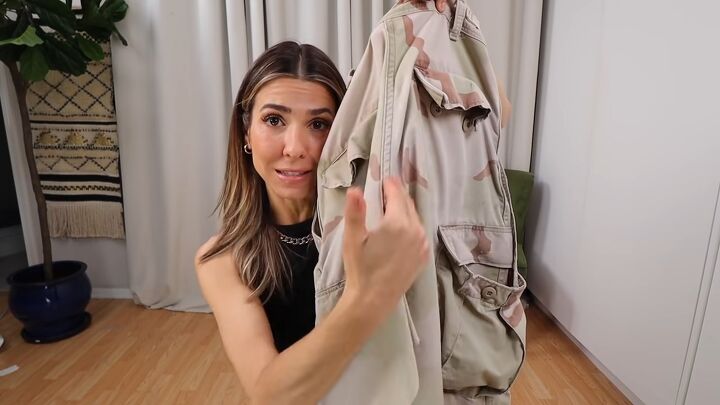
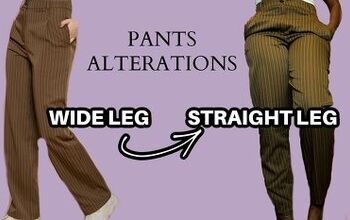
How to alter pants
Here’s the before and after. Now that you know how to make pants fit tighter, I’d love to know what you plan on altering with this technique!
Let me know in the comments down below!
The author may collect a small share of sales from the links on this page.


Comments
Join the conversation
How did you adjust the waistband to compensate for the adjustment in size?
Love the blue trousers, but they both look great.