How to Sew Palazzo Pants

In this tutorial, I’m going to share with you how to make a super comfortable pair of palazzo pants, also known as a divided skirt. Standing with your legs apart, they look like pants but put your legs together, and they’ll give the illusion of being a skirt. They’re flowy and swishy and have great movement to them. Let’s get sewing!
Tools and materials:
- Knit fabric
- Measuring tape
- Fabric pen
- Curved ruler
- Ruler
- Elastic
- Safety pin
- Sewing machine
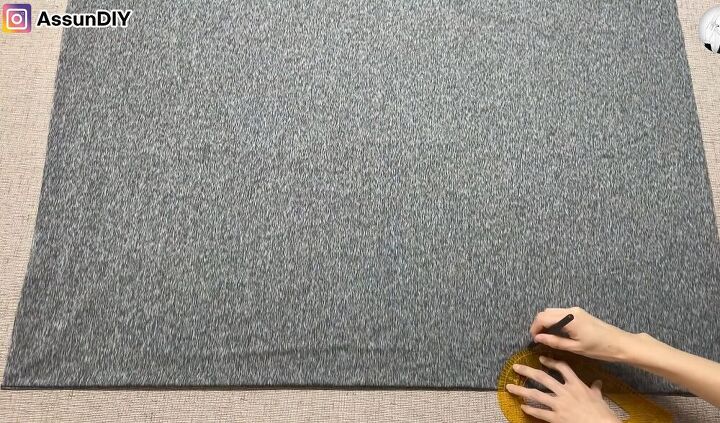
Draw a curve
Place two pieces of fabric, one on top of the other, that measure 110cm by 60cm when they are both folded in half. You need to mark the fabric in three places on the long open side: 15cm in from the edge, 20cm further from that, and finally one more 70cm away from that. At your second mark, trace around the curved ruler.
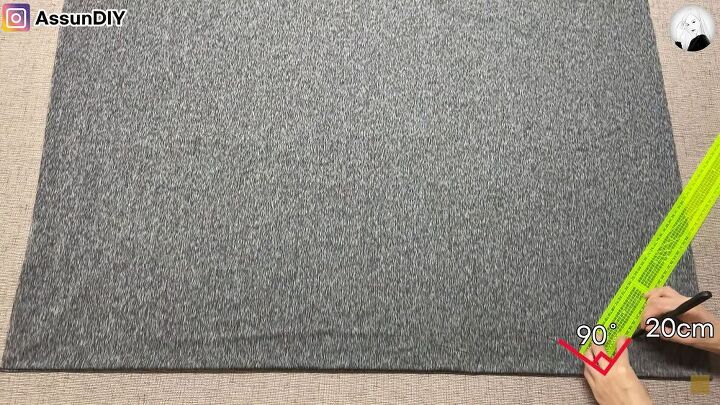
Mark an angle
You then need to mark a 90-degree angle next to your curve. From that angle, draw 20cm up to the side of the fabric.
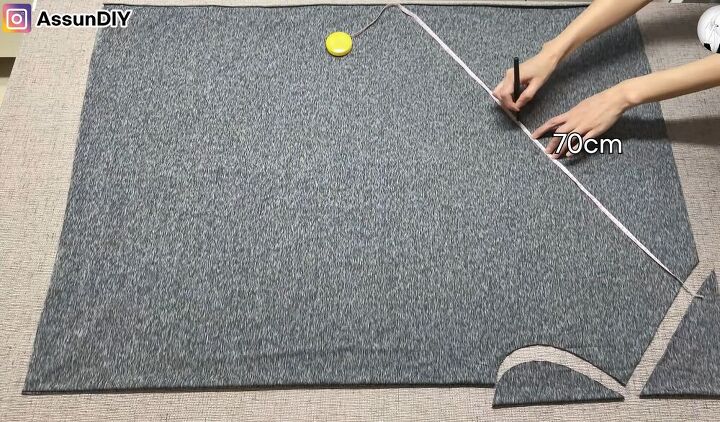
Construct your shape
Proceed to cut the curve and the triangle out. When done, measure 70cm up from the side of the fabric and mark this line on your material.
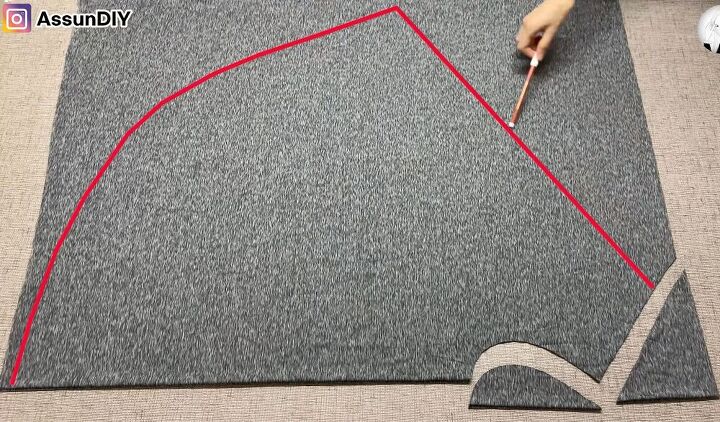
Cut the shape out
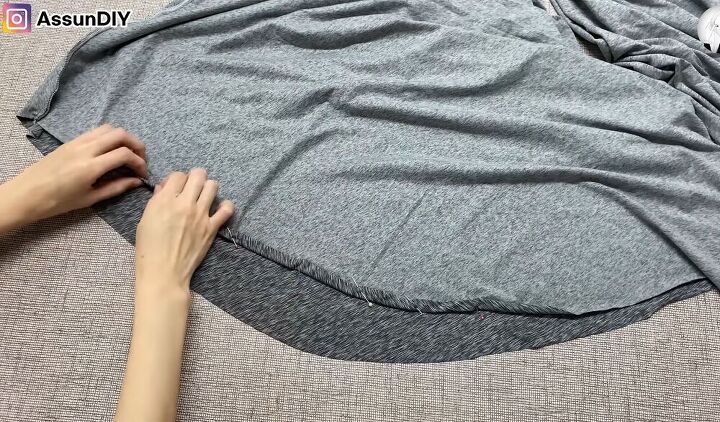
You then need to mark the shape as shown in the picture, ensuring that the material measures 70cm at each point between the little curve you have cut out and the long curved side of the fabric. Once done, cut the whole shape out and remove all of the excess fabric.
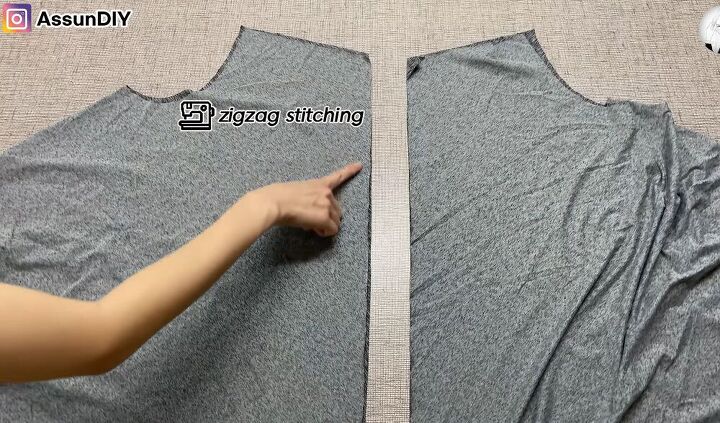
Sew the long sides
You now have two pieces of fabric. Fold them in half so that the good sides are touching. Sew the long straight open sides with a zigzag stitch.
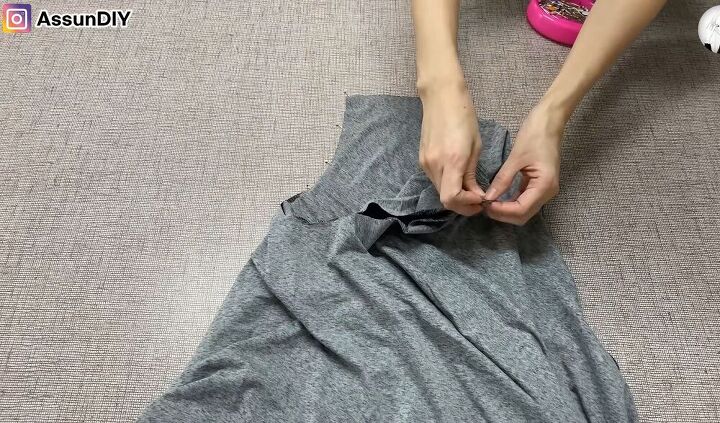
Sew the two pieces together
Continue by turning one of the pieces right side out and placing that inside the other piece so that the good sides of both pieces are touching. Pin the curved side in place and sew together with a zigzag stitch.
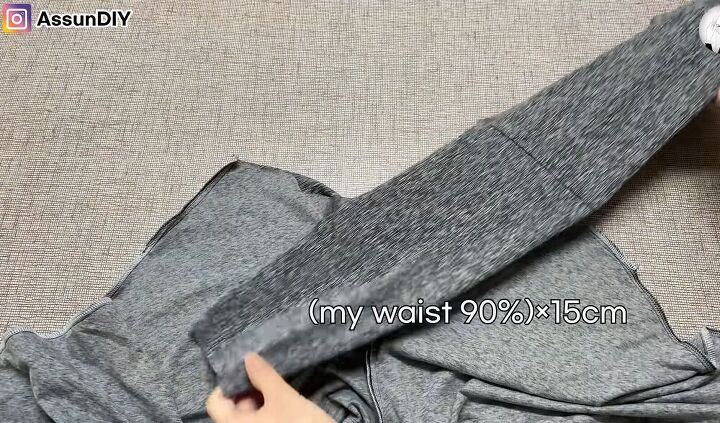
Add the waistband
Then make a waistband and attach it to the top of your pants. The waistband measurement is 15cm long, and the width is 90% of what your waist measurement is. This is because the waistband will be elasticated, and we want it to fit nice and snug. When you’ve sewn it together, fold it in half lengthways to double it up and then sew again. Proceed to line up the seam with the seam of the pants, pin them together and then sew into place but keep an opening of about 2 inches.
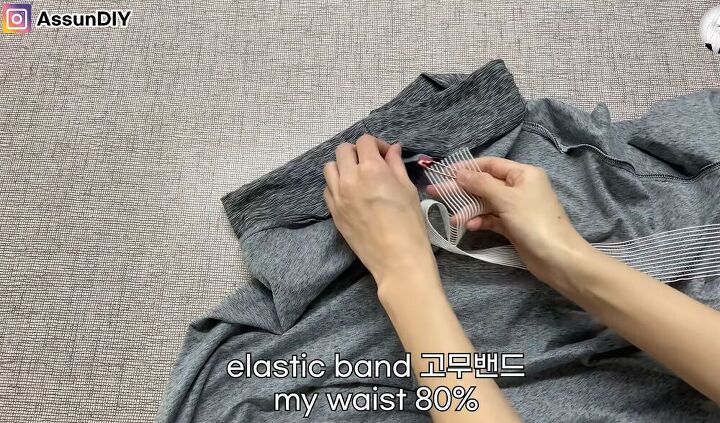
Add the elastic
Attach a safety pin to the end of a piece of elastic, thread that through the opening, and then all the way around the waistband. When done, sew up the elastic and sew the waistband closed.
Hem the bottom
The last step is to turn up the bottom of your pants by a few centimeters, pin the material into place, and then sew to create a rolled hem.
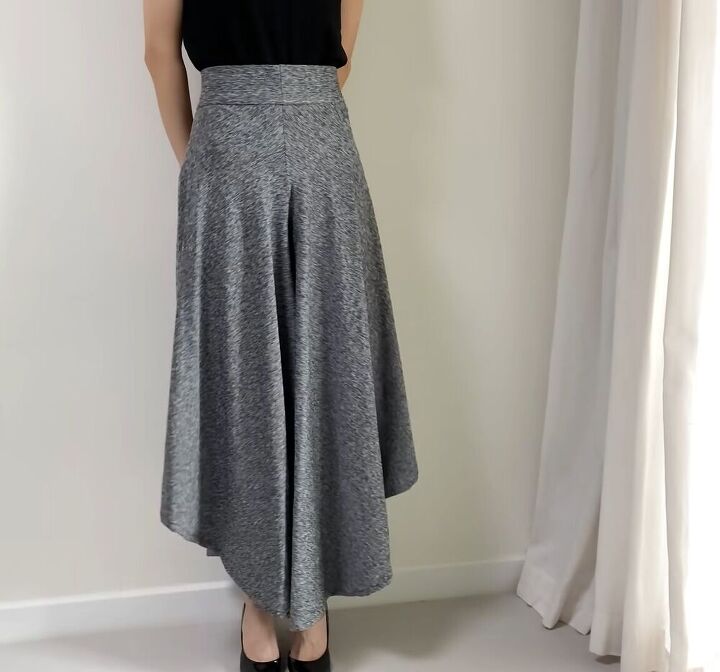
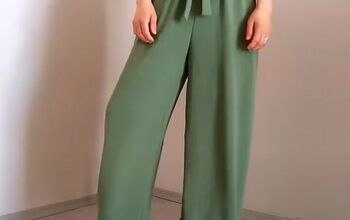
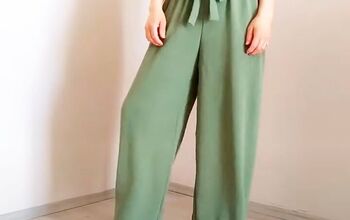
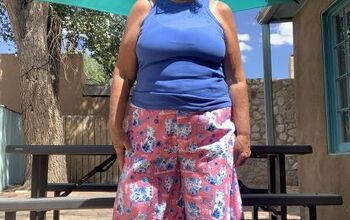
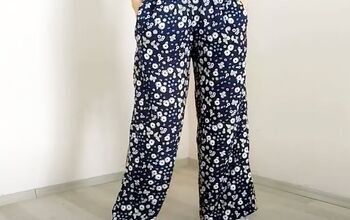
Here is the finished look. As you can see, when I stand with my legs together, the pants look just like a skirt. You can dress them up by pairing them with some heels.
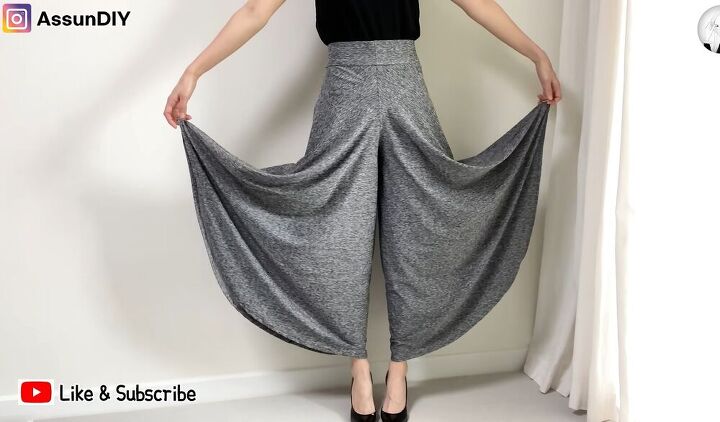
Because of the elasticated waistband and the stretchy material, these pants are also perfect for gentle exercise such as yoga. I love the swishy movement that the pants have, and I also love how versatile they are - dress them up or dress them down; the choice is yours!
The author may collect a small share of sales from the links on this page.


Comments
Join the conversation
Beautiful project. You might want to let us know how to adjust the pattern.
Why use only 15cm for the waist when 20cm was measured initially ? Why not mark 15cm in the beginning itself ?