How to Make Super Cute Polymer Clay Christmas Wreath Earrings

In this tutorial I will show you how to make polymer clay Christmas earrings. This project is inexpensive, since it’s a good use for any polymer scraps you have lying around.
These Christmas wreath earrings are so easy to make, you may want to make lots and give them as gifts or use them as stocking stuffers.
Tools and materials:
- Polymer clay in gray, 2 shades of green, red and gold
- Pasta machine for rolling (or rolling pin)
- Cutting tool
- Needle tool
- Oven
- Earring hoops
1. Roll out polymer
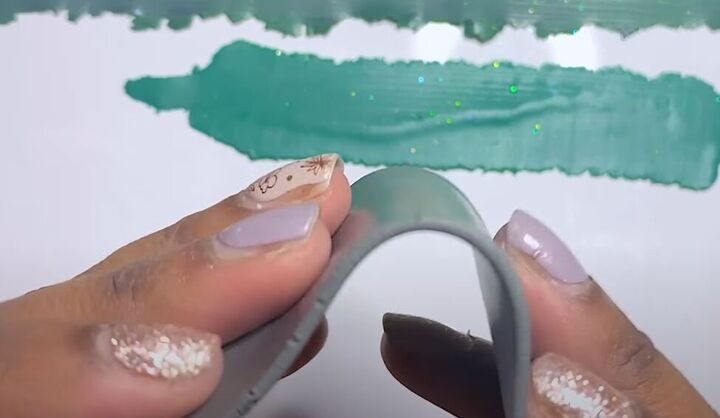
Run base-color polymer (I used gray) through a pasta machine on the third thickness setting or roll it out with a rolling pin.
Run two sheets of green polymer through the pasta machine on the thinnest setting.
2. Make the earring base
Use a large and medium round cookie cutter (or choose the sizes you want for your earrings) to cut two donut shapes from your base polymer.
3. Cut wreath leaves
Use an Exacto knife to free hand cut small leaves from both shades of the green polymer.
Use a needle tool to make vertical indents in each of the leaves.
4. Attach leaves to base
Use your needle tool to help place the leaves on your earring base in a dense wreath pattern.
This is how the completed wreath looks once all the leaves are added.
5. Mark the earring holes
Use the needle tool once more to mark where the holes for the earring hardware will be.
Repeat steps 4 and 5 for the other earring.
6. Make the wreath bow
Run the red polymer through your pasta machine on the thinnest setting.
Cut a 1-centimeter (0.39-inch) wide strip of the flattened red polymer.
Cut the strip in half widthwise. Then fold one strip in half gently to find the middle.
Unfold, and then gently fold each end of the small strip into that center mark.
Be careful to just press in the center edges of the polymer, to keep a bow shape.
Carefully pinch the middle of the bow with a pair of tweezers.
Repeat with the other small strip of red polymer to make a second bow.
To make the tails for the bows, cut two long red polymer triangles.
Then cut out small triangles from the bottom of each.
Now, cut off the top of the large triangles and trim the bottom of the legs of the triangles into diagonals.
7. Place the bow on the base
First, place the tail of the bow on the bottom of the wreath, opposite to where the earring hole is.
Then, place the bow on top of the tail.
Repeat for the other earring.
8. Add “ribbon” to your wreath
Cut a long thin strip of gold polymer.
Carefully wrap the gold strip around your wreath.
Start wrapping the “ribbon” from one side of the bow and continue around the wreath to the other side of the bow.
9. Add “berries” to your wreath
Make small red polymer balls and place them around your wreath.
10. Bake the wreaths
Bake your polymer wreaths in the oven at 275 degrees Fahrenheit for 1 hour.
11. Add hardware
Once your earrings have baked and fully cooled, drill a hole for the earring hardware where you marked the holes previously.
Add your earring hoops, and your DIY Christmas wreath earrings are ready to wear.
You can also use them as Christmas tree ornaments if you wish!
Leave a comment to let me know how you liked this tutorial, and whether you ended up making earrings, tree ornaments, or both!
Enjoyed the project?
Suggested materials:
- Polymer clay in gray, 2 shades of green, red and gold
- Pasta machine for rolling (or rolling pin)
- Cutting tool
- Needle tool
- Oven
- Earring hoops
The author may collect a small share of sales from the links on this page.


Comments
Join the conversation