How to Make Polymer Clay Earrings With Cute Designs From Napkins

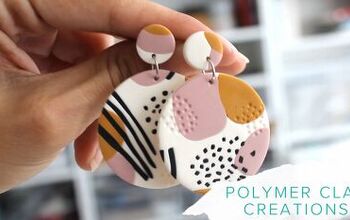
There are probably all kinds of things you use paper napkins for, but I bet you’ve never made jewelry from them! Well, here’s your chance to learn how to make polymer clay earrings from, you guess it – a napkin!
Follow along with this tutorial to make your own unique, beautiful custom earrings. You can use the same technique for making hair clips as well!
Tools and materials:
- Polymer clay
- Polyacrylic sealer
- Earring cutters
- Paper napkins
- Pencil
- Scissors
- Parchment paper
- Bowl and water
- Washcloth
- Oven
- Earring jump rings and hooks
Best polymer clay!
1. Make the earring mold
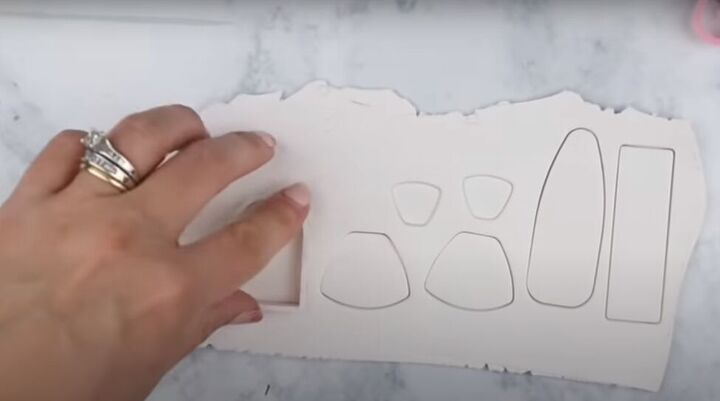
Choose the shape of earrings you would like, and just like cutting cookies from dough, cut those shapes out of your rolled and conditioned polymer clay.
Once you’ve cut your shapes, peel away the excess clay.
2. Affix the design
Choose a beautiful print paper napkin or a paper napkin with any design you’d like to have on your polymer clay earrings.
Unfold the napkin, and if it is a two-ply napkin, peel off the back layer so you are just left with the printed layer.
Place your earring cutters (the ones you used to cut the shapes from the clay) on the patterned side of the napkin.
Position the cutter over the part of the napkin design that you want for your earrings. Trace the outline of the cutter onto the napkin.
Cut the traced shapes from the napkin. Go slowly and be sure not to leave any of the ink on the cut pieces because they will be visible on your earrings.
Place the cut napkin pieces on the corresponding polymer clay pieces, with the printed side of the napkin down.
Cover the napkin with a small piece of parchment paper, and gently rub the paper over the top of the napkin to help the napkin adhere to the polymer clay.
3. Punch holes
Punch holes in the earrings where the jump rings are going to go. Gently peel back the napkin a bit, then poke the hole in the clay.
Place the napkin back down and use the parchment paper to gently rub it back into place.
Alternatively, you could bake the earrings first and then punch holes later.
4. Bake, cure, and cool
Preheat your oven to 275 degrees F. Place your polymer clay earrings on a piece of cardstock on a cookie sheet in the middle of your oven.
You can place another empty cookie shoot on a rack above your earrings to help protect the paper from any burning.
Bake and cure the pieces completely and let them completely cool off.
5. Remove the napkin
When cool, place the earrings in a bowl of cool water to soak the paper napkin and loosen it from the clay. Then, you can use a textured washcloth to gently rub away the napkin.
Be patient, because it does take some time, but keep rubbing until all of the napkin is off.
6. Seal the earrings
Use a small craft paintbrush to seal your earrings with a water-based polyacrylic or resin. Apply the sealer to the patterned side of your earrings to get a nice shiny look.
7. Assemble the earrings
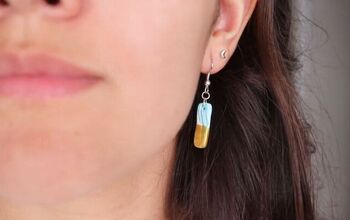
Once the sealer has dried, you can assemble your earrings with jump rings and hooks.
How to make polymer clay earrings with napkin designs
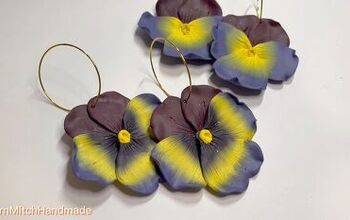
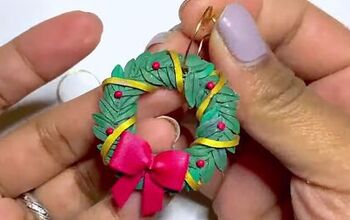
Imagine how many different designs you can have for your earrings, with all of the shape choices and beautiful paper napkins that are available!
Please leave a comment to let me know how your polymer clay earrings turned out.
Enjoyed the project?
Suggested materials:
- Polymer clay
- Polyacrylic sealer
- Earring cutters
- Paper napkins
- Pencil
- Scissors
- Parchment paper
- Bowl and water
- Washcloth
- Oven
- Earring jump rings and hooks
The author may collect a small share of sales from the links on this page.





Comments
Join the conversation
Would this work with scrapbook paper?
Or tissue paper?