How to Make Cute Earrings From an Artsy Polymer Clay Slab

In this tutorial, you're going to learn how to make a polymer clay slab with a lyrical abstraction motif and then turn it into a pair of earrings. Not only is clay a super fun material to work with, but you're also going to come away with a gorgeous accessory that you'll love to wear. So let's get to it!
Tools and materials:
- Polymer clay (we’ve used cream, pink, brown, and black)
- Rolling pin
- Cutter blade
- Different shaped cutters
- Dotting tool
- Jump rings
- Earrings fastenings
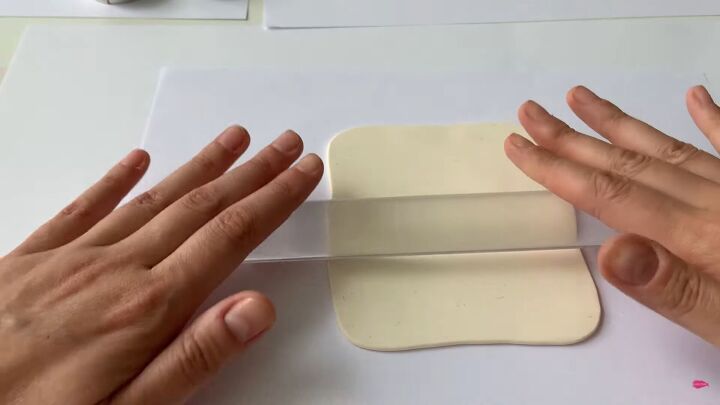
1. Roll the polymer clay flat
Take your piece of cream clay and roll it flat into a rectangle using a rolling pin.
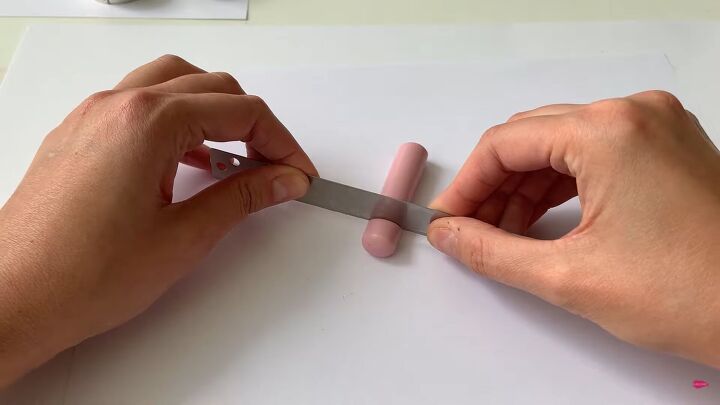
2. Roll and cut the second color
Take your second color (we've used pink) and roll it into a sausage shape with your hands. Then, proceed to cut it into sections using a cutter blade.
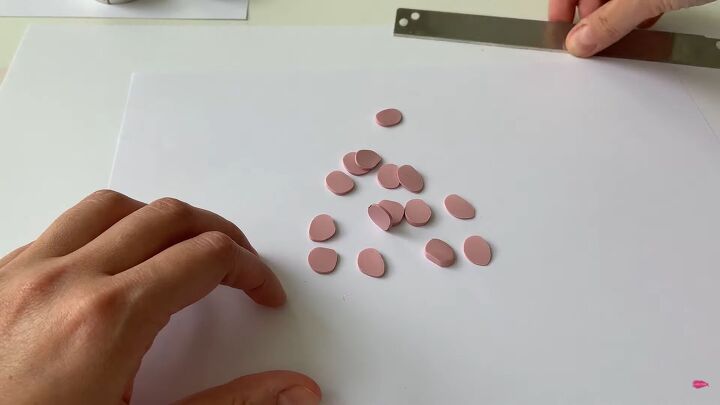
You want to cut out lots of thin circles like so.

3. Place onto the slab
Press the circles onto the flat slab making sure that they are spaced apart.

4. Roll and cut the third color
Take your third color of clay (we've used brown) and again roll it into a sausage shape, and then proceed to cut it into thin circles with your cutter blade.
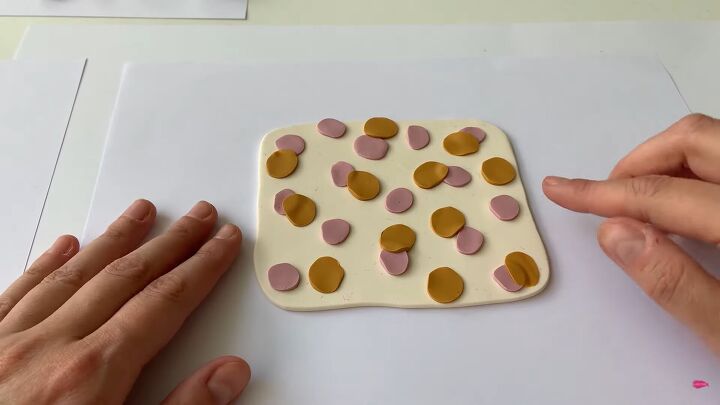
5. Place onto the slab
Proceed to place the circles onto your flat slab, have some of them overlap the pink circles that are already on there.
6. Roll and cut the fourth color
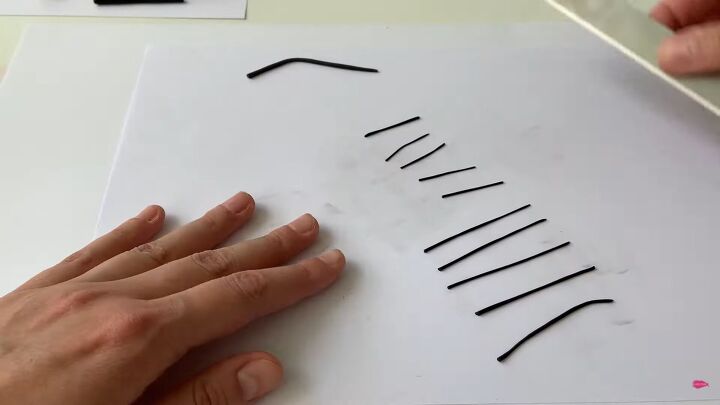
Roll your black clay very thinly and then cut it into lines. You want some lines of a smaller length and some of medium length.
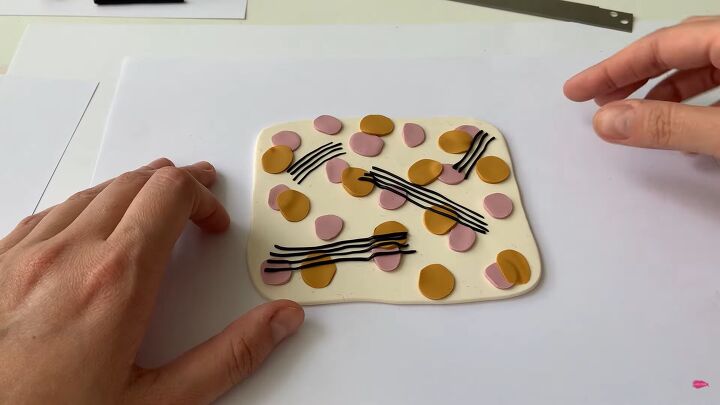
7. Place onto the slab
Place the strips onto the slab, like so, in groups of three or four lines.
8. Cut into circles
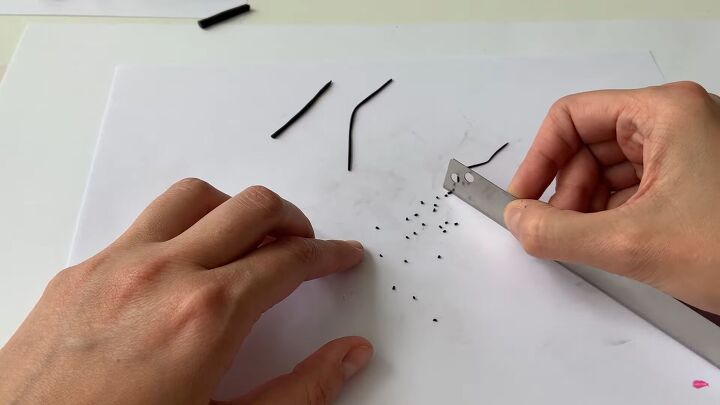
Take a piece of black clay, roll it very thin and cut it into very small circles.
9. Place onto the slab
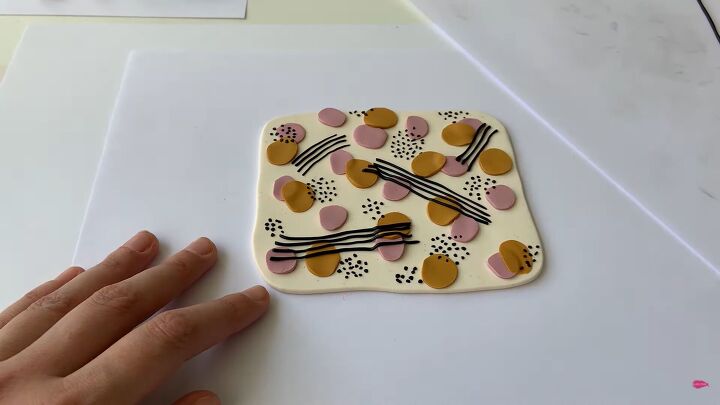
Place the dots onto the clay slab like so, pressing them down as you do so. Then press all of the other pieces of clay down gently to ensure that they are securely attached.
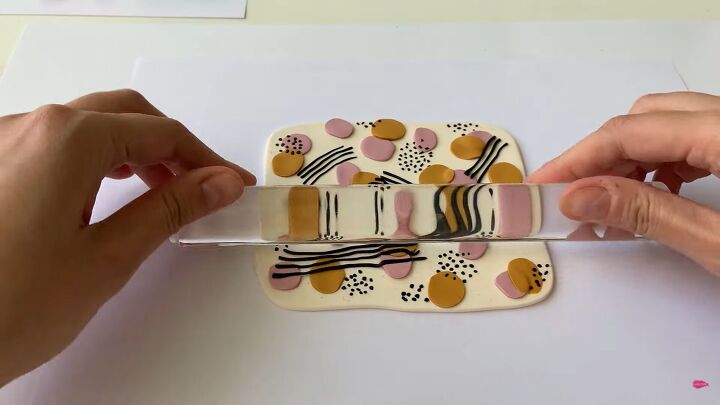
10. Roll down
Proceed to roll the design with a rolling pin until it is completely flat.
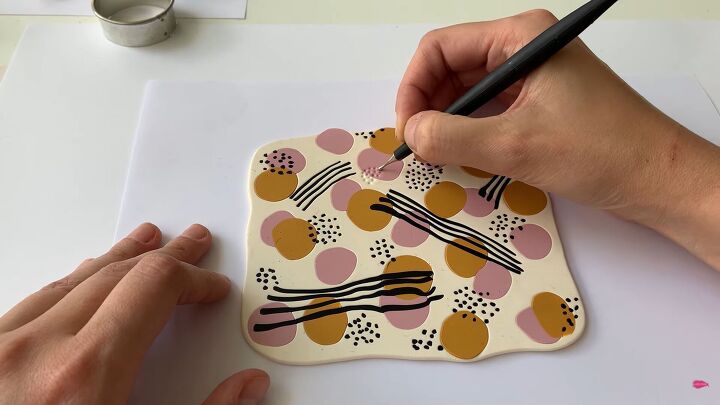
11. Make more dots
Next, using a drypoint needle, emboss a dotted design into the clay, like the black dotted pattern.
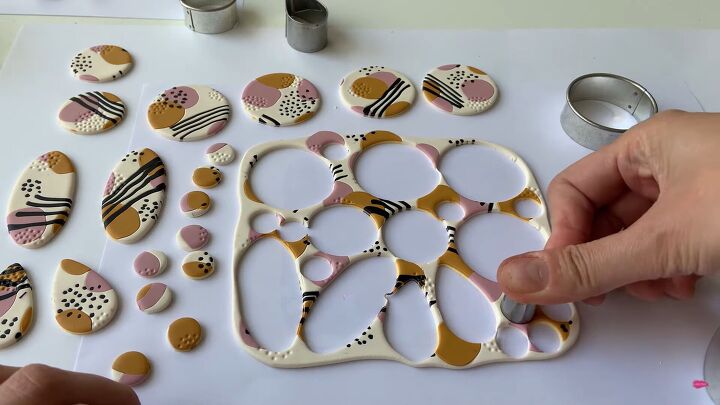
12. Cut out the earring pieces
Use metal cutters to cut out as many shapes as you can from the clay. We used large circle, medium circle, small circle, oval, and teardrop-shaped cutters.
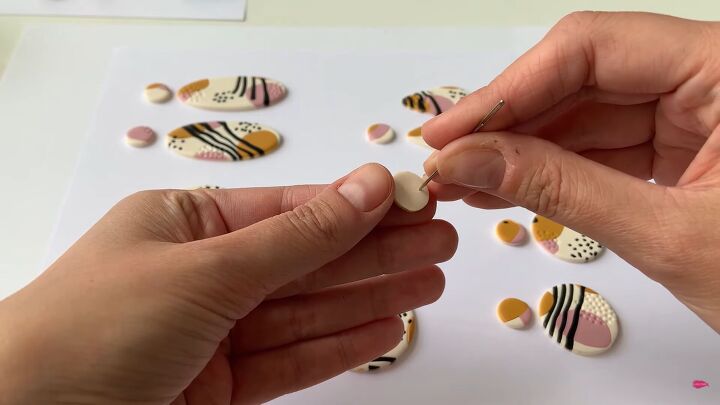
13. Make holes
Lastly, insert holes into the earrings using a needle. Make sure that the hole goes all the way through to the other side. Then you can join two pieces together using a metal loop. To finish off, simply make another hole, attach a metal loop and insert a fish hook through.

14. Bake the polymer clay
Polymer clay needs to be baked. The polymer clay will come with instructions, such as recommended temperature and length of time for baking. After baking, attach the pieces with jump rings and earring fastenings.

Polymer clay slab tutorial
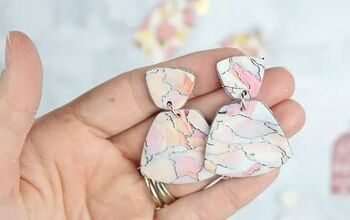
And there we have our polymer clay slab earrings! You can see from the picture that you can really play around with placing a small circle at the top and then whichever shape you like underneath.
This DIY is very easy and straightforward and we love the fun and cheerful design; it makes a beautiful accessory.
The author may collect a small share of sales from the links on this page.


Comments
Join the conversation
So Cute! Love the MCM look