How to Make Cute Earrings Using the Polymer Clay Watercolor Technique

In this tutorial, I’m going to show you how to make earrings using the polymer clay watercolor technique.
You may have worked with acrylic paints before or polymer clay before, but this DIY combines the two, so you get the best of both worlds. Join me as I create a unique and gorgeous pair of earrings!
Tools and materials:
- Polymer clay (black, white, and translucent)
- Tissue slicing blade
- Acrylic roller
- Pasta machine
- Acrylic paints
- Paintbrushes
- Cutters
- Jump rings
- Earring hooks
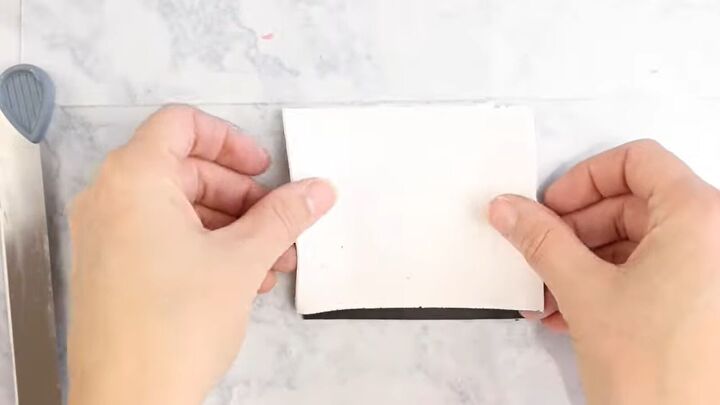
1. Layer black and white clay
The first thing you’re going to need is a nice thin layer of black clay.
Next, you want to layer up a thin piece of white polymer clay and then run this through a pasta machine to thin it out a bit more and make it a little longer, so you have more to work with.

2. Paint the clay
The next step is to take some acrylic paints in whatever color you want. I’m going to start with a lighter pink color as I’m going for a Valentine's vibe.
Take your brush and make little strokes all over the clay, and then fill in the spots between the lighter pink with a second color (I went for dark pink).
Once you get the colors exactly the way you want them, set this aside and let it dry fully before moving on to the next step.
3. Lay translucent clay over the top
The next step is to take the translucent clay, lay that over the top, get your roller out and roll it on there really well. There will likely be some air bubbles, which you will want to get rid of.
The way to do that is to roll it out, and you can use your fingers to press some of the bubbles out.
Any of the bubbles that are super stubborn and you can’t get out, just use your tissue blade and slice little bits in the translucent clay on the top. That will let the air out, then you can smooth it out fully.
Getting this layer nice and smooth is a really important part of this technique.

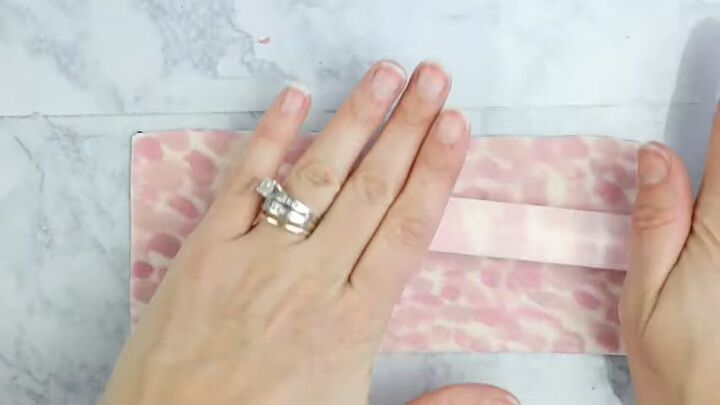
4. Roll the slab
Next up, cut off the excess, so you have a nice clean piece of clay to work with. Once again, just roll it and make sure all the air bubbles are out.
Roll it through your pasta machine once and then put it back through there a second time to roll it out a little more.
The clay will naturally get thicker as we layer the pieces on top of each other, so a nice thin piece is what you’re looking for here.
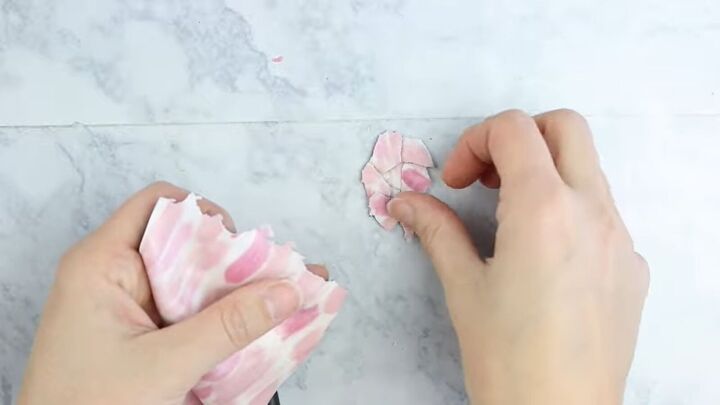
5. Layer the clay
Now for the fun part! Start breaking off pieces and then stick them together. Start with a piece in the center, then make circles going around it.
You’re going to be basically creating another slab with the pieces that you’re breaking off, creating a mosaic- or marble-like pattern.
I’ve found that the more organic it looks, the better. You don’t want it to look like straight lines or anything like that, you want it to look like it’s been torn and ripped; that is what gives the most beautiful look in the end.
Rip off pieces and layer them until you run out of clay.
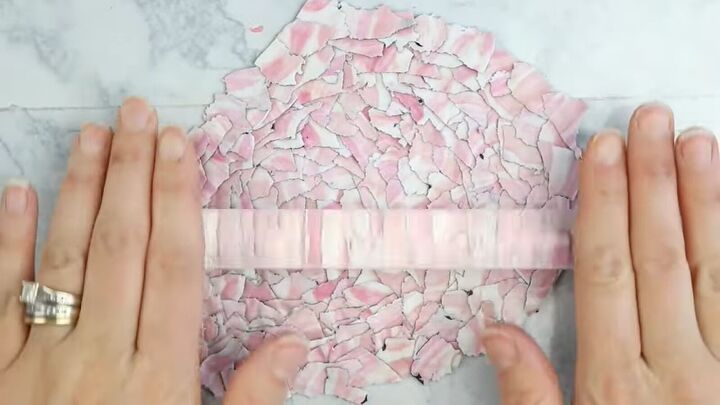
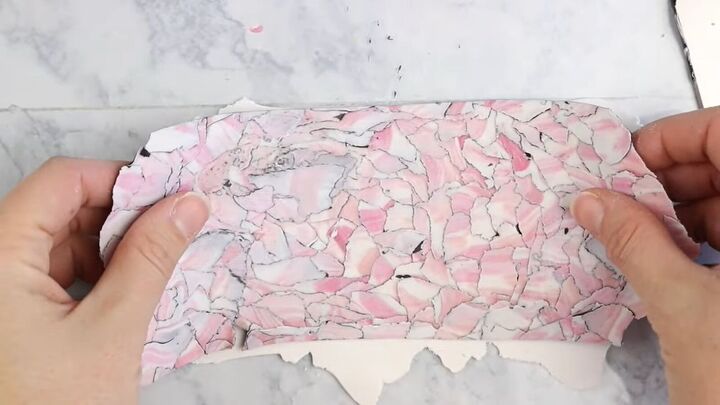
6. Flatten
Once you’ve run out of clay, use your acrylic roller to roll over it and flatten it out a little bit. Then put it through your pasta machine to get everything nice and smooth and connected.
It will get quite thin, so cut it again to make a nice clean shape.
7. Add a slab underneath
Then use some white clay underneath to thicken up the slab a bit so it will make nice earrings. You don’t want them to be too thin.
So, create a slab, send it through the pasta machine one more time, and then it is ready for your clay cutters.
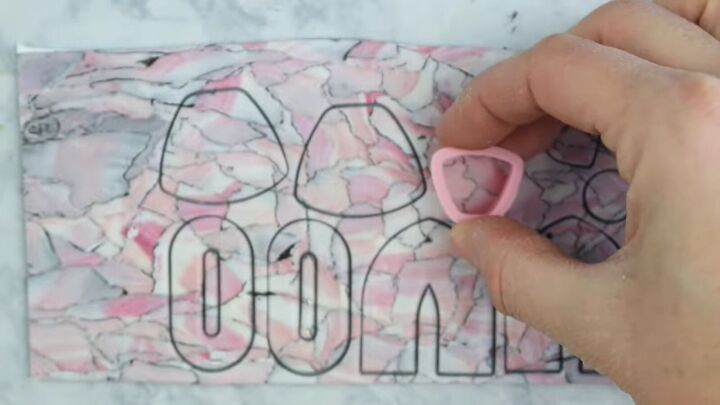
8. Cut the clay
Cut whatever shapes you want your earrings to be in. If you are like me and you like to create your jump ring holes before you bake them, then now is the time to do that.
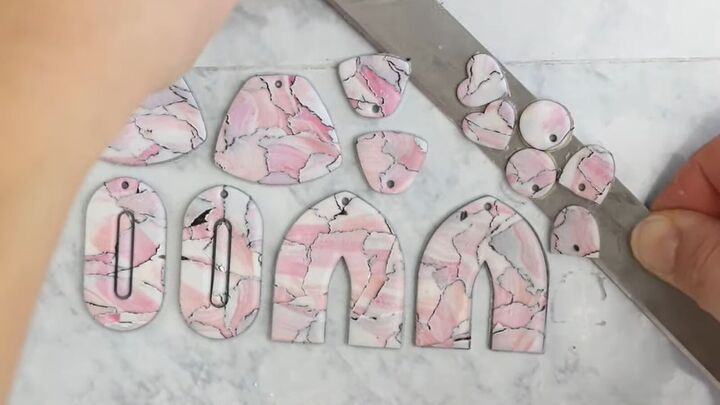
9. Bake
Finally, it’s time to bake the clay on 275°F (135°C) for about 30 minutes. Once the clay has baked and cooled, finish up by inserting jump rings and earring hooks, and you’re done!
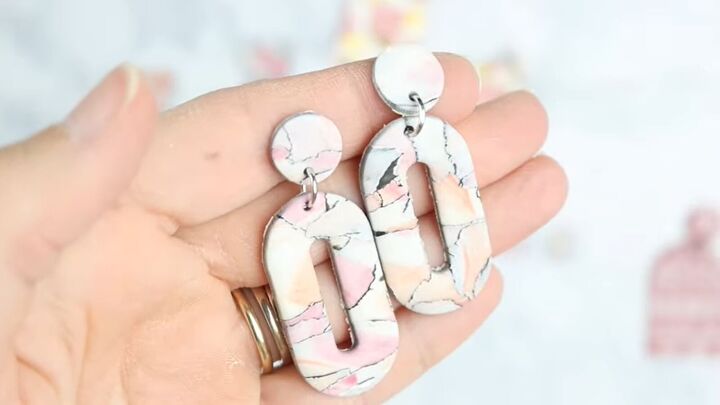

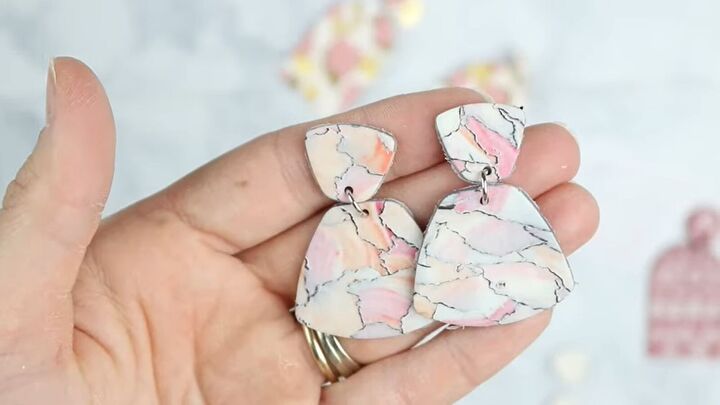
Polymer clay watercolor technique tutorial
Here we have our finished "watercolor" polymer clay earrings using acrylic paint.
There is so much scope for creativity here; you can go for whichever colors you like and cut the earrings in whatever shapes you want to.
I had so much fun making these earrings, and I know that I’m going to be wearing them a ton!
The author may collect a small share of sales from the links on this page.


Comments
Join the conversation
This is a wonderfully beautiful technique. Thank you for sharing. When I saw the marbleizing line look from the black polyclay I thought that gold, copper, silver or multi colored leaf might be interesting to use instead of the black.
I have been watching a lot of polymer clay jewelry tutorials. Yours are definitely very inspiring! I definitely want to try this technique!