How to Make Unique Polymer Clay Slab Earrings With a Paint Effect

Enjoy this easy technique and create some unique polymer clay slab earrings with us! This tutorial will teach you how to make the paint effect with polymer clay; it's easy and fun, almost like creating an abstract painting. Let’s get started!
Tools and materials:
- Polymer clay of various colors
- Liquid polymer clay
- Glass tile or ceramic tile
- Spatula
- Blade cutter
- Acrylic roller
- Rubber brush
- Cookie cutters
- Jump rings
- Earring fastenings
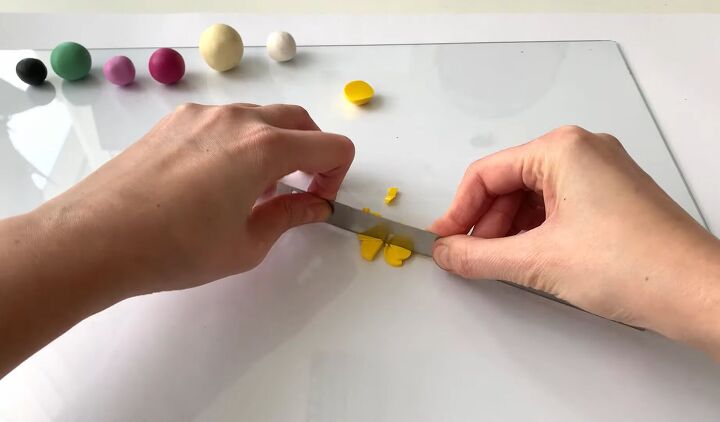
1. Cut the clay
Using glass or ceramic tile as a working surface is very helpful in this project. Start by chopping the polymer clay into very tiny pieces.
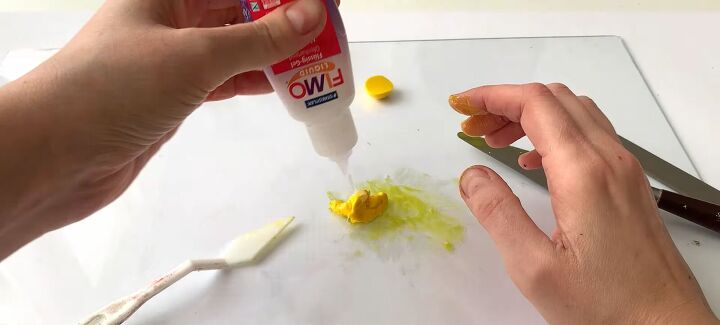
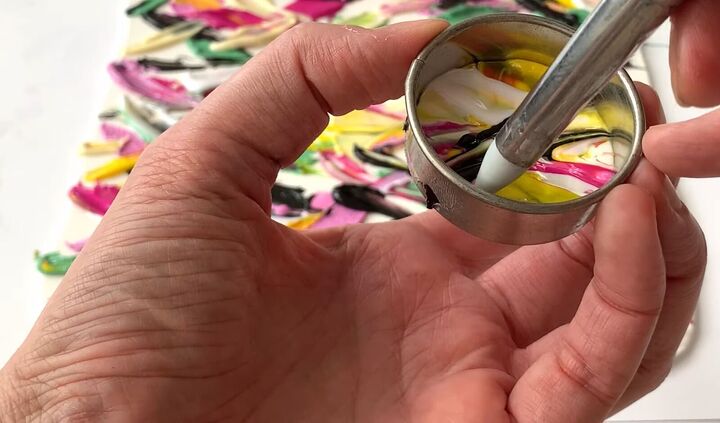
2. Mix into a liquid
Add liquid polymer clay. We advise using solid and liquid clay from the same brand.
Now, mix the clay with the liquid until you reach the consistency of acrylic paint. You can use your fingers or tools of choice. We find using a spatula most effective.
You may need to add more liquid clay into the mix. Add, mix and repeat until it’s right. When you can see that the clay looks like acrylic paint, that is what we need.
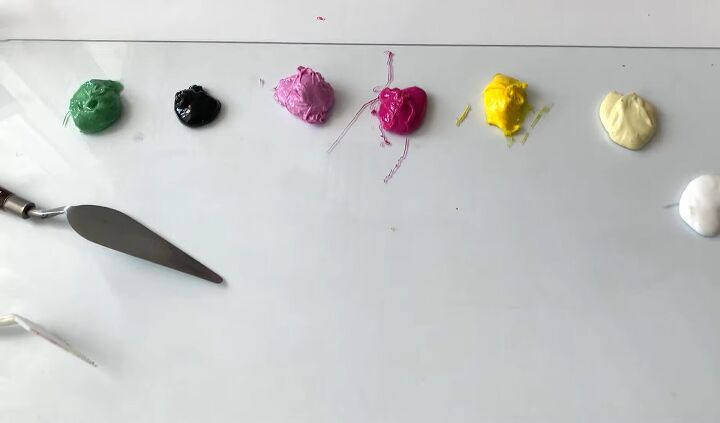
3. Repeat
Put the clay aside and repeat this process for all the colors you want to use.
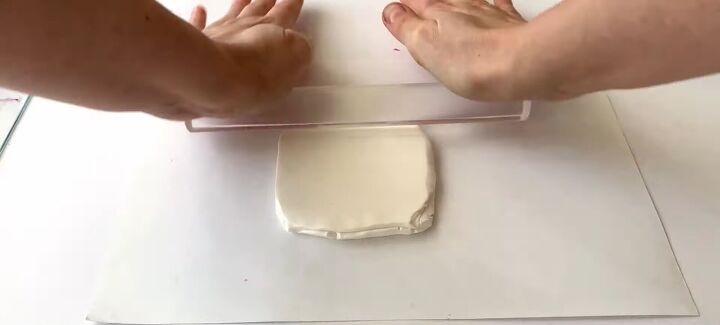
4. Roll the slab
When all colors are ready, we can move to the next part. For this part, we use white paper as our working surface and white clay as the slab base. You can use any other color that you like.
Use the acrylic roller or a pasta machine to roll the clay into a flat slab 2mm thick. Regularly turn the slab when rolling to avoid it sticking to your working surface.
Did you know that you can also use a glass bottle or a metal can instead of a roller?

5. Decorate
When the slab is ready, we can start decorating it. Now the fun part begins! Use the spatula to apply the paint-like clay onto the slab. It is like creating an abstract painting; the slab is your canvas.
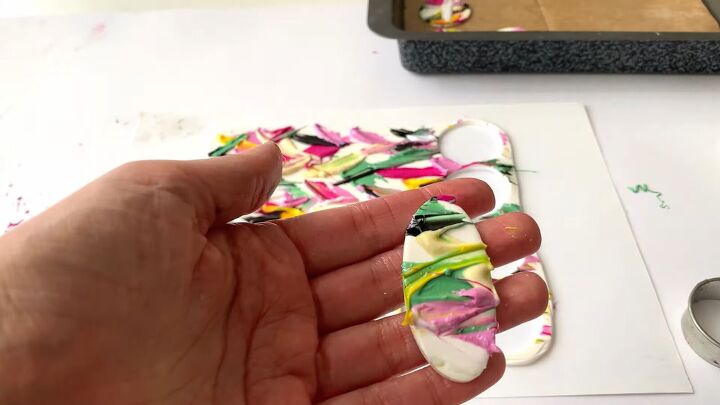
6. Cut
When you are finished with the slab, it is time to cut the earring pieces.
Because the clay on top is like wet paint, the cutting might be a bit tricky. You might need to use a tool to release the pieces; this one here is called a rubber brush or a gum shaper. We also advise wiping the cutter after each cut.
Of course, try to cut as many pieces as possible to reduce waste. Feel free to experiment with various cutter shapes. Remember to cut the earring studs too.
7. Bake
After you cut everything, place the pieces in a tray on a baking sheet, and they are ready for baking. Look at the instructions on your polymer clay packet to see how long for and at what temperature.
When they have been baked and have cooled down, finish off by adding on the jump rings and earring fastenings.
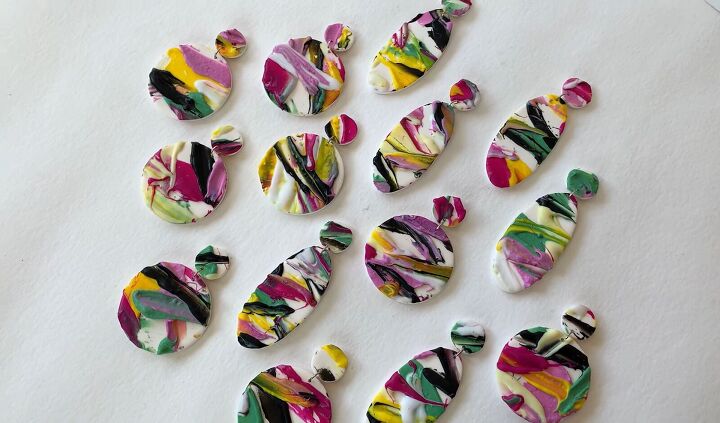
Paint-effect polymer clay slab earrings tutorial
Here are the finished polymer clay slab earrings. This project is so fun to do because the clay base really is your blank canvas, and you can unleash your creativity when it comes to the design.
The end result is a beautiful and unique accessory that is great to wear and also makes for a lovely gift.
The author may collect a small share of sales from the links on this page.


Comments
Join the conversation