Make Some Pretty Bird Earrings With This Polymer Clay Slab Tutorial

Polymer clay is so versatile. You can create so many different designs! In this tutorial, I will give you some inspiration and show you how to make polymer clay bird earrings using the slab method.
While it can be a lengthy process, the results are magnificent and so worth it! Keep reading to learn simple polymer clay earring techniques and see how you can make polymer clay bird earrings of your own.
Tools and materials:
- Acrylic roller
- Blade
- Slicing tool
- Dotting tools
- 6 Different polymer clay colors
- Shape cutters
- Toothpick
- Needle
- Jump rings
- Earring fixings
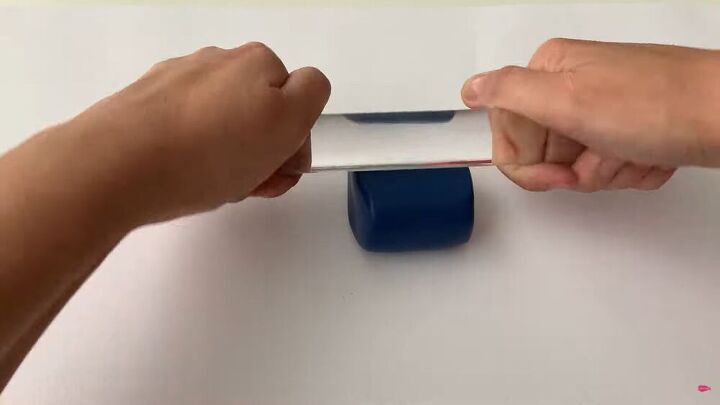
1. Roll out the slab
Start by rolling out the slab for the bird earrings. Here, I opted for a deep blue color, as it will make the pastel tones of the design stand out. Of course, you can use any color you want!
To roll the clay flat, use an acrylic roller, and alternate sides each time you roll to keep it even.
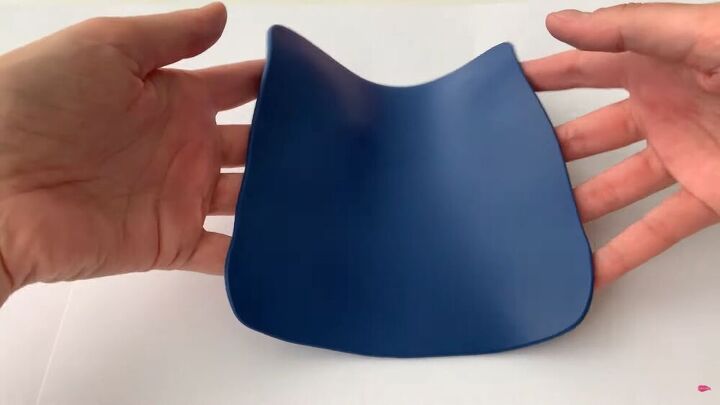
This is how it should look after rolling it flat.
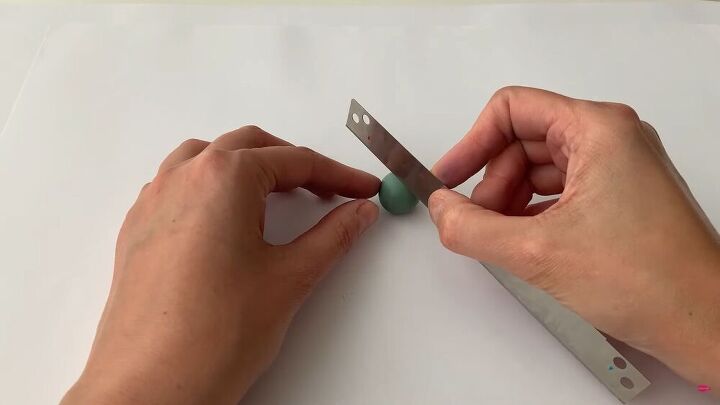
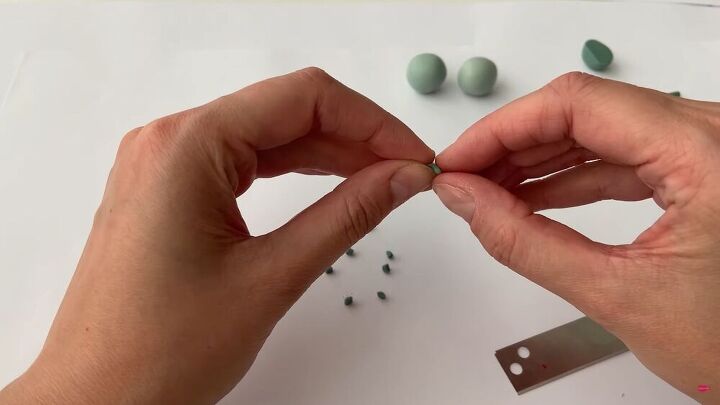
2. Make the vines
Slice your green polymer clay ball to around ⅓ of the size.
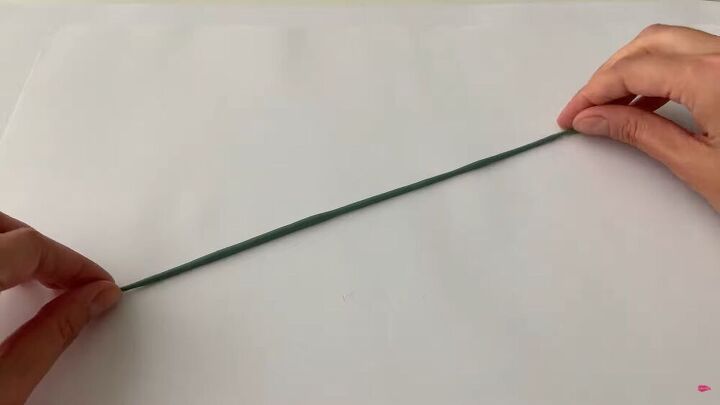
Next, with your fingers and the palm of your hand, gently roll it into a long, snake-like shape.
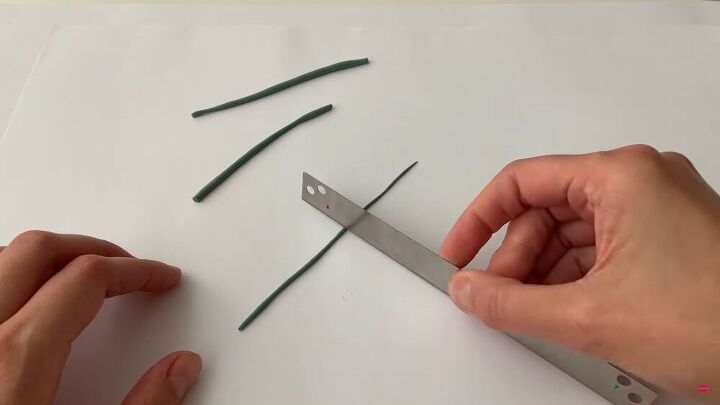
The goal is to make it as thin as possible, so halve the long piece, roll it some more, then halve it again. Repeat until you have very thin pieces. The trick is to keep on rolling and slicing off the thinnest parts.
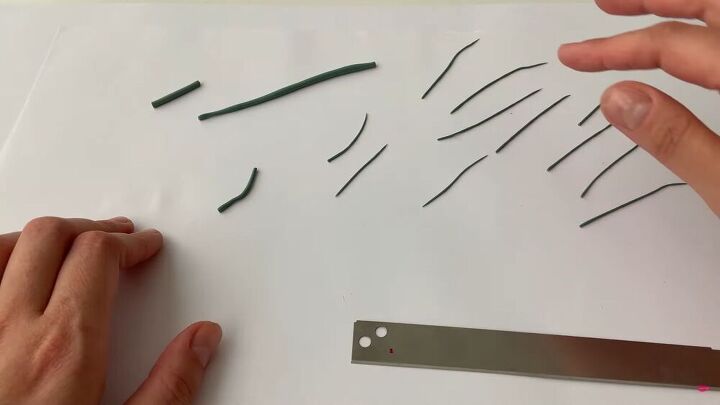
In the end, you should have a bunch of these thin strips to work with.
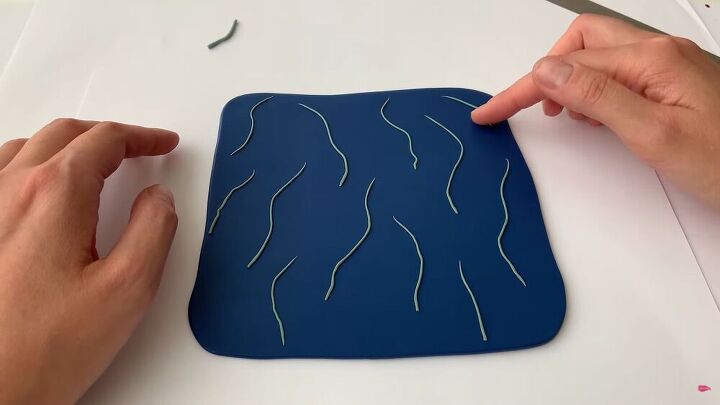
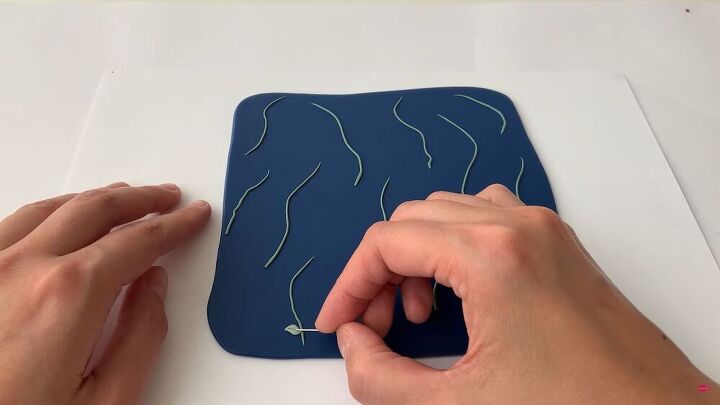
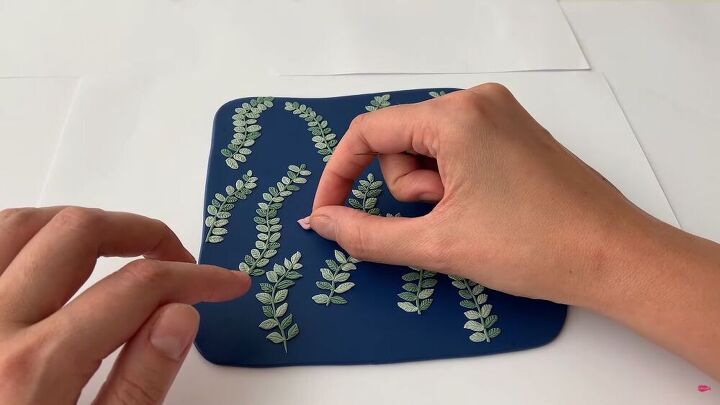
3. Place the vines on the slab
Lay the pieces on the slab. Gently press down with your fingers so that they stay in place.
4. Create the leaves
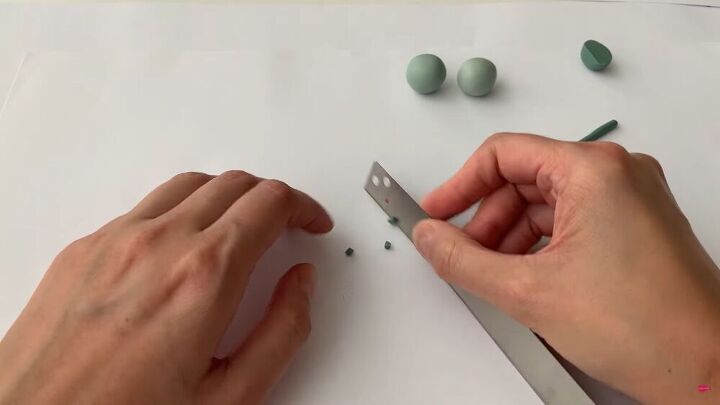
Now, slice off ⅓ from a polymer clay ball and roll it out into a medium tube-like structure with the other green hues. Then, with your blade, slice a few pieces.
Take each piece, and shape it into a thin leaf. Do this carefully and gently by pressing the clay piece between your fingertips.
Repeat the same process for different shades of green.
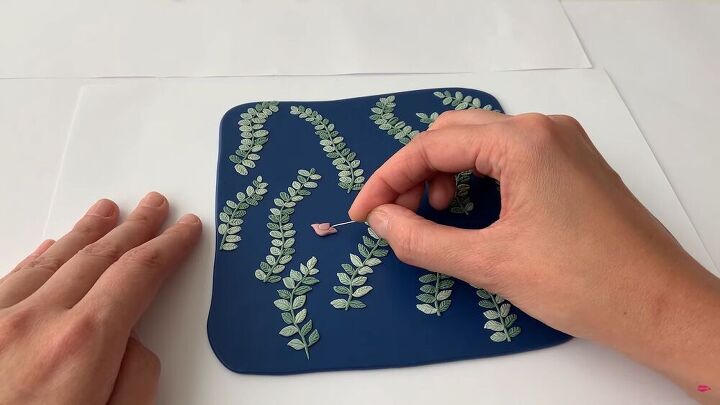
5. Place the leaves on the slab and add detail
Using a clean needle, place the leaves along the vines and gently press each one in place. Next, create intricate details on the leaves by gently pressing the needle to create fine lines.
This process is a little long, so be sure to put on your favorite music or podcast in the background as you work on your masterpiece!
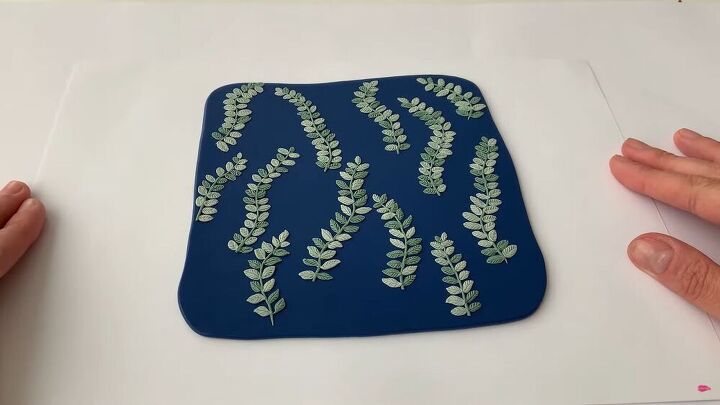
Here’s the polymer clay slab so far. Isn't it beautiful?
6. Make the birds
To make the birds for the polymer clay bird earrings, take your color of choice and roll it into a long tube. Next, slice into equal pieces.
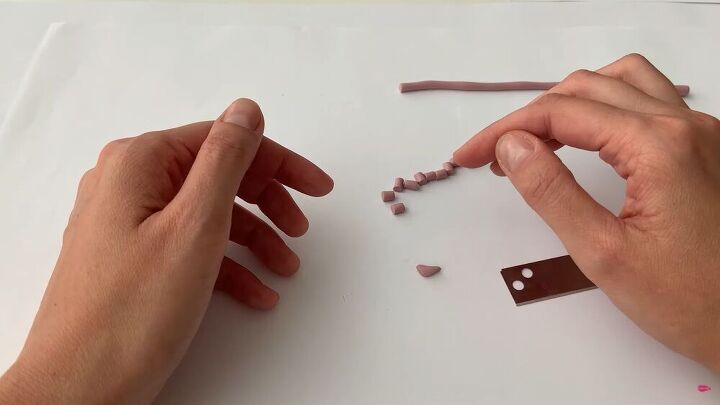
Then, using your fingertips, flatten each piece and shape it into a triangular shape.
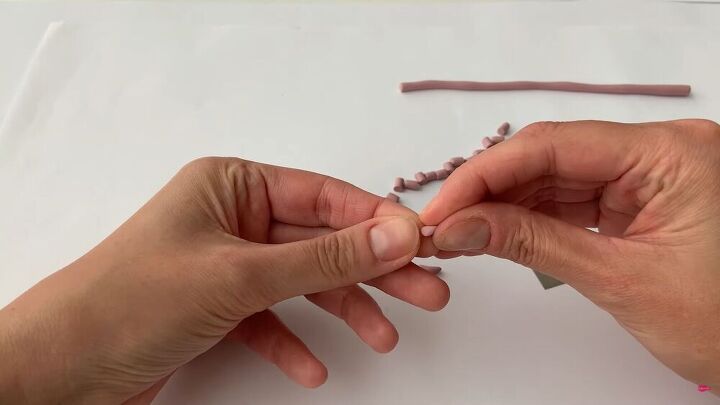
Next, slice a small piece of the already cut piece and make the same shape, but it should have an outer, pointy edge; this will be for the bird’s wings.
Lay the smaller piece onto the bigger piece so that you have a side profile of a bird.
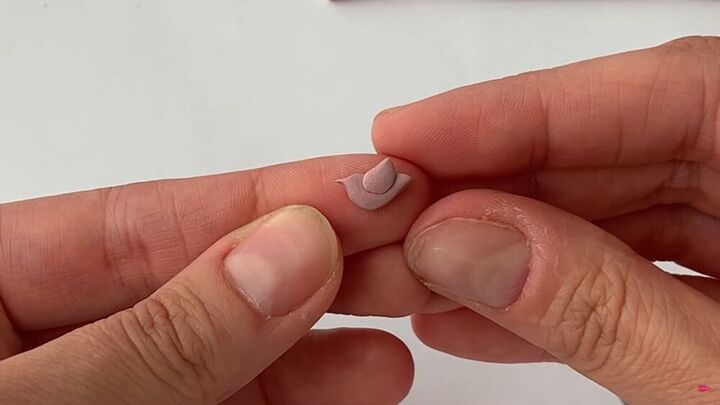
Tip: To shape the beak, gently tug at the end of the bigger piece.
7. Place the birds on the slab and add detail
Now, go back to your base and place the birds all over the polymer clay slab. Gently push each one down with your fingers, but be careful not to ruin the shape.
Just like with the leaves, use your needle to create fine indentations on the bird’s wings, eye, and tail. These little details really go a long way and will make your bird earrings come to life.
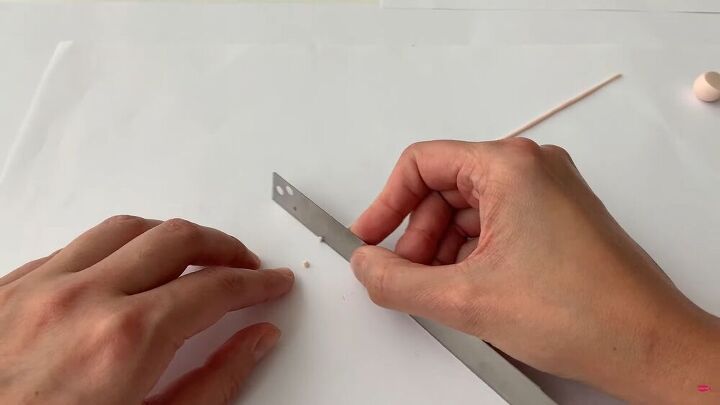
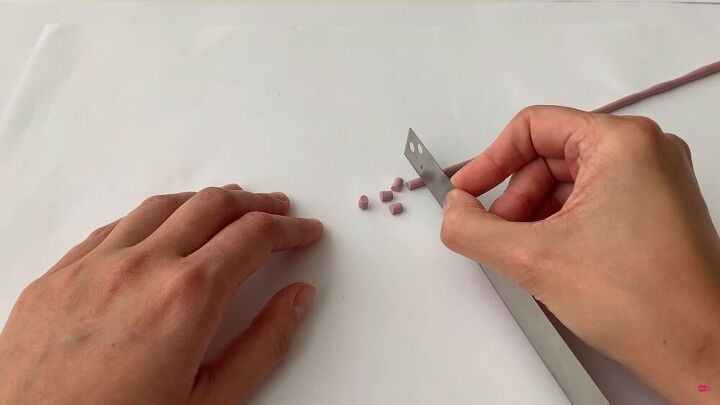
8. Make extra details
Roll a white polymer clay tube and slice it into tiny pieces.
Using the base of your index finger, roll each piece into a ball.

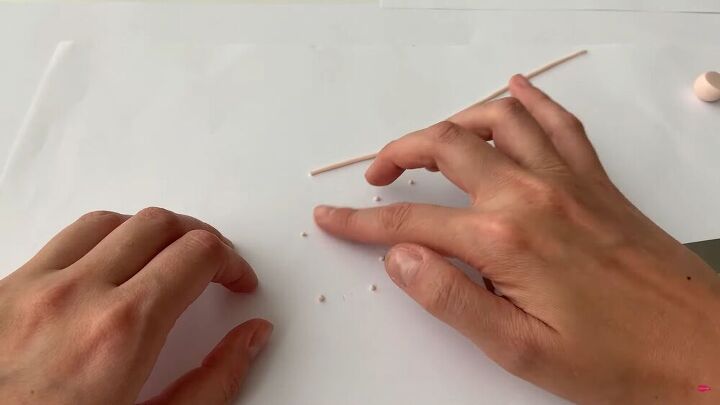
9. Place the white dots on the slab
With your dotting tool, place each piece onto the base and press the middle. Repeat the process throughout, adding various-sized pieces between the leaves and birds.
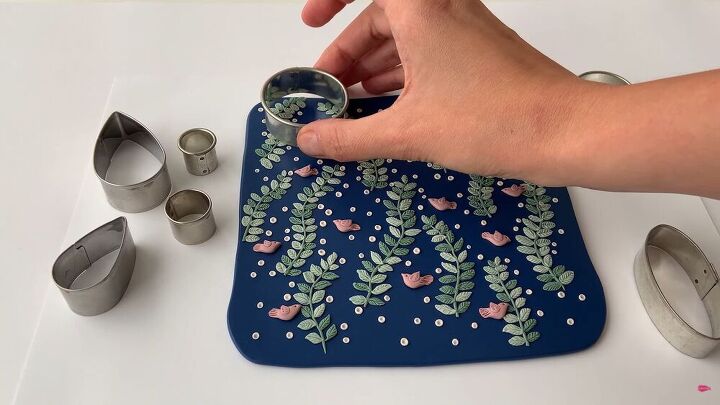
10. Cut out the earring shapes
Now, using shape cutters, carefully cut out shapes from your base. Be sure not to cut off a bird or go off the end of the slab. You can use whichever shapes you like, but keep mind that you will need pairs for matching earrings.
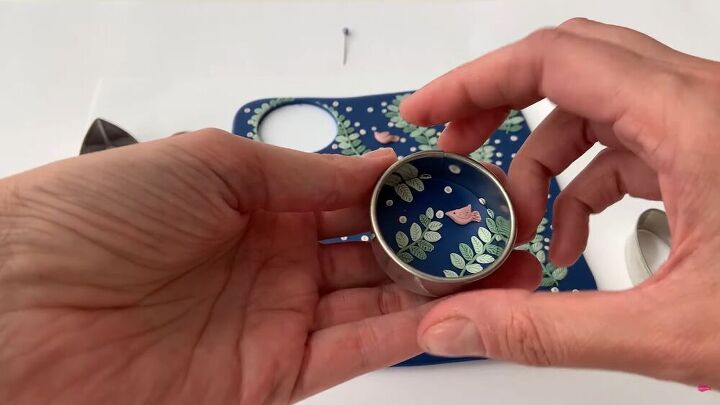
It may be hard to get the shape out after pressing the cutter, but with a bit of patience and gentle movement, it should be out in no time!
11. Bake the polymer clay
Finally, bake your polymer clay earrings to harden them. Check the instructions on your polymer clay to see at what temperature and for how long you should bake the clay, as it varies.
For this tutorial, I used firmer polymer clay from the brand FIMO, as it's easier to work with to create more intricate designs. I baked the shapes for 30 minutes at 110 degrees Celsius (230 degrees Fahrenheit), as per the instructions.
After baking, you can smooth down the edges with sandpaper.
Tip: Before baking, pierce holes where you want jump rings to go, so you can attach the pieces to shepherd's hooks.
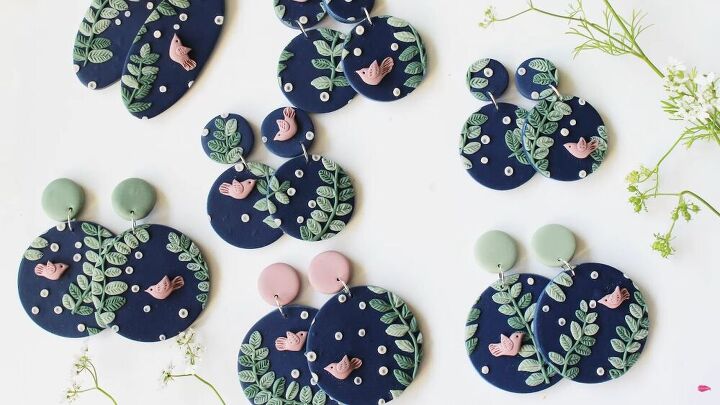
Polymer clay bird earrings tutorial
It’s so relaxing using polymer clay to make earrings, and with a little patience and perseverance, you have a unique set of bird earrings to add to your collection! I hope you got some great inspiration from this tutorial. What do you think of this sweet bird design?
The author may collect a small share of sales from the links on this page.


Comments
Join the conversation
These earrings are really cute.
Lovely, thank you for sharing. Just an aside, If anything falls off of your earring you can reattach a new piece and rebake or reattach with E-6000 or super glue. :)