Beginner’s Guide to Powder Nails and Gel Polish

Today’s tutorial is a quick step-by-step explanation of how to apply gel powder to your nails for an at-home gel manicure. Dip powder nails will last longer than regular nail polish, and will not chip, leaving you with a long-lasting fresh manicure look. If you’d like to know the basics of how to apply powder nails, keep reading.
Tools and materials:
- Gel base coat
- Gel polish
- No-wipe top gel
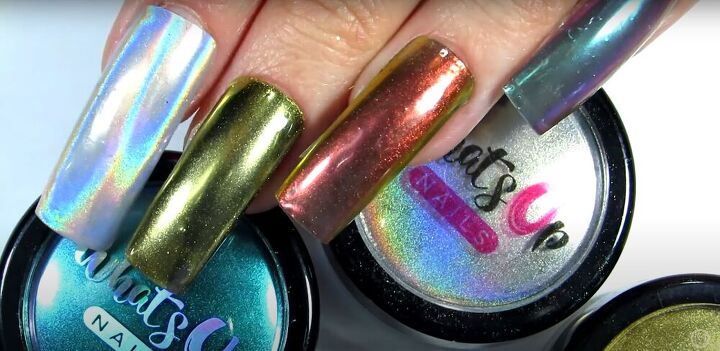
- Dipping powder
- Brush
- Curing lamp
Apply base coat
The first step is to apply a clear base coat. Make sure the base coat you’re using is made specifically for gel polish.
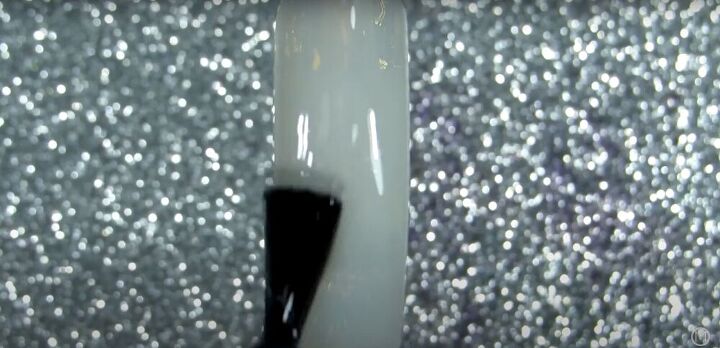
Apply gel polish
Once your base coat is completely dry, apply a coat of gel nail polish. I’m using black here because it is supposedly preferable when using metallic powders. But I’ve used clear, as well, and have not found a significant difference.
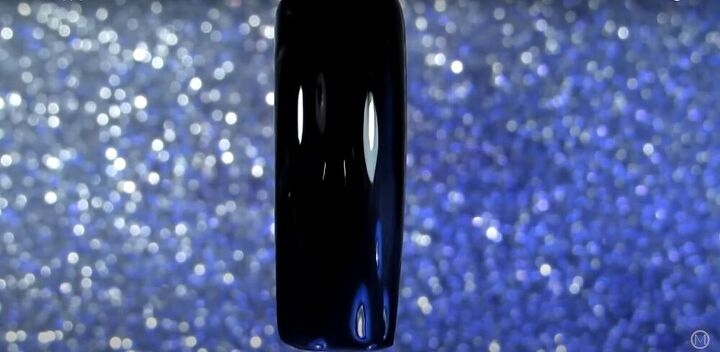
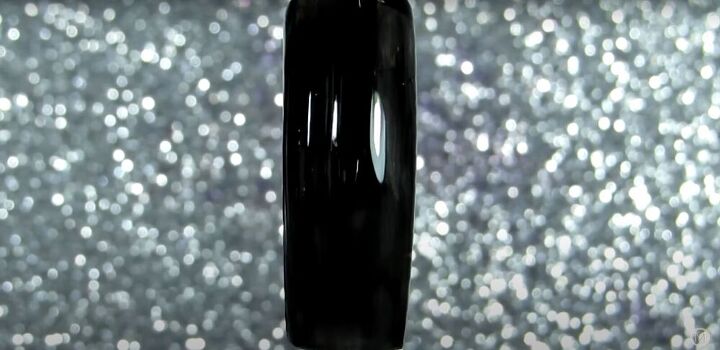
Cure
Cure the nail polish under your curing lamp.
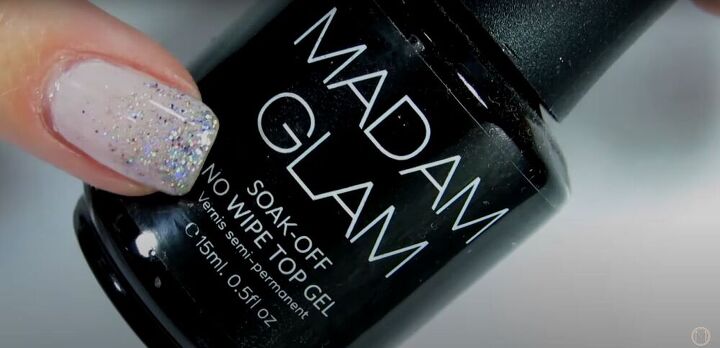
Apply top coat and cure
Next, apply a layer of no-wipe top gel and cure that under your curing lamp, as well.
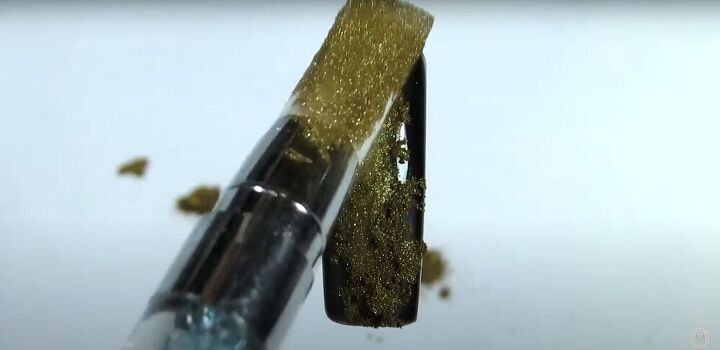
Apply powder
Dip your brush in the powder, and apply it to your nails.
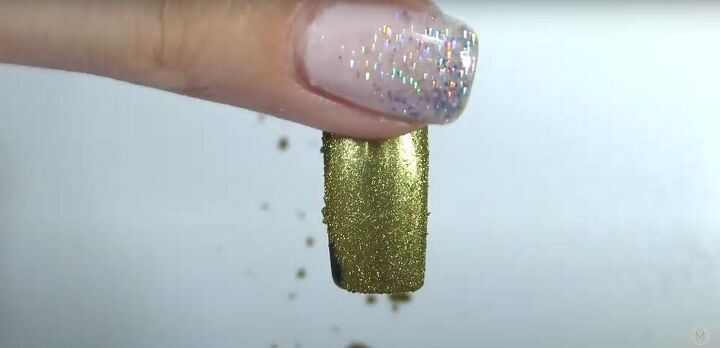
You can also use the tip of your finger. Keep blending until you have a smooth, uniform coat of color.
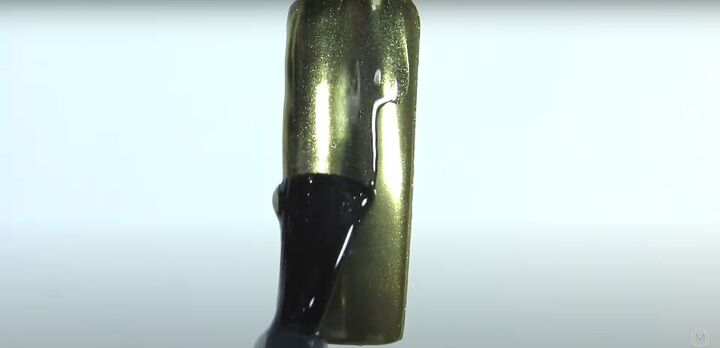
Apply top coat and cure
Finally, apply another layer of the topcoat, and cure under the curing lamp.
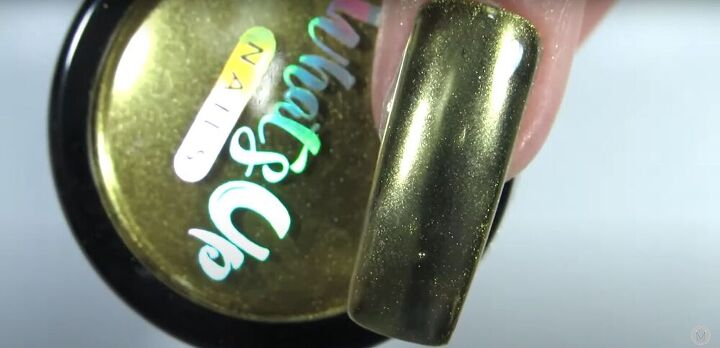
You now have a beautiful, professional-looking manicure!
Here are a few more colors I’ve done, all of which do not use a black base.
Did you find this tutorial helpful? Let me know what you think of these gel powder nail ideas and tips!
The author may collect a small share of sales from the links on this page.


Comments
Join the conversation