10 Easy Steps to Create Gorgeous Heatless Curls With a T-shirt

Today, we're making a heatless hair-curling device out of an old t-shirt!
If you want to create curls in your hair in a natural way that doesn’t involve any heat damage, these t-shirt curls are for you. This technique creates gorgeous, coiled curls and best of all, it won't cost you any money! Let’s get started.
Tools and materials:
- Large shirt
- Scissors
- Marker
- Ruler
- Brush
- Large clip
- Elastics

1. Cut the shirt
Lay your shirt down flat and cut off the hem at the bottom. Keep it for later.
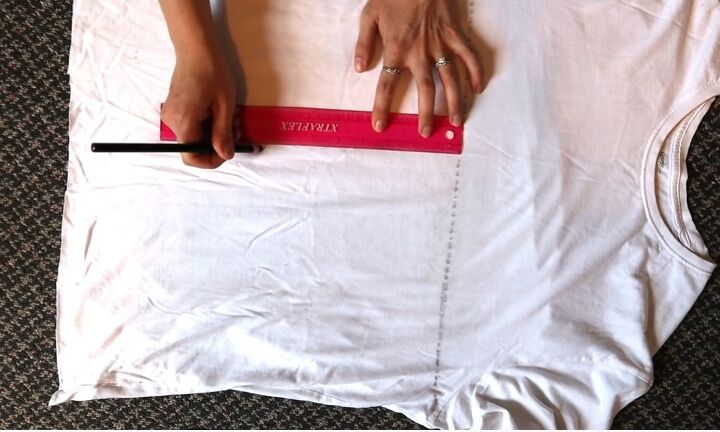
2. Mark the shirt
Grab your ruler and draw a line across the shirt right under the armholes. Now, from that line going down to the bottom, measure and mark five dots evenly spaced going down the shirt.
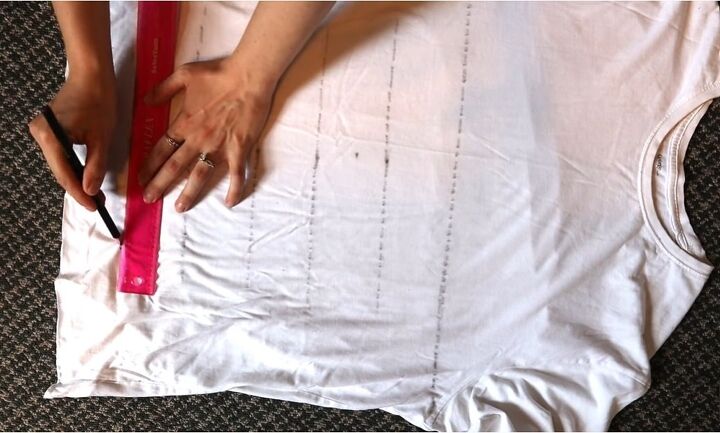
Draw lines going across the shirt at these dots dividing it into six equal sections.
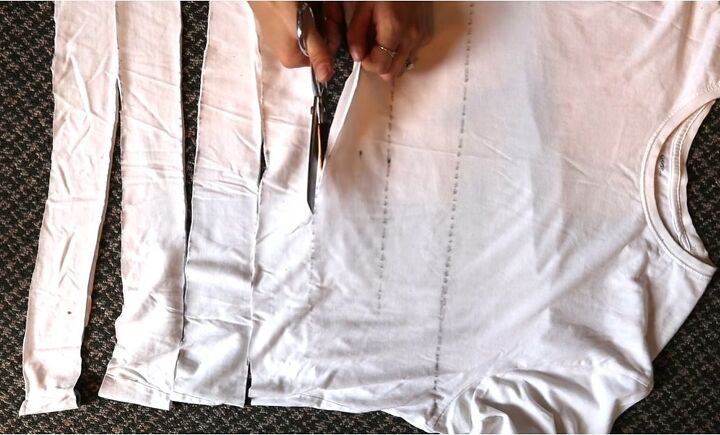
3. Cut the shirt
Now grab your scissors and cut along all of the lines making six bands of fabric. Stretch each band of fabric and then cut them at the seams to make 12 long strips.
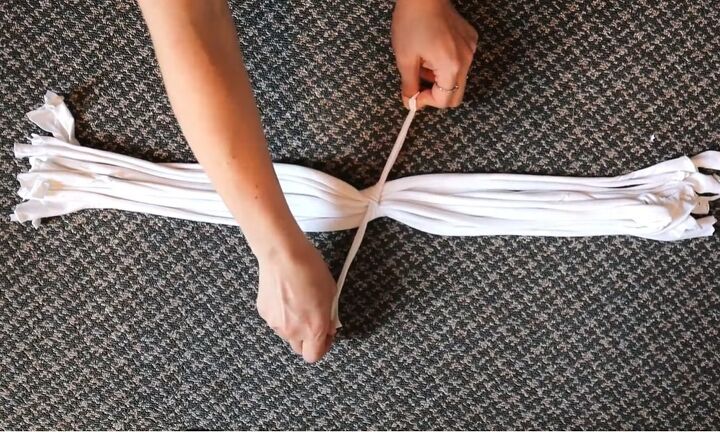
4. Tie them in the middle
Line up and lay out your 12 strips of fabric and then cut a small piece of the hem from earlier. Use the hem to tie the strips together tight in the center. Then trim the ends.
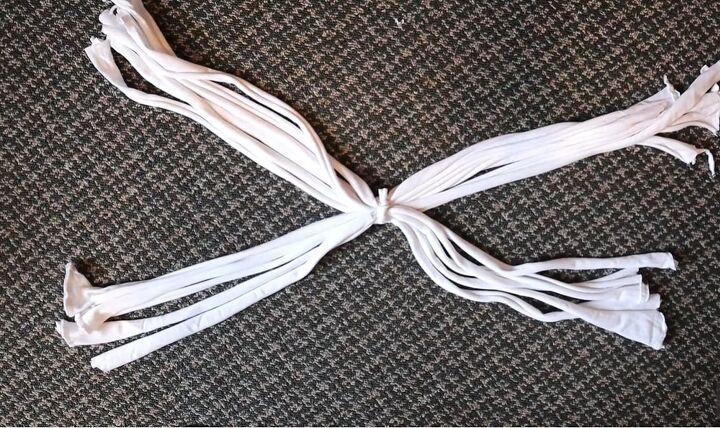
5. Split each side
Split each side into two sections making four sections of six strands each in an x shape.
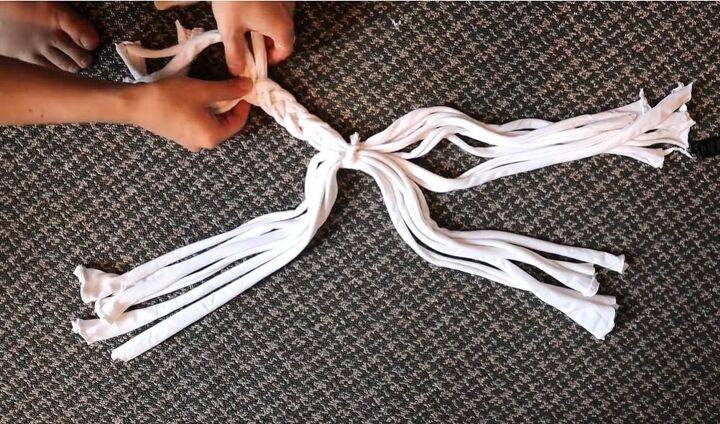
6. Braid the sections
Now, starting with one section, split the strands into three sections of two and then braid them.
Use one strand to tie around at the bottom. Braid the other three sections the same way, and you should have a braided x-shaped hair curler.
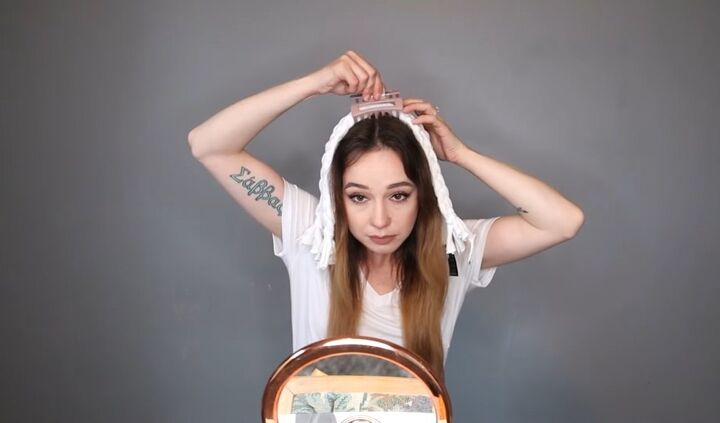
7. Attach the curler to your head
Now to use the curler! I started with clean dry hair but, if you want the curls to last longer, you can dampen it a little bit.
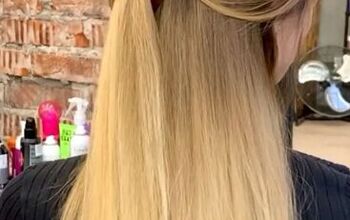
Brush your hair and split it down the middle. Then clip the curler to the top of your head in the center so there are two braids hanging on each side.
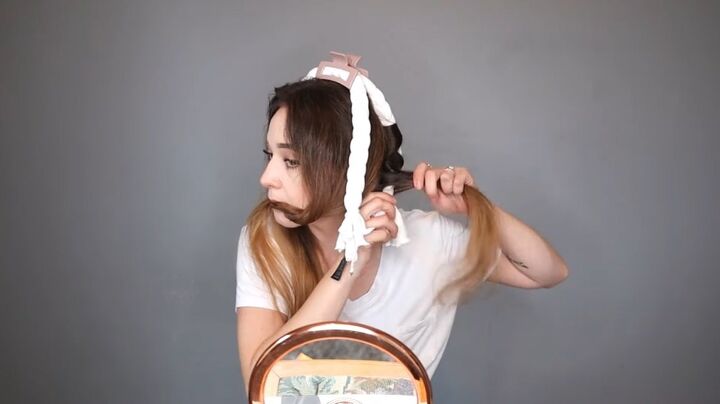
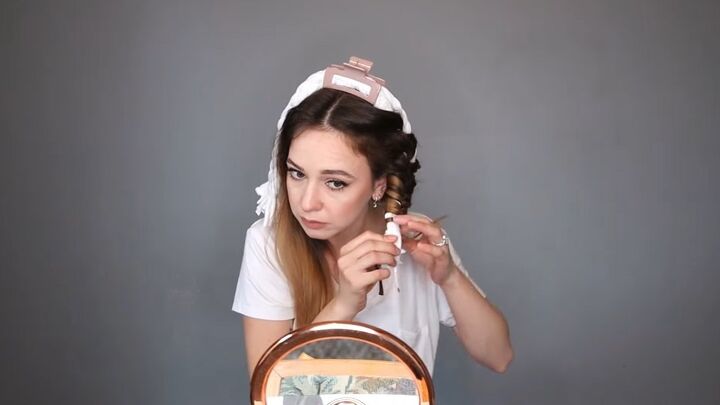
8. Wrap your hair
There are a few ways you can wrap your hair but I'm going to show you the easiest way.
Starting with one side, split your hair into a front and back section, and we're going to work with the back section first.
Grab a small piece of hair from the back section and wrap it around the back braid at the top.
Then, grab another small piece of hair and add it to the first piece then wrap it around the braid again.
Continue adding hair and wrapping it around the braid until all of the hair is wrapped. Then secure the end with an elastic.
Then do the same thing with the front section: grab a small piece, wrap it around, then add another small piece and wrap it around.
Continue adding hair and wrapping until you get to the end and tie it with an elastic. Repeat on the other side.
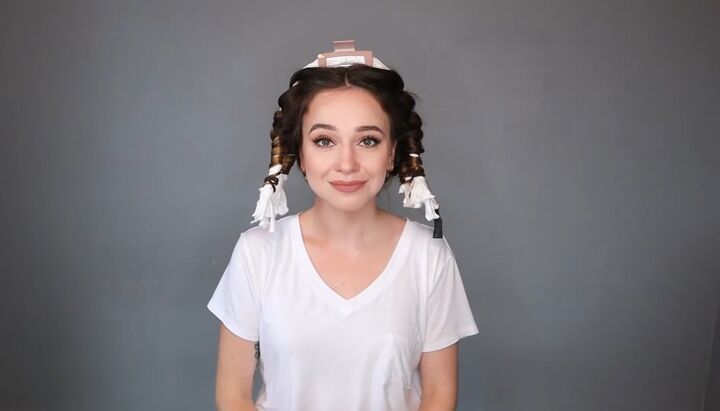
9. Sleep with the curler in
Now leave the t-shirt curler in your hair for at least a few hours but, ideally, overnight. The curler is comfortable to sleep in.
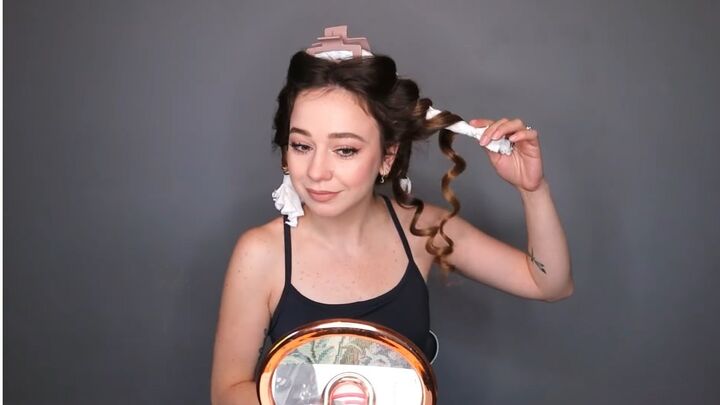
10. Remove the curler
Removal is really simple, you just take off the elastics and carefully unravel your hair, finger comb the curls a little bit and that's it.
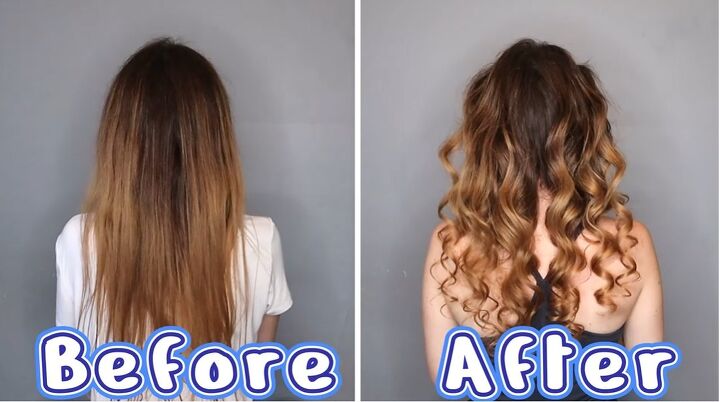
Here's what the curls looked like later on in the day after they fell a little:
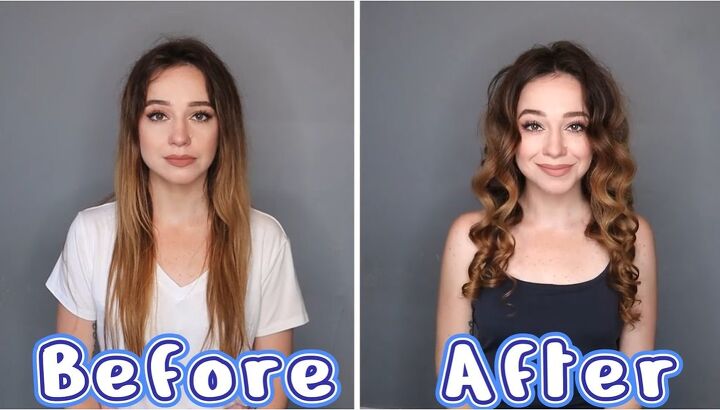
DIY t-shirt curls
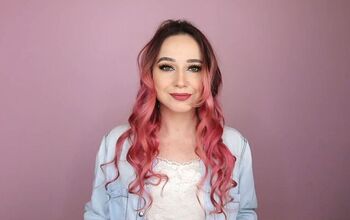
I love how natural these curls look. They’re also nice and defined and cascade down my shoulders just beautifully.
If you want to curl your hair in a heatless way, I hope you’ll give this DIY t-shirt curls technique a try. If you do, let me know in the comments below!
The author may collect a small share of sales from the links on this page.


Comments
Join the conversation
Looks beautiful!
Your hair looks great!!!