Bedazzled Shoes DIY Tutorial: How to Add Pearls to a Block Heel

This shoe making tutorial will show you how to bedazzle shoes by adding pearls to a block heel.
I’m showing this on a pair of shoes I made from scratch, using my ring toe pattern template.
You could use the same technique to upcycle a pair of shoes you already own, although you’ll find it easier if you can remove the heel completely.
Tools and materials:
- Ring toe pattern template
- Pre-made block heel and heel cap
- Leather strips
- Pen
- Snap on pearls
- Awl
- Contact adhesive
- Foam scrap
- Pliers
- Scissors
- Pinking shears (optional)
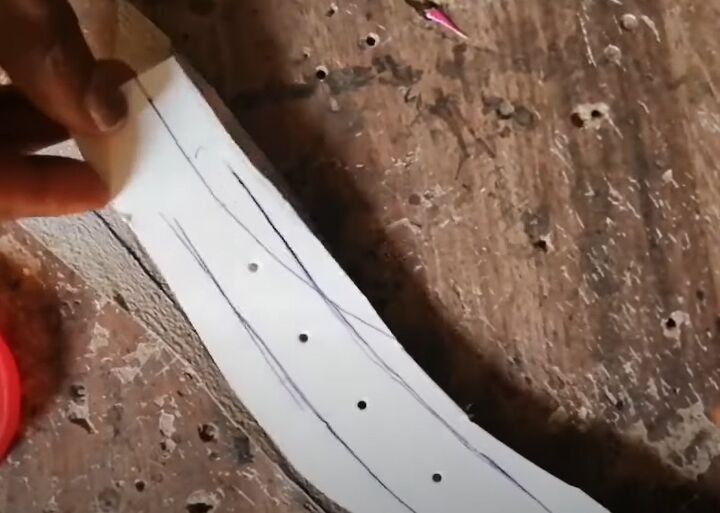
1. Heel template
Place the paper heel template against the wrong side of the leather.
Cut out two strips of leather slightly larger than the template.
Trace the pattern outline onto the leather.
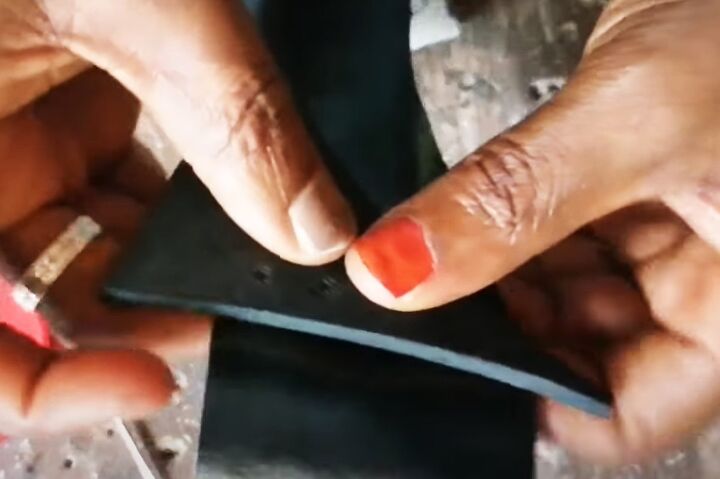
Mark the position of the pearls on the template.
Use an awl to make as many holes in each leather strip as you need.
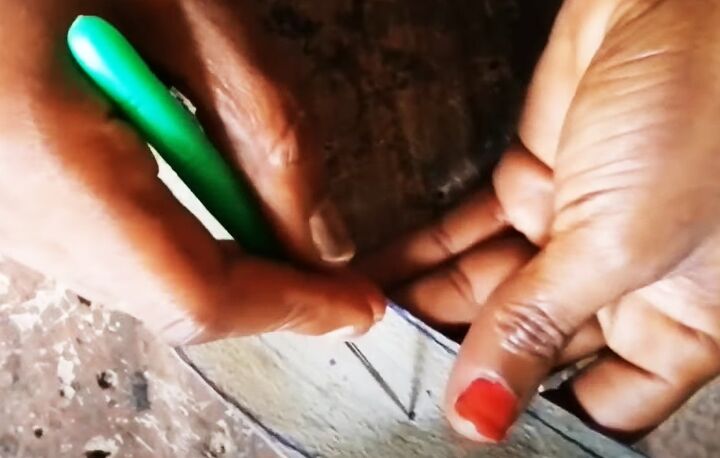
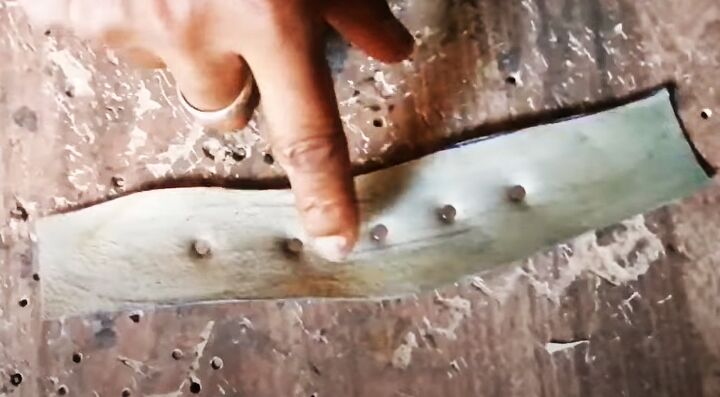
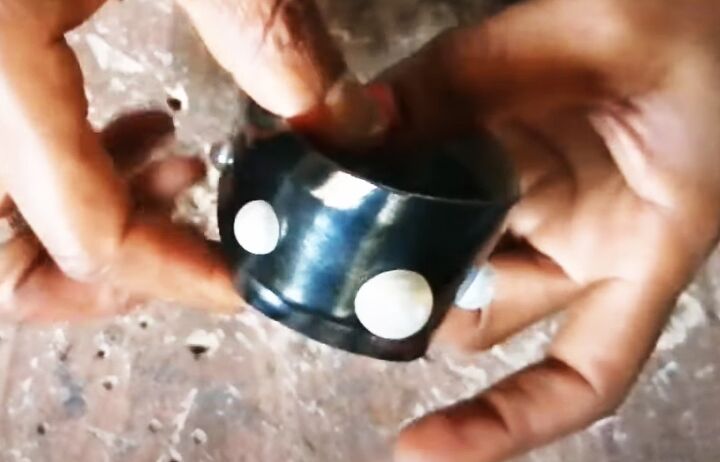
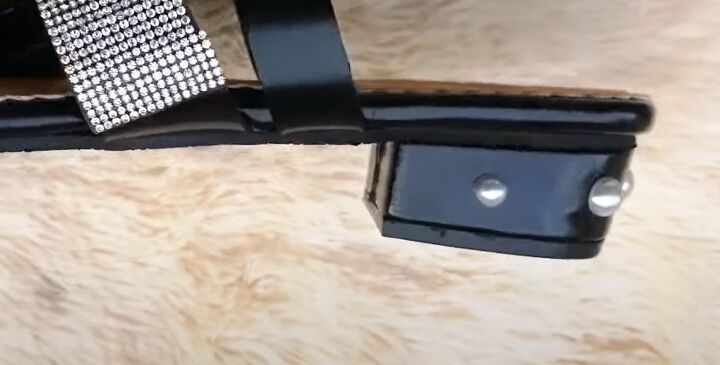
2. Apply the pearls
My pearls come in two parts so they snap through the leather.
Place the bottom part of the pearl through one of the holes from the wrong side, so the point shows on the right side.
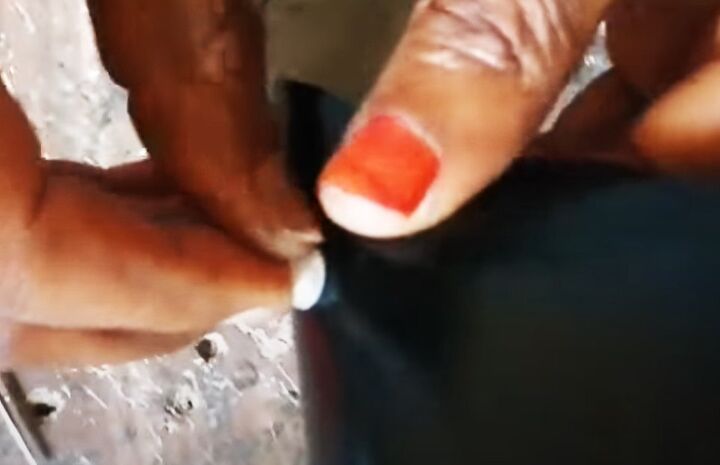
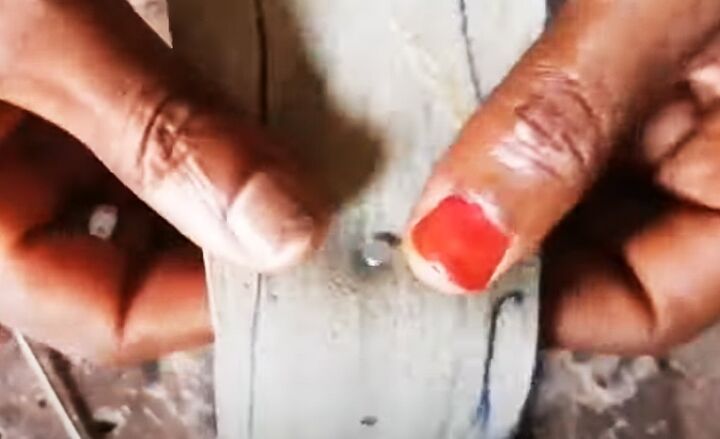
Finger press the pearl on to the point on the right side.
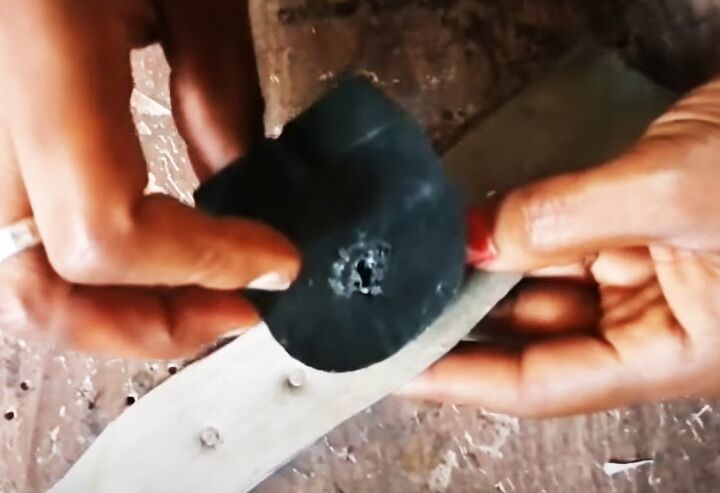
If you don’t have a setting tool, place a thick piece of foam over the pearl to protect it.
Use pliers to press the pearl firmly onto the backing until you hear a click.

Apply the pearls to both strips.
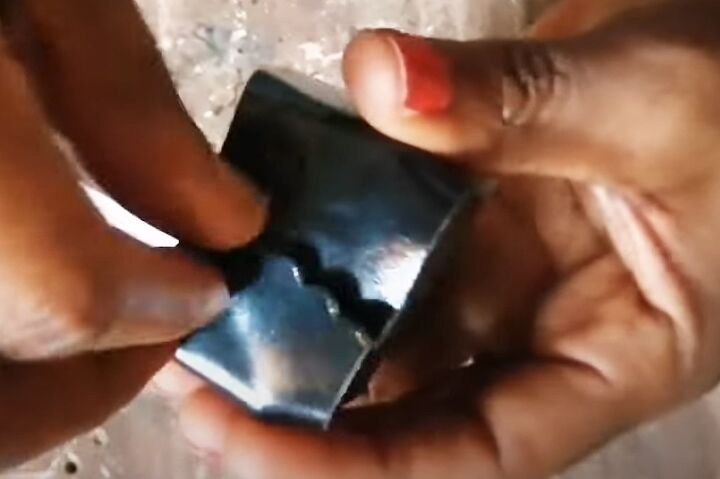
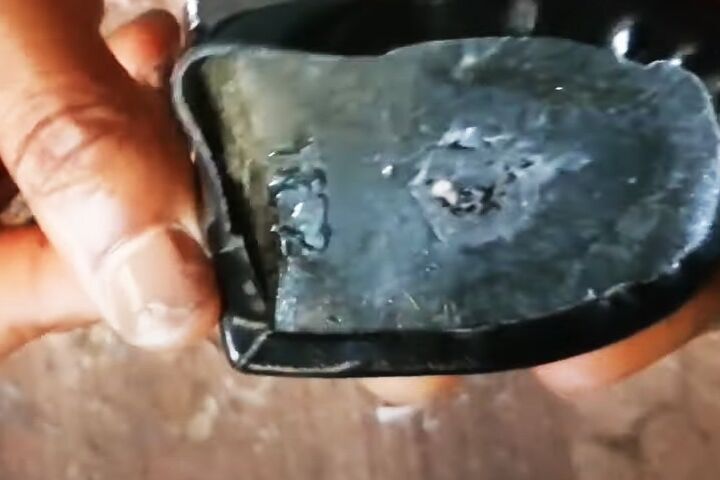
3. Wrap the heel
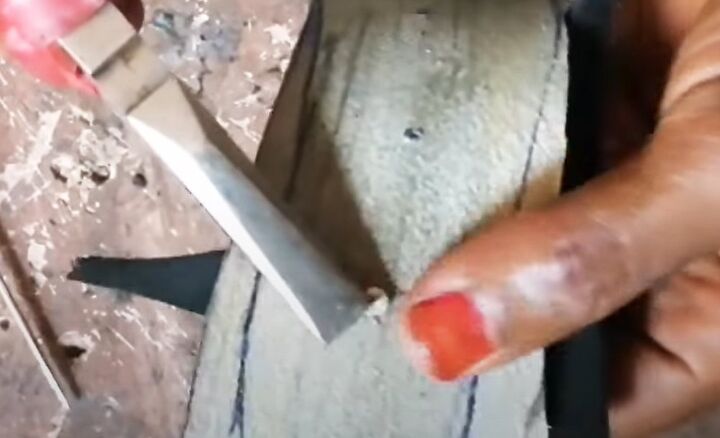
Trim off the excess leather around the template outline.
Apply contact adhesive to the wrong side of the leather strip.
Mark the center of the back of the heel.
Press the high point of the leather strip to the center back of the heel.
Leave an equal depth of leather above and below the heel block.
Carefully wrap the leather around the curved section of the heel, stretching it slightly as you do so.
Press the ends of the strip on to the straight part of the heel, trimming and overlapping them to fit.
I like to use pinking shears for the edge that’s on top.
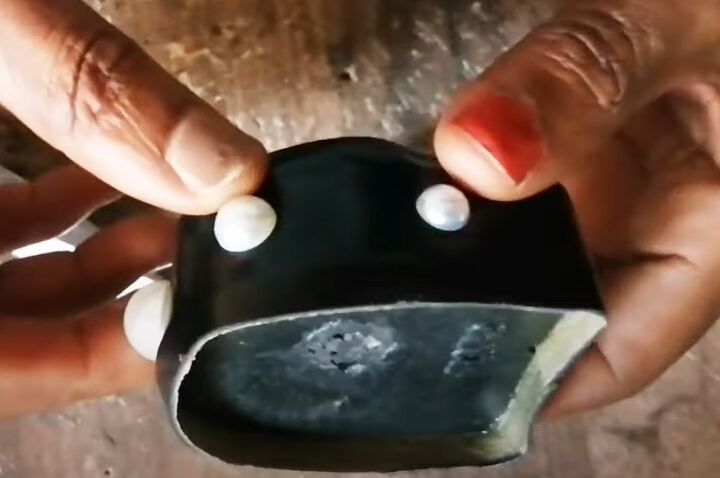
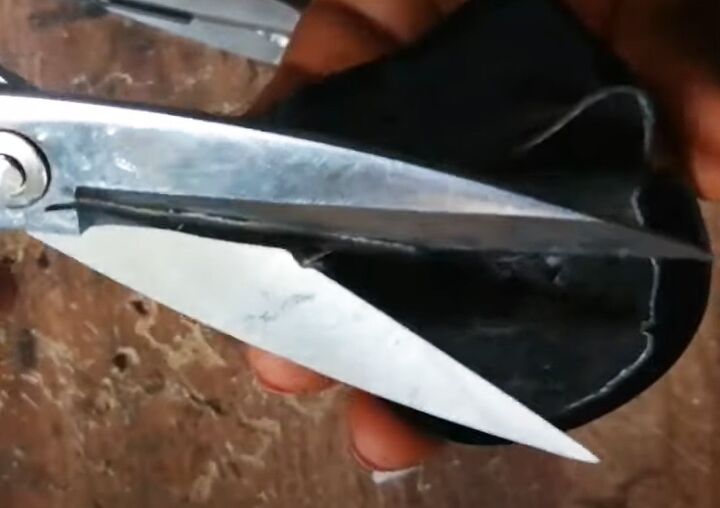
4. Trim the leather
Cut off the excess leather above and below the heel block, leaving enough to glue to the inside.
Apply more contact adhesive to the edges of the leather.
Press the edges on to the top and bottom of the heel.
Snip off the corners.
Press each side down so they lay flat.
Trim off any excess leather that covers the holes on the bottom of the heel.
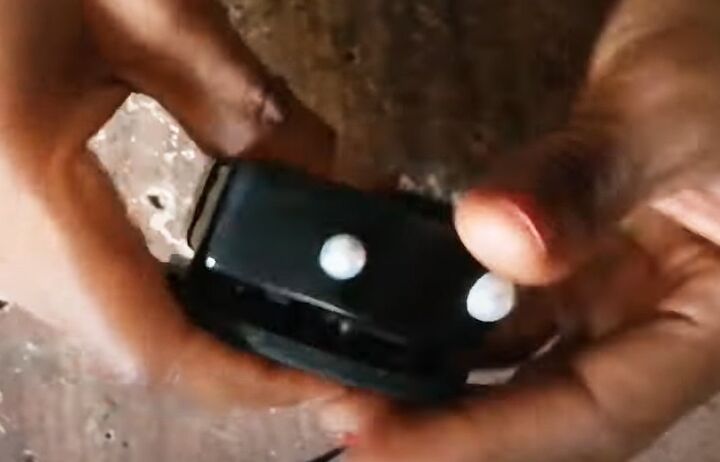
5. Finishing
Attach the heel cap, fitting the prongs into the holes in the heel.
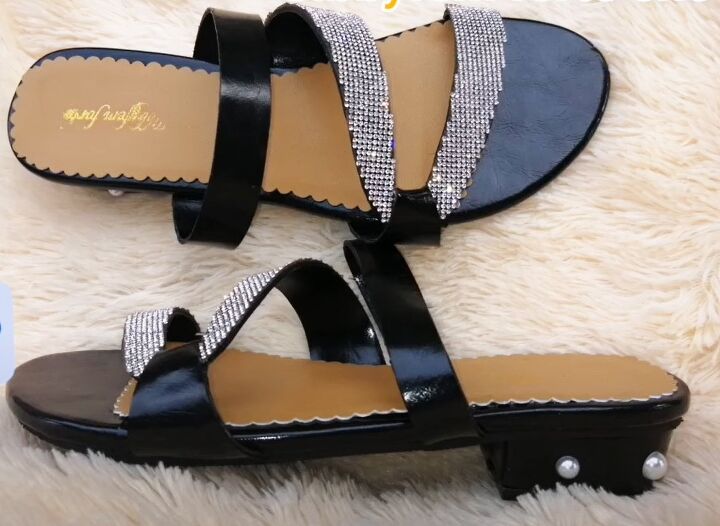
Bedazzled shoes DIY
These heels make the perfect finishing touch to our bedazzled shoes DIY. If you don’t like the pearls, you can use rhinestones or crystals.
The important thing is to make shoes that you’re going to love to wear. Be creative and make them unique to you.
I’m happy to answer any questions you may have and I love to read your comments.
Please drop me a line below and tell me how you get on with these.
The author may collect a small share of sales from the links on this page.


Comments
Join the conversation