How to Easily Make Sandals From Old Flip Flops & Contact Cement

If you have an old pair of flip-flops that are ready for an upgrade, this DIY sandal tutorial is for you. With just a few simple tools and materials, you can create a beautiful new pair of one-of-a-kind sandals. Let’s get started!
Tools and materials:
- Flip-flops with separate sole and footbed
- Scissors
- Fabric
- Mod Podge or strong crafting glue
- Paintbrush
- Heavy-duty contact cement
- Plastic bag
- Iron
- Measuring tape
- Pen
1. Separate
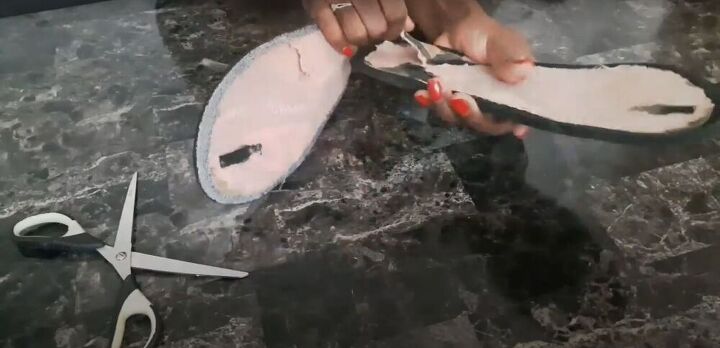
To begin, separate the footbed from the sole of the sandal and remove the straps.
2. Apply glue
Apply Mod Podge to the top side of the footbed, and spread it over the whole surface with a paintbrush.
3. Apply fabric and cut
Lay your fabric of choice on the glue, pressing and smoothing it, so there are no wrinkles or bubbles. Then, cut the fabric around the footbed, leaving about 1.5 inches of fabric overhanging the edges.
4. Apply glue and fold
Apply Mod Podge to the edges of the bottom side of the footbed, and then fold and press the excess fabric over into the glue.
5. Trim
Once the fabric is glued down along the edges, wait for it to dry, and then cut off any excess fabric.
6. Fold
Next, take your plastic bag, and fold it into a 3- to 4-inch wide strip.
7. Fuse
Cover the plastic bag with a piece of fabric, and use an iron to fuse the layers of plastic together.
8. Cut
Cut the plastic into a long strip with straight edges.
9. Measure and mark
Measure 2 centimeters (0.78 inches) from one end of the plastic strip, and draw a line. From that line, measure 15 centimeters (5.9 inches) and draw another line. From that line, measure 3 centimeters (1.2 inches), and draw a third line. Cut the strip at the third line.
Then, use the first strip to cut another strip of equal length.
10. Cut fabric
Cut a rectangle of fabric that is about 2 inches longer than the plastic strips and about 3 times as wide.
11. Apply glue
Apply glue to one side of the fabric strip, then spread it across the entire surface with a paintbrush.
12. Fold
Fold one edge of the fabric about halfway across the width of the plastic strip. Then continue folding the fabric around the plastic strip until you reach the end.
13. Glue
Once you reach the end of the fabric, fold the raw edge in by about half an inch, and glue it down.
14. Measure
Measure and mark where you want the straps of your sandals. Also, measure and mark how much of the strap will be folded under the footbed.
15. Glue
Apply glue to the ends of the strap, then press the bottom side of the footbed onto the glue. Repeat on the other side.
16. Apply cement
Apply contact cement to the entire top surface of the sole of the shoe. Attach the footbed to the sole, and press down hard.
17. Finishing touches
If there are any parts of the footbed that did not stick well, reapply the cement and press it hard in place.
Once the cement is dry, you have a brand new pair of sandals!
What do you think of this sandal upgrade craft? If you use this tutorial to make DIY sandals of your own, please post your results!
Enjoyed the project?
Suggested materials:
- Flip-flops with separate sole and footbed
- Scissors
- Fabric
- Mod Podge or strong crafting glue
- Paintbrush
- Heavy-duty contact cement
- Plastic bag
- Iron
- Measuring tape
- Pen
The author may collect a small share of sales from the links on this page.


Comments
Join the conversation
I wonder if you could just use two pairs of dollar store flip flops and do the same thing, Just glue the two together after making the sandal strap and covering the top pair of sandals with fabric.
DEFINITELY gonna do this, using Roberta's suggestion about using 2 prs!! 😁 I'm only 5'4", so maybe I'll even do 3 or even 4 bottom layers to give me more height!! LMAO 🤣 (if ya think about it, those dollar store flip flops are pretty thin anyways, so it won't look THAT bad 😏🤗) 🤪