Looking For Glamourous Footwear? Try These DIY YSL Crystal Boots

Let’s make DIY YSL crystal boots! This DIY YSL boots tutorial is super easy and will take your ordinary boots to a whole new level.
Every woman dreams of owning Rihanna’s wardrobe. She knows how to pull off the best looks! Recreating her style can be a little tricky since not everyone can afford those price tags that come with her outfits.
The good news is that a little creativity goes a long way, and I’m going to show you how to recreate her YSL crystal boots. Ready? Let’s start this DIY YSL rhinestone boots tutorial!
Tools and materials:
- Boots
- Hot glue gun
- Glue sticks
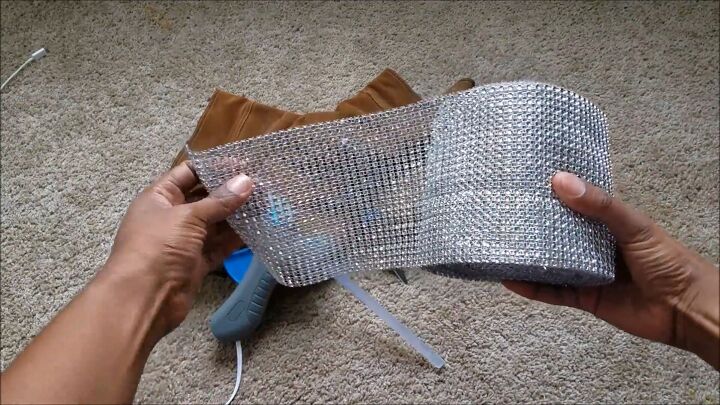
- Silver mesh rhinestone ribbon fabric
- Sharp scissors

I also want to add that I got these brown suede boots from a thrift store for only $6! That’s right - it was a bargain. So, in essence, this tutorial also serves as a fantastic thrift flip!
1. Get all your materials
Before starting, ensure you have all the items listed in the material section above.
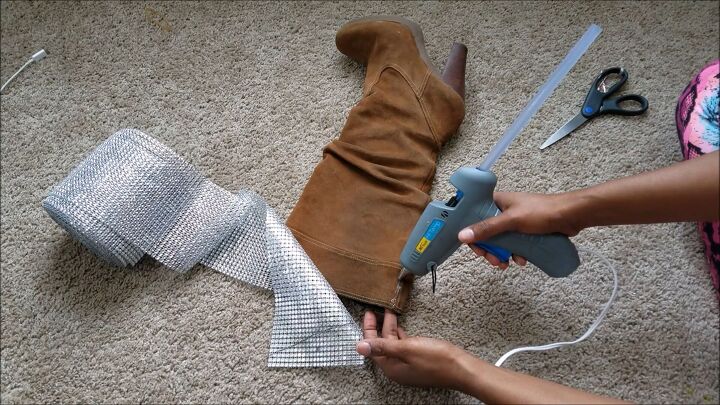
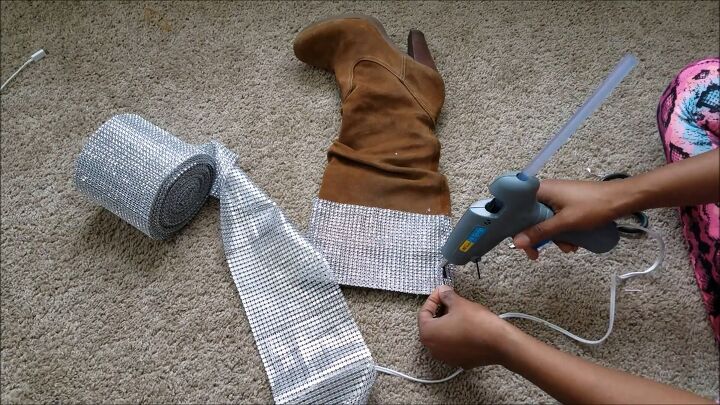
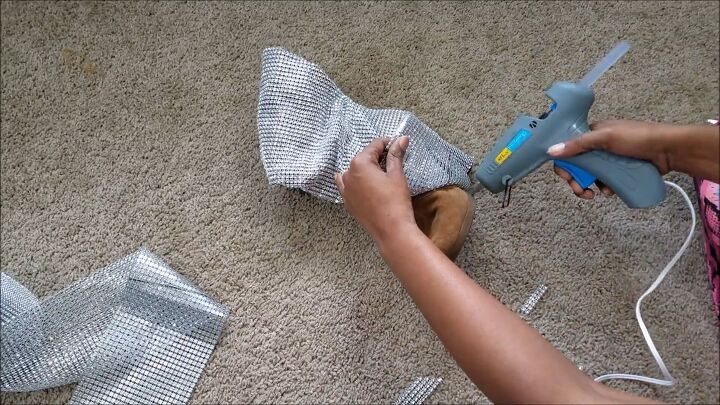
2. Start gluing!
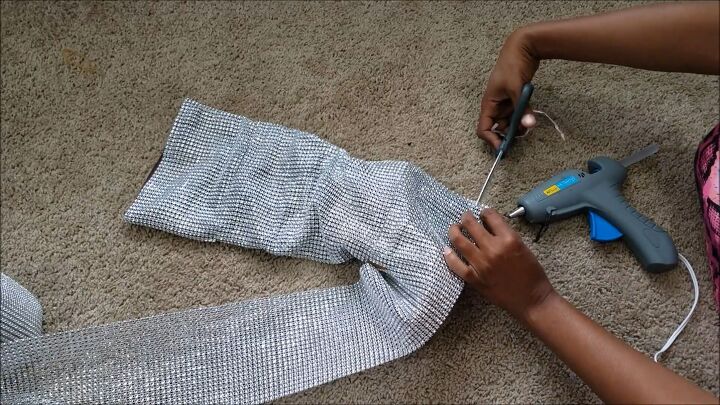
Make sure your glue gun is hot before starting the process. Next, apply some glue along the top seam line of your boot, as shown.

Then, go ahead and apply the edge of the rhinestone ribbon to the glue.

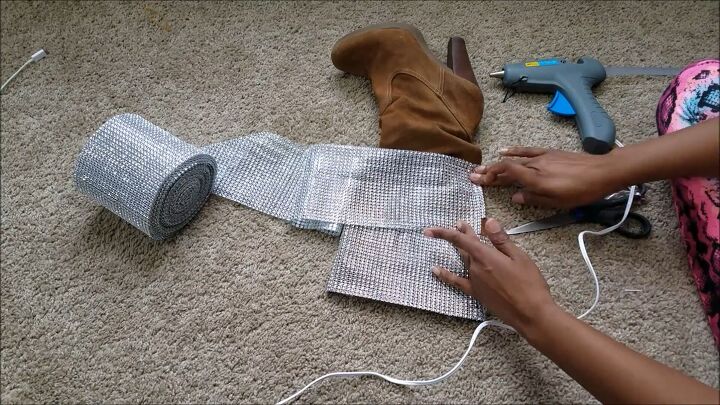
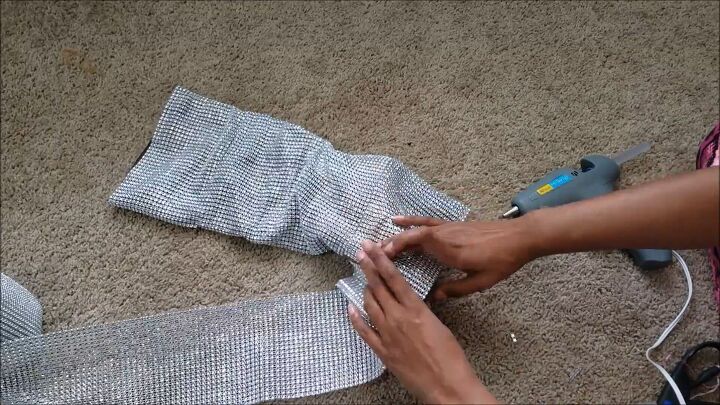
Now, working in increments, glue the rhinestone ribbon fabric to the top part of the slouch boots. Take your time here; the aim is to do an accurate job, so the YSL crystal boots replica looks like the real deal!
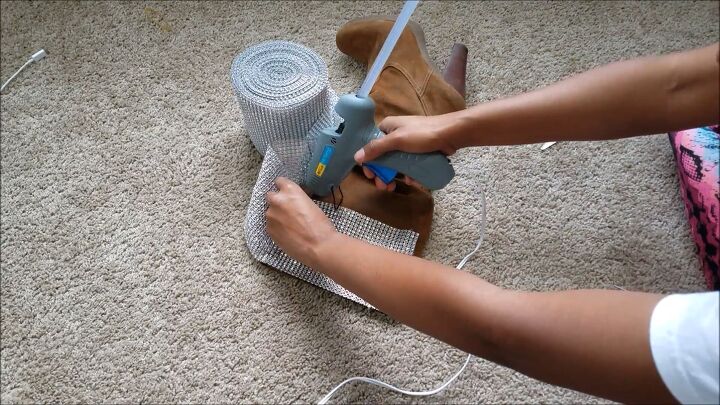
As you glue, follow the seam lines of your fabric and make sure the fabric is glued smoothly, without any bumps in the middle.
Now, turn your boot around and repeat the same for the other side.
Tip: Be generous when applying the glue to ensure it spreads and sticks the whole fabric.
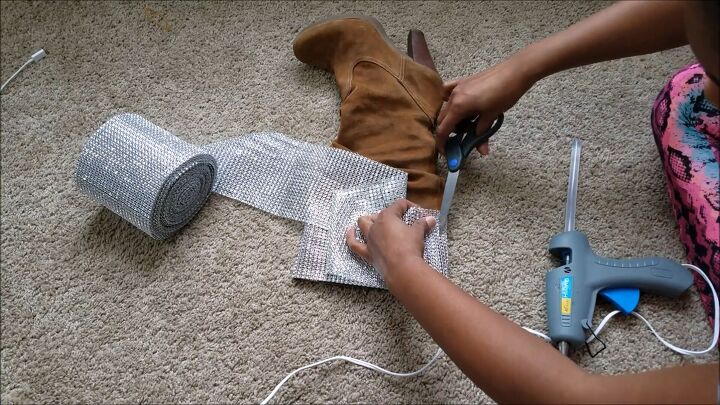
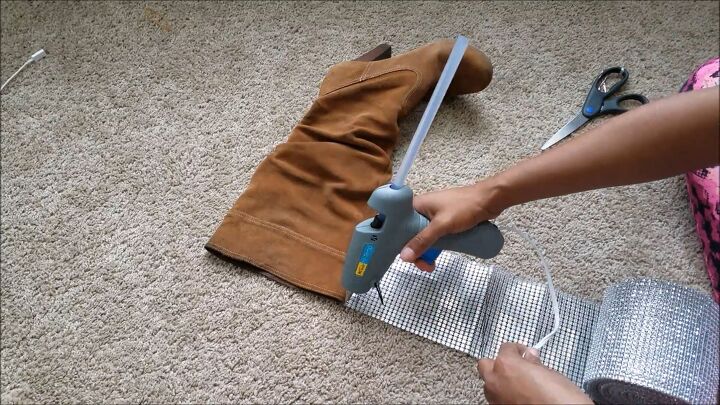
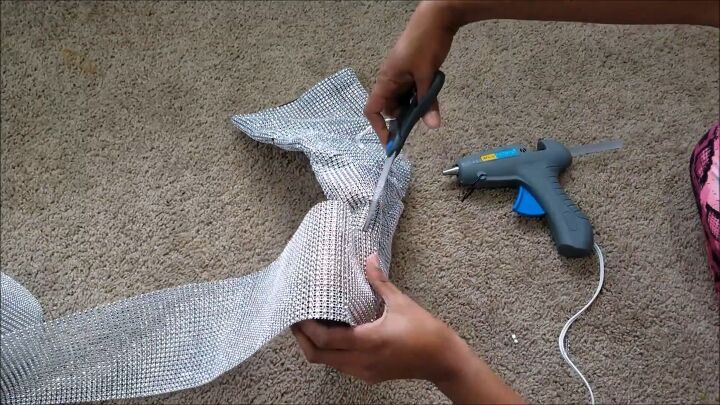
Cut the strip where needed and glue the edge.
Fill in the gaps where necessary by cutting pieces from the rhinestone ribbon.
Work your way downward. The process is the same principle as mentioned above. Again, take your time. It has to be 100% right.
Tip: Be sure to line up your stones every time you start a new section.
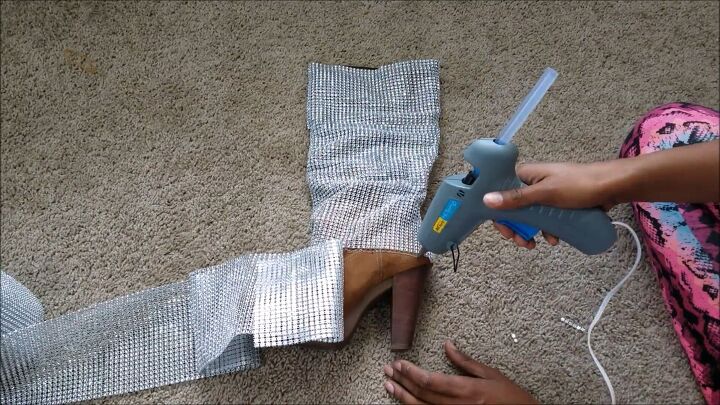
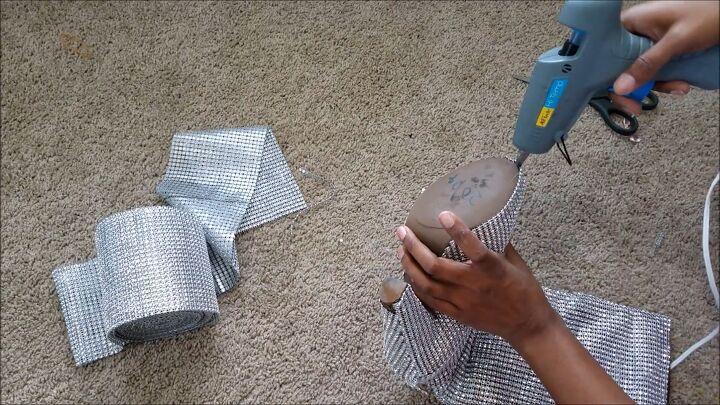
When you get to the heel section of the slouch, then things get a little trickier. Start by gluing the ribbon from the center-back of the heel.
Then, line up your stones and glue the edge of the ribbon to the boot accordingly.
Once you get to the front part of the boot, where your toe is, go ahead and stick the whole ribbon to the bottom part of the shoe, including the heel.
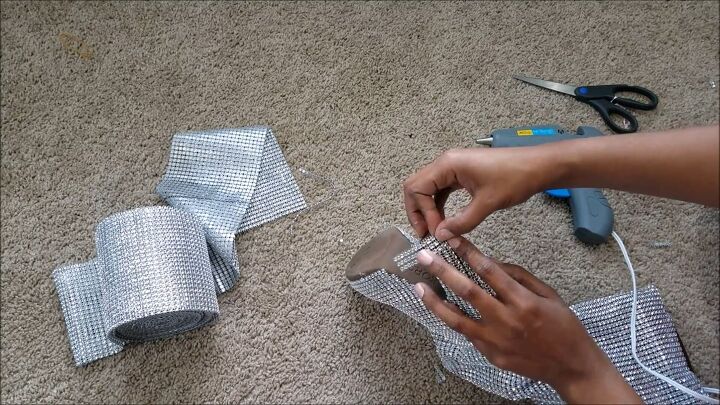
Following the shape of the heel, cut the ribbon around the heel area, so it fits accordingly.
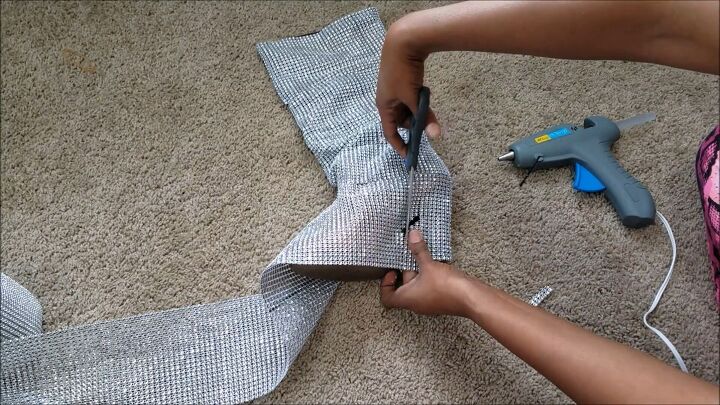
Cut around the platform part of the boot so that it covers the platform and the ribbon overlaps to the bottom section.
Now, stick the ribbon to the last part and glue the ribbon to the other side of the boot. Your YSL crystal slouch boots are almost there!
Continue trimming off and adjusting the pieces on the bottom of the boot and glue the areas that don’t stick down properly.
Add extra ribbon around the heel, if necessary.
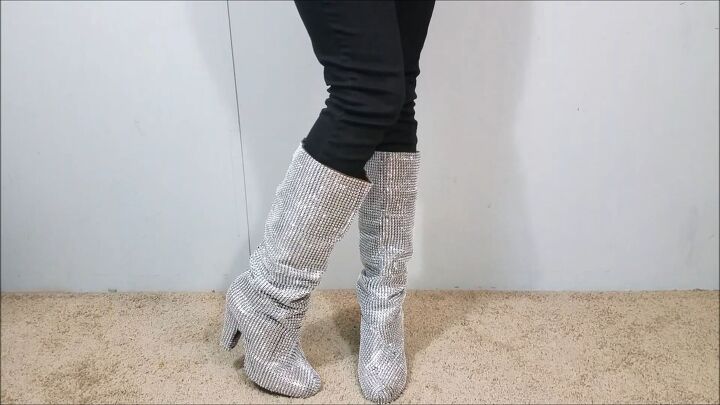
DIY YSL crystal boots tutorial
This is it! What do you think? I absolutely love how these DIY YSL crystal boots turned out! So dazzling and sparkling - you’re bound to get some compliments coming your way. And no one needs to know that you did these yourself - that can be a secret between us!
I hope you enjoyed this DIY tutorial, and thanks for joining me!
The author may collect a small share of sales from the links on this page.


Comments
Join the conversation
When I turned 15 in 1973, my parents surprised me with silver platform boots. I had been looking at them in the store every time I went to the the mall. I was working but couldn’t have afforded them. It was the best birthday gift I ever received. This brought back that happy memory. Thank you!
NICE!!! THANKS 😊