How to Make Unique Glitter Sneakers

Today, I am going to show you how to create custom glitter sneakers. I keep seeing these glitter customs floating around the internet and I wanted to try it out myself. I love how the shoes turned out so I thought it would be a great idea to show you how to customize sneakers and make your own DIY glitter shoes.
You guys might be wondering if these are going to be durable and if the glitter is going to keep coming off on everything. Do not worry, I have you covered! I am going to show you how to lay the glitter on and seal it in.
Without further ado, let’s learn how to make glitter shoes.
Tools and materials:
- White sneakers
- Painter’s tape
- Acrylic leather paint
- Fine grain glitter
- E6000 clear glue
- E6000 clear spray adhesive
- Acetone
- Modge Podge clear sealer
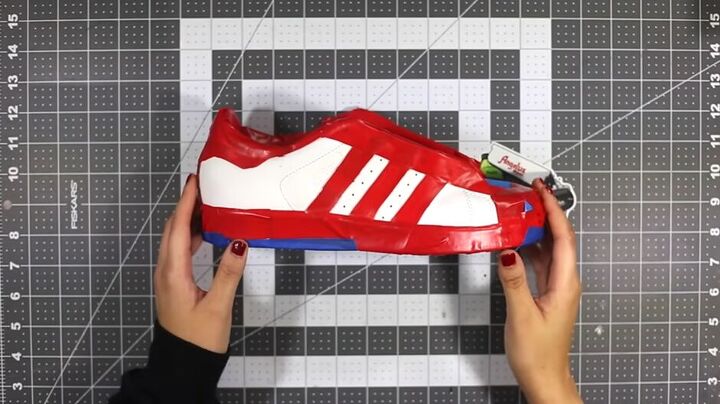
1. Tape off the shoes
Prepping is an extremely important step. I started with my plain white shoes and taped off the areas that I do not want to get any glitter on.
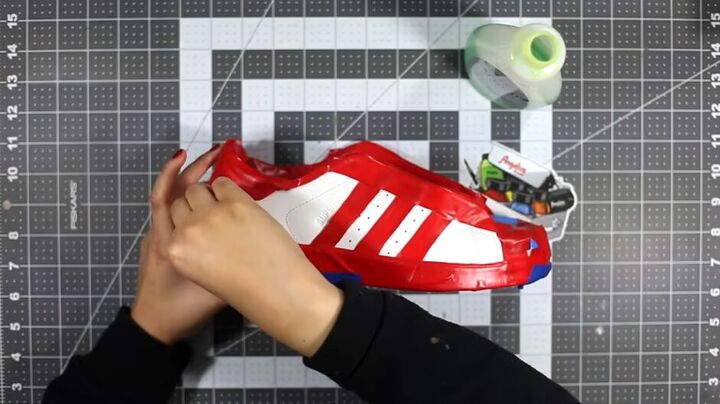
2. Clean the shoes
Use acetone to clean the surface where we will apply the glitter.
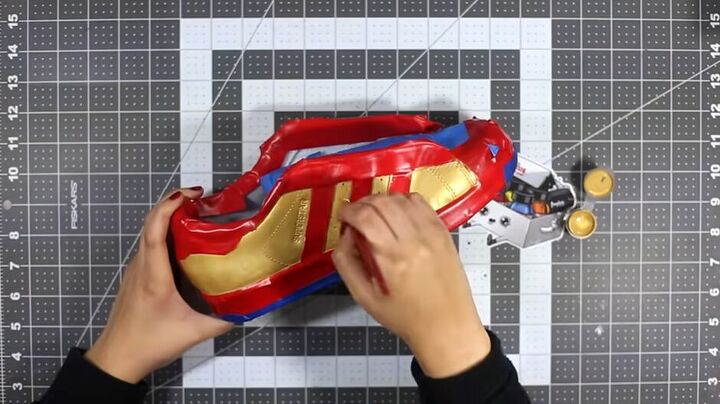
3. Paint a base coat
The key to this gold glitter sneaker custom is layering, this will ensure everything sticks together nicely.
Begin by painting a gold base coat across the entire surface. We are going to paint multiple layers of our gold base until the surface is fully pigmented. You will end up applying about 8 or 9 coats.
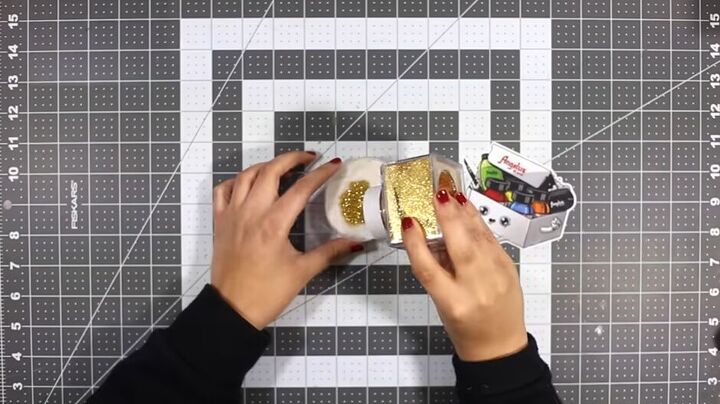
4. Make the glitter mixture
The next thing we're going to do is mix our neutral leather paint with fine-grain glitter.
Don't worry about measurements, go ahead and eyeball it, just make sure you add more glitter than you do paint. Mix them together well.
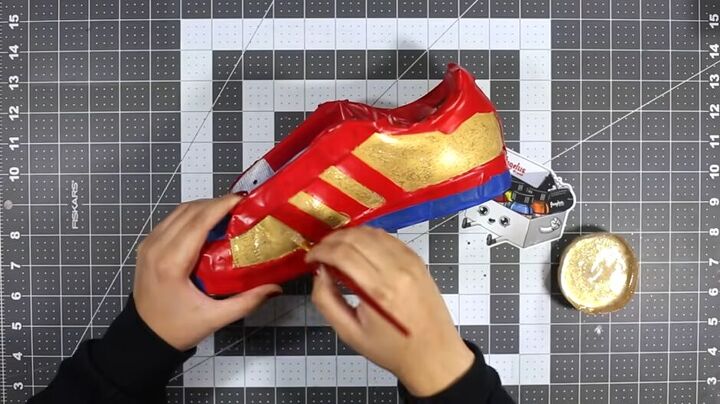
5. Apply the glitter mixture to the shoes
You can now start applying the mixture to the shoe. You will need to apply multiple coats to get all the glitter to patch together and give you a nice even finish. Use a heat gun between each coat.
This looks pretty good, but it isn’t the finish that we're going for. We want something a little bit more dramatic and way more sparkly.
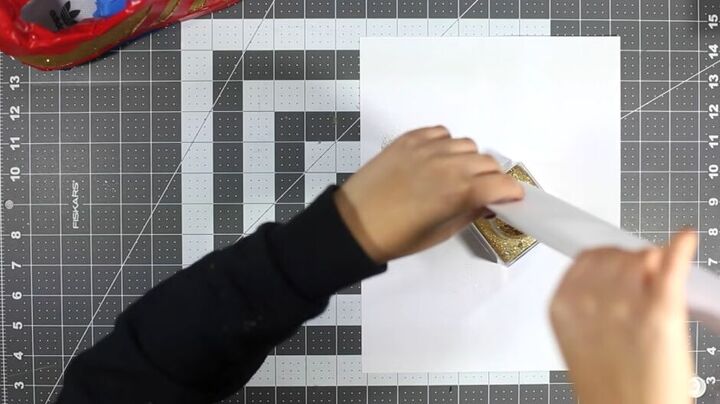
6. Lay down paper
Lay two pieces of paper onto your working surface because, from this point on, things are going to get messy.
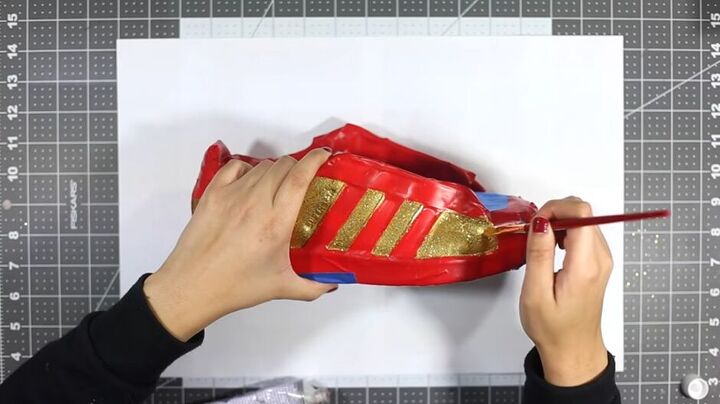
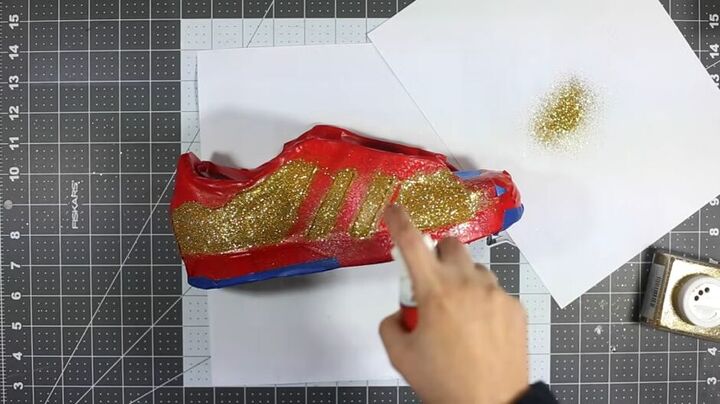
7. Apply clear glue
Apply a thin and even layer of E6000 clear glue onto the shoe.
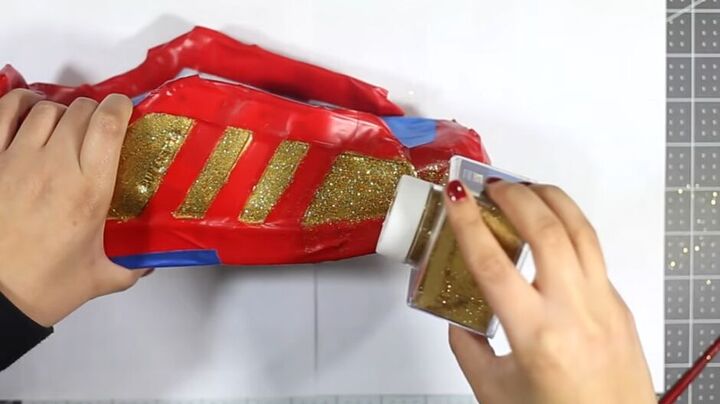
8. Sprinkle glitter on top of the glue
Then, sprinkle your glitter on top of the glue. Make sure there are no large clumps in the glue before laying the glitter on top.
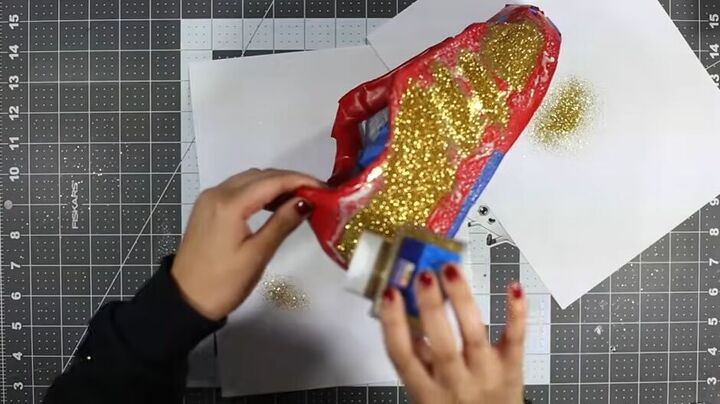
It is a good idea to work in sections as the glue dries quickly.
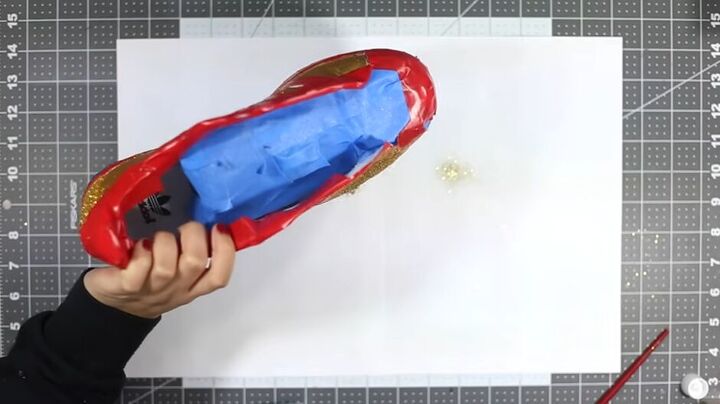
Turn the shoe over the paper and give it a few taps to get the excess glitter off.
Pour the leftover glitter back into the container before starting the next section.
Now, carry on painting each section with the glue and pouring glitter on top.
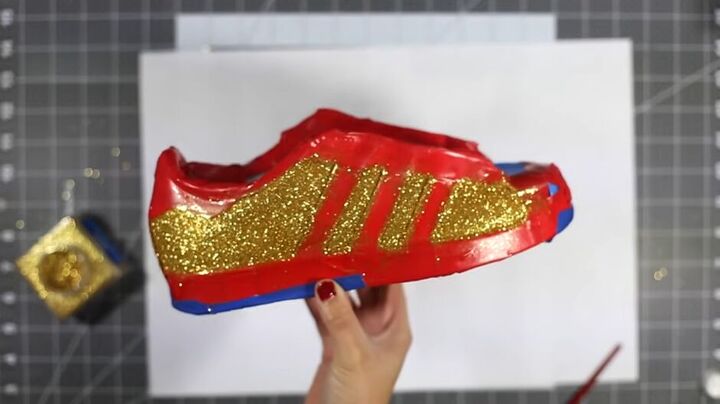
The first layer should look like this once you are finished.
9. Spray glue onto the shoes
This second layer is going to be a little different. Instead of the clear gel, we are going to use a spray adhesive.
We are doing this because the glitter from the previous layer hasn't totally set in yet, so if we used our paintbrush and glue, we would create holes and clumps in our previous finish.
Spray the glue onto the shoes.
10. Sprinkle glitter on top of the glue
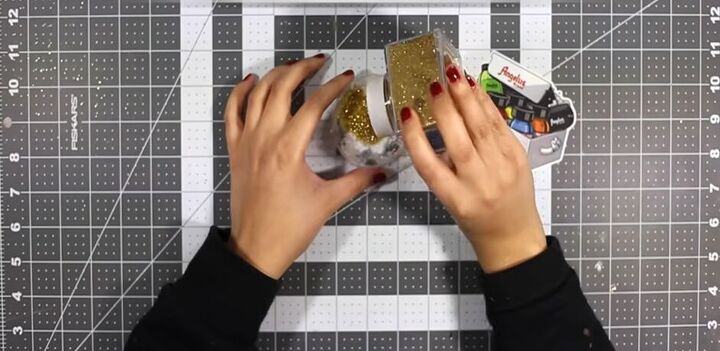
11. Mix together a sealant
The last thing we're going to do is create our sealer to secure the glitter and prevent it from coming off.
Mix equal parts of Modge Podge, water and glitter in a container. The consistency of the mix should be on the watery side.
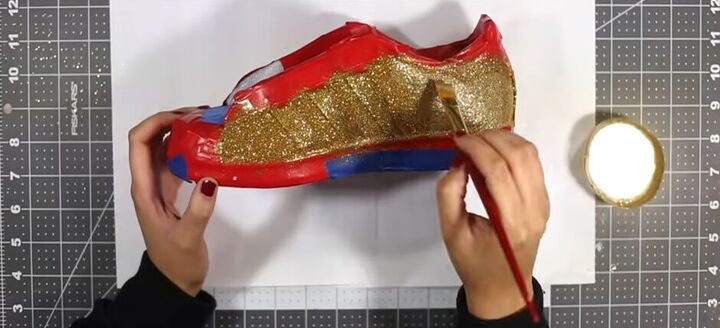
12. Apply the sealant to the shoe
Apply two coats of this mixture to your shoes.
You will notice the shoes turning white when the mixture is wet, but it will go back to normal once dry.
Once you are finished with your two layers, take your shoes outside and let them dry for a few hours.
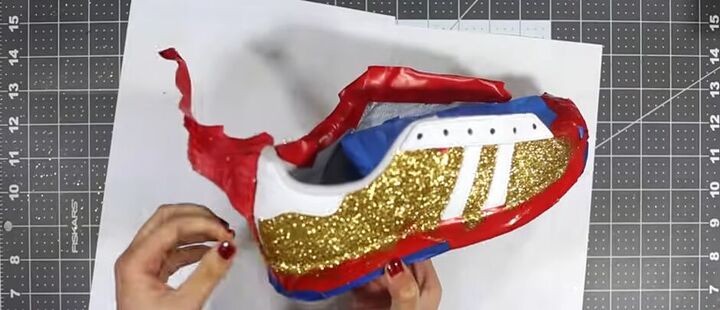
13. Remove all the tape from your shoes
Once dry, you can remove the tape from your shoes.
The glitter should now be sealed in.
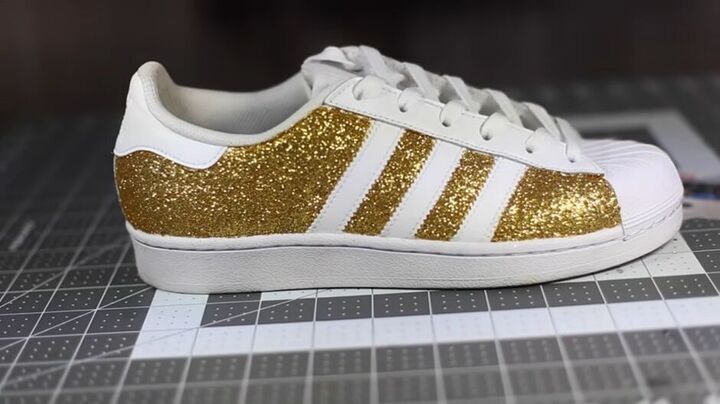
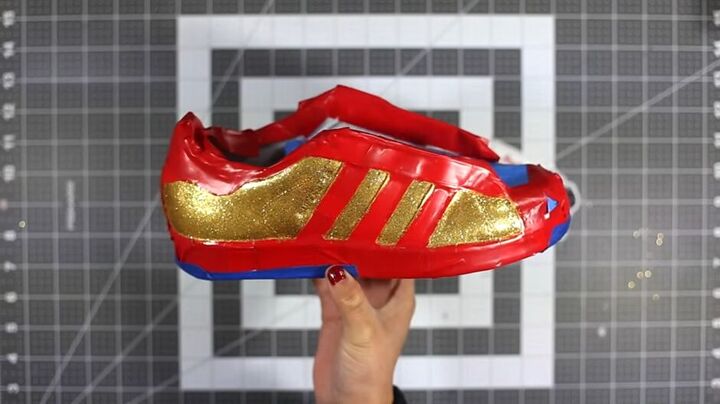
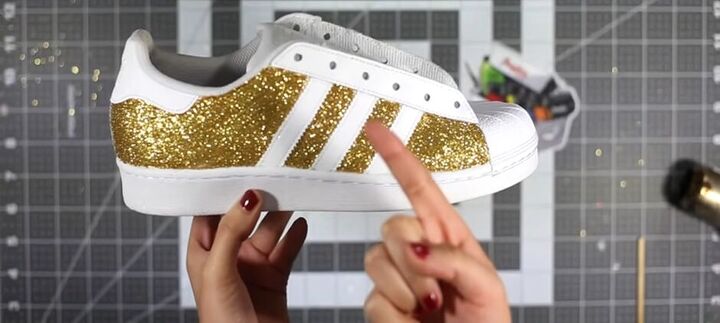
Glitter sneakers DIY
These are the finished glitter sneakers. They are so cute and sparkly and really make a statement.
I’m looking forward to hearing if anyone tries this custom out! Please do, it is so worth it.
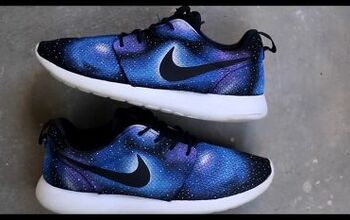
If you enjoyed this tutorial, check out my post on How to Create Awesome Multicolor Sneakers.
The author may collect a small share of sales from the links on this page.


Comments
Join the conversation