How to DIY Awesome Tiger Camo Shoes

Hey, guys. I made these tiger camo shoes with Nike Huaraches.
They’re a little abstract, but I think they look pretty cool, so I’m going to take you guys through the whole process of how I made these painted sneakers.
I'll show you what colors I used and how to paint tiger stripe camo. Let’s get started with this sneakers DIY tutorial!
Tools and materials:
- Pencil
- Water cup
- Paintbrushes
- Matte finisher
- Paint duller
- Acetone/nail polish remover/deglazer
- Heat gun
- Acrylic leather paint
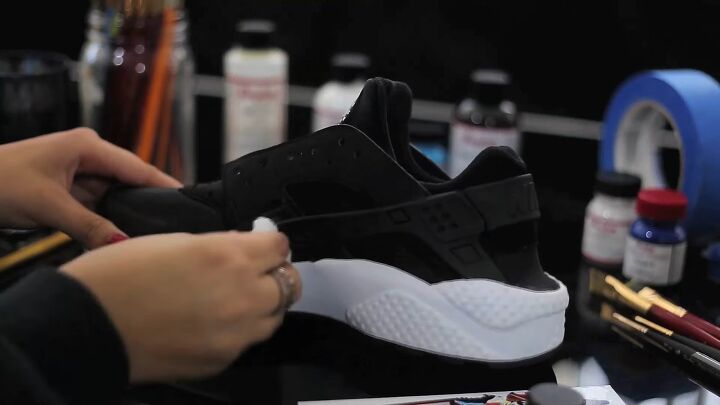
1. Acetone the shoe
Use a cotton pad to wipe down the shoe with acetone, nail polish remover, or deglazer.

2. Paint the shoe white
Now that the surface is completely acetoned, paint it all white. I went in with three coats.
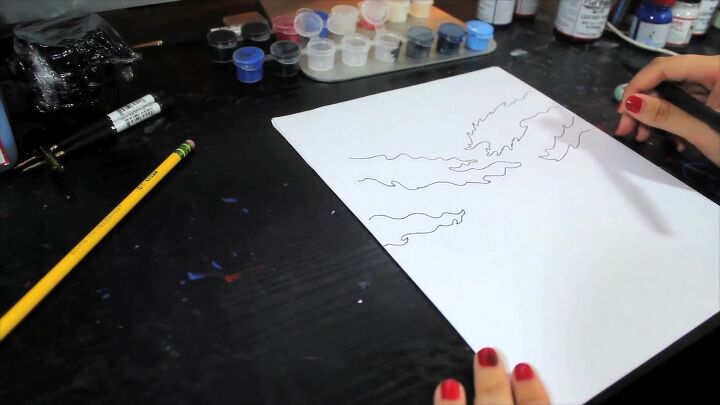
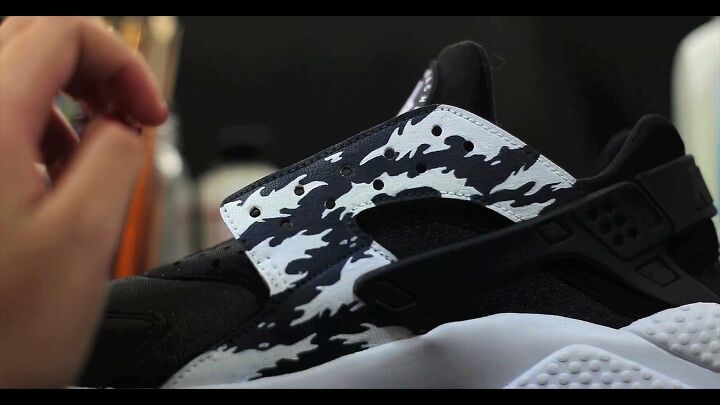
3. Draw the design
Practice drawing the design on paper before you draw it on the shoe.

Then, transfer the design to the shoe.
This may seem a little intimidating, but don't worry about it! The pattern consists of assorted squiggly lines, so the key to this design is randomness.
You can get away with almost anything and you can always go back and change your lines or tweak some things.
Do your best, and it should come out pretty well.
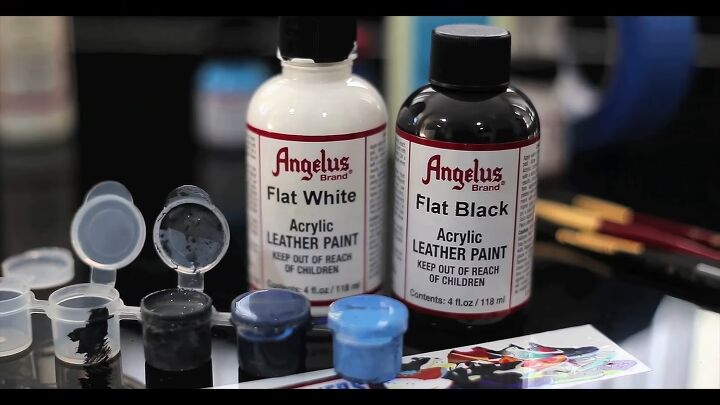
4. Mix your paints to get the colors you want
Next, grab your colored paints. I’m using three different colors.
The first color is going to be a mixture of pale blue and flat white.
The second color is dark navy color, using flat black and royal blue.
The third color is a dark gray, using flat white and flat black.
You can switch up the colors for whatever kind of camo you’re doing, just make sure your paints are already mixed and ready to go before you paint the shoe.
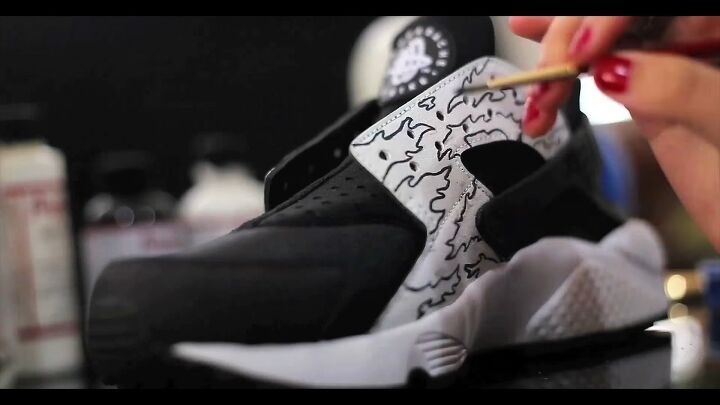
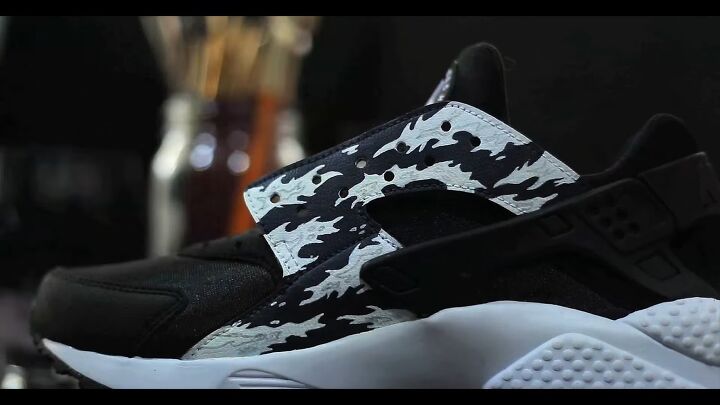
5. Outline the design
Outline the design using a micro detail brush. This is going to make coloring it in a little bit easier.
After outlining the shapes, color in the white space.
As I went, I tweaked things a little bit by rounding out the edges and adding some dots and stems.
Do whatever you want with the details, just keep in mind you can always go back and change things as long as you have this basic foundation.
6. Add detail (optional)
Add assorted stems and shapes inside of the white areas with a pencil.
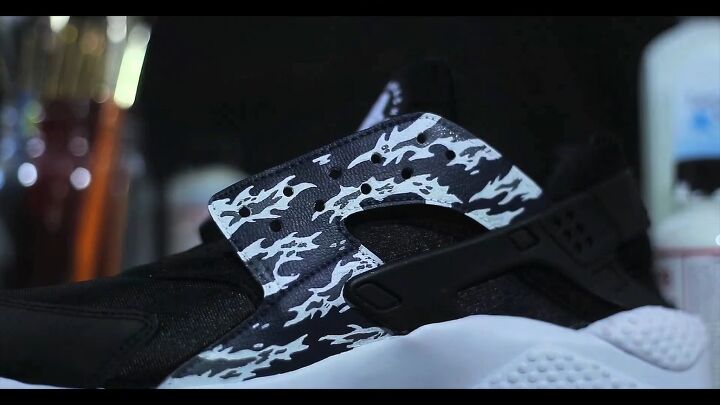
Fill it in with the same dark gray paint.

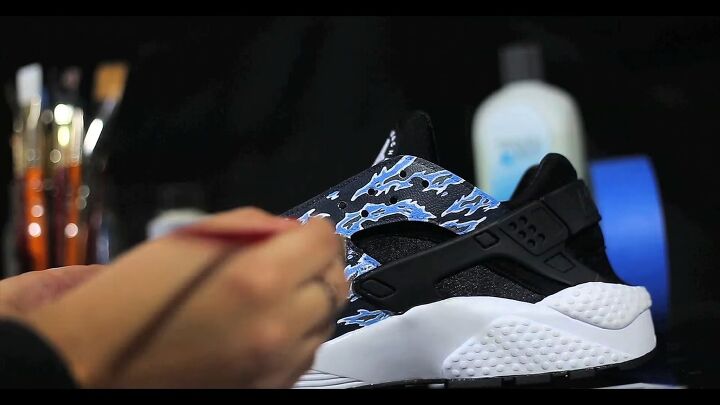
7. Fill in the main shapes with blue paint
Go around the gray areas with blue paint, leaving some white spaces in between.
8. Apply the finisher to the painted shoe
Add a few drops of duller to your finisher for a more matte look, then use it to go over the shoe.
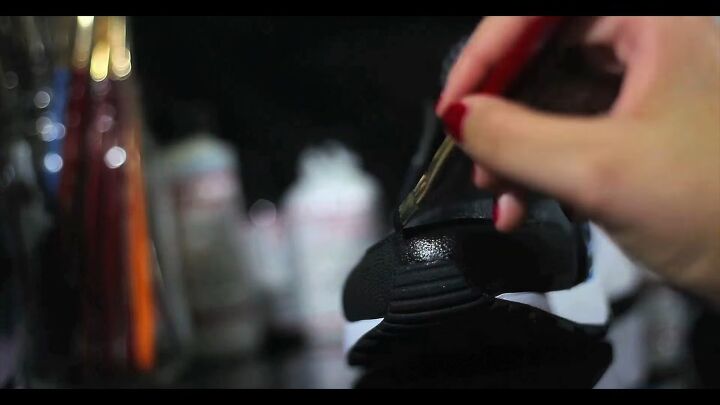
9. Paint the toe cap
Use flat black to paint the toe cap.

Finished camo shoes
Here are the finished camo sneakers! Let me know what you guys think about this design and tutorial down below.
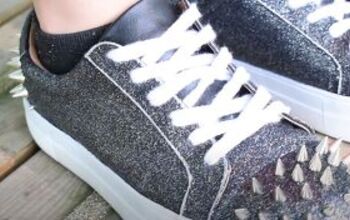
For more DIY shoe content, check out my posts on How to Make Unique Glitter Sneakers and How to Make Sneakers White Again.
The author may collect a small share of sales from the links on this page.


Comments
Join the conversation