Learn How to Make a Pair of Slippers

Is there anyone out there who doesn’t love a good pair of soft slippers? No? Didn’t think so. After a long day being out and about, everyone wants to come home, put on their favorite pair of slippers, sit down, and relax. With this pair of super-soft slippers, you’re going to be in for a whole lot of relaxing!
Tools and materials:
- Colored/patterned fabrics
- Anti-slip fabric
- Foam - shouldn't be too soft
- Felt/wadding/interfacing
- Sewing machine
- Needle and thread
- Fabric pins and clips
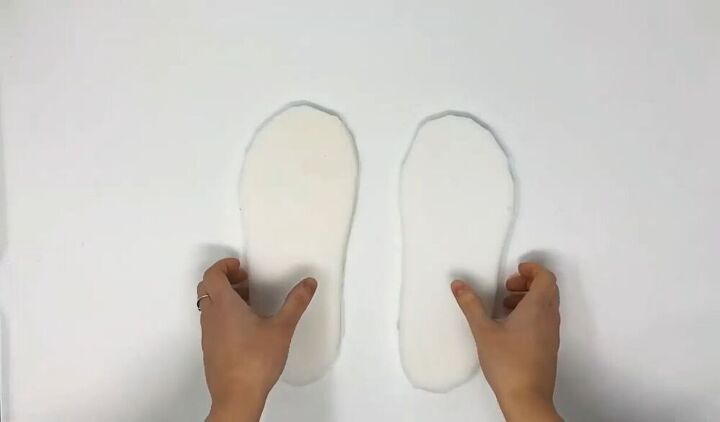
Cut the foam
Start by drawing around your feet or shoes to make the shape for the slippers. Then cut this shape out of the foam.
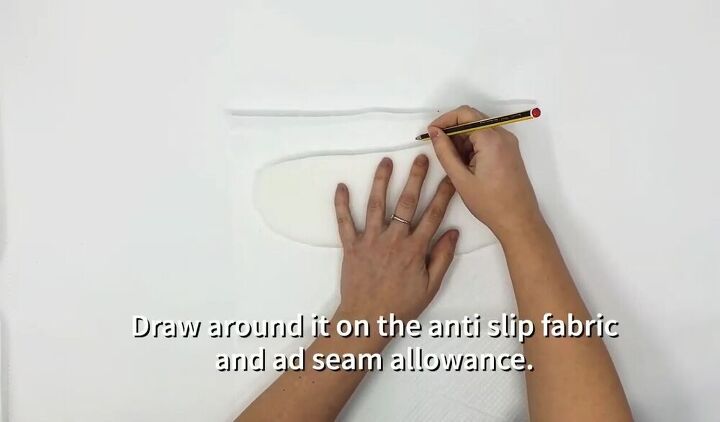
Cut the anti-slip fabric and the colored fabric
Once you have your feet shapes cut out of the foam, place them on top of the anti-slip fabric. Draw around them on the anti-slip fabric but add a few centimeters seam allowance, proceed to cut them out. Then place your cut-out pieces of anti-slip fabric on top of your colored fabric. Cut the same sizes out of the colored fabric.

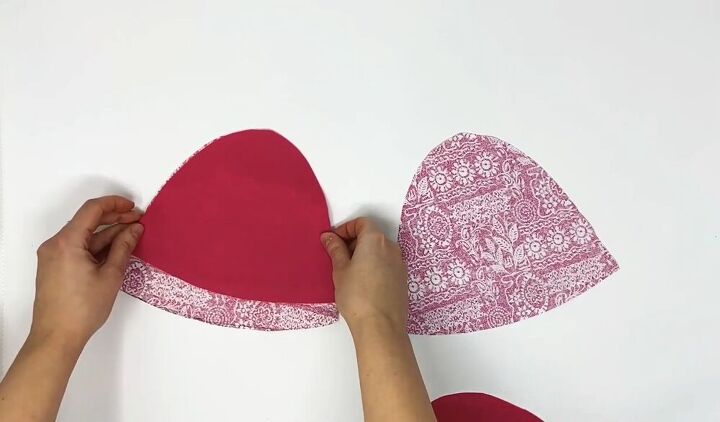
Cut the toe coverings
Take felt, wadding, or interfacing and place them under the top half of your foam cutouts. Trace the shape of the cutouts but draw wider around the sides. Then cut this out. This shape will become the toe covering for the slipper.
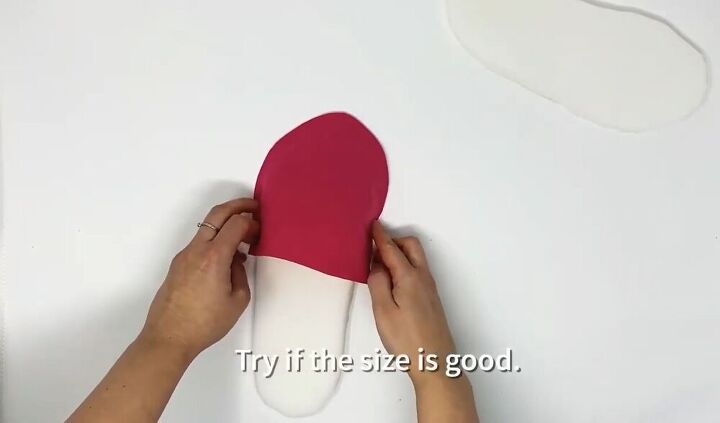
Check the size
Take the toe covering and wrap it around the slipper to see if the size is right. If you are happy with it, then cut the same shape piece out for the other slipper. (Cut out a new piece if the size needs to be adjusted and repeat this step).
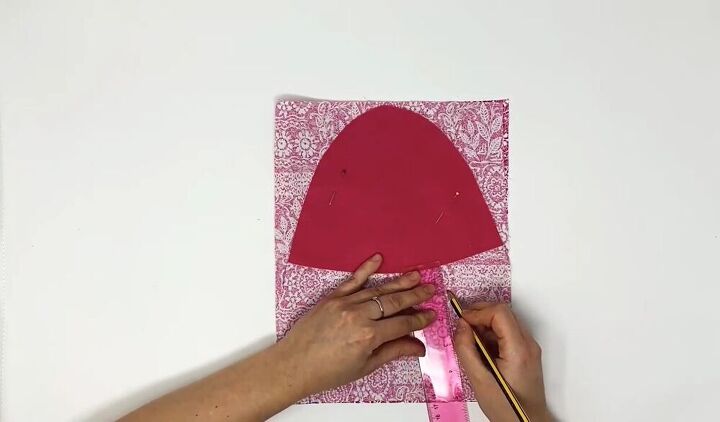
Cut material
Pin this curved piece to a new piece of fabric and draw around it but add about 1inch (2.5cm) to the bottom. Do this for both sides, and then cut the fabric out.
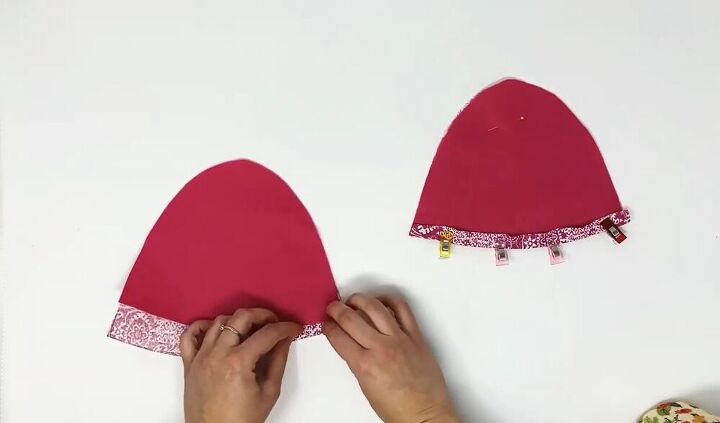
Sew together
Pin the felt/wadding/interfacing to the material. Fold the bottom of the material up twice and then pin/clip it in place. Continue by sewing along the fold.
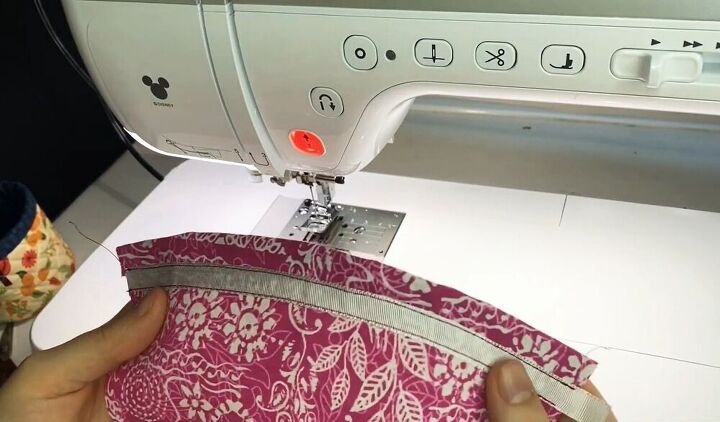
Decorate the toe covering
Decorate this part of your slippers by using a ribbon. Sew this on both sides. You can also add a decorative stitch over the ribbon for an extra glam factor if you like.
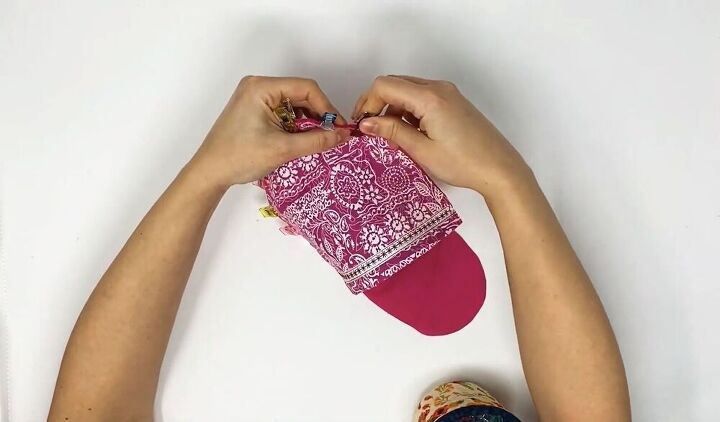
Assemble the slippers
Pin/clip the toe coverings to your fabric cutout. Then sew around the edge to attach the two together. Do this for both slippers.
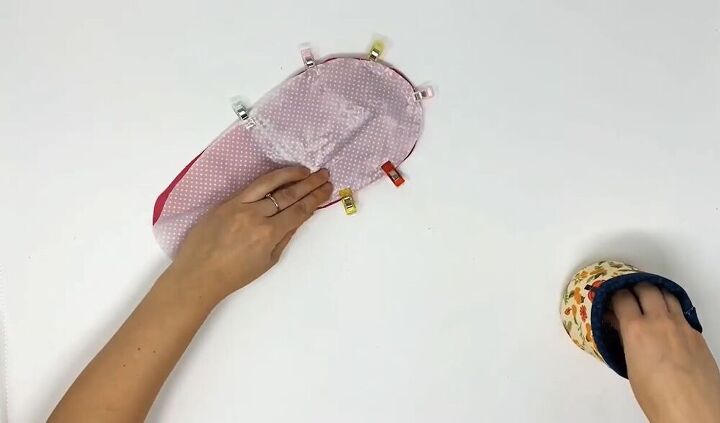
Add the anti-slip fabric
Squish the toe section down so that it is flat. Take your anti-slip fabric cutout and good-side down, place it on top of the slipper. Clip it to the slipper. Then sew all the way around but leave a gap at the back. Do this for both slippers.
Tip:
You don’t want to use pins here because they will leave holes in the slipper. It’s worth investing in a stash of clips for sewing projects.
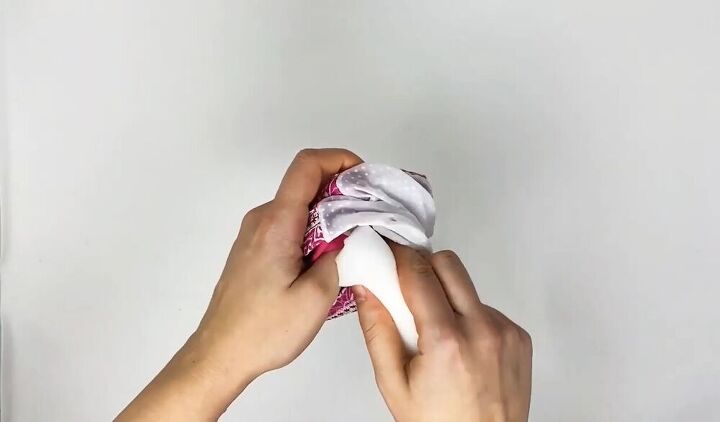
Add the foam insides
Trim the edges of the material and turn the slippers inside out. Feed your foam cutouts into the slippers and pull the material down around them. To finish up, slip stitch the back using a needle and thread to close up the hole.
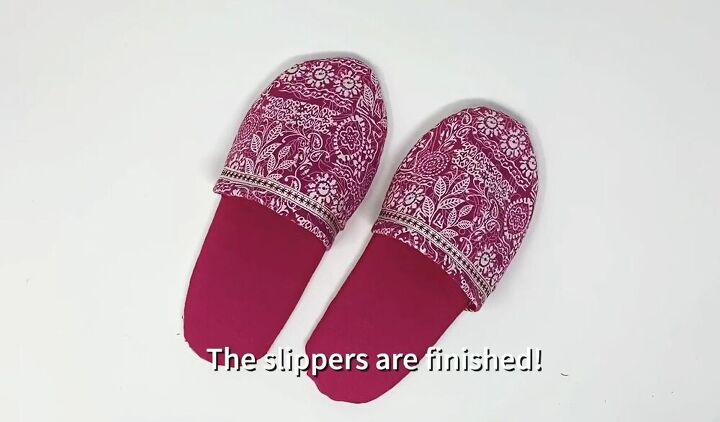
The slippers are finished! The detailing on the ribbon, the gorgeous fabric, and the anti-slip fabric on the bottoms really make these slippers not only stylish but highly functional. If you’re looking for a unique DIY gift idea then these slippers make great presents!
The author may collect a small share of sales from the links on this page.


Comments
Join the conversation
I like these but I have to have the heel of my foot covered. Do you know how to make a slipper kinda like the Isotoner slipper?
I love your video, thank you, you make it look so easy. Slippers are beautifull