How to Make Cute DIY Shorts in a Wrap-Front, Skirt Overlay Style

Wrap-front shorts are having a moment. They combine the comfort and ease of shorts with a flirty skirt on top. My shorts with skirt overlay pattern make a shorts and skirt combo that's perfect to wear in the summer. Pair it with a simple white T and you’re good to go anywhere.
Let’s start making these wrapped shorts that are so pretty and comfy that they’ll become your daily shorts.
Tools and materials:
- 1 yard or less of fabric, viscose jersey preferred
- 1 inch elastic
- Pins
- Scissors
- Measuring tape
- Ruler
- Serger
- Sewing machine
- Tailor’s chalk/marking pen
- Safety pin
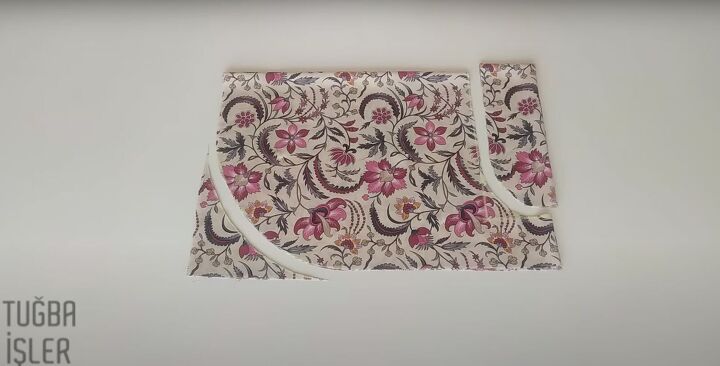
1. Make the pattern
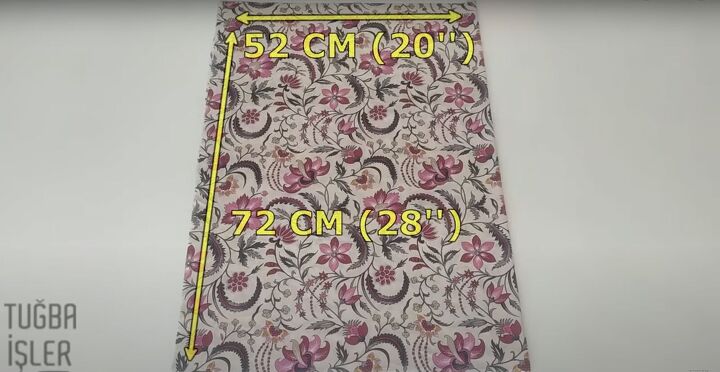
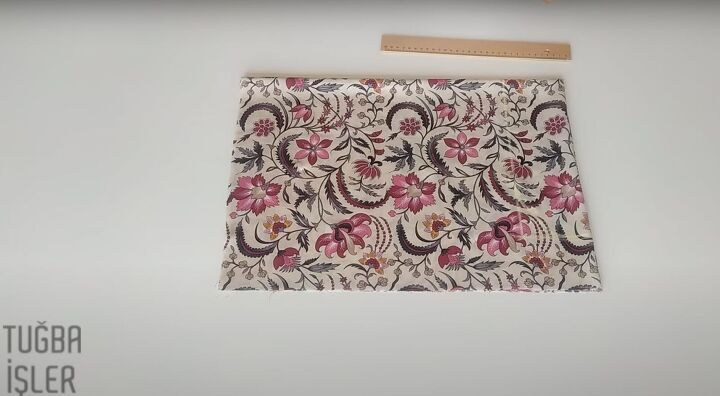
This pattern fits size 6-8 women. Fold the fabric in half to measure 20 X 28 inches (52 X 72 cm).

Fold the fabric in half along the length so the width remains 20 inches.
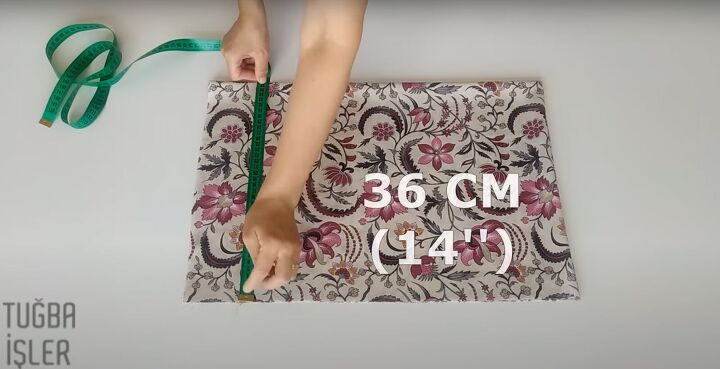
The length should be 14 inches. Pin the fabric together so it doesn’t move when cutting.
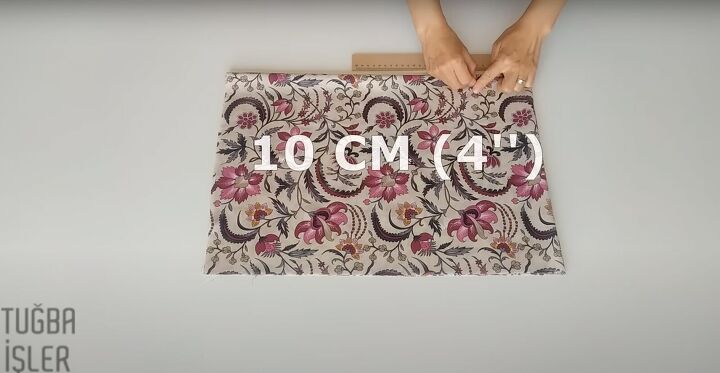
Measure along the top fold from the right edge inward 4 inches (10 cm).
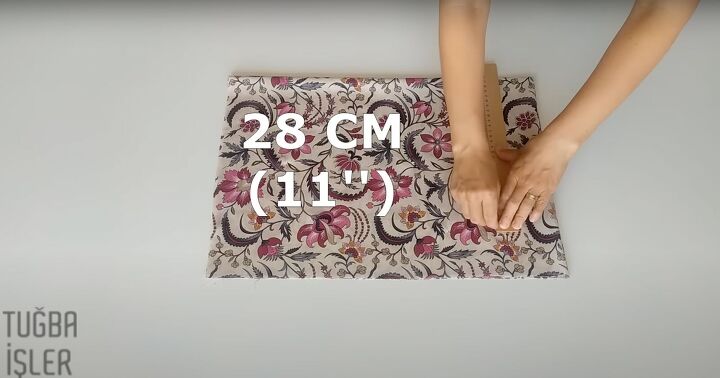
Measure and mark down 11 inches (28 cm) from the 4 inch mark.
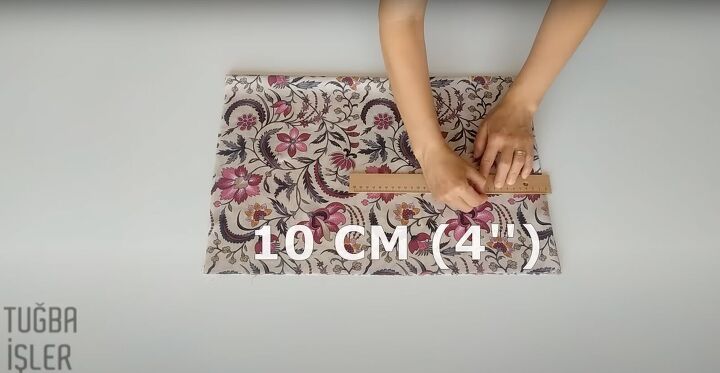
Measure 4 inches toward the right edge to make a rectangle.
Mark a curve in the angle.
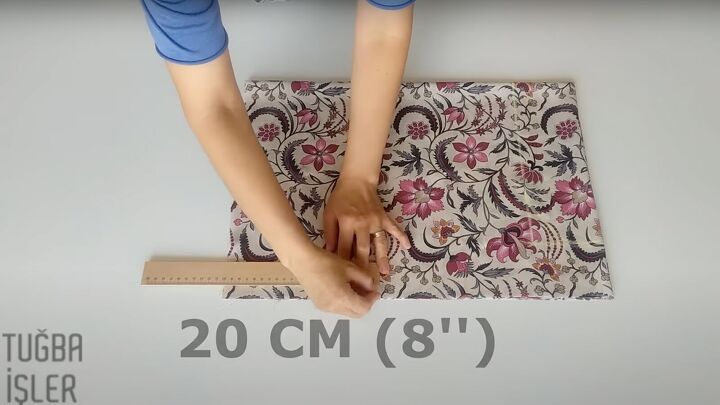
Measure 8 inches (20 cm) along the open end on the left side.

Measure 8 inches (20 cm) up along the left side.
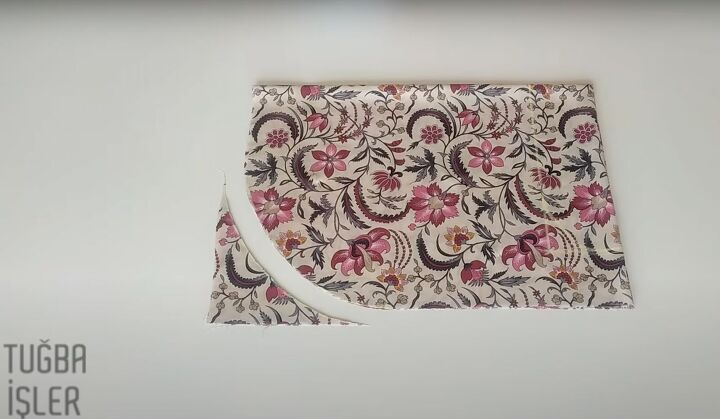
Connect those two points on a curve that goes left. Cut out that curve.
Then cut out the right side’s curve.
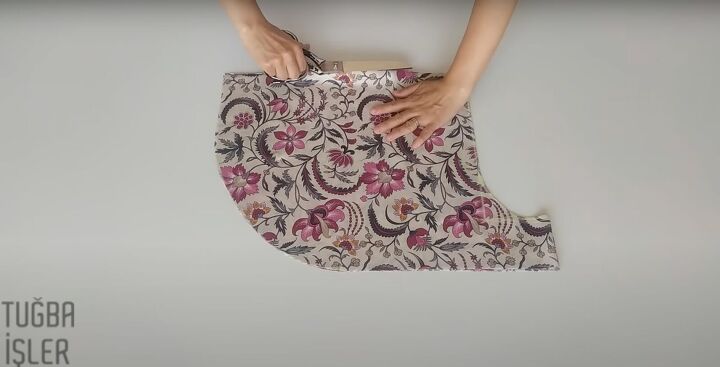
Cut along the fold. Remove the pins.
2. Sew the pattern
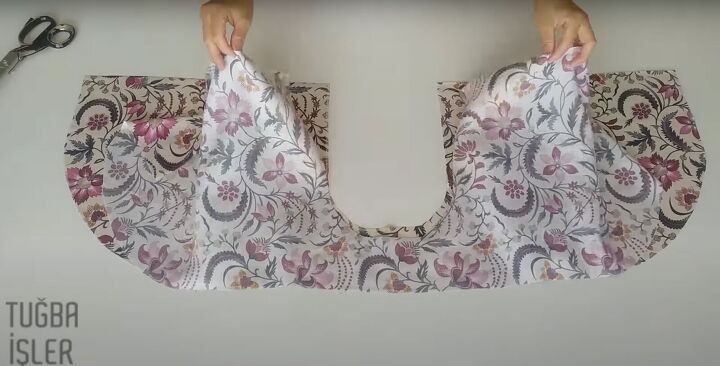
You should have 2 “U” shaped pieces. Lay them right sides together.
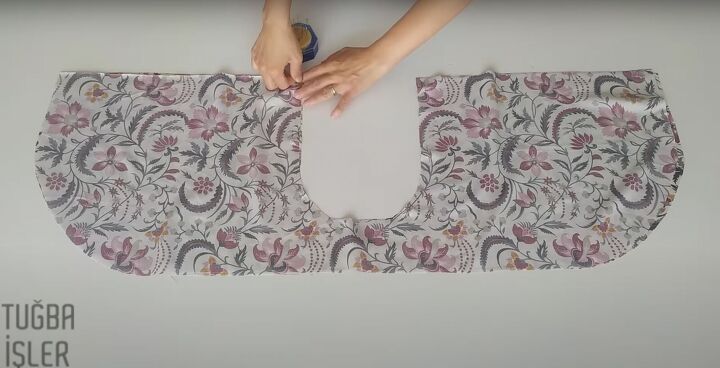
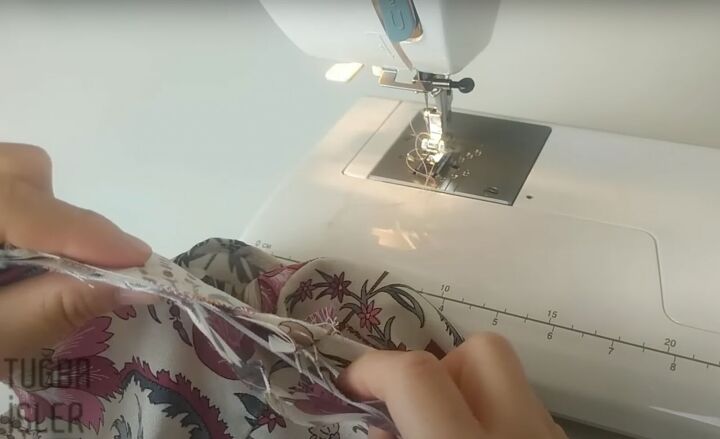
Pin all along the U. Serge the U in place.
Serge the raw edges except for the top waistline.

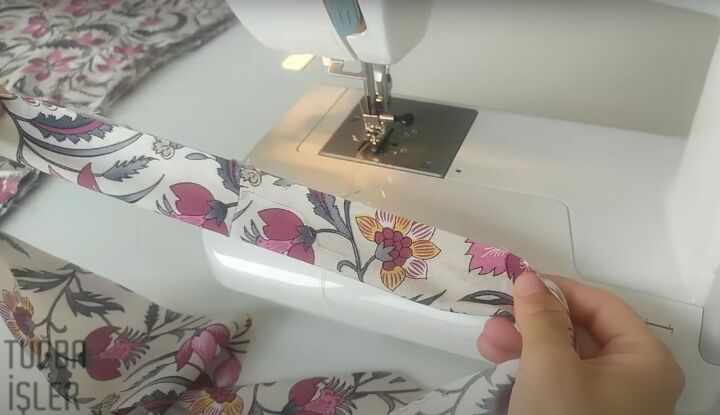
Fold over the serged edges (except for the U) and sew a hem.
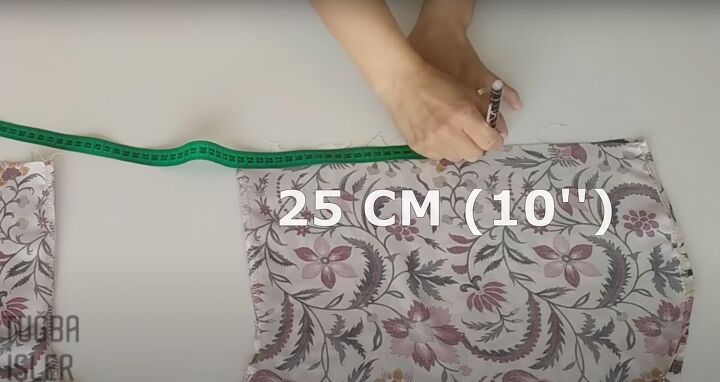
Lay the shorts back down with the U in the center. Measure and mark 10 inches (25 cm) from the inside of the U on both sides on the front.
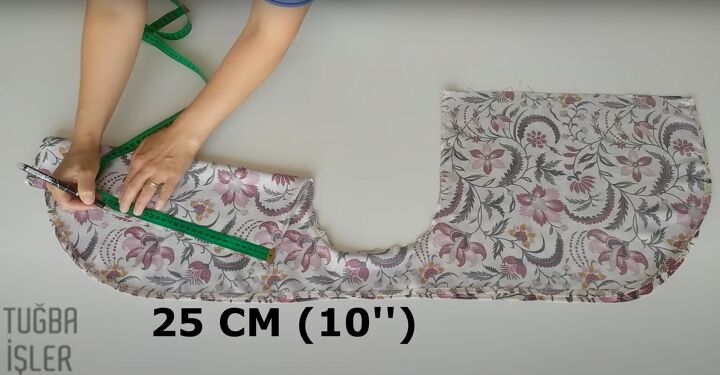
Mark on the back panels for a total of 4 marks.

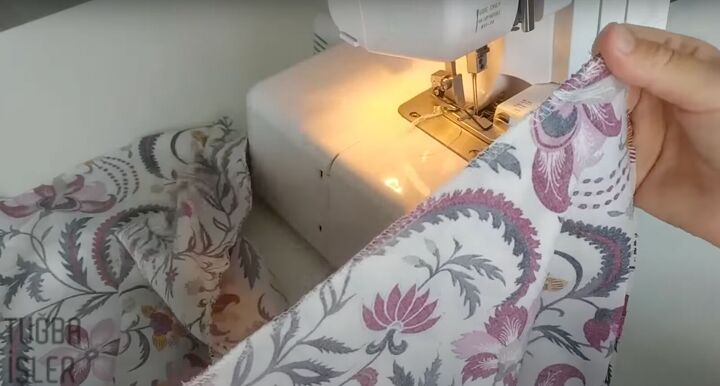
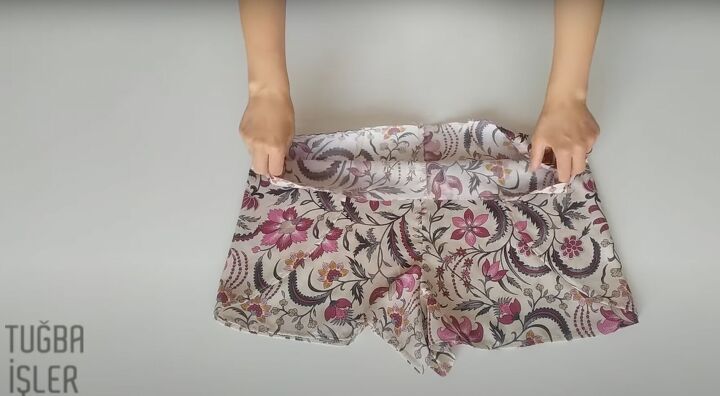
Lift up the corners on each side and place the wrap skort right sides showing.
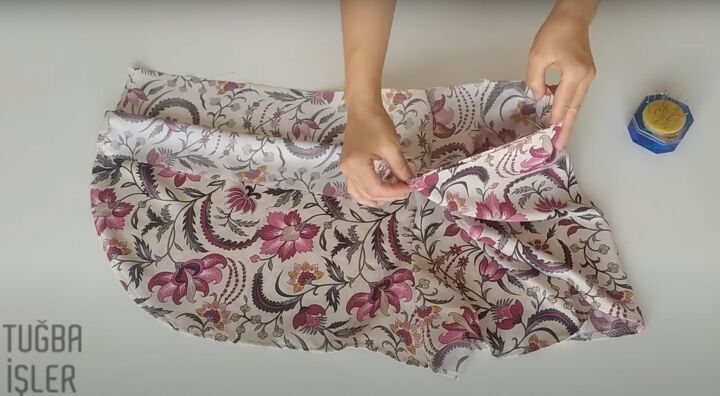
It will look like a pair of shorts. Find the 10 inch mark on the right hand side of the front panel. Fold in the top layer matching the 10 inch mark on the back layer. Lay the back panel over the front to form the skirt. Pin the skirt in 3 places: on the fold, where the front layer stretches in the back, and where the back layer goes over in the front. Repeat for the left side.
Sew the pinned areas only. It will look like this.
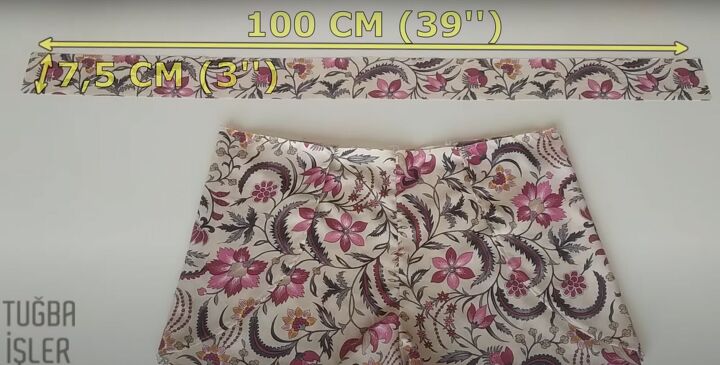
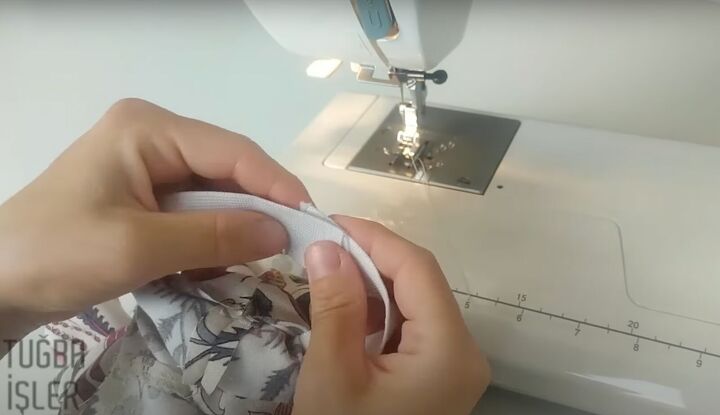
3. Make the waistband
Cut a piece of fabric measuring 3 X 39 inches (7.5 X 100 cm). Cut a 24-inch piece of 1-inch elastic.
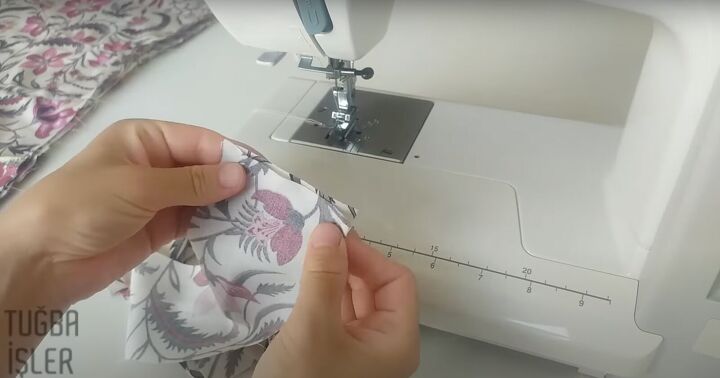
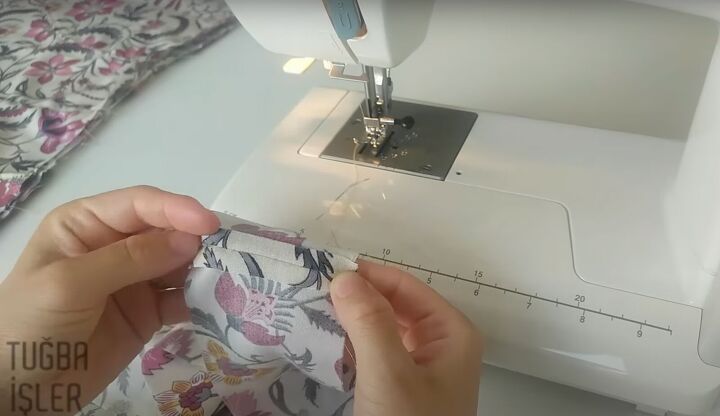
Lay the waistband right sides together. Sew the short ends together.
Flatten the seams with your finger.
Fold the waistband in half, right sides showing.
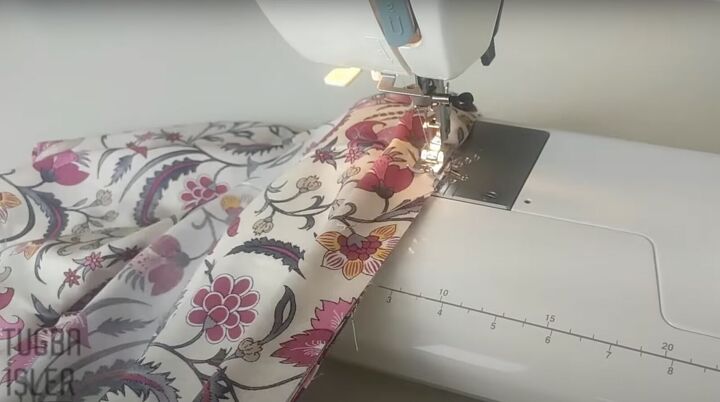
Pin the waistband’s unfolded edge to the raw edge of the waistline. Align the waistband seam with the back center seam. Sew across the entire waistline.
Leave a 2 inch (5 cm) gap unsewn.
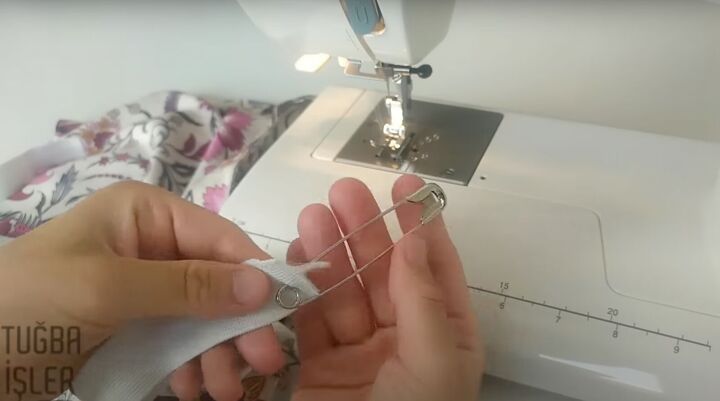
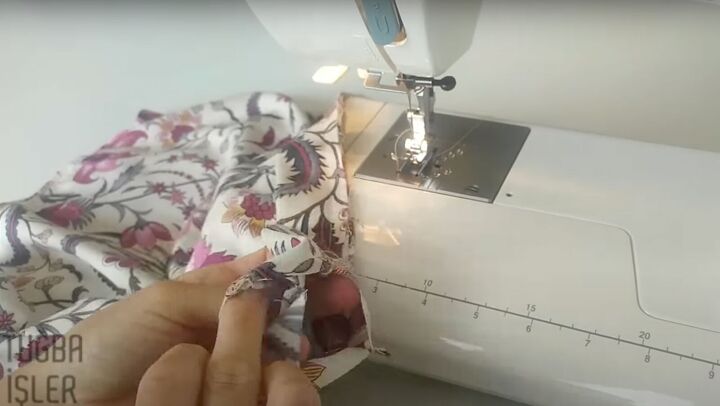
Attach a safety pin to the elastic and tunnel it through the open space in the waistband.
Join the two edges of the elastic together. Stitch to secure.
Tuck the elastic back in the space. Distribute the gathers evenly. Sew the space closed.

How to make DIY shorts
Please let me know in the comments if you made these comfy shorts with a skirt overlay. To see more of my tutorials, follow me on TikTok @tugbaisler.
The author may collect a small share of sales from the links on this page.


Comments
Join the conversation