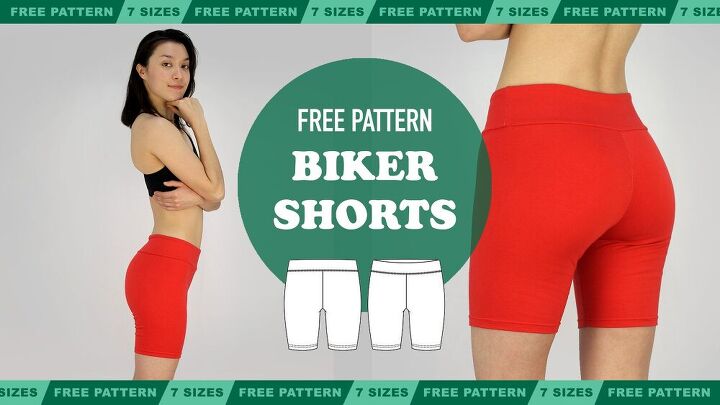
How To Make Your Very Own Biker Shorts!

Biker shorts, also known as cycling shorts is not only useful for cycling but has become a thing of fashion for anyone who is into it! The only difference is that back then, they were made out of knit black wool to hide the marks gotten as a result of sitting for long hours on oiled leather saddles. Now, it's a fashion thing and it's majorly made out of spandex and lycra.
So here's the thing, I have the patterns for the biker shorts and I'm giving them for free! Great news! They are available in seven different sizes from sizes 34-46. https://isabelleschultz.ck.page/2c02553065
Now that you've got your pattern, let's get sewing!
Tools And Materials:
Jersey Fabric: I used a thick jersey with elastane.
Thread
Pins
The Pattern
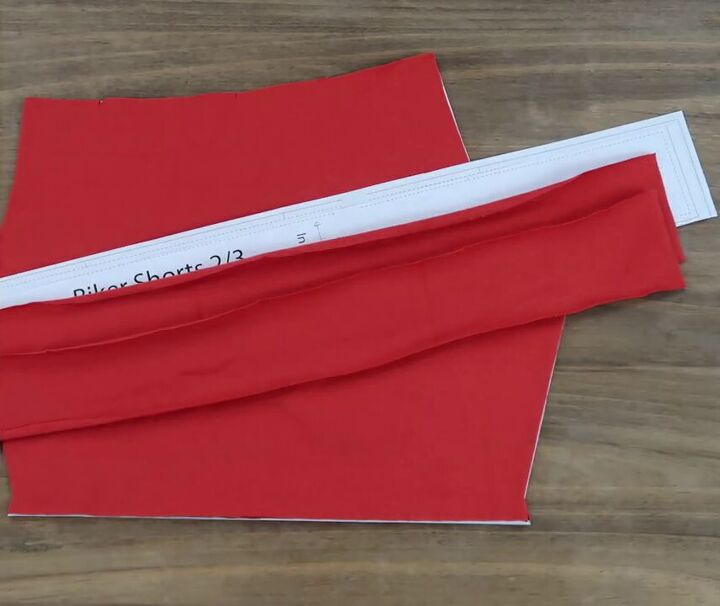
First things first, just like I did, you should lay the pattern over our fabric and cut. The pattern comes in just four pieces so, you guessed right, it's definitely easy to sew! After cutting, you should have the front piece, the back piece and the two pieces of fabric that should serve as the waist band.
Next thing I did was to pin the inner thighs together so it wouldn't slip off while sewing.
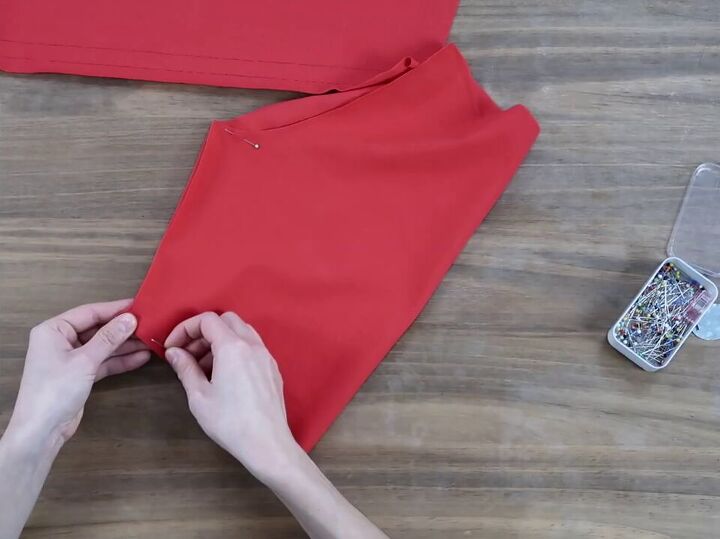

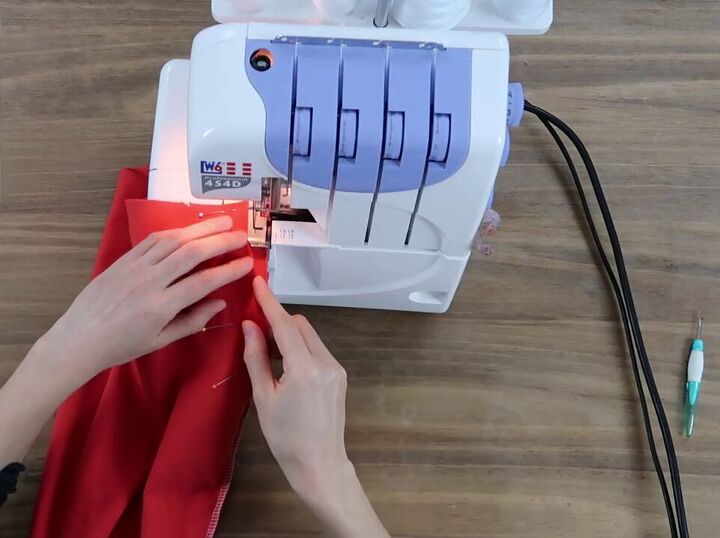
Respecting the seam allowance, I sewed the inner thigh straight down.
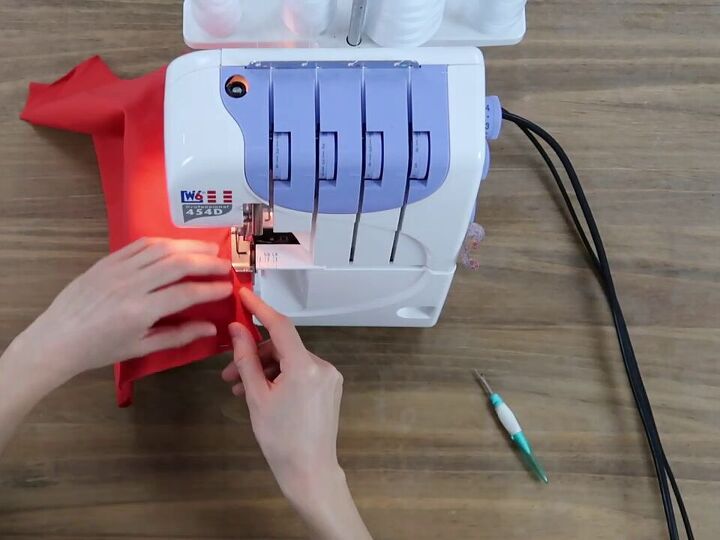
After doing the same for both sides, I slipped one part into the other. The part going in was turned, right side out, leaving the other part on the wrongside.
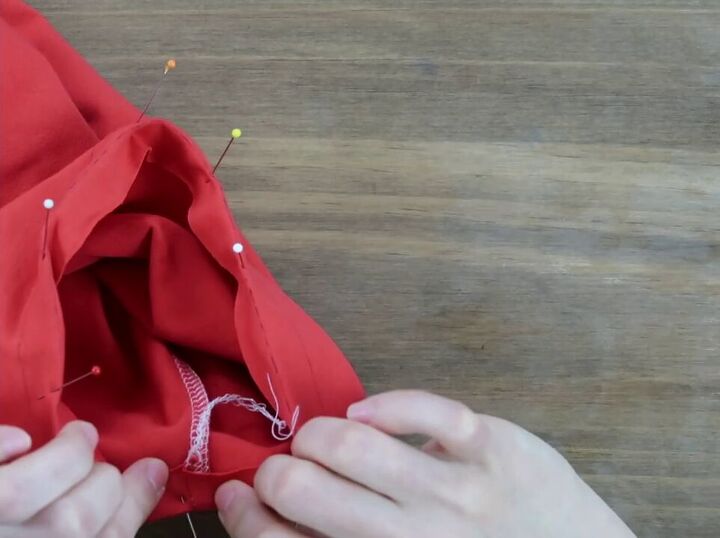
I pinned them together from the waist down to the crotch part and around up till the back waist.
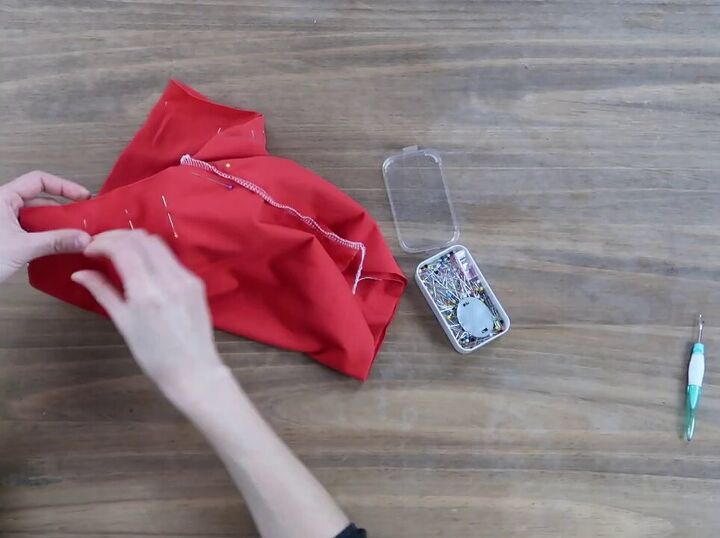
Then, I sewed round, against the pinned area.
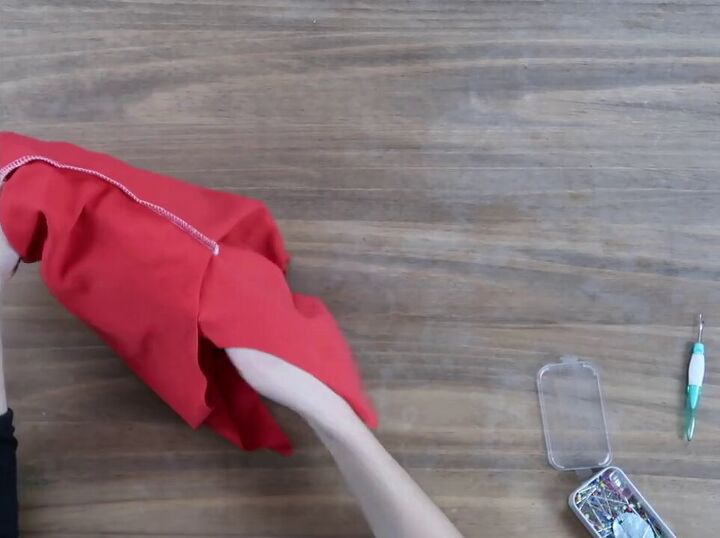
This is how it turned out.
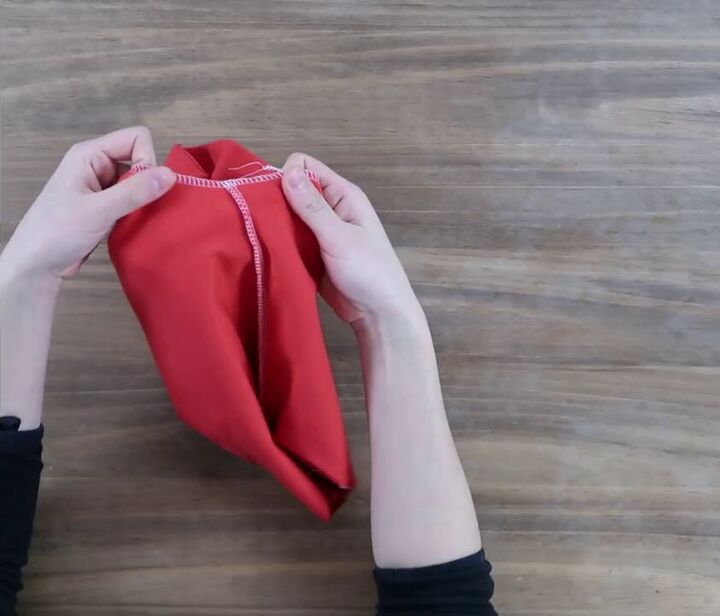
And then, when turned inside out, it should look like this.
Moving on to the waistband, I picked up the fabric I'd cut from the pattern that would serve as the band and laid them against one another, it, right sides together in order for me to pin.
After pinning it down, I joined them together
Next, I folded the joined pieces vertically and sewed straight down.
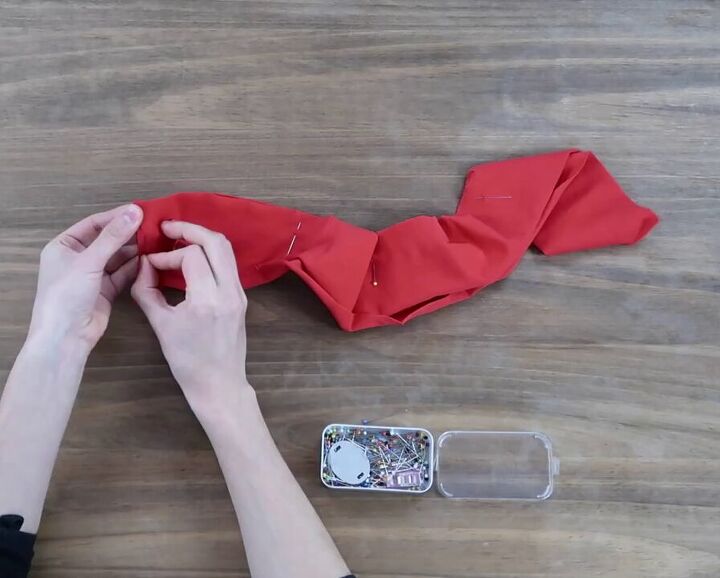
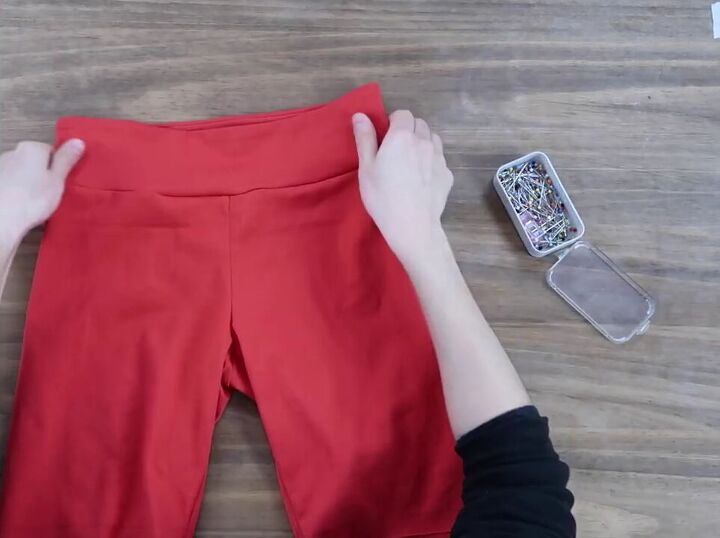
Placing the pieces as shown below, I got ready to pin the waistband with the shorts.
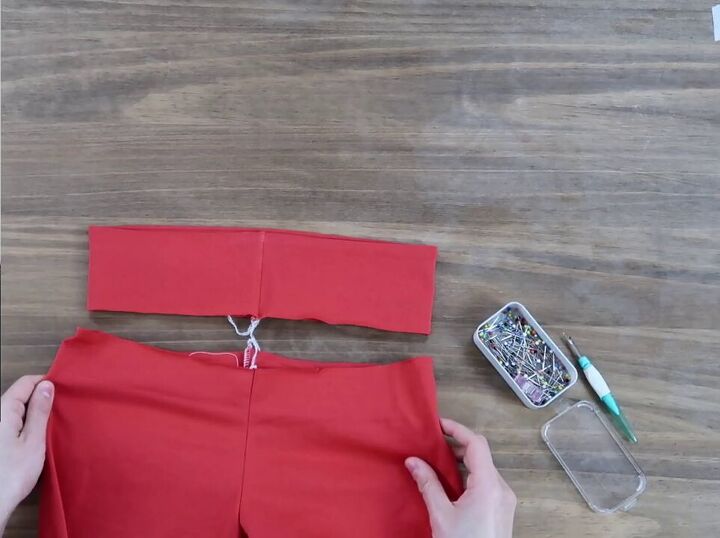
I pinned the waist band and the shorts together, making sure the joining at the waistband was aligned with the joining on the shorts.
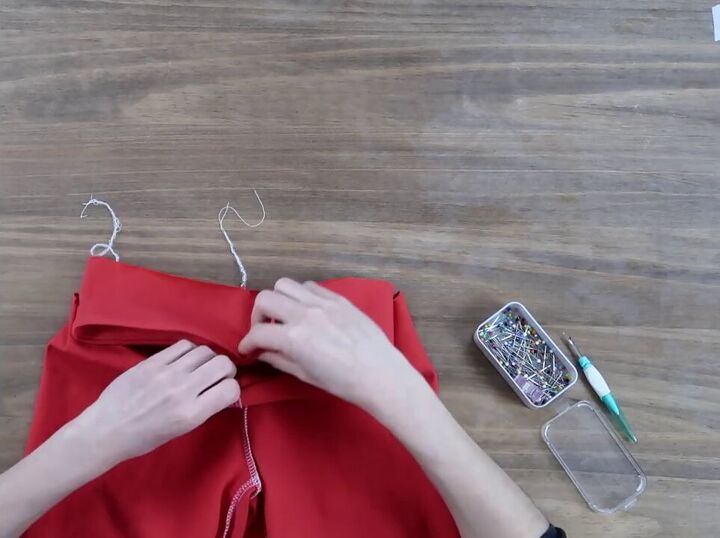
This is how it should be when you pin it. I didn't use a lot of pins here but you're free to use the amount of pins you feel you'll need.
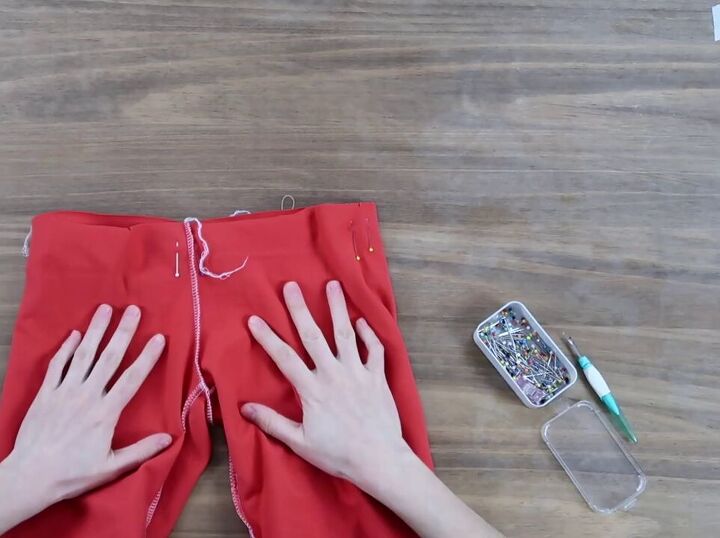
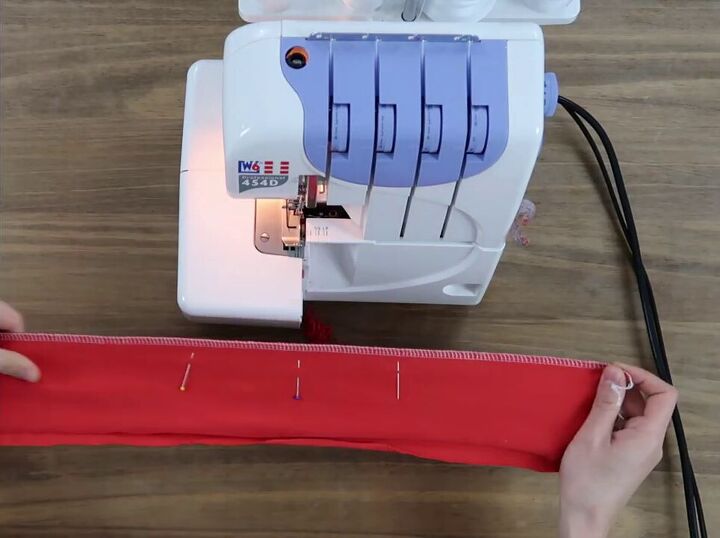
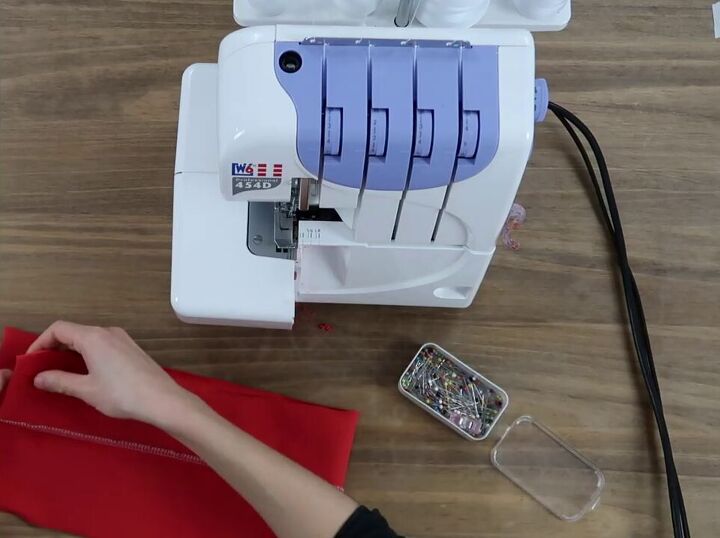
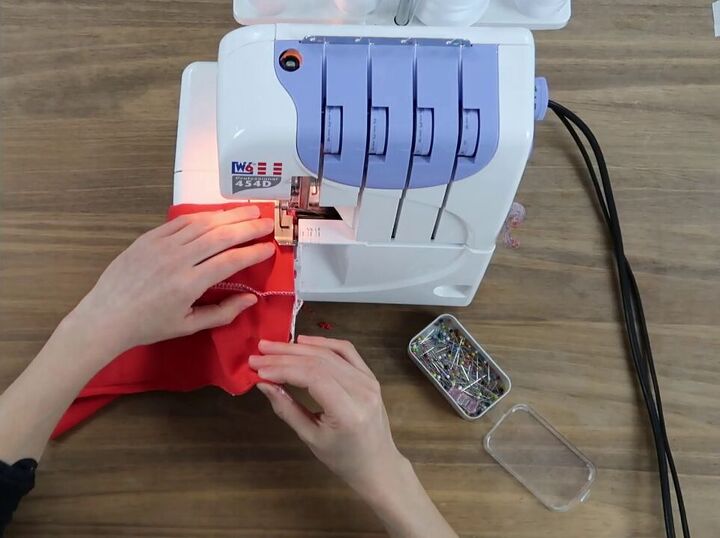
Then, I sewed.
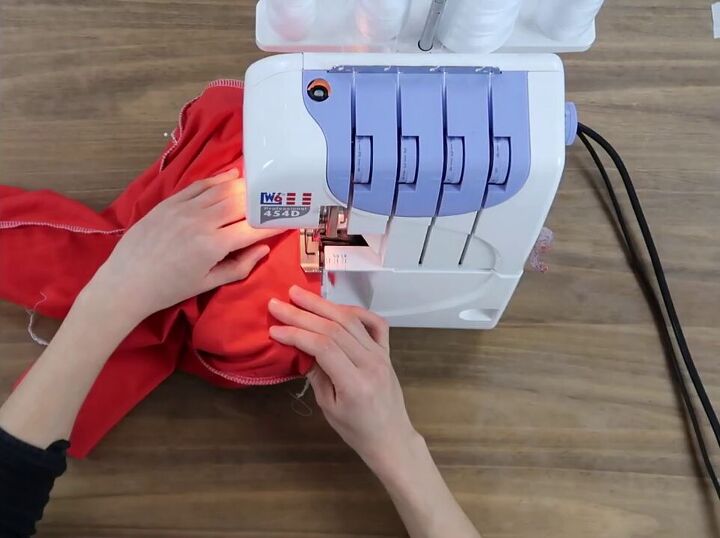
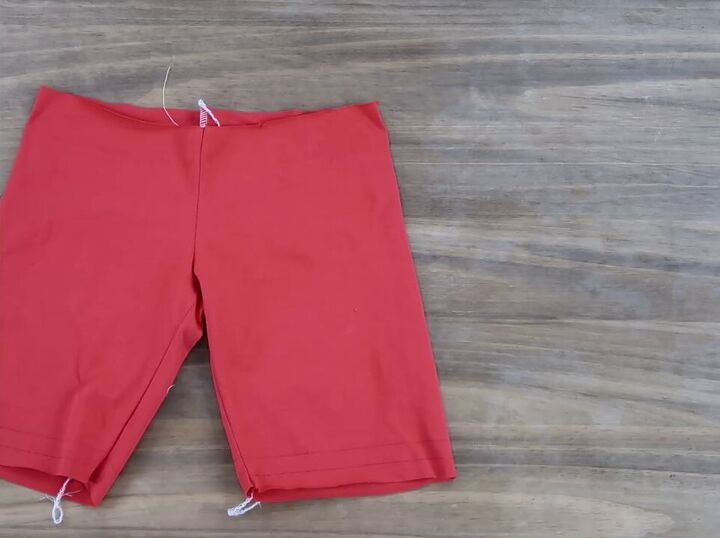
Here is the outcome of the shorts after being attached to the waistband.
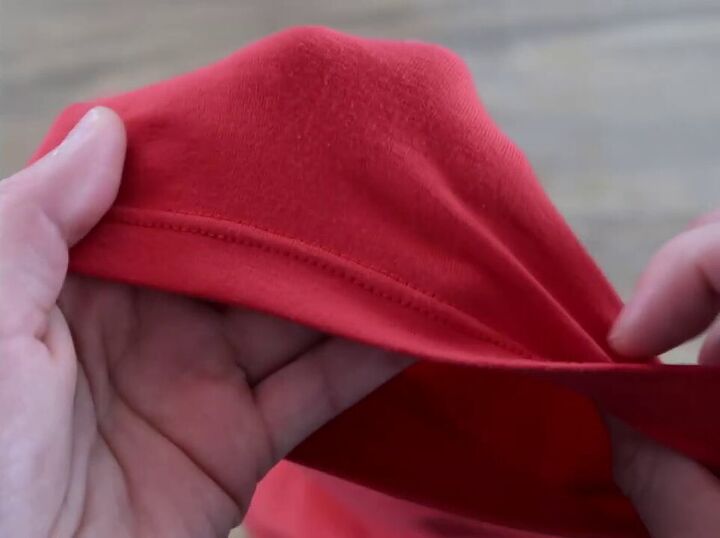
Now, to the hem of the biker shorts, I folded and pinned both hems.

And with a twin needle, I sewed.

This is what the hem looked like.
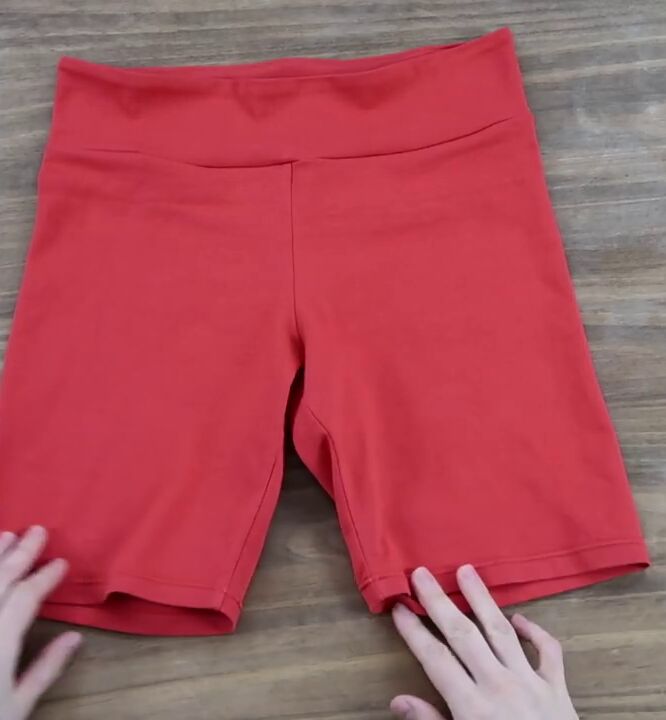
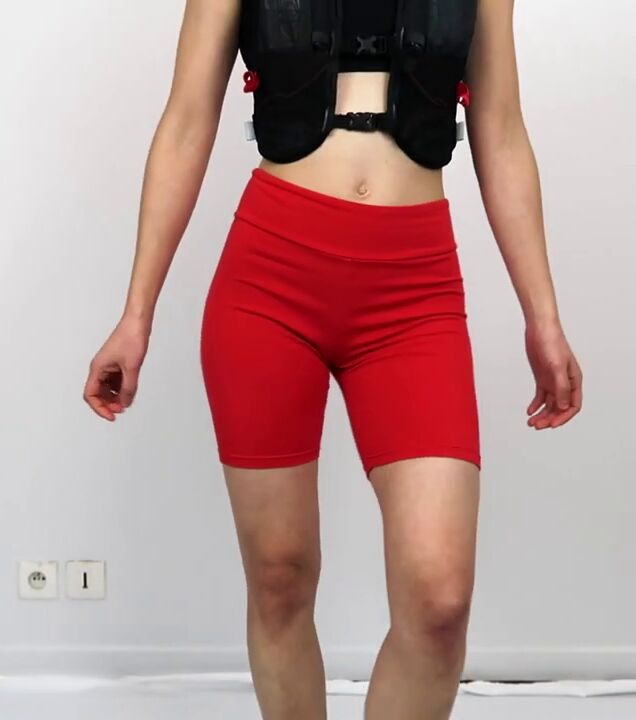
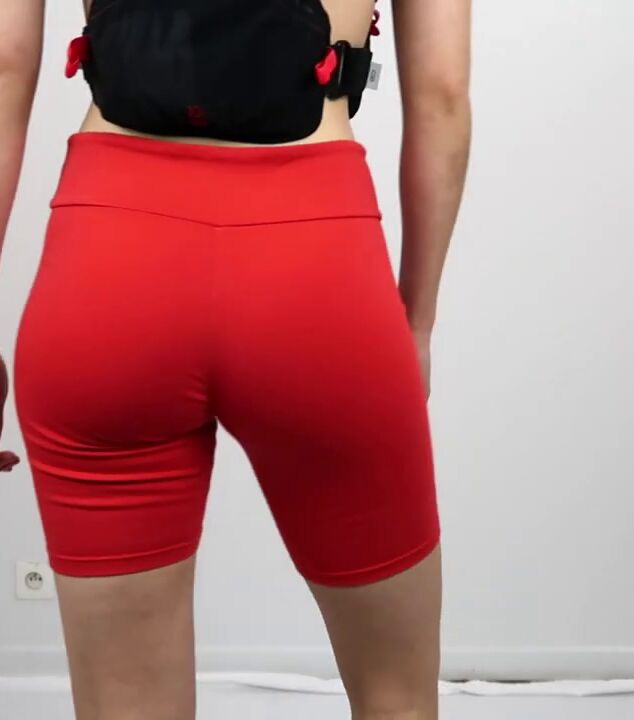
And that was the last step! Biker shorts all ready to wear!
On a scale of 1-10, how easy was it to make?
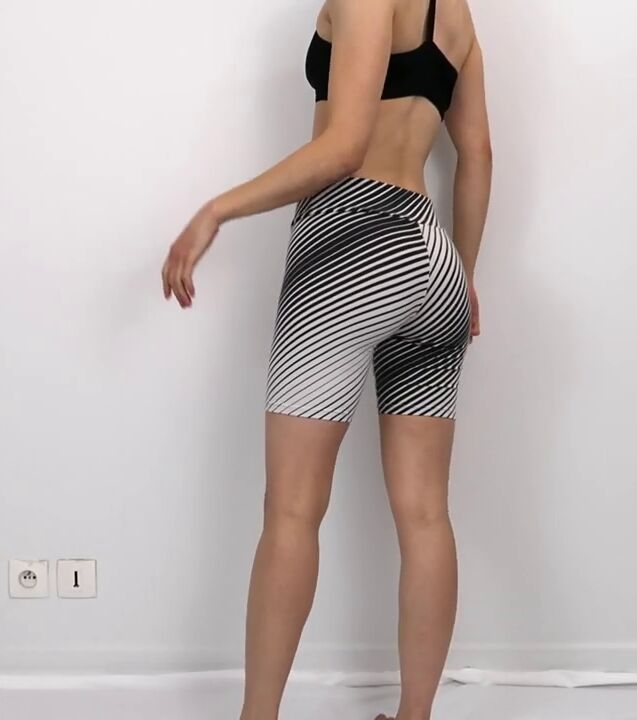
Obviously, I had to make another pair of biker shorts with a different fabric. How cool!
If you enjoyed making your biker shorts, using my pattern, feel free to check out my other patterns here. They are affordable and some others are even free!
Until next time,
Happy sewing!
How to fold shorts
The author may collect a small share of sales from the links on this page.


Comments
Join the conversation