How to Make a Cute DIY Tassel Skirt Out of 2 Dollar Store Rag Rugs

Today, I want to show you how to transform some Dollar Store throw rugs into an awesome DIY tassel skirt! This DIY is so easy to do and looks really cool. The thick fabric makes this rug skirt the perfect item for winter.
Tools and materials:
- 2 Dollar Store rag rugs
- Zipper
- Sewing machine
- Chalk
- Scissors
1. Prep the rugs
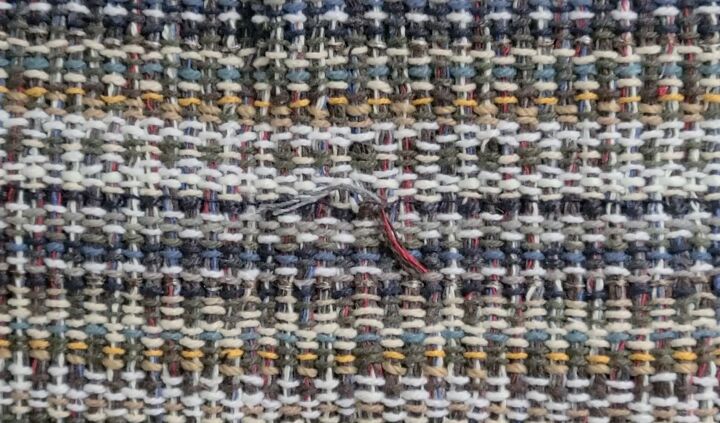
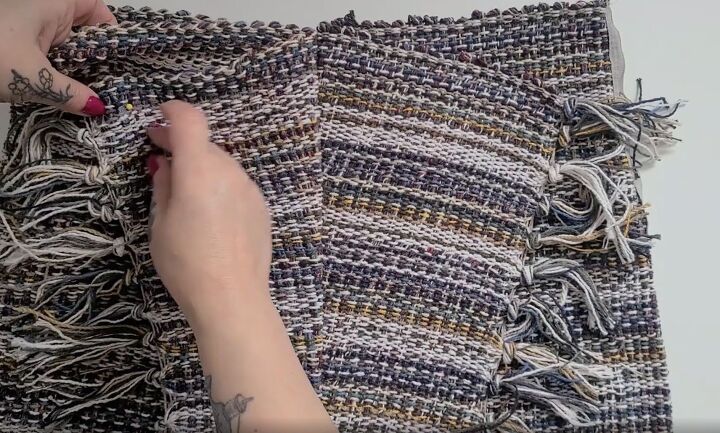
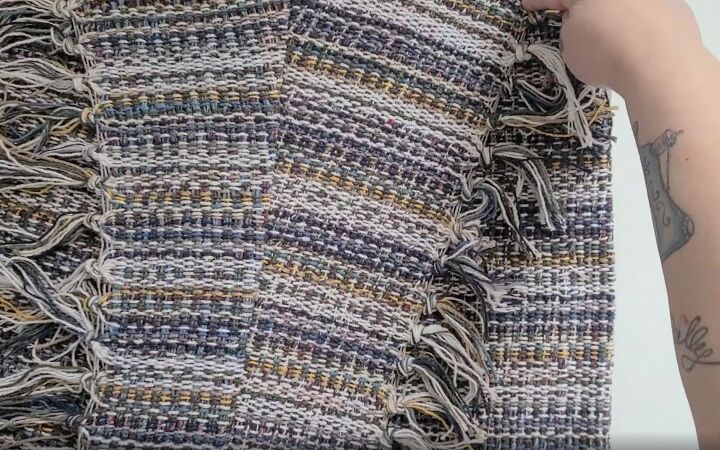
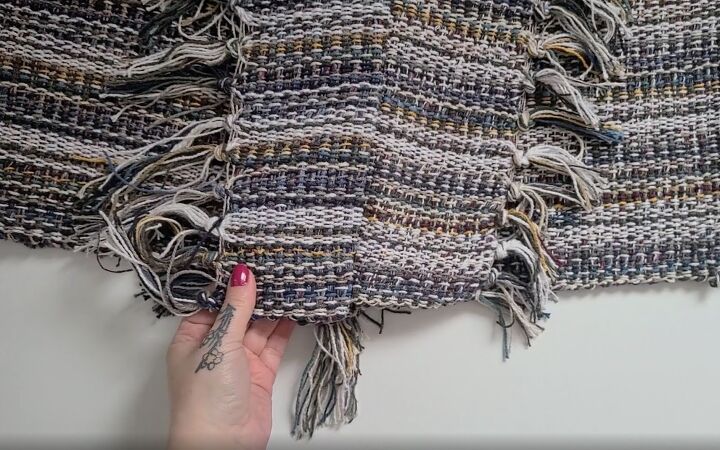
The first thing you want to do with your two Dollar Store rugs is to go through and check for any loose threads.
If you find some, then tie them and trim off the excess.
2. Create the pattern
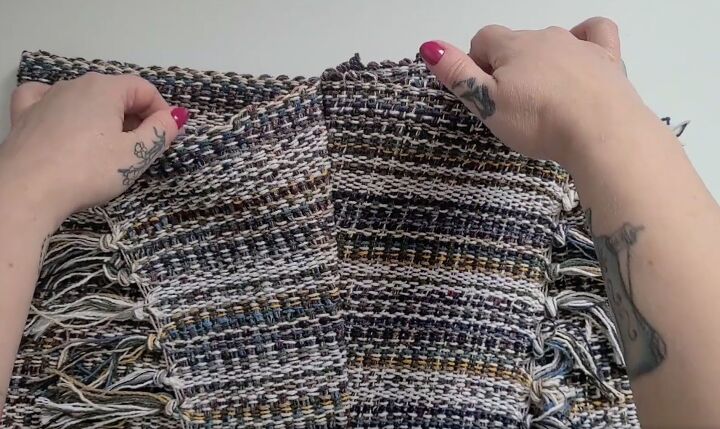
Next decide which rug you'd like for the front of your garment, and which one you'd like for the back.
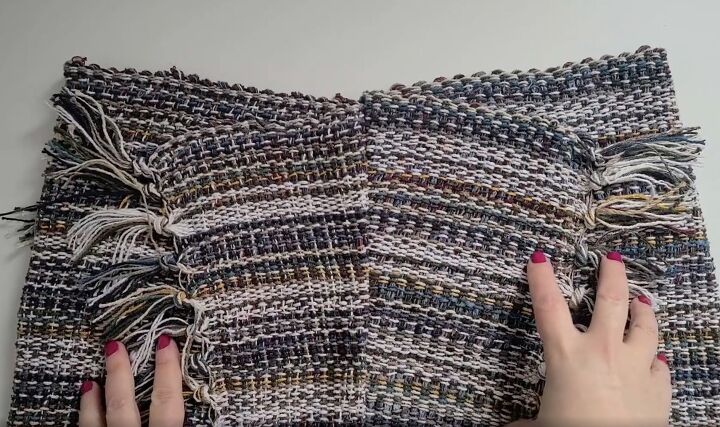
Then lay them together on a flat surface with the front rug on top.
Next, find the center of the rugs. The easiest way to do this is to simply fold them in half as evenly as possible and place a pin in the folded corner.
To make the body of the rug skirt, grab a skirt that you love the fit of and that also has a similar kind of stretch content to your rugs.
Line up the center of the skirt with the center of the rugs.
Next, use chalk to mark the sides of the skirt onto the rug.
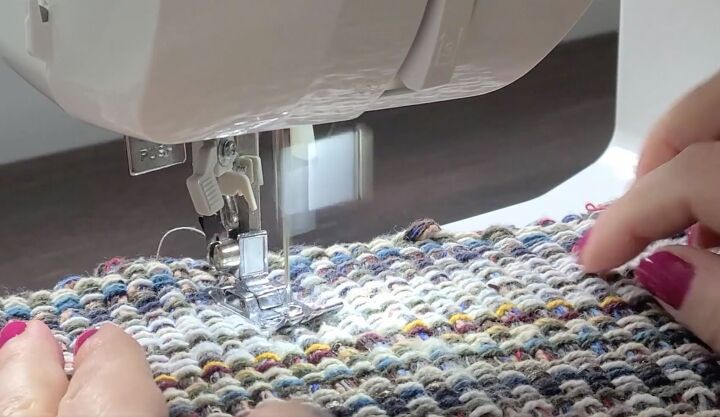
3. Sew the rug skirt
Once you're happy with your template marks, go ahead and stitch the rugs together down the chalk lines.
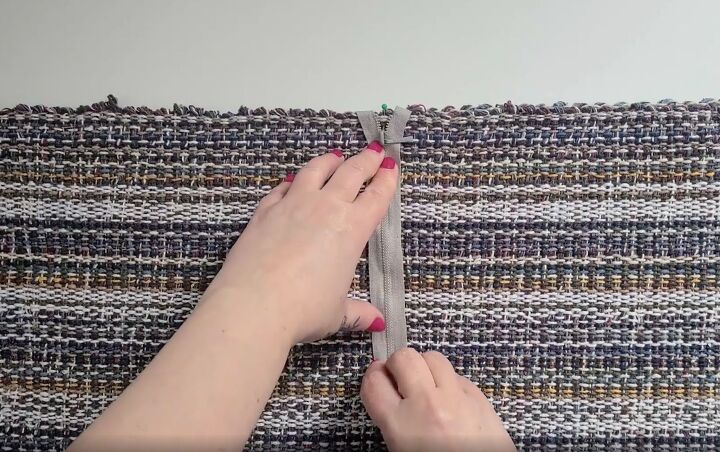
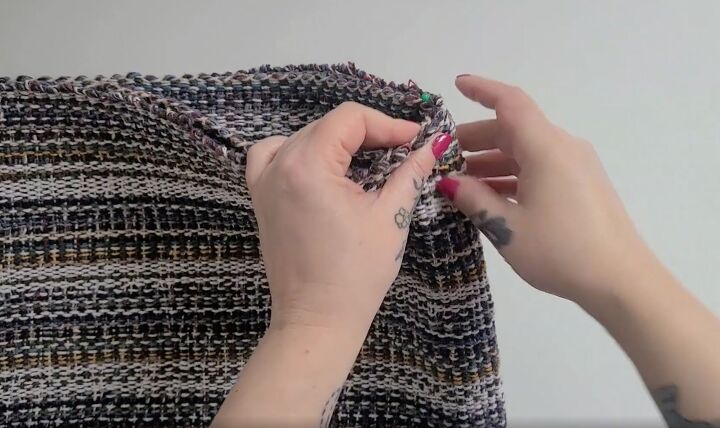
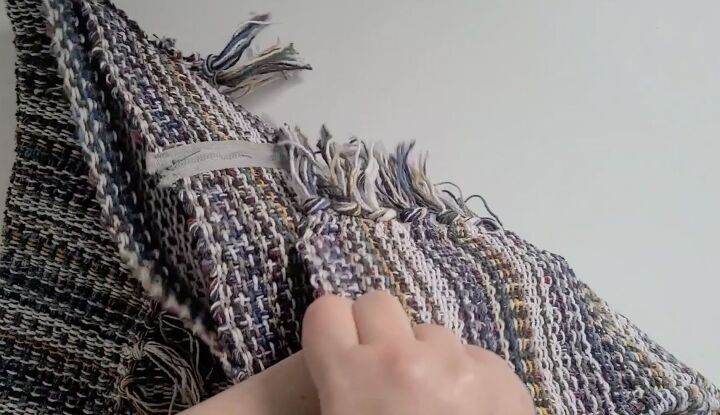
4. Add the zipper
My fabric (rugs) was not stretchy at all so I absolutely needed to put in a zipper. I really like the look of an exposed zipper, especially on this type of kind of chunky fabric, so that's exactly what I did.

I pinned it in place and then stitched it on.
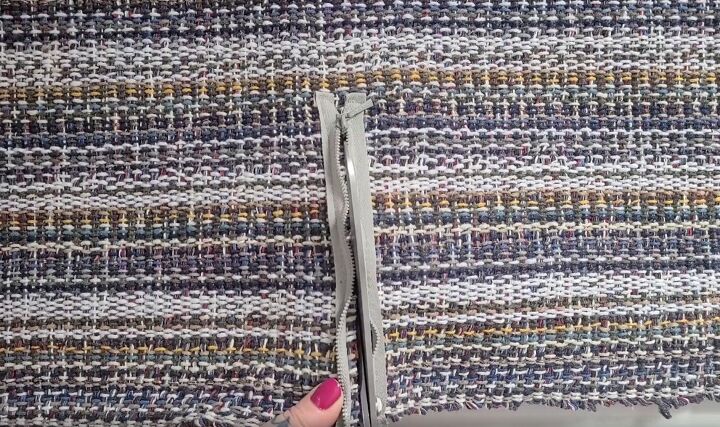
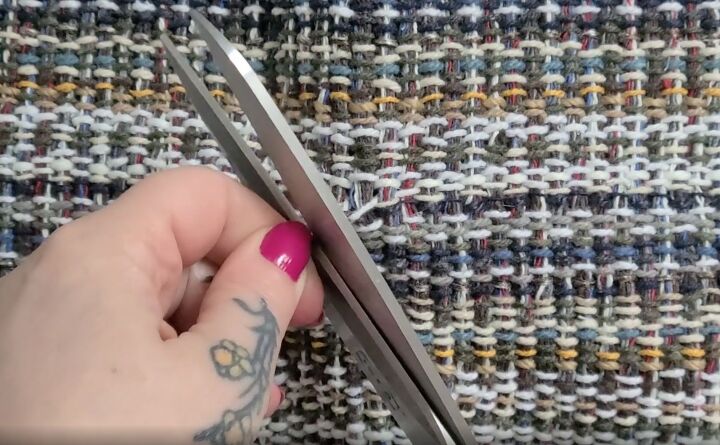
Once the zipper was in place, I opened it up and carefully cut out the fabric behind it.

Since the rugs are woven, once I cut them, they started to fray. I went ahead and pulled out a few of the frayed threads, then knotted them at the base of the zipper.
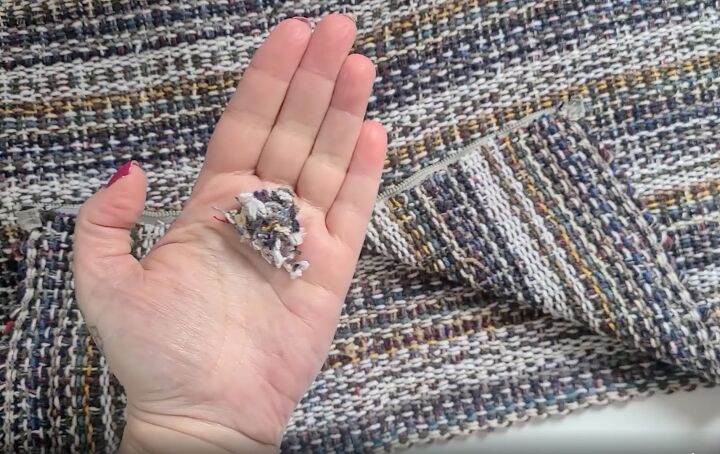
With the threads nice and secure, I trimmed off the excess threads hanging beside the zipper, making sure not to cup through the original seam.
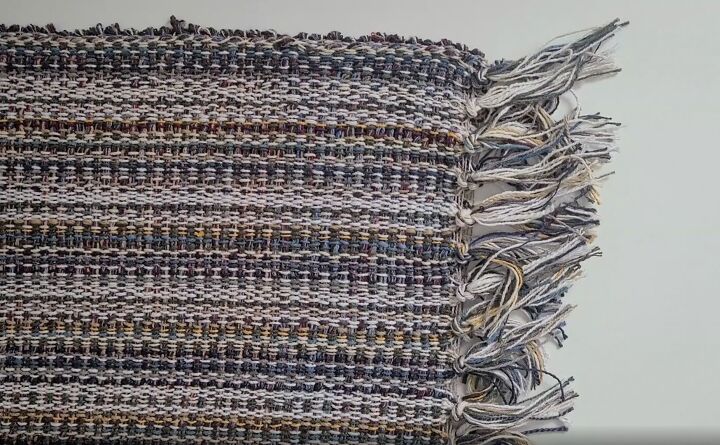
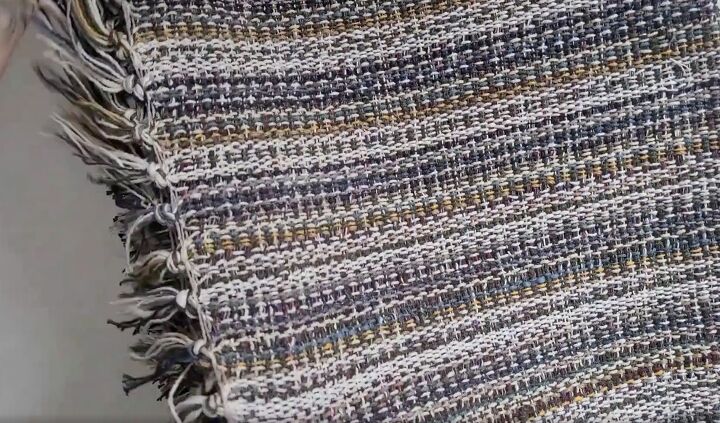
5. Sew the sides down
Now that the zipper is done, I decided to sew down the flippy-floppy sides.
I simply separated them, pinned them in place and smoothed them out.
I did the same at the bottom as well to hold them in place.
Next, I stitched them to the body of the skirt by stitching down from the front corner all the way around the bottom and back up to the back corner leaving the tops open.
Once I had one side all nicely stitched together I flipped it over and repeated the whole process on the other side.
6. Create the pockets
Then I stitched a couple of straight lines across the front and the back to create pockets on both the front and back.
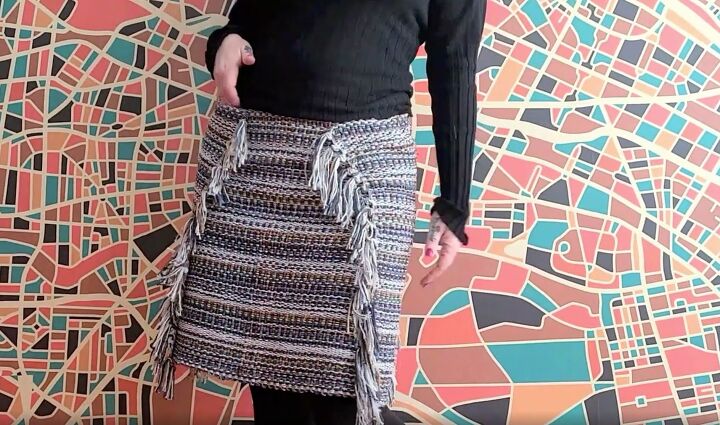
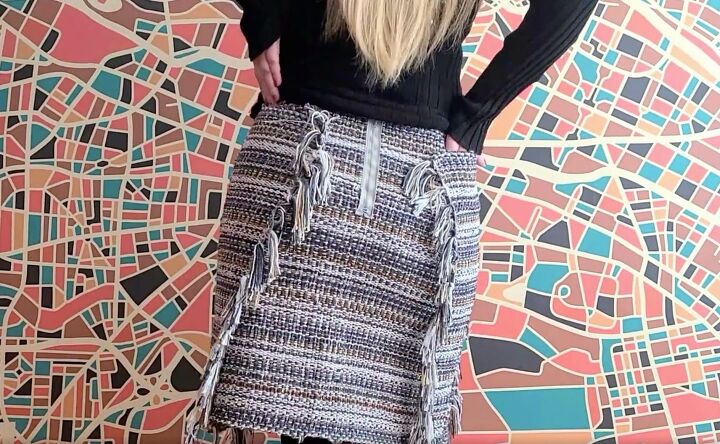
DIY tassel skirt tutorial
This lovely DIY tassel skirt came out absolutely fantastic. It is comfy and even cozy enough for a chilly, snowy Canadian winter.
Let me know what you think of this tutorial and the final result in the comments below.
How to fold skirts
The author may collect a small share of sales from the links on this page.


Comments
Join the conversation
Looks like it's inside-out.
Not great. Would look better as casual shoulder bag
Heavens NO! Maybe an ad to let others know they can walk all over you. It must be heavy to wear.