How to Make a 1970s-Inspired DIY Crop Top & Skirt Without a Pattern

In this tutorial, I'll show you how to make a groovy DIY crop top and skirt! I purchased some bright '70s-inspired fabric and decided to make equally '70s-inspired flare pants, as well as this cute halter top and miniskirt set.
Let's get started on how to make a matching crop top and skirt!
Tools and materials:
- Fabric
- Pins
- Measuring tape
- Snap buttons
- Sewing machine
- Scissors
- Matching thread
DIY halter top

1. Make the pattern
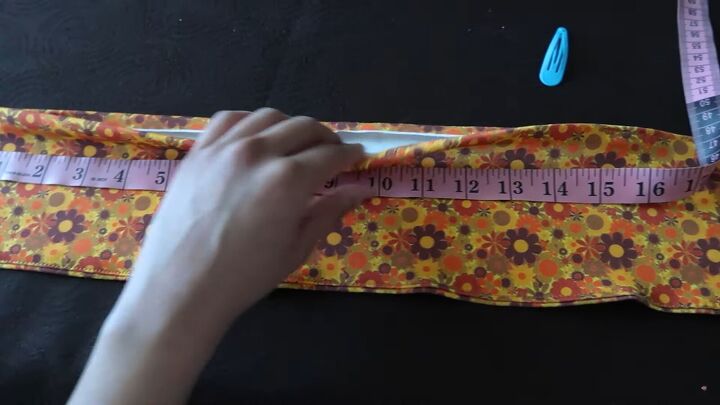
Ok, so I got a lot of fabric, and to make this halter top sewing pattern more doable, I measured 10 inches from the edge of the fabric and chopped it away!
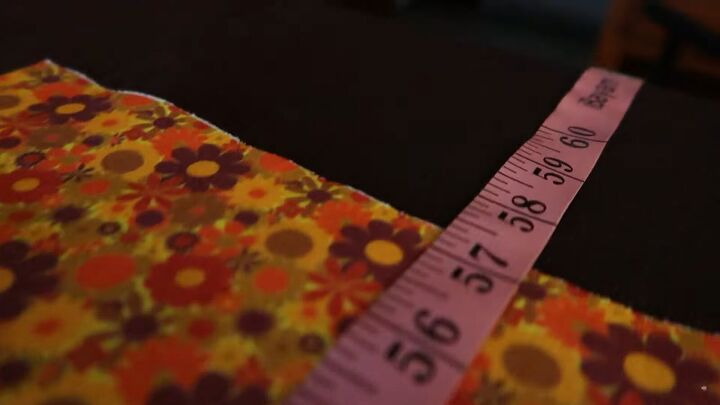
Next, measure 57 inches wide and cut.
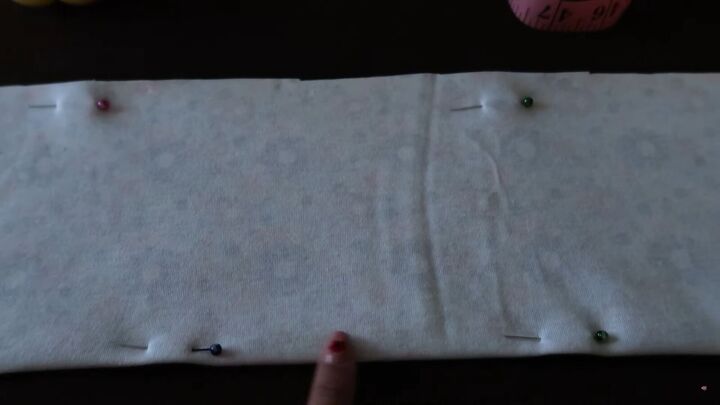
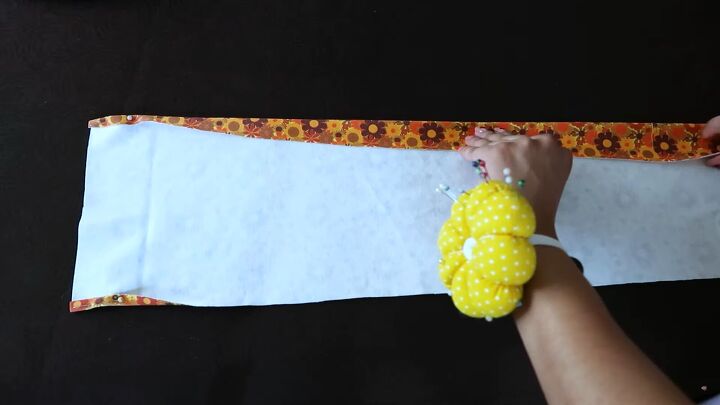
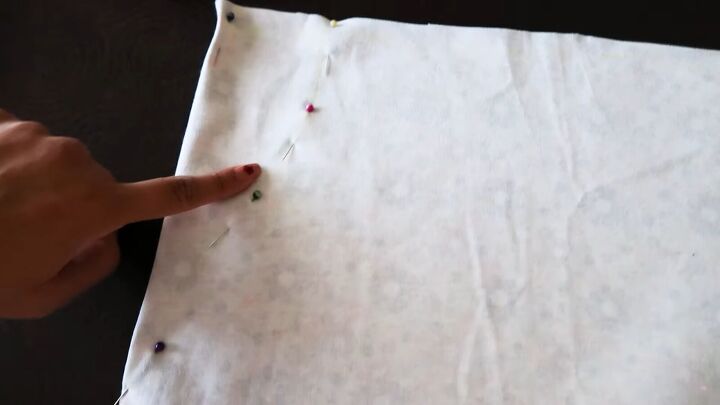
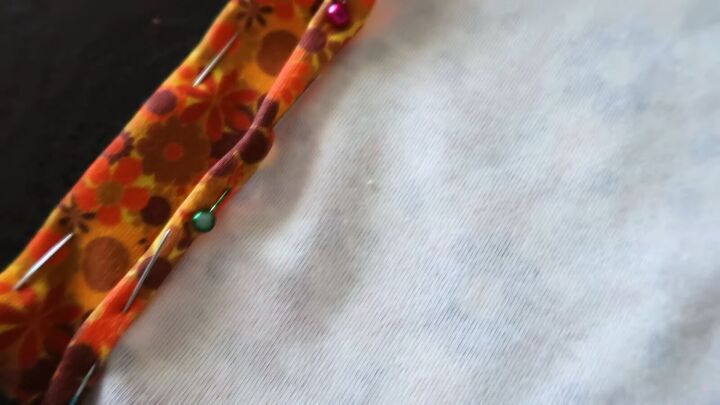
Fold your fabric in half; the wrong side should be facing up. Pin the edges all across, as shown.
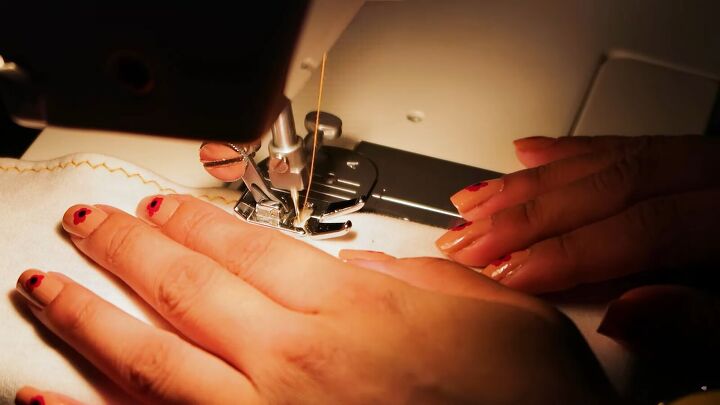
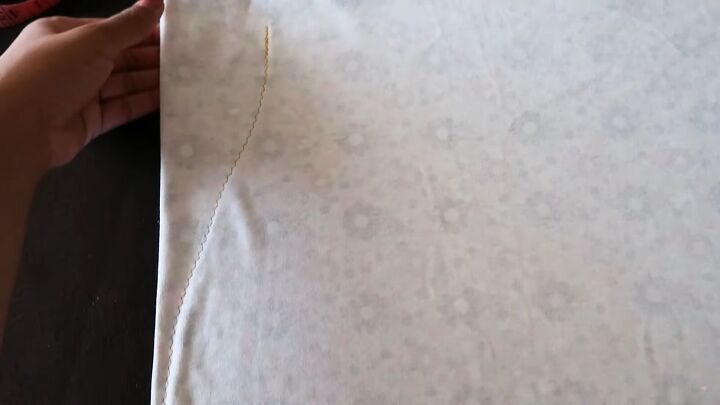
Sew the edges with a zigzag stitch so that you have an extra stretch.
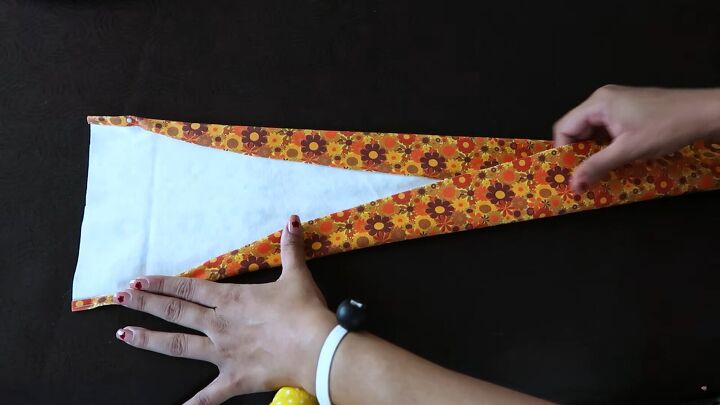
This is optional but I wanted the ends to be pointy. To do this, simply fold the corner of the ends inward until you get your desired shape. Pin in place and sew along the edges.

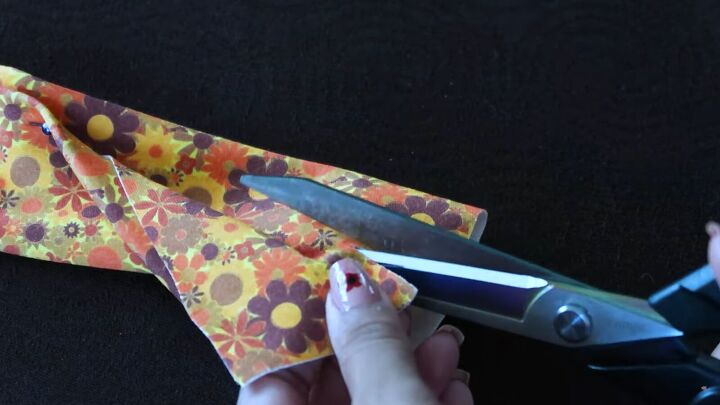
Cut the sides of each end so it can bend inward.
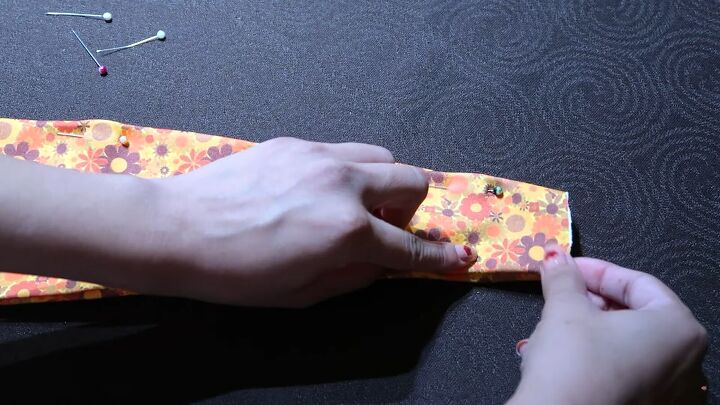
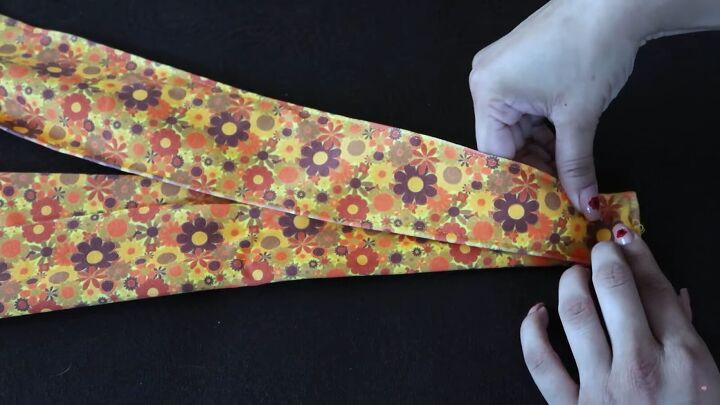
Sandwich the two ends together and pin them in place.
Sew along the edges including the short ends so it comes out looking like this. However, at the top of the band, leave a 15-inch gap to insert the cups that we will make in the next step.
Tip: For a crisp seam, topstich along the edges.
2. Make the cups
For the cups, cut a strip of fabric that measures 15 inches wide and 28 inches long.
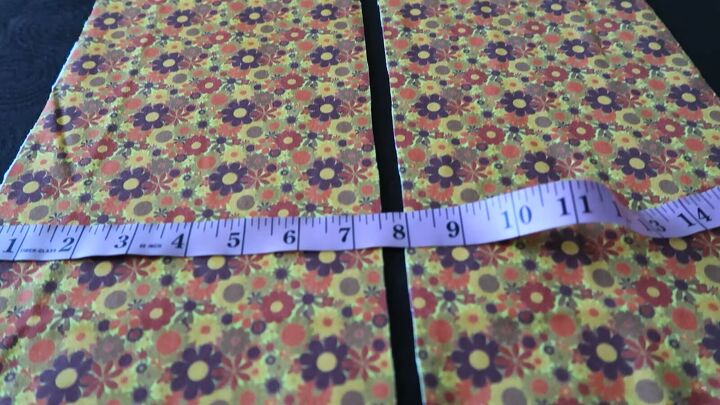
Cut that strip in half two have two pieces, with each strip being around 7½ inches wide.
Now, fold the fabric inward to get the desired shape of the cups.
Once you have your shape, pin the edges as this is where you’ll be sewing, along the fold.
You’ll notice a lot of fabric on the top edge, so go ahead and cut off the excess fabric so it doesn’t look or feel too bulky.
Before sewing the folds, make sure both triangles are symmetrical, especially at the top ends.
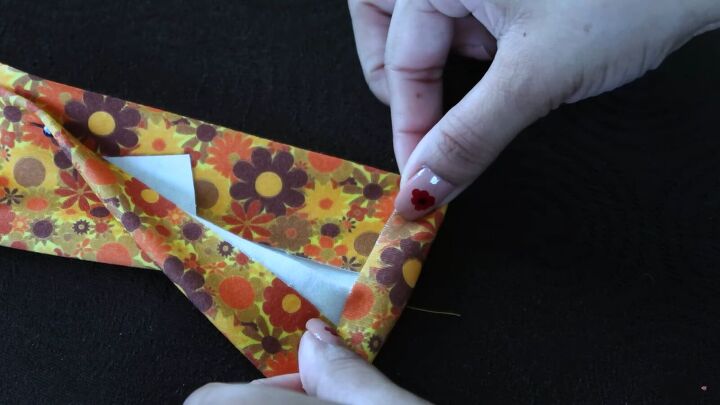
Also, fold the very ends of the top edges and sandwich both layers together for a professional finish.
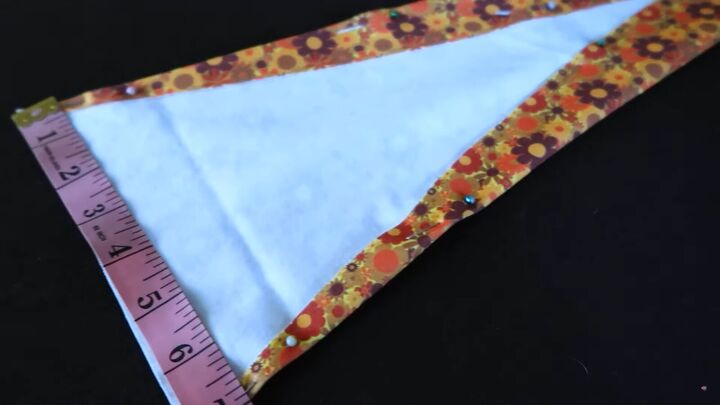
Now, the pinning is complete. Just make sure the widest part of the fabric measures 7 inches wide on both pieces. Of course, if you have a larger bust, the measurement will be slightly wider.
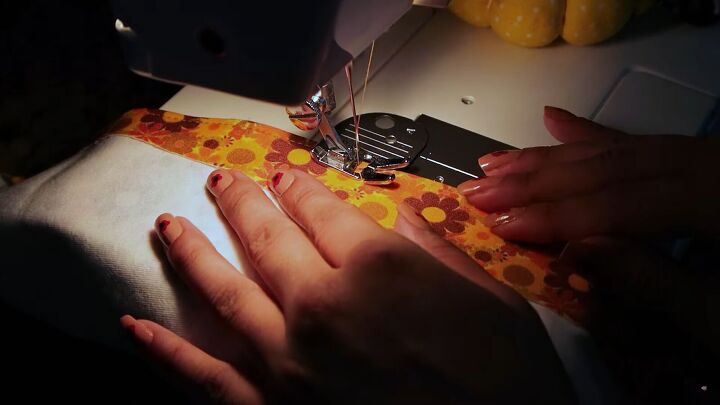
Now, sew along the folds.
3. Assemble the halter top
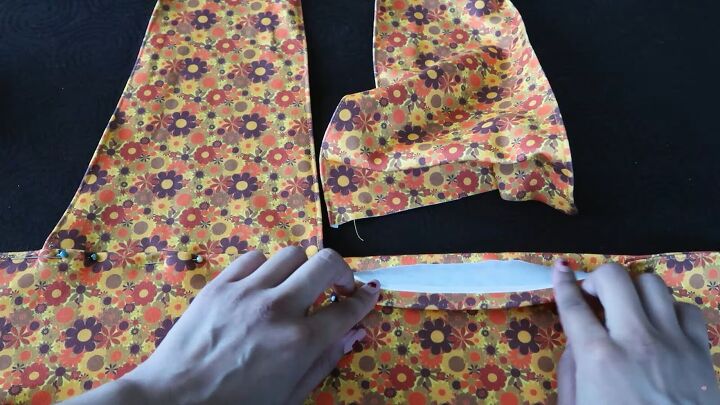
Tuck the wide ends of the triangles into the band and pin.
Sew it in place with a straight stitch. So, that how to make a halter top, let’s now move on to the miniskirt.
Miniskirt
1. Cut the pattern
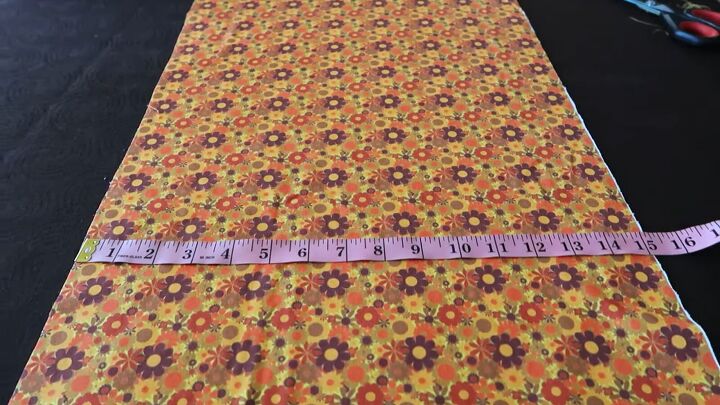
Ok, onto the miniskirt! Measure and cut a piece of fabric that’s 41 inches wide and 16½ inches long.
Remember though, these are my measurements and you’ll need to measure your waist and desired length before doing this step (and the next).
Fold your fabric in half, wrong sides showing. Then, measure out your waist, hips, and backside. For reference, my measurements were (divided in half already):
- Waist - 14 inches
- Hips - 17 inches
- Backside - 20 inches
Pin the measurements onto the folded fabric and you’ll notice a miniskirt shape forming. Be sure to place more pins to make the shape.
Tip: I added an extra inch to my waist for extra room (I also add buttons, which I’ll show you later on).
Now, sew the pinned areas. I measured 5-inch slits on each side, so I stopped right there.
Tip: Remember to backstitch whenever you start and finish.
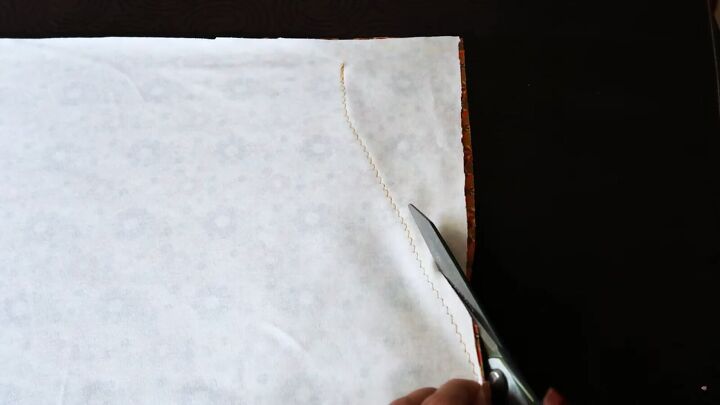
Cut the excess fabric off from the sides.
Then, hem the raw edges, including the slits.
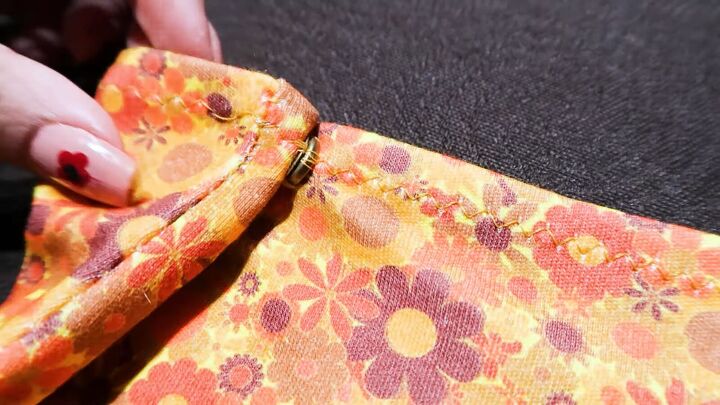
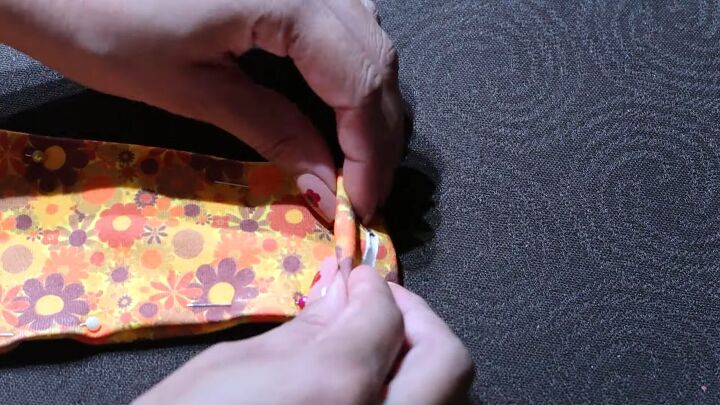
2. Add snap buttons
I added these cool snap buttons to the back waist part of my mini skirt. It makes the waist tighter and gives a more body-hugging vibe.
Place a button right next to the seam on both sides, and then place the second 4 inches away.
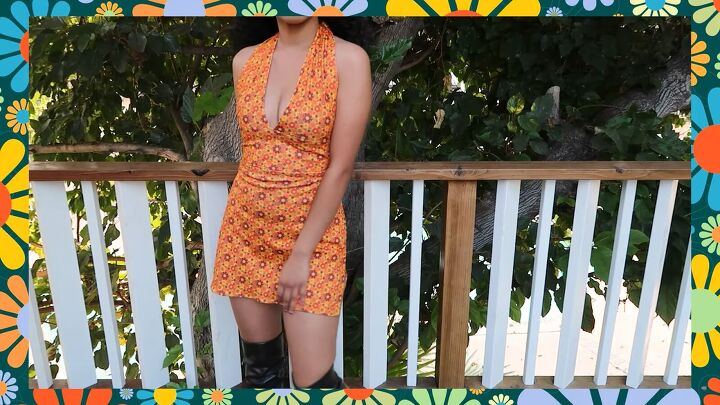
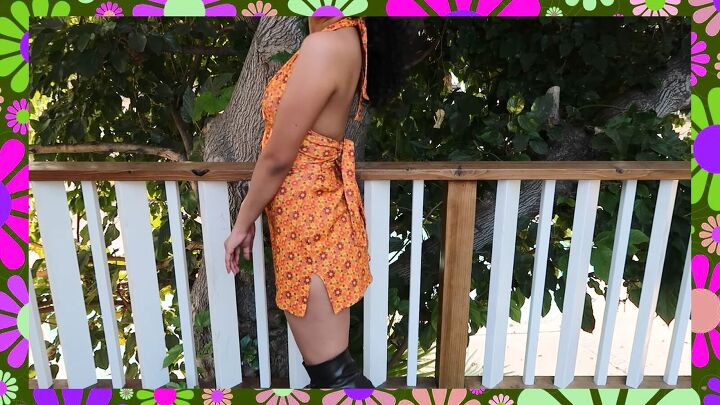
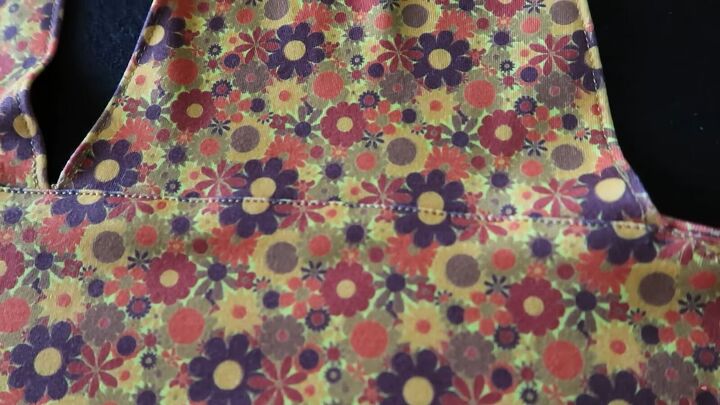
DIY crop top and skirt tutorial
Here’s the final result! Honestly, I love this DIY crop top and skirt combo!
You don’t really need a specific sewing pattern for the crop top and skirt; just a few measurements will suffice. Easy, funky, and seriously flattering!
Let me know what you think of this tutorial and the final set in the comments below.
The author may collect a small share of sales from the links on this page.


Comments
Join the conversation