Learn How to Sew a Gathered Skirt

Gathered skirts will never go out of style! If you have been meaning to add a gathered skirt to your wardrobe, why not learn how to sew one from scratch? In this tutorial, I show you how to sew a gathered skirt and you don’t even need a pattern. Start sewing and make yourself a perfect gathered skirt.
Tools and materials:
- Measuring tape
- Fabric
- Pins
- Pinking shears
- Sewing machine
- Zipper
- Hook and eye
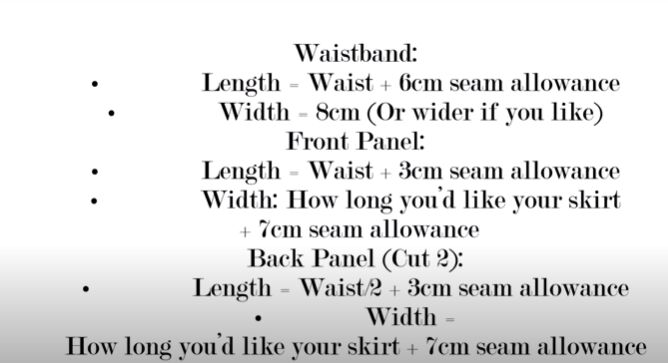
Take measurements
Before you can get started on this DIY gathered skirt, you will need a couple of measurements. In the image above I have explained the measurements that you will need for the different sections of the skirt, plus the added seam allowance for each measurement.
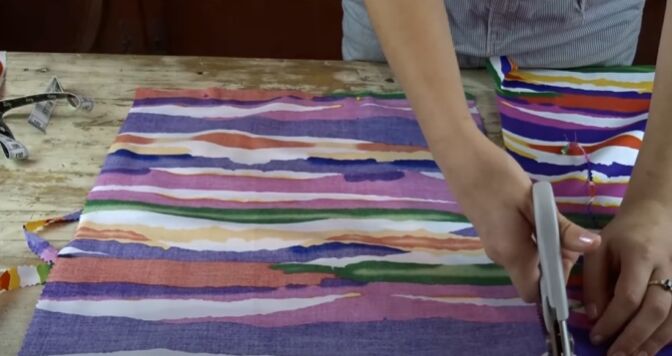
Cut the fabric
Measure straight onto your fabric using pins and a measuring tape. Cut out the front panel, the two back panels, and, of course, the waistband according to the measurements you took. If you want to, you can always make a pattern that you can keep for future gathered skirts.
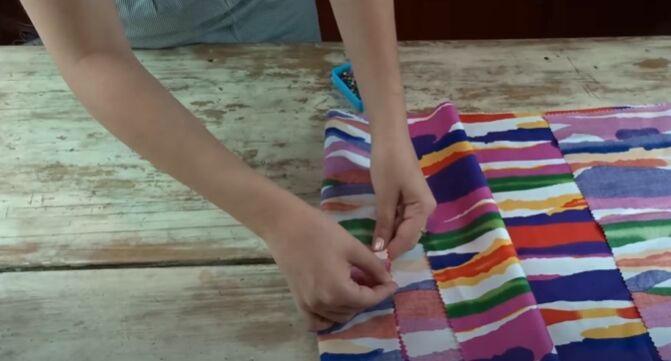
Sew the panels together
Next, pin the two back panels to the front panel, right sides facing, and sew the side seams from top to bottom with a 1.5cm (0.59 inches) seam allowance. Make sure you iron your seams flat to get that nice, professional look.
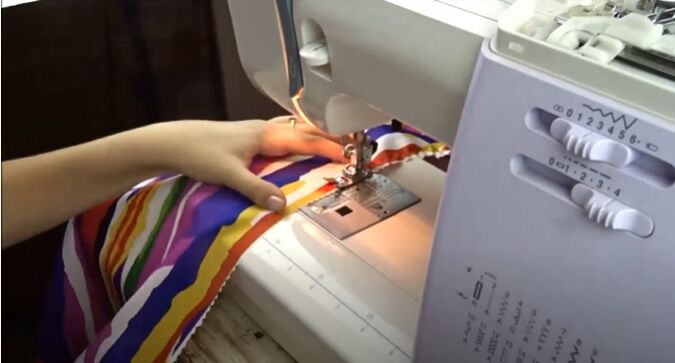
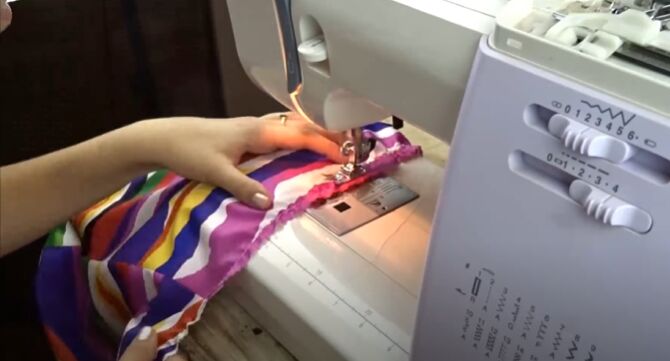
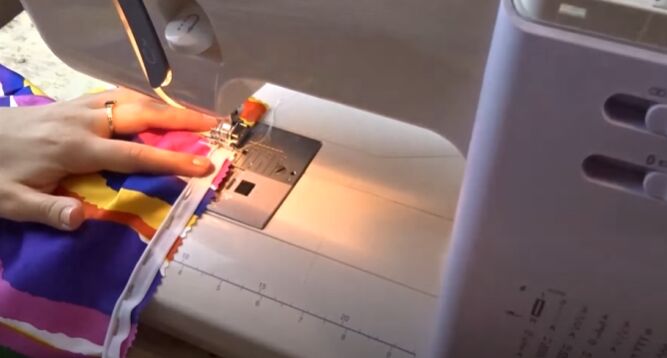
Gather the skirt
To start gathering, set your sewing machine to the longest stitch length. Sew the first row of stitches 1cm (0.39 inches) in from the top of the fabric. Begin and finish sewing without any backstitching. Keep a long tail of thread for the gathering.
Next, sew a second row 2cm (0.79 inches) from the top of the fabric. Don’t do any backstitching for this row either and keep those tail threads long.
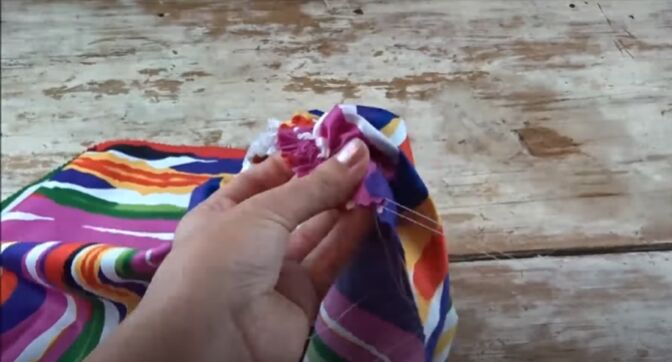
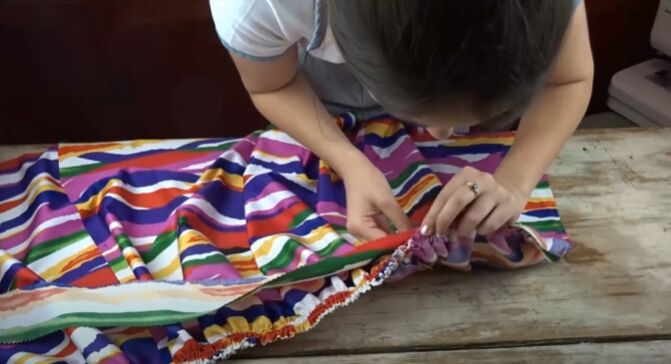
To gather the skirt, pull on the top threads only, and start gathering the fabric, making sure to spread the gathers evenly. This can take a little bit of time but it’s worth it to make sure the gathering sits nicely.
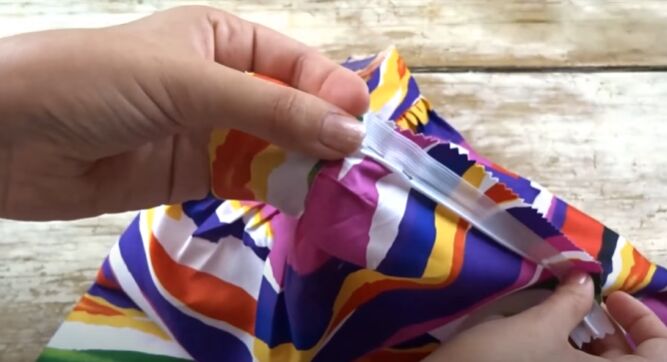
Attach the waistband
Fold the extra 3cm (1.18 inches) inward on each end of the waistband. Line up the waistband with the top of the skirt, right sides facing, and pin it in place.
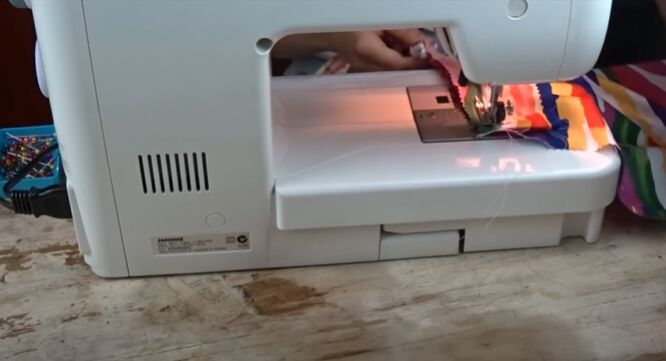
Sew the waistband on with a 2.5cm (0.98 inches) seam allowance to completely incase the gathering stitches. Make sure that you go back to your normal stitch length to sew the waistband and the rest of the skirt.
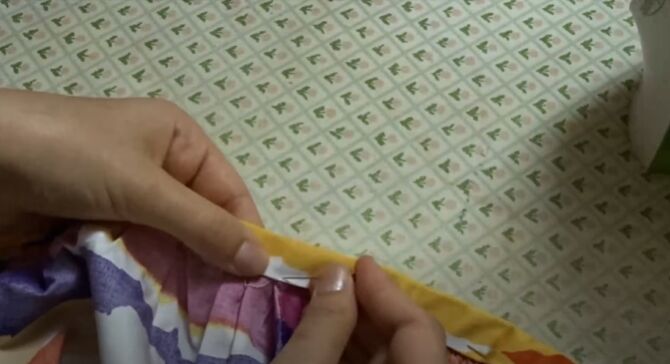
Attach the zipper
Now to attach the invisible zipper. Firstly, line up the little plastic stopper at the bottom of the waistband. Pin so that the right side of the zipper is facing the right side of the fabric. Make sure that the edge of the zipper lines up with the edge of the fabric. Pin the other side of the zipper to the edge of the fabric.
Make sure you have a zipper foot because it will make sewing on the zipper so much easier.
Pin and sew the rest of the back seam with a 1.5cm (0.59 inches) seam allowance.
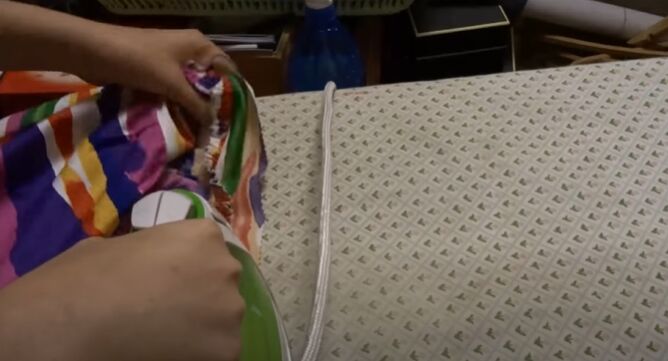
Finish the waistband
Moving back to the waistband. Iron the waistband upwards and then iron it over the seam toward the inside of the skirt. Then iron about a half cm (0.2 inches) fold in the waistband to hide the raw edges.
Pin it down on the inside of the skirt and then sew along the bottom edge.
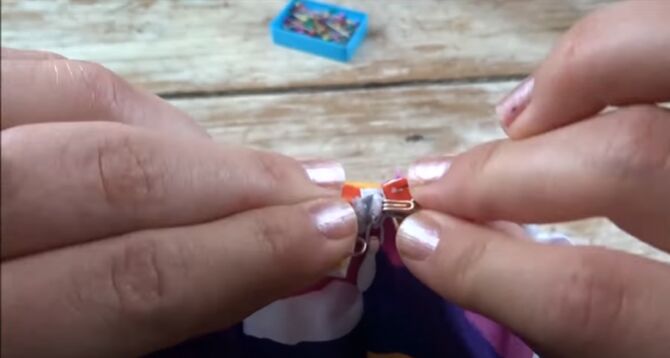
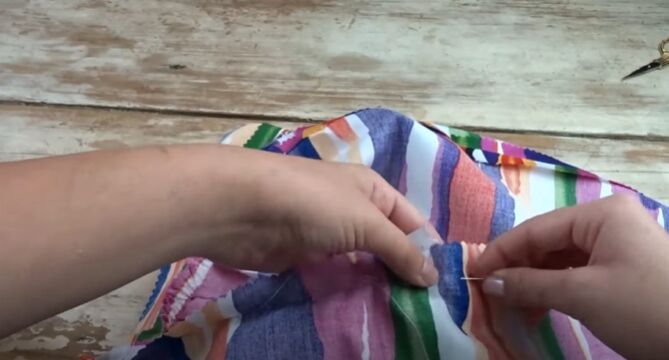
Next, hand sew your hook and eye into the inside of the waistband above the zipper.
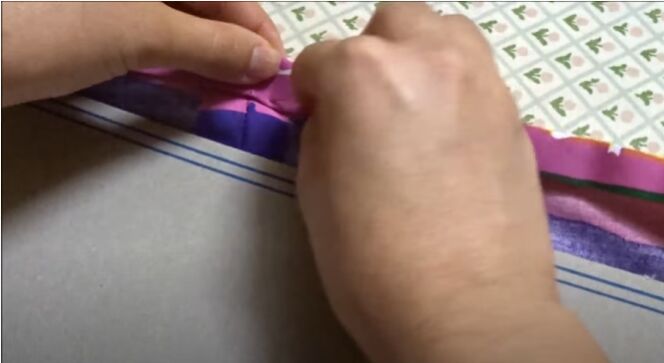
Hem the skirt
To hem the skirt, press down the bottom of the fabric inward and then fold again and pin and sew the fold.
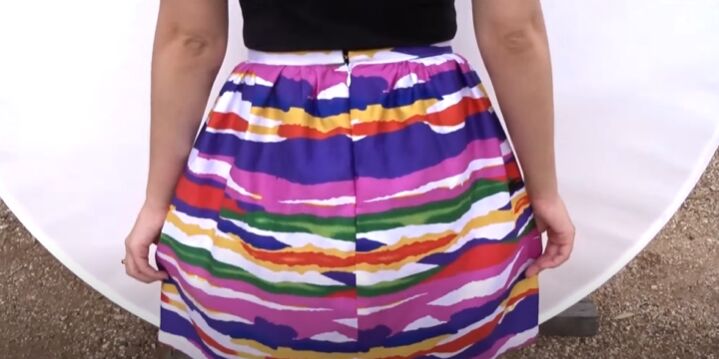
Making a gathered skirt is easier than it seems! How would you style this skirt? Let me know in the comments!
The author may collect a small share of sales from the links on this page.


Comments
Join the conversation