How to Make a Maxi Skirt With Slits & Pockets - Perfect for Summer

Summer is coming and if you’re looking to expand your wardrobe, there’s nothing more comfortable and sexy than a long skirt. This simple maxi skirt sewing pattern will show you how to make a maxi skirt with slits.
You’ll need to know how to insert a zipper to make this DIY gathered maxi skirt but everything else in this tutorial uses easy straight stitching. Let me show you how to make a maxi skirt you can whip up in under 2 hours!
Tools and materials:
- 3 yards of fabric
- Measuring tape/ruler/curved ruler
- Tailor’s chalk
- Scissors
- Pins
- Sewing machine
- 7-inch zipper
- Iron
1. Make the pattern
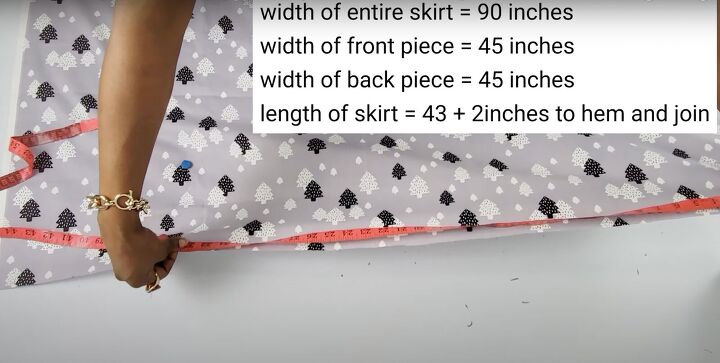
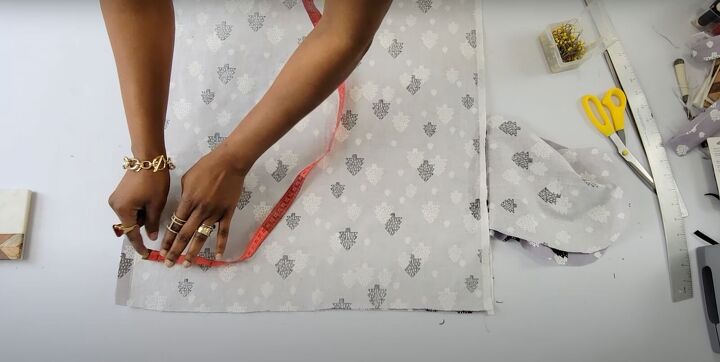
Make the pattern based on your waist measurement and preferred length. I’m using a 45-inch length for the front and back in this tutorial. The overall width of the skirt should be 3 times your waist measurement.
Fold your fabric so that the measurements are easily marked and cut the fabric. Cut out the front and back pieces.
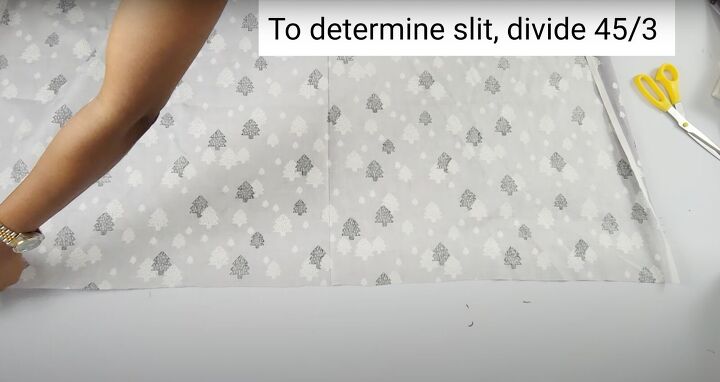
2. Make the front slit
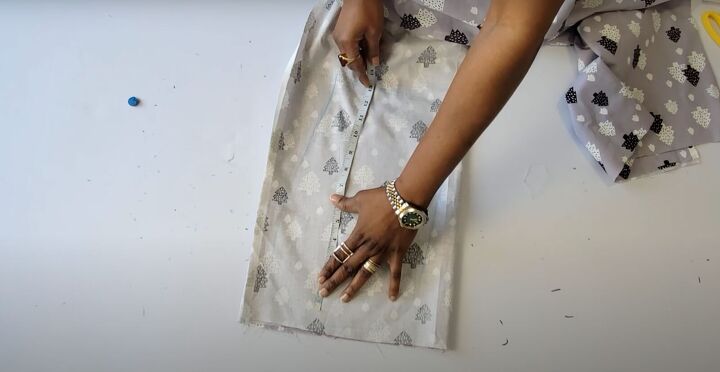
On the front piece, divide the length into thirds to place the slit. In this tutorial, the length is 45 inches so each third is 15 inches.
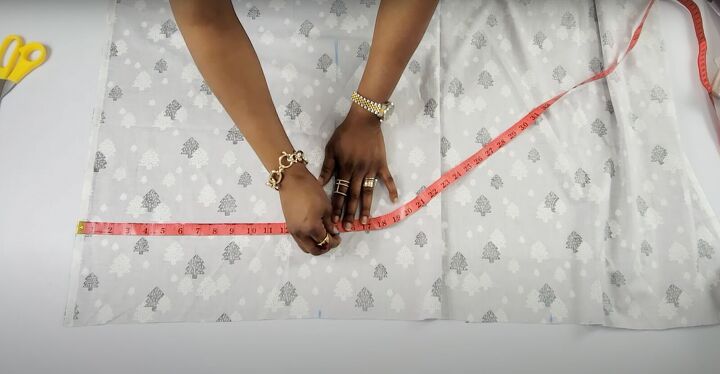
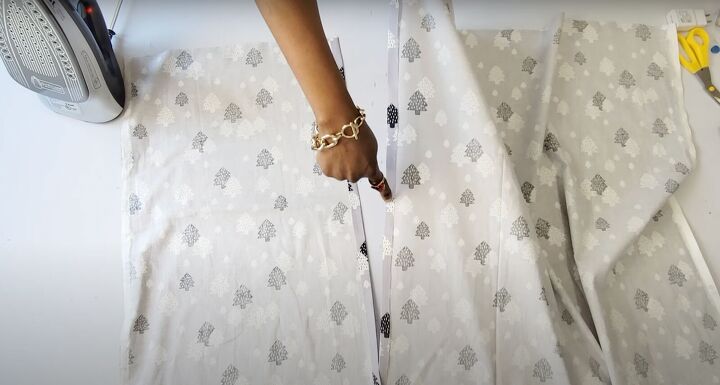
Mark across the fabric. Cut the fabric along the marking.
Pin the fabric back together and decide how high you want the slit to be. You’ll join the pieces back when sewing. Make sure you’re marking your preferred slit length from the waist down.
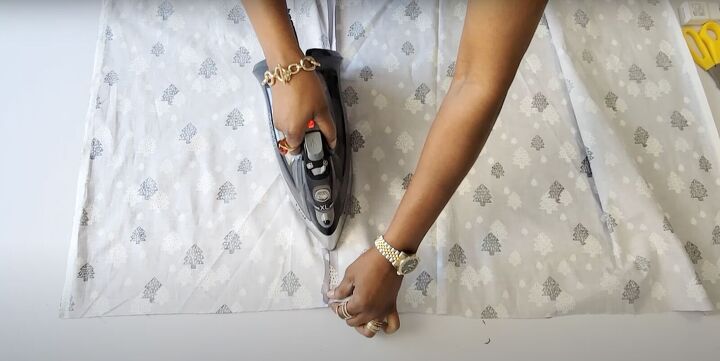
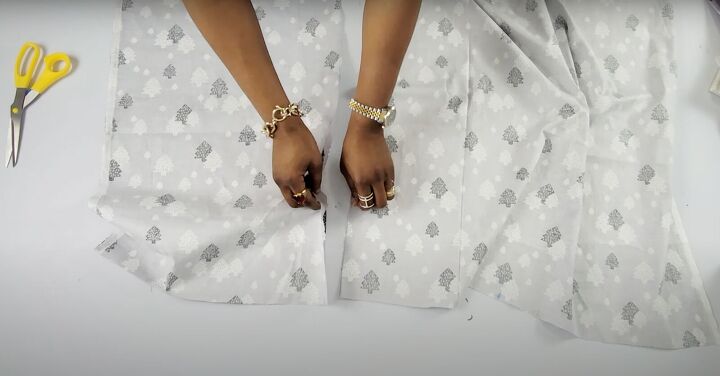
Run a straight stitch from the top down to the slit mark. Backstitch at the slit mark. Press the seam allowances flat all the way down including the unsewn slit.
Hem the slit opening along the pressed fold on both sides. Sew the slit down, starting at the bottom of one side. Pivot at the top and then sew down the other side.

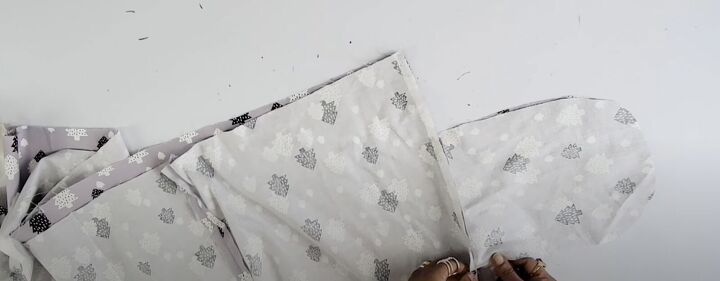
3. Make the back piece
Fold the back piece in half to find the center. Cut along the fold to have two equal size pieces.
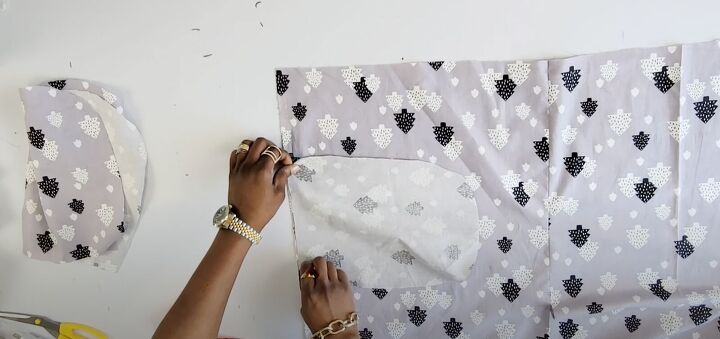
4. Make the pockets
Fold the fabric into quarters. Lay your hand to find the width. Mark and add an inch or two for the width. The length is up to you and for this tutorial, I chose 10 inches.
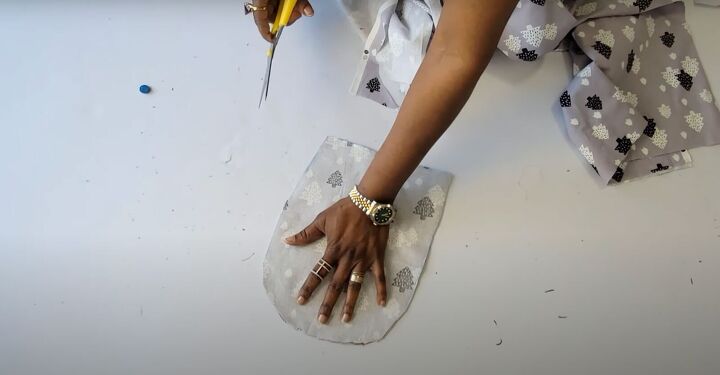
Cut the 4 pocket pieces out.
5. Attach the pockets
On your front and back pieces measure 5 inches down from the top. Pin the pockets in place, right sides together, with the top of the pocket at the 5-inch mark.
Run a straight stitch to affix into position. Place the pockets on both sides of the front and back pieces.
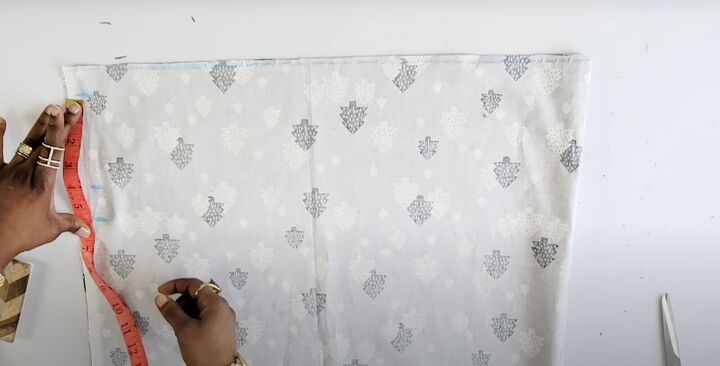
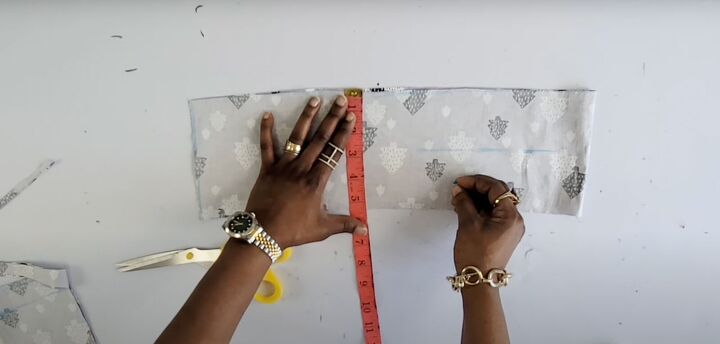
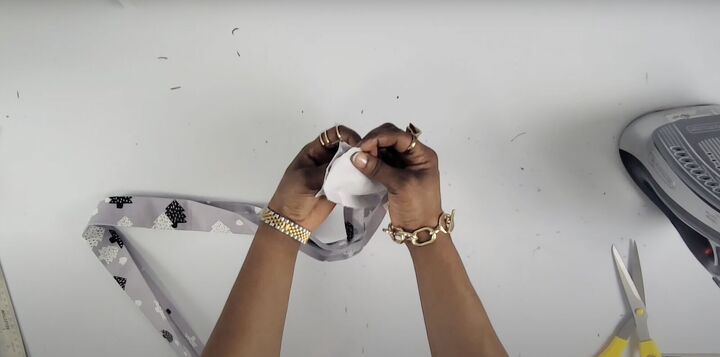
6. Make the waistband
Fold the fabric. Use your waist measurement divided by 2 for the waistband length. Measure and cut the fabric to be 2 inches larger than your divided waist measurement.
If your fabric is uneven, mark the top to make sure it is straight. Mark 1 inch down. From the 1-inch mark, measure and mark down 4 inches.
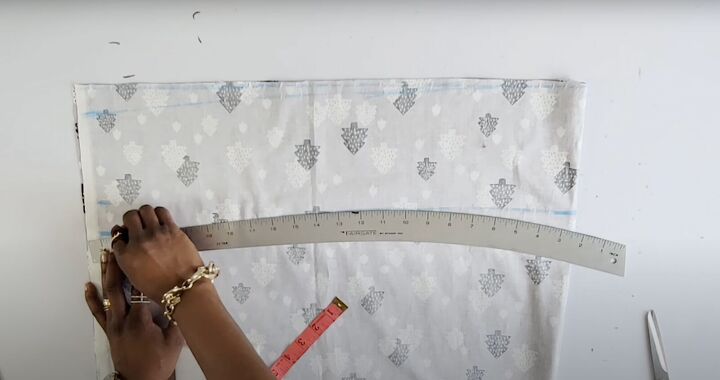
From that point, measure and mark down an additional 1½ inches for folding and seam allowance. I like to use a curved ruler to mark the waistband.
Cut the waistband out.
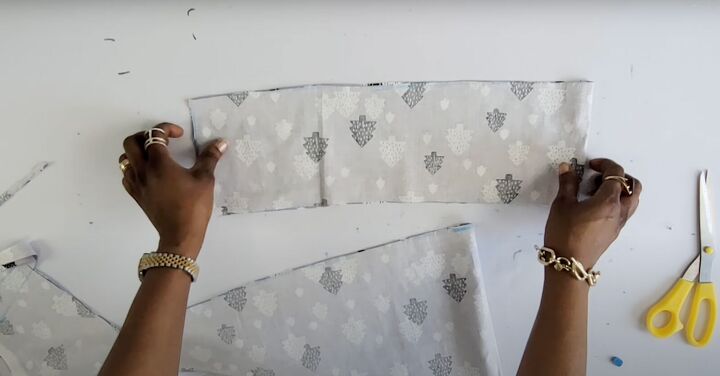
Measure to find the center.
Then cut along the center length measurement so your waistband is in 2 pieces. Pin them right sides together and run a side stitch to join them.
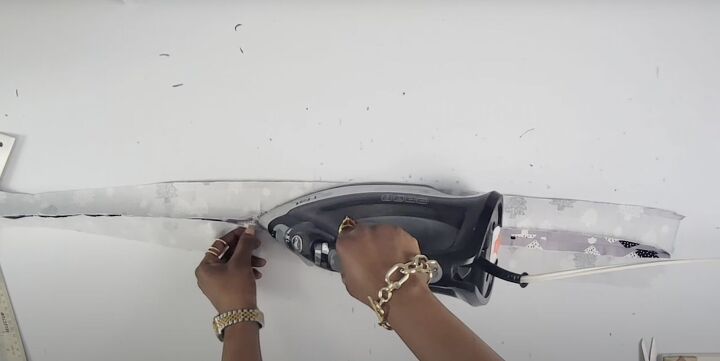
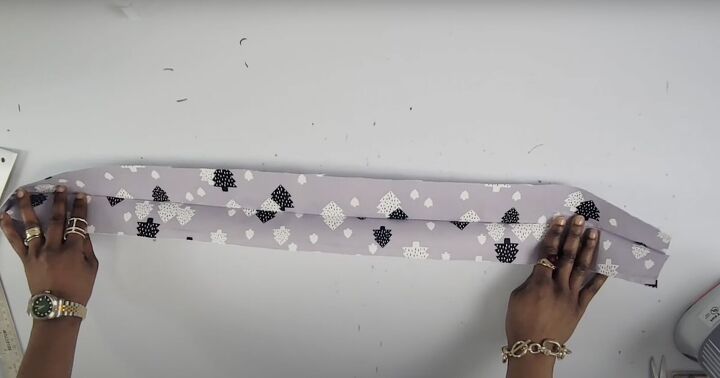
Press to flatten the seam allowance.
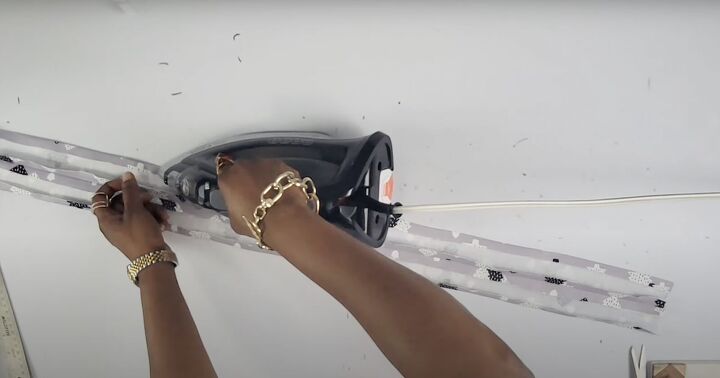
Fold ½ inch along the length on both the top and bottom. Press to flatten.
Fold the waistband in half, tucking in the folds and press again.
At each edge, turn it wrong sides together at the top. Run a straight stitch on the short side to close the waistband ends. Straighten and sharpen the corners. Press the waistband again.
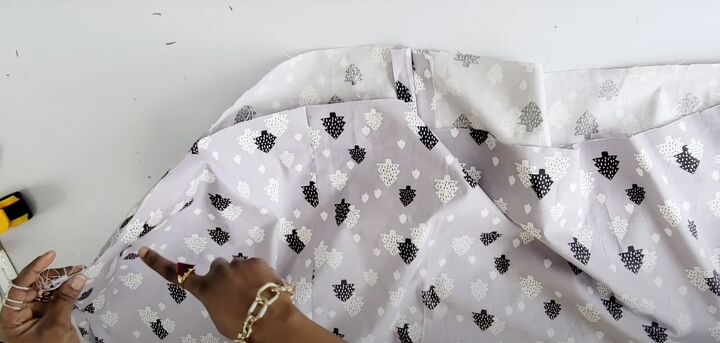
7. Sew everything together
On the back piece, mark 7 inches down from the top. Run a basting stitch (the longest stitch) from the top down to the 7-inch mark to hold the position for the zipper.
From the 7-inch mark to the bottom, sew a straight stitch to sew the back piece into position.
Lay the front and back right sides together. Pin the side seams in place, including the pockets. Sew the sides, remembering to pivot around the pockets.
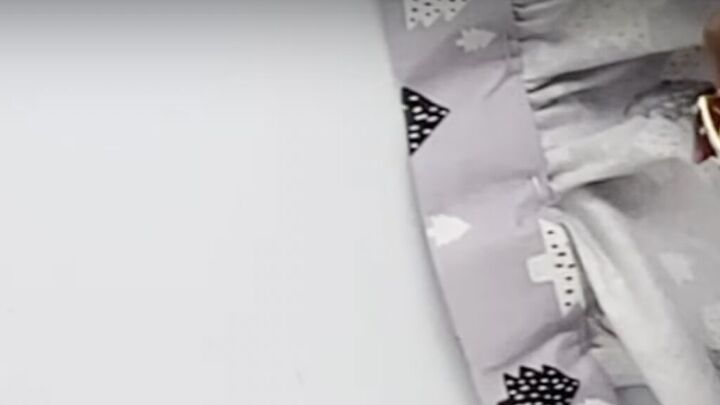
Run a basting stitch all around the raw waistline of the skirt, starting at one end where the zipper goes in the center of the back, all the way around to the other end.

Gather the waist to your waist measurement by pulling on the threads.
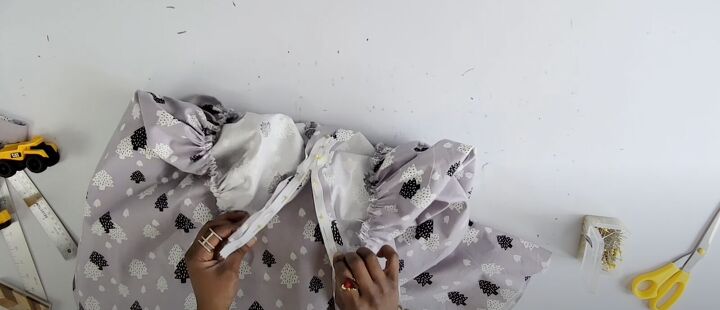
Open the zipper basting stitch and pin the zipper into place, Sew the zipper down.
Place the gathered waist of the skirt into the waistband with the folded edge on top.

Pin securely and sew into position with a straight stitch.
Hem the bottom to finish.

How to make a maxi skirt with slits
How perfect is this DIY maxi skirt for the summer? Please let me know in the comments if you made it or better yet, share photos wearing it.
To learn how to make the matching top, see my other tutorial on how to make an off-the-shoulder crop top.
The author may collect a small share of sales from the links on this page.


Comments
Join the conversation