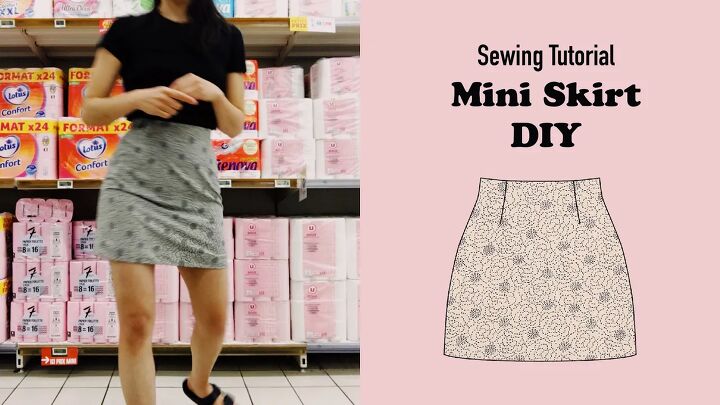
How to Sew a Super Cute Mini Skirt

This cute mini skirt has become one of my favorite summer skirts. It's made from my own mini skirt sewing pattern and is high waisted with an invisible side zipper.
The best fabric to use would be a woven fabric with a little stretch, but it's fine without stretch too.
In this tutorial, I'll show you exactly how to sew a mini skirt and how to insert an invisible zipper.
Tools and materials:
- Aurelius Mini Skirt pattern
- Woven fabric
- Paper for pattern
- Invisible zipper
- Button
- Button strip
- Fusible interfacing
- Pins
- Scissors
- Fabric marker
- Seam ripper
- Sewing machine
- Zipper foot
- Hand sewing needles
- Serger (optional)
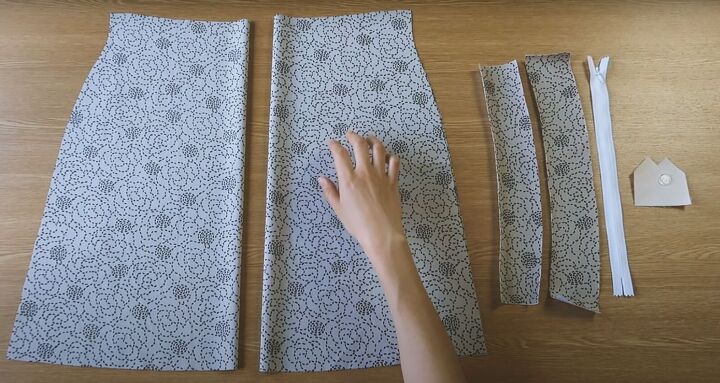
1. Cut out the fabric pieces
Print out the pattern and tape it together. Cut out the individual pieces and pin them to your fabric as instructed.
Cut out the fabric pieces and transfer all the pattern marks to the fabric.
Cut the facing pieces out of interfacing as well and press the interfacing to the wrong side of the facings.
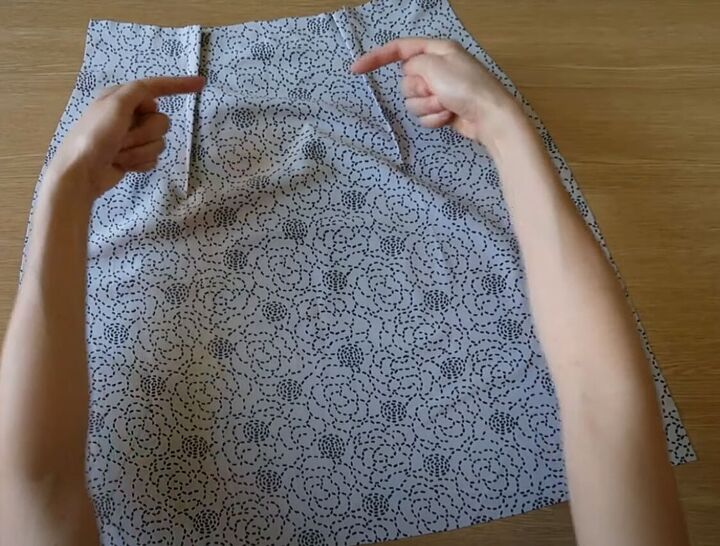
2. Front and back darts
Draw the darts on to the fabric with a fabric marker. Pin them together and sew them.
Press the front darts towards the side seams and the back darts towards the center back.
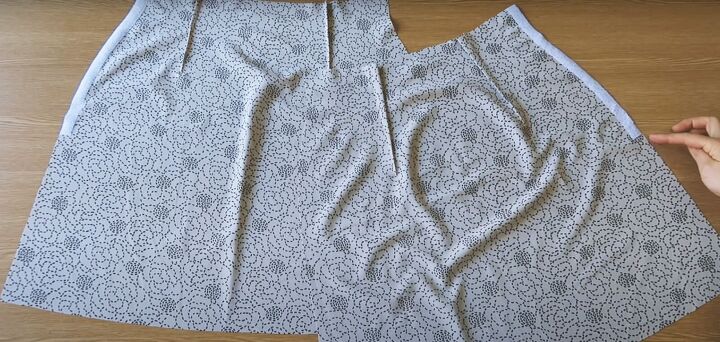
3. Finish the edges
Cut two strips of interfacing 0.6 inches (1.5 cm) wide and slightly longer than the marked zipper length, following the grain of the interfacing.
Press them without using steam to the left side of the front and back on the wrong side.
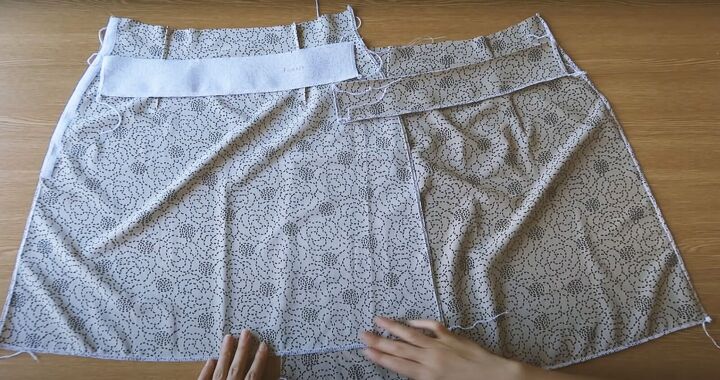
Serge or zigzag stitch the edges of the skirt and the facings, leaving the waist edges unfinished.

4. Insert the invisible zipper
Align the back and front skirt pieces with right sides facing and pin the left side seam.
Sew from the top of the seam to the zipper notch with a basting stitch and continue to the bottom of the seam with a regular length stitch.
Press the seam open and press the zipper teeth away from the tape.
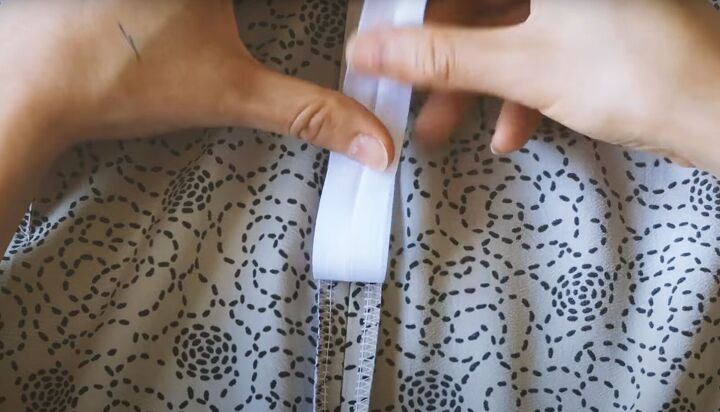
Pin the zipper tape to the seam allowance only, aligning the teeth with the center of the seam.
Baste it in place along the center of the tape on both sides, using a contrast thread. Continue the basting for about 1 inch (2-3 cms) beyond the zipper notch.
Rip out the first set of basting stitches.
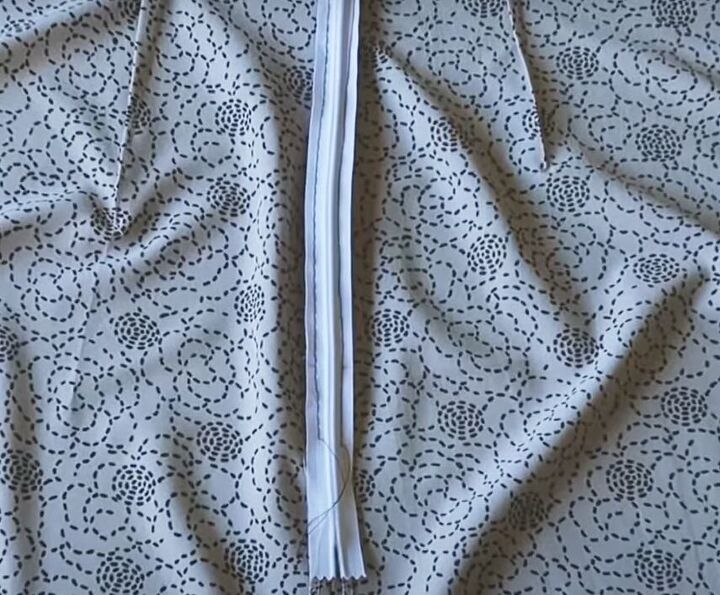
Open the zipper and pull the zipper head as low as you can past the basting.
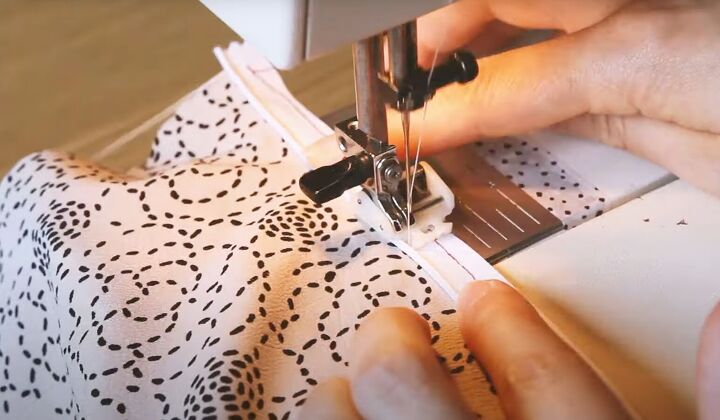
Sew the zipper close to the teeth on both sides, from the notch to the top edge.
Close the zipper and check your work, then remove the contrast basting stitches.
Sew a few stitches across the zipper teeth at the level of the notch to serve as a stopping point.
Cut off the excess zipper below the stitches. Finish the raw edge with a strip of fabric.
5. Facings
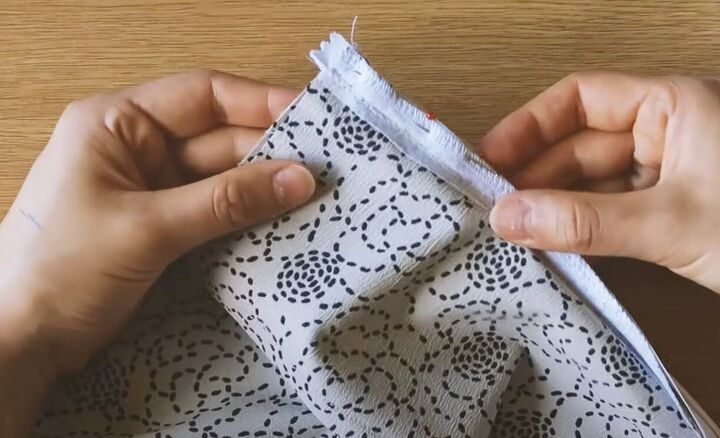
Pin the zipper edge of the facings to the skirt with right sides together and sew in the middle of the seam allowance.
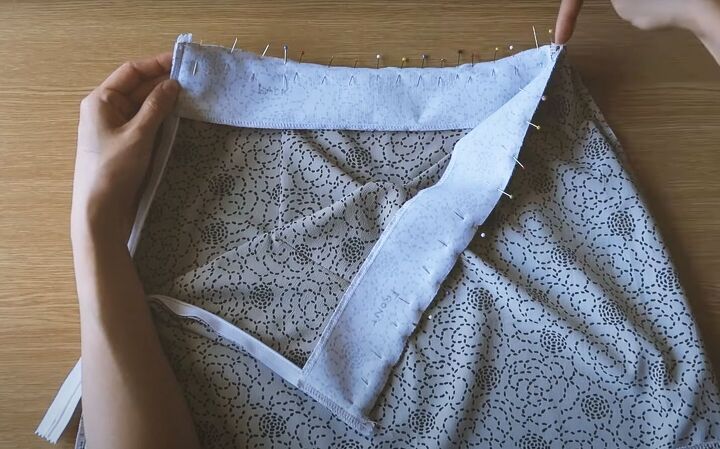
Pin and sew the right side seam of the skirt together and join the short edges of the facings.
Pin the facing to the waist edge of the skirt with right sides together, matching the facing seam with the side seam.
Sew in place, stopping at the seams attaching the facing to the zipper tape.
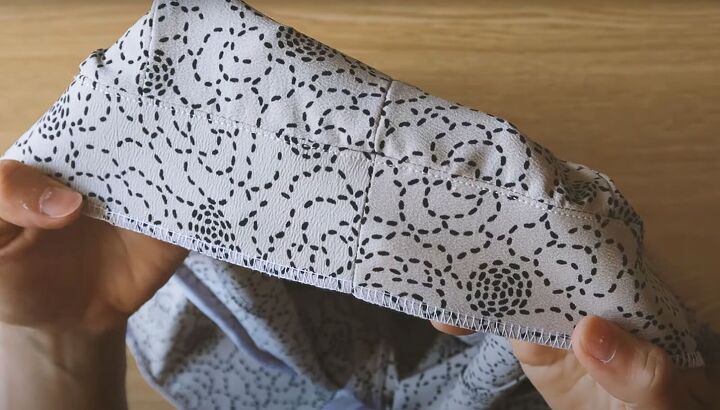
Turn your work inside out and check it before trimming the seam.
Turn the facing to the wrong side and push out the corners.
On the right side, top stitch the facing to the seam allowance.

6. Hems
Hand sew the hem of the skirt and the facing with invisible stitches.

7. Add the button
I actually forgot to do this during step 5. I should have pinned the button strip between the back skirt and the back facing when I was attaching the facing to the zipper tape.
Cut a button strip from a piece of fabric and back it with interfacing. Fold it in half lengthways with right sides together.
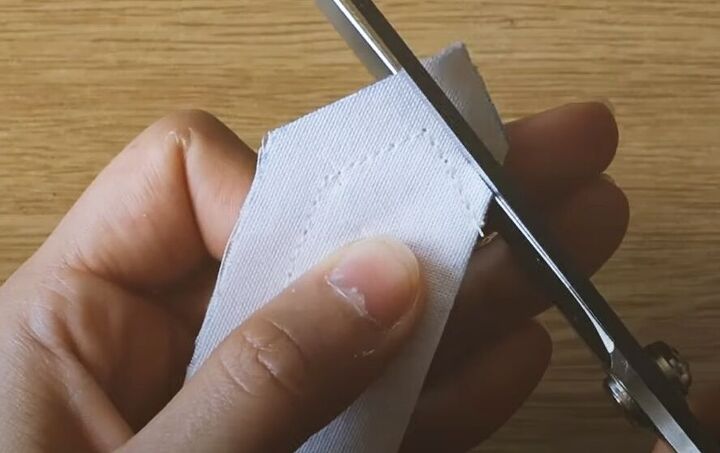
Sew it along the raw edges and trim the excess. Turn the strip right side out and press.
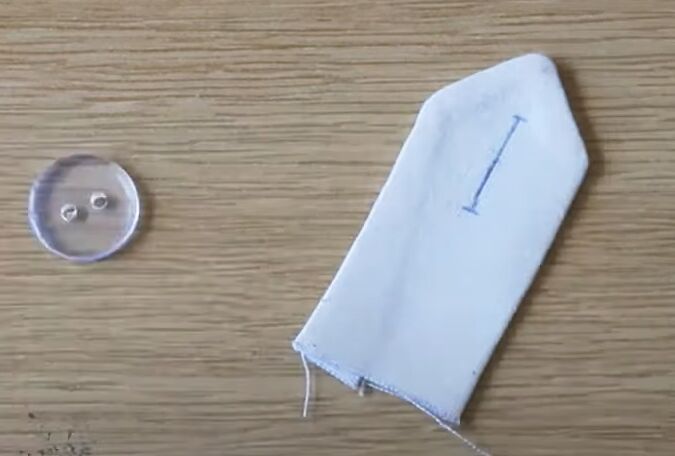
Draw the buttonhole length and sew it by hand or machine.
Fold under the raw straight edge of the strip and hand stitch it in place.
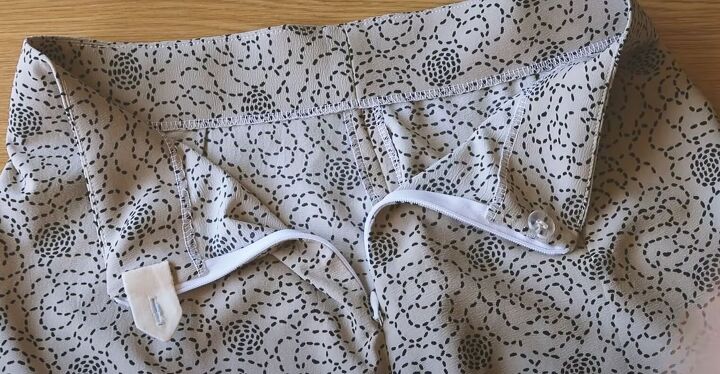
Place the strip on the back facing if you're right-handed and hand sew it securely. Sew the button to the other facing.
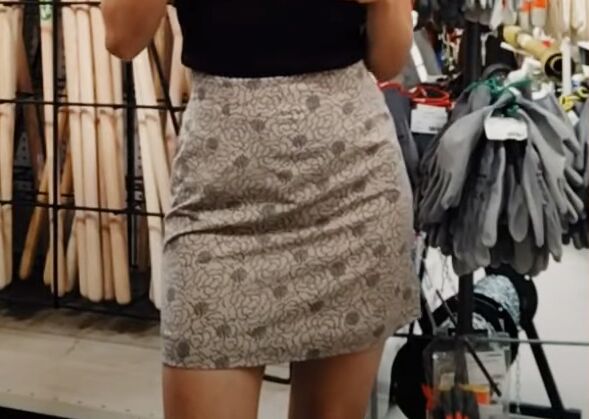

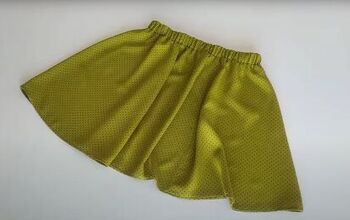
How to sew a mini skirt: Cute mini skirt
I'd suggest that this pattern is best for beginners who have already made a couple of garments, just because of the invisible zipper.
However, even if this is your first project and you really want to do it, just take it slowly and go for it. Fortune favors the brave!
I'd love to know how you get on with it - please drop me a comment below.
For more sewing content, check out my post on How to Sew a Sexy Raglan Sleeve Dress.
The author may collect a small share of sales from the links on this page.


Comments
Join the conversation