Make This Flowy & Mesmerizing Maxi Skirt in Just 2 Hours

Want to make your own flowy maxi skirt? I'm going to show you this beginner-friendly step-by-step maxi skirt tutorial that is unbelievably simple and quick to sew. What's more, you can make a maxi skirt that fits you well, so you don't need to worry about a pattern that is hard to follow or that you'll need to adjust. I used a lovely thrifted vintage fabric to make this easy maxi skirt. But, you can choose any fabric you desire. Keep scrolling to find out how to create this gorgeous piece!
Tools and materials:
- Fabric
- Elastic
- Measuring tape
- Scissors
- Pins
- Sewing machine
- Thread
Make the pattern
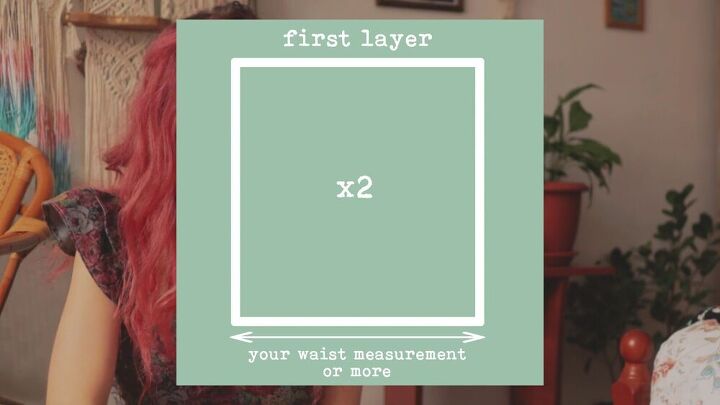
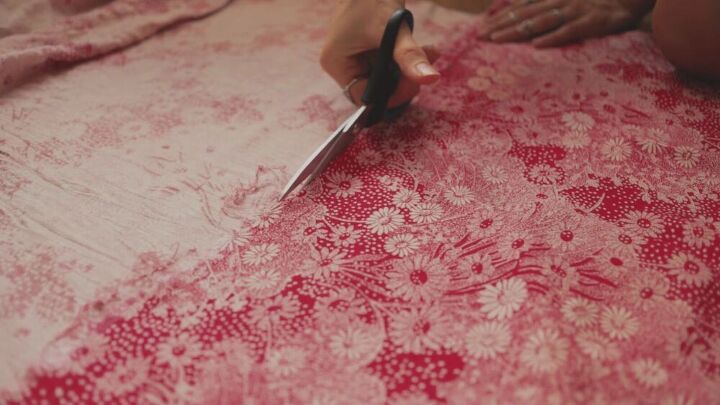
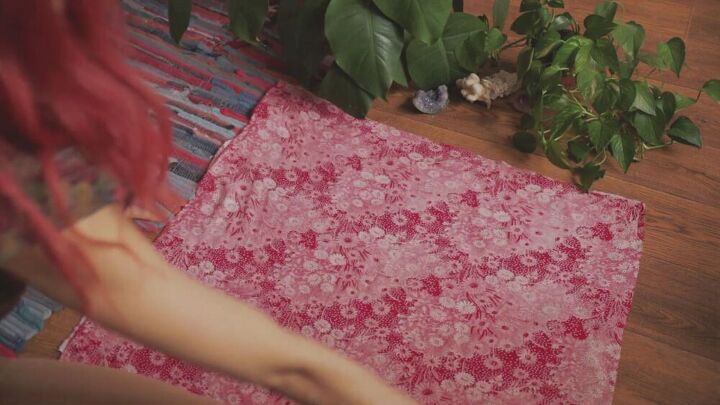
The maxi skirt will have two layers. So go ahead and determine what length you want the first layer to be. Also, measure your waist so that you have the correct width. Then, cut two pieces of this length for the back and front. Do this by folding the fabric in half and cutting along the edge of the first layer so that you then land up with two.
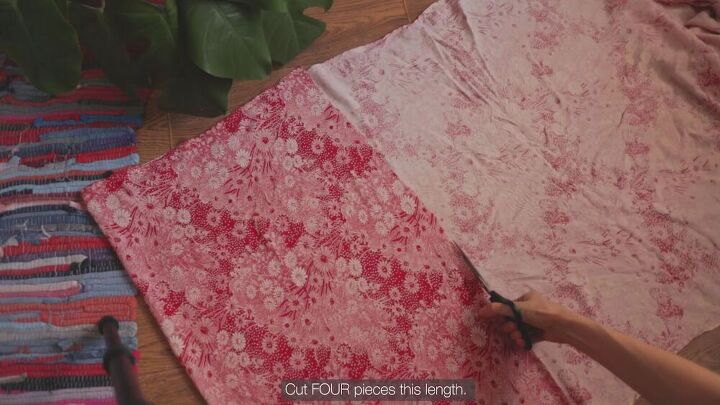
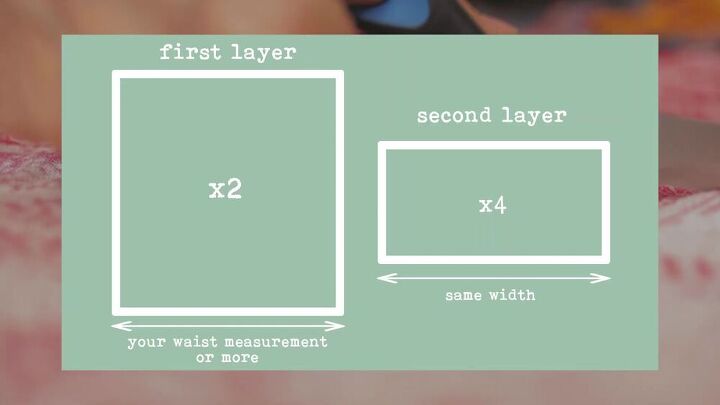
Determine how long you want the second layer to be, and cut four equal pieces of this length. The width should amount to the same measurement.
Sew the sides
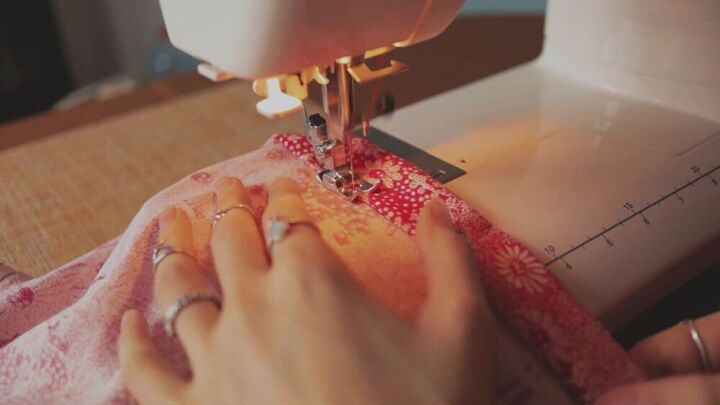
Sew the sides of the first layer, right sides together.

Then, sew all four pieces of the second layer so that you create a white tube-like panel.

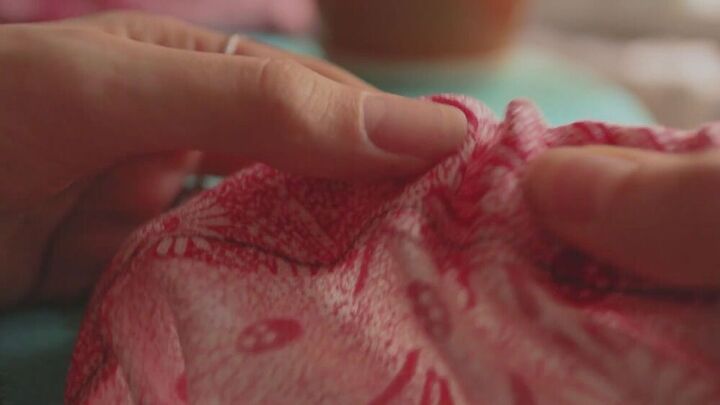
Make a tunnel
On the top of the first layer, fold the edges over to create a tunnel for the elastic. Fold and pin all the way.
Now, sew it in place and leave a gap at the end so that you can feed through your elastic.
Hem the layers
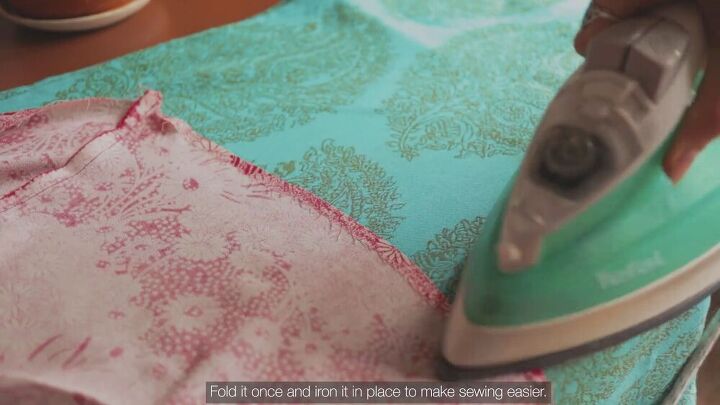
Before you assemble your DIY maxi skirt, go ahead and hem the bottom of the first layer and the top of the second layer. To make the process easier, fold the edge over and press it so that you have a polished finish.
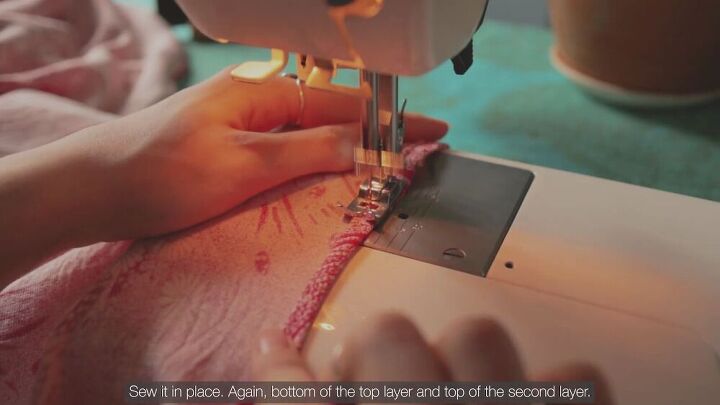
Now, fold the edge again and head on over to your sewing machine to stitch in place.
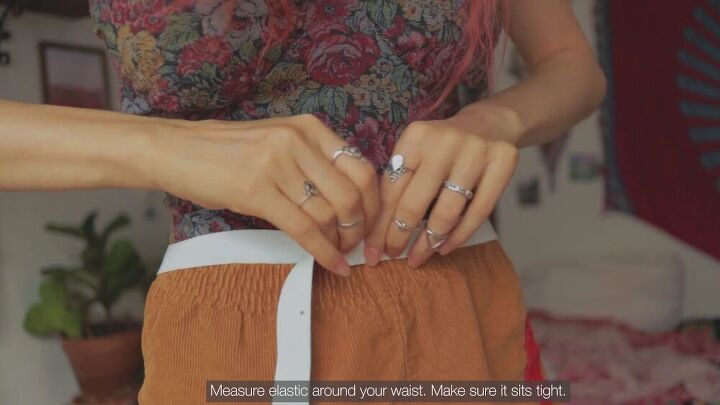
Add the elastic
Measure the elastic around your waist, making sure it sits tight and right. It should not squeeze your waist but have a comfortable, firm hold.
Feed through the elastic on the top layer where your tunnel is. Use a safety pin to help maneuver the elastic through the tunnel.
After, sew the ends of the elastic together.
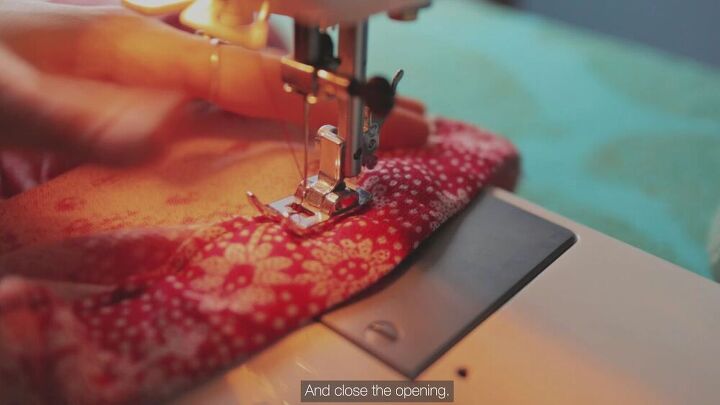
Finally, close the opening, too.

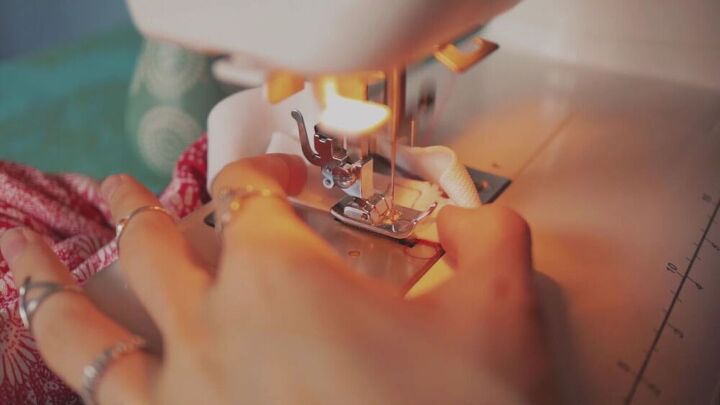
Create the gathers
Your maxi skirt now needs some gathers! Grab your second layer and sew a basting stitch along the top.
TIP-
Don't backstitch or cross over.
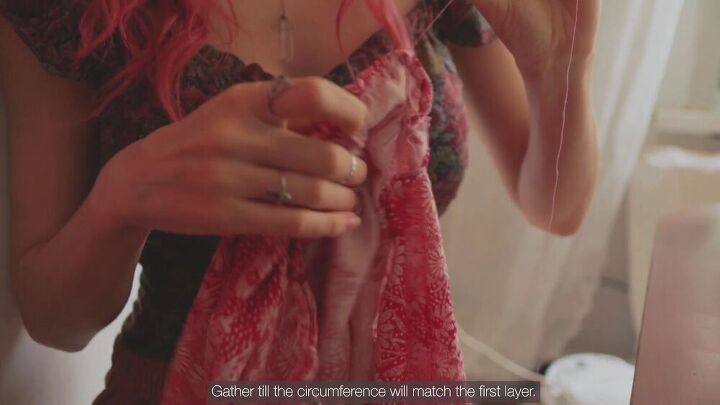
Now, grab one of the threads and pull the fabric to make the gathers. Do this until the circumference matches the bottom of the first layer.
Attach both layers
Now it's time to attach the bottom layer to the top layer. Leave the little ruffles sticking out (don't stitch on top of them).
TIP-
When done, don't forget to remove the gathering stitch.

Hang your DIY maxi skirt and with sharp scissors, even out the edge of the bottom maxi skirt.

Then, hem the bottom the same way you did before.


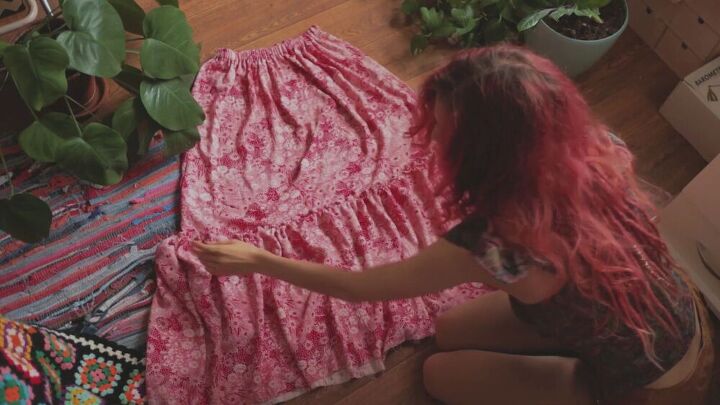
Just beautiful! Your maxi skirt is complete! It's so dreamy and flowy, don't you think? I love how this basic maxi skirt turned out, and as you can see, there's really nothing to it! It's a straightforward process to sew a maxi skirt and is easy for anyone!
The author may collect a small share of sales from the links on this page.


Comments
Join the conversation
Wow!is there anything you can't do? Not only are you talented but beautiful as well thank you for all your inspiiration♡
Love the skirt! The fabric is gorgeous!