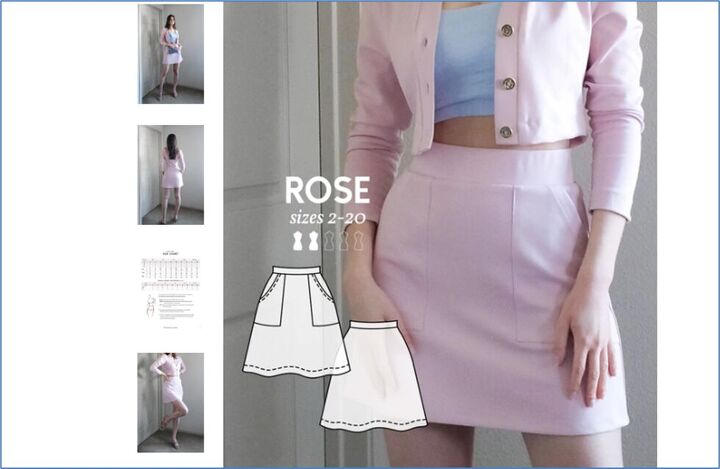
How to Make a Cute A-Line Mini With the Rose Miniskirt Sewing Pattern

This pretty A-line miniskirt features a clean, classic style and it has pockets! Best of all, it is simple to make. Follow my tutorial to get the mini skirt sewing pattern and learn how to make your own DIY mini skirt.
Of course, if you want a longer skirt you can easily adjust the pattern. There's also a matching cropped cardigan pattern if you want to make a set.
Tools and materials:
- 1.3 meters (1.5 yards) medium-weight knit fabric
- 40 x 3 centimeters (15.75 x 1.18 inches) iron-on interfacing
- 150 x 3 centimeters (59 x 1.18 inches) sewing elastic
- Sewing needle and thread
- Sewing pins
- Ruler
- Scissors
- Pencil
- Rose skirt pattern
- Sewing machine
- Serger
1. Cut the Rose Skirt pattern pieces
Download the rose skirt pattern, print, and cut the pattern pieces as directed.
2. Make the pockets
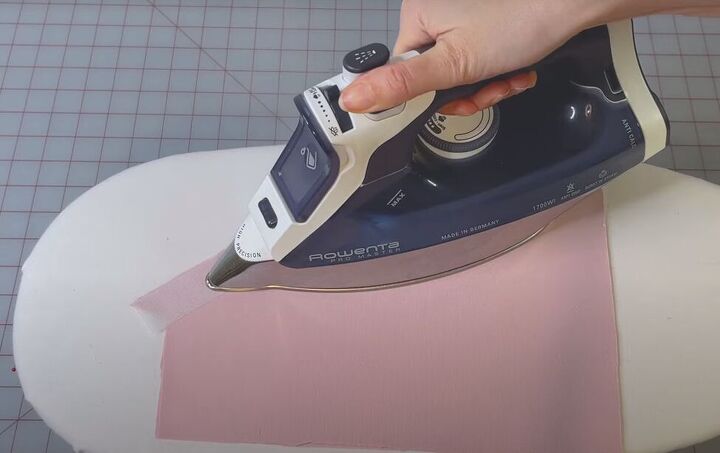
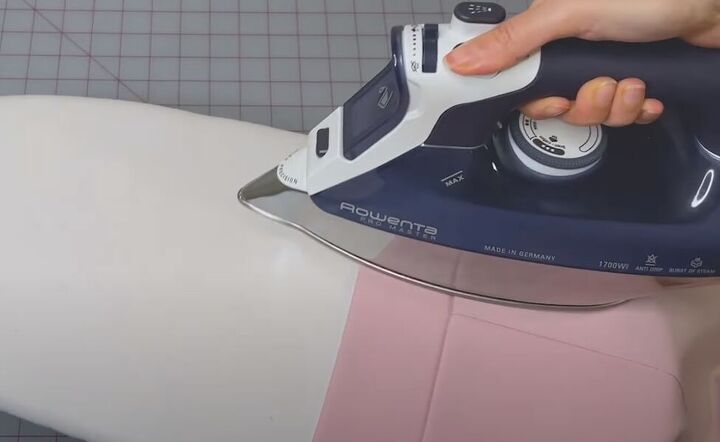
Iron the interfacing to the inside edge of the pocket opening. Then snip off any excess interfacing.

Serge the pocket opening edge.
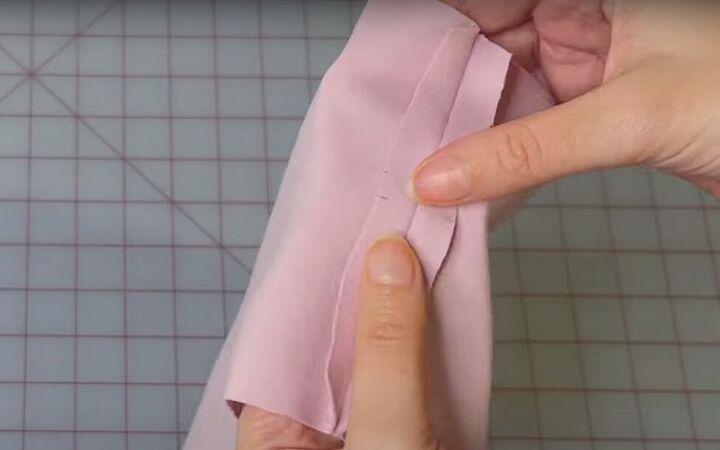
Fold the edge with interfacing to the inside of the pocket and press flat.
On the wrong side of the pocket mark a line 1 centimeter (0.39 inches) from the side edge of the pocket and another line 1 centimeter (0.39 inches) from the bottom of the pocket.
Note that in the video I made these lines on the right side of the pocket because I was using disappearing ink.)
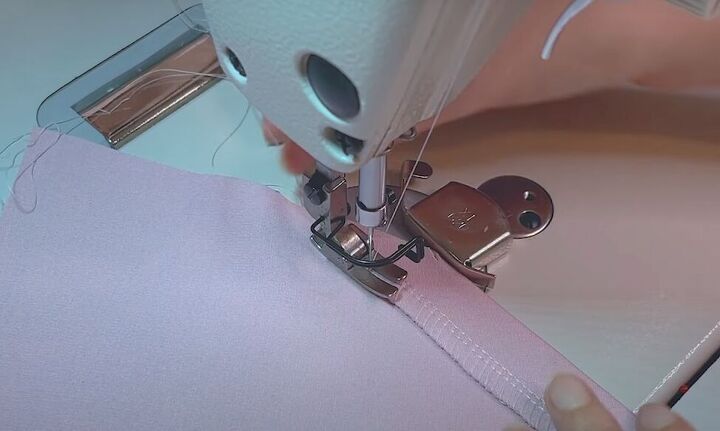
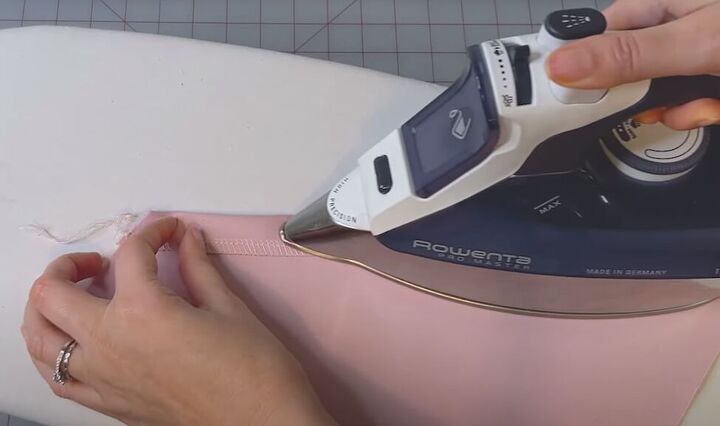
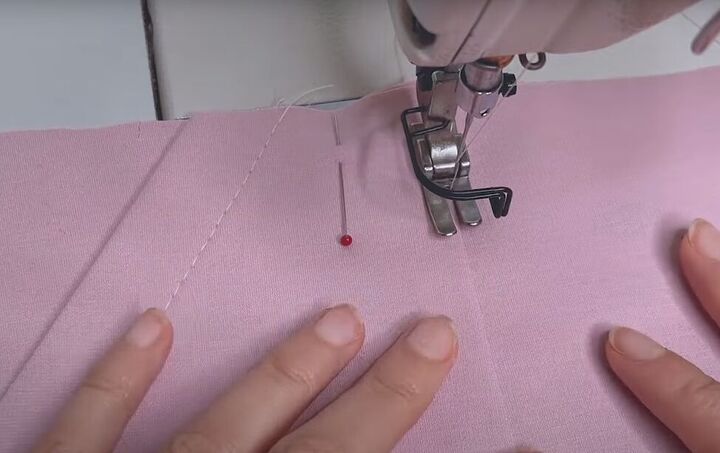
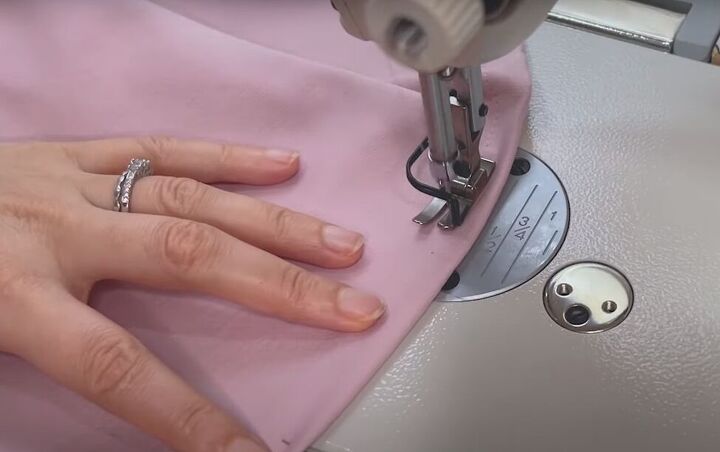
Topstitch the opening edge of the pocket 1.5-2 centimeters (059-0.78 inches) from the edge.
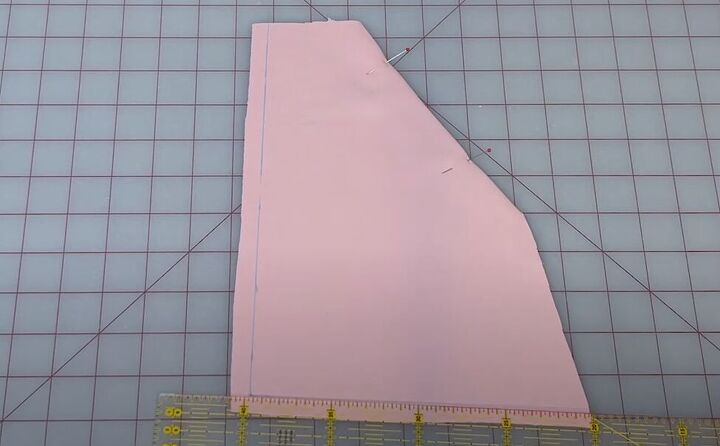
Stay-stitch the pocket on the marked lines.
Fold in the pockets along the stay-stitched lines and press flat. Then press the whole pocket.
Repeat for the second pocket.
3. Attach the pockets to the skirt front
Pin the pockets to the skirt front aligning them to the markings on the waistline and side of the skirt pieces. Pin the pockets in place
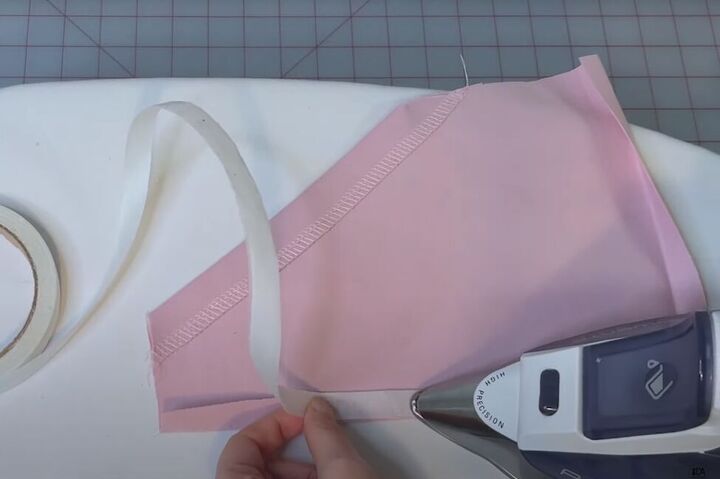
Alternatively, you can use double-sided seam allowance tape, instead of pins, to attach the pocket to the skirt.
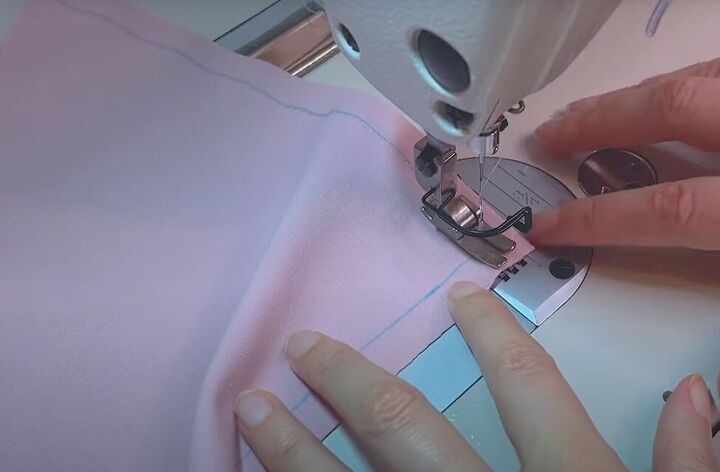
Topstitch the pockets to skirt 1 millimeter (0.04 inches) from the edge.
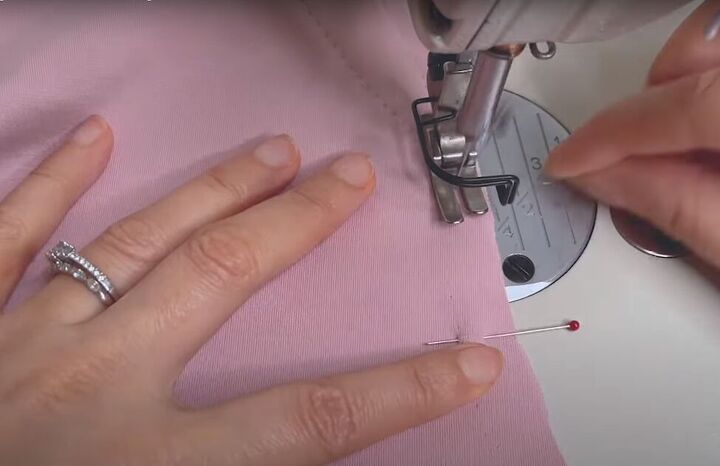
On the wrong side, sew close to the edge to secure the pockets at the waistline and the side below the pocket opening. Press the pockets one final time.
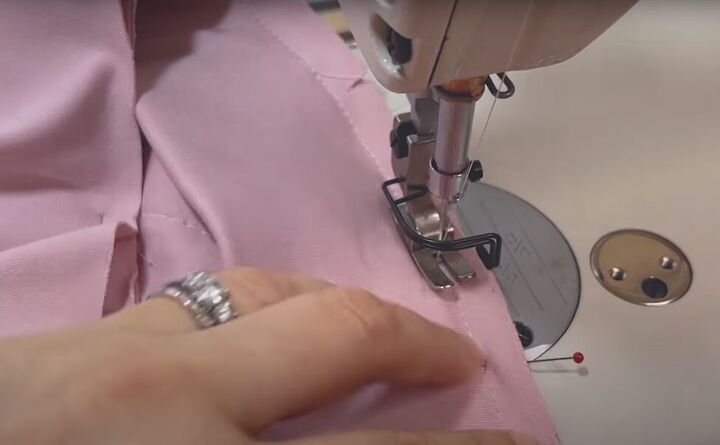
4. Sew the mini skirt
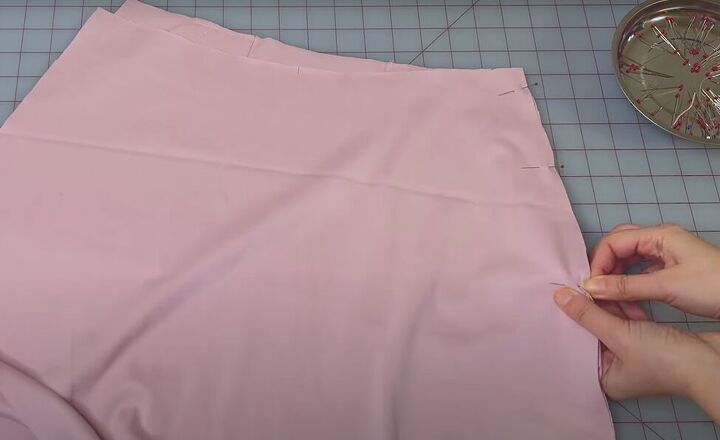
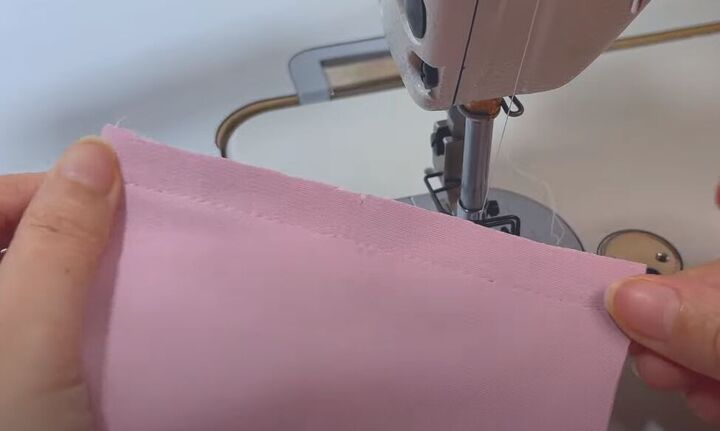
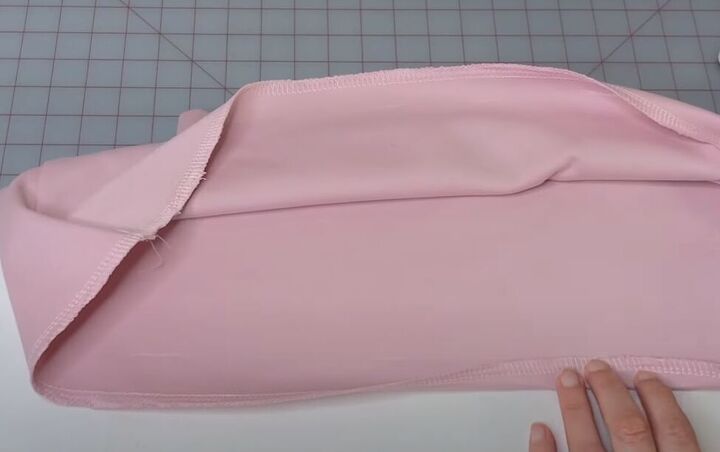
With the right sides facing, pin and sew the side seams of the skirt.
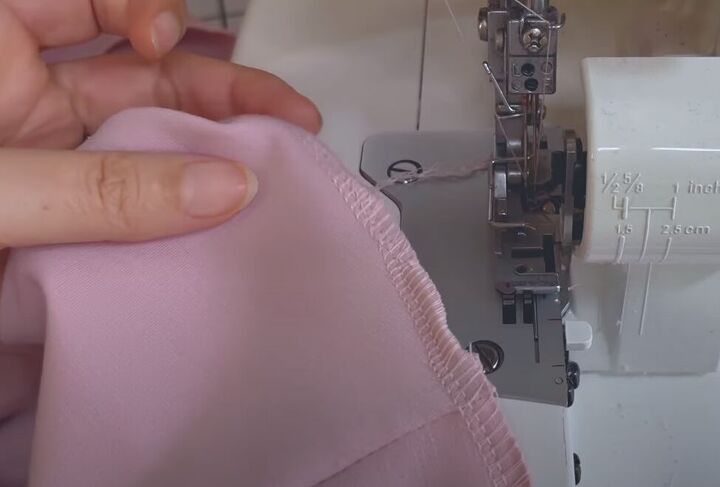
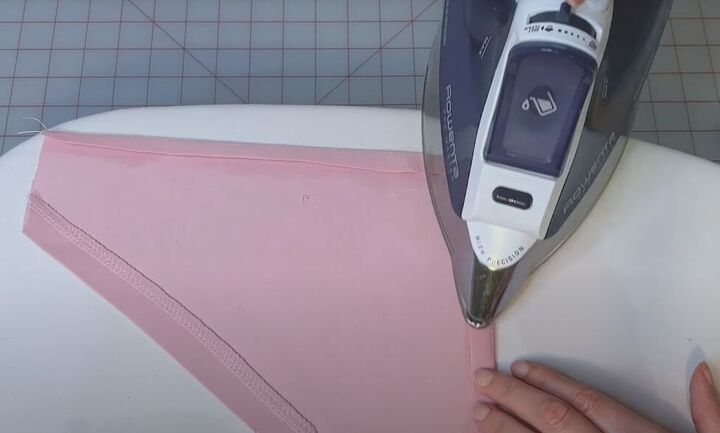
Then, serge the hem of the skirt.
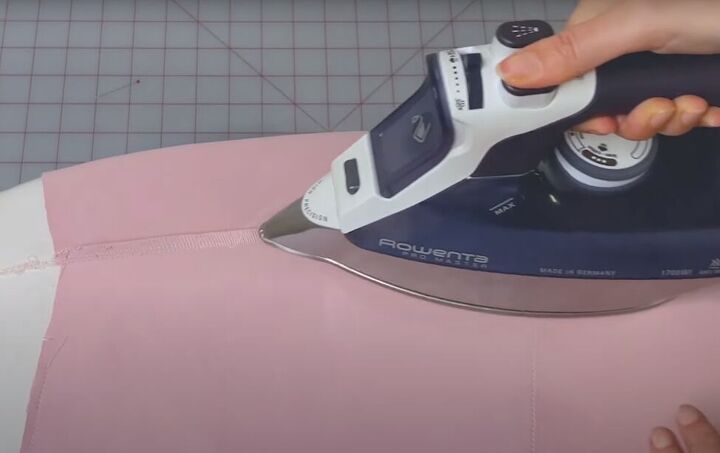
Press the side seams with the seam allowances facing the back.
5. Make the waistband
Fold the waistband in half widthwise and sew the short edge. Do the same with the elastic. Note that the elastic is for extra support, and you can leave it out if you wish.
Press the waistband seam open and snip the corners of the seam allowance.
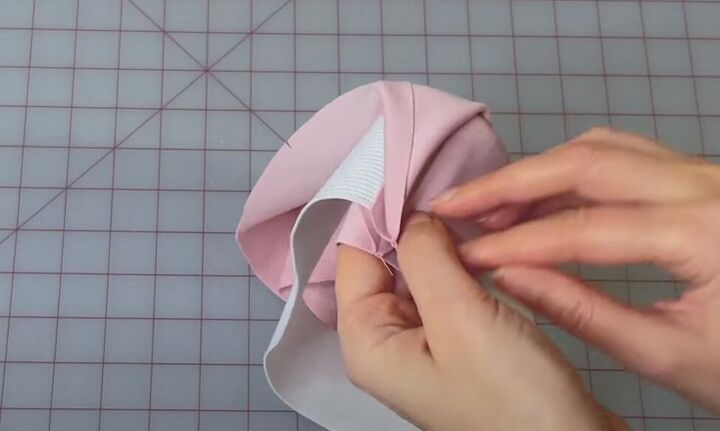
Now fold and pin the waistband in half. Place the elastic inside the waistband making sure the side seams on the waistband match up and pin the elastic to the waistband to hold it in place.
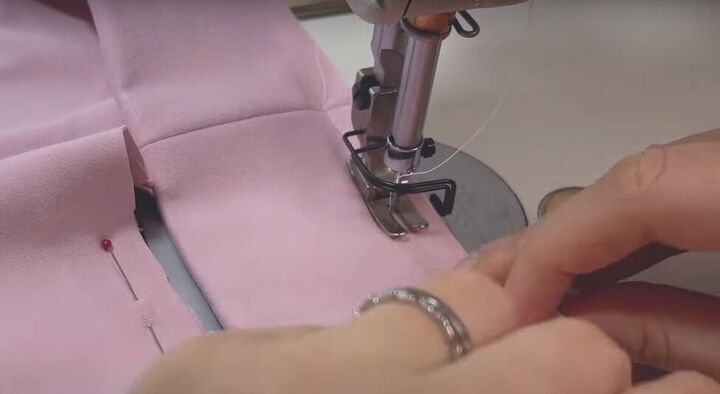
Sew the waistband closed with the elastic inside. Be sure not to catch the elastic in the stitches.
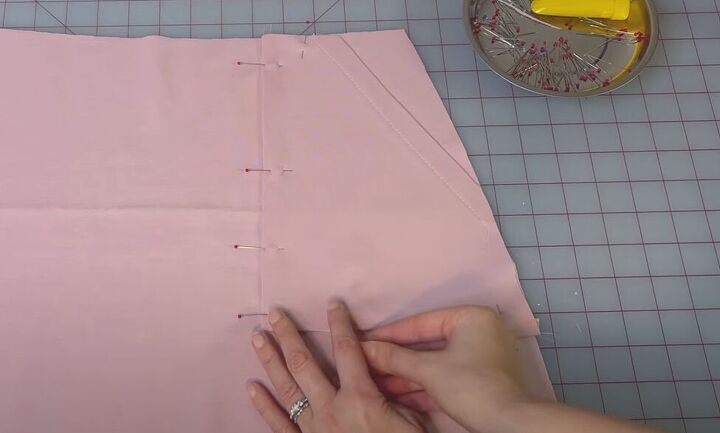
With right sides facing, pin the waistband to the skirt, matching up the side seams.
Sew the waistband to the skirt along the same line that you stitched the waistband closed.
Press the waistband with the skirt pointing down towards the skirt.
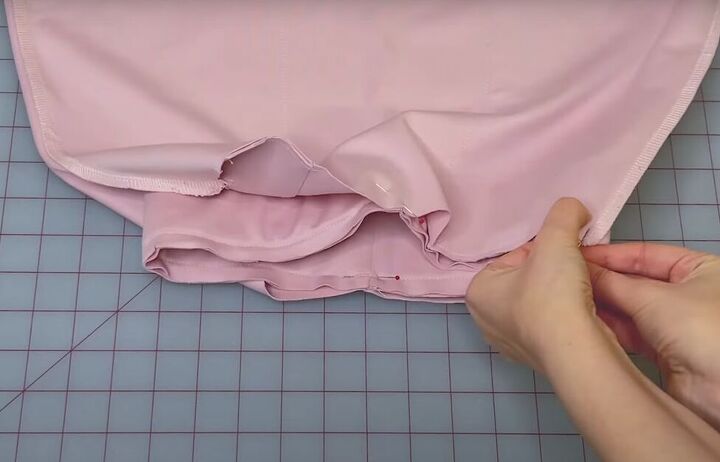
6. Hem
For the hem, mark the skirt on the inside at 3 centimeters (0.12 inches) from the bottom and then fold up the hem to that mark.
Pin and press the hem, then sew it in place. You can sew the hem by hand, topstitch, or double needle.
Press the finished hem.

Miniskirt pattern and sewing tutorial
Isn’t it pretty? I hope this inspires you to make a DIY mini skirt yourself! If you do, then please leave a comment to let me know how it turned out.
The author may collect a small share of sales from the links on this page.


Comments
Join the conversation