A New Cardigan: Sweater to Cardigan Conversion
Have you ever wanted to a sweater that you own to be a cardigan? This post outlines all of the steps to convert a sweater into a cardigan. A quick, relatively easy sewing process that will transform a sweater into a cardigan that you will wear more often and can style in so many different ways. Read on for detailed instructions and pictures. After all there is Sew Much To Design.
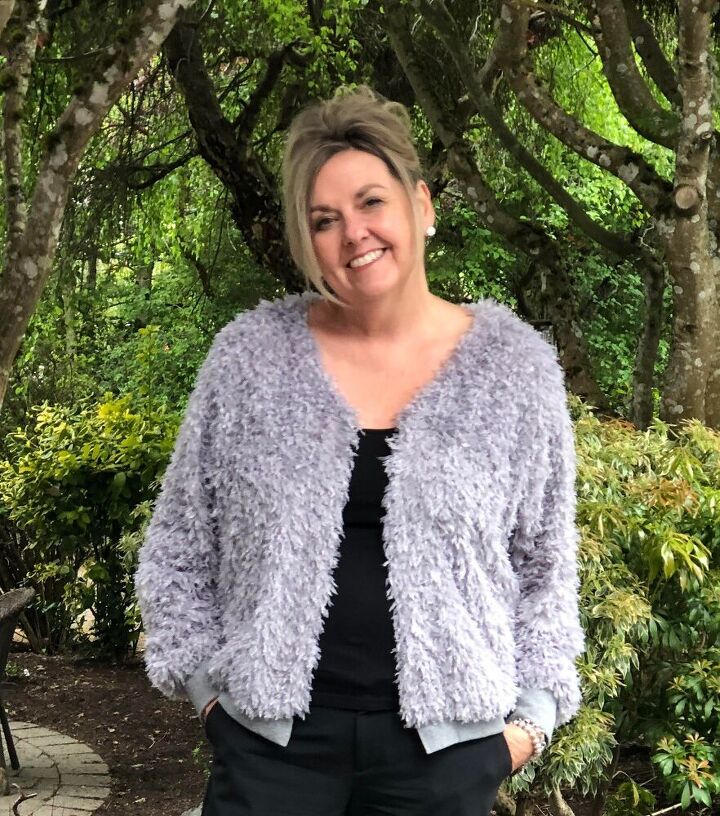
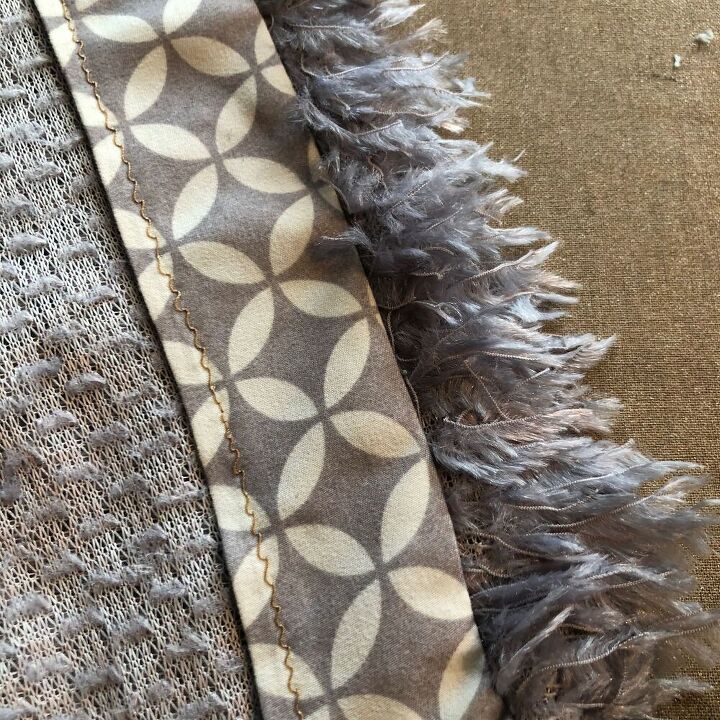
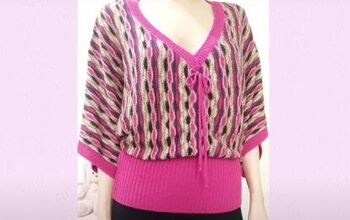
I made the Alice Pullover from Fibre Mood this winter and was so excited about the sweater and the fabric that I had found. I love Fibre Mood patterns in general and the Alice was no exception. I found the fabric for the sweater at Fabricland, my local fabric store and it was one of those fabrics that makes you stop in your tracks when you walk past. It was so soft and the texture was spectacular! It is a knit fabric made up of small individual feathers. I had to have it and I knew I wanted to make the Alice Pullover having been inspired by their photo in the Fibremood 12 Magazine release.
The Alice pattern itself was a quick sew and I was pleased with the pullover in general, but it definitely wasn't a go to choice. In hindsight, I should have made a smaller size because the combination of the relaxed fit of the pullover and the fabric made it feel too bulky. I also found that it was very warm which also limited the times I could wear it as well. So this lovely sweater hung in my closet unworn. Then I saw a picture of a cardigan that was very similar to my Alice and I realized I needed to do a sweater to cardigan conversion. The feathered fabric would be reborn so it wasn't too hot and the drape would be completely altered if it could hang open as a cardigan. So let the Cardigan Conversion begin....
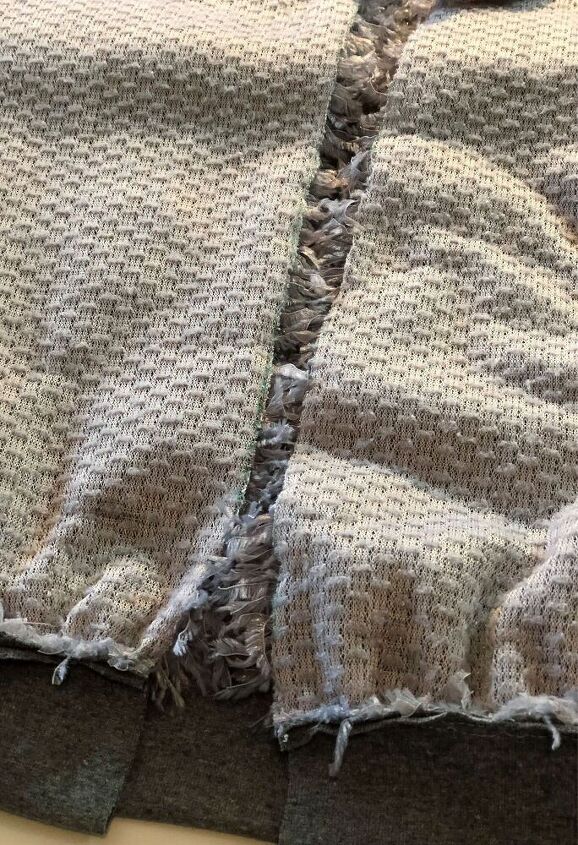
The first step for the conversion was to turn the sweater inside out and draw a line at the center front. Making sure to not cut the back of the bodice, I clipped the backing of the fabric only so that the feathers would not be cut in half in the process. This would create a more natural opening for the cardigan and the feathers of the fabric would hang over the edge making sure the conversion wasn't an obvious secondary step.
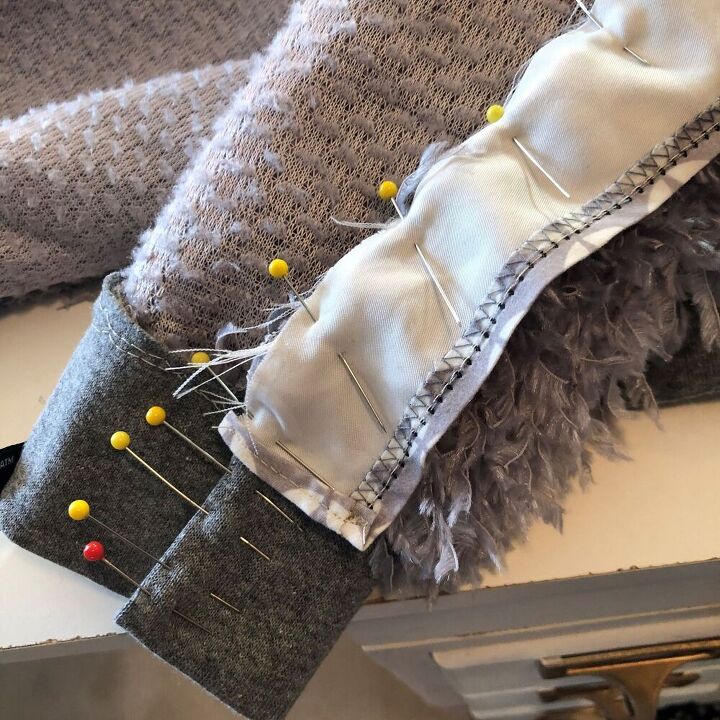
Next I needed to create two strips of interfacing that would finish the new front edges of the cardigan. I found some fabric scraps that matched the colour of the cardigan and that coordinated nicely so if the cardigan flipped open it looked nice and the interfacing would match. I cut the strips 2.5 " wide to allow for a 1/2" seam allowance and added 1/2' to the length to allow for a small finishing hem at the top and the bottom of each strip. I overlocked one edge and created the small hem to finish the outside edge and both short ends of each strip.

Next, I attached the interfacing to the newly created opening of the cardigan. I pinned the unfinished edge along each side of the bodice, starting at the top edge of the ribbing that runs along the waist. I lined up the finished short edge with the top of the ribbing.
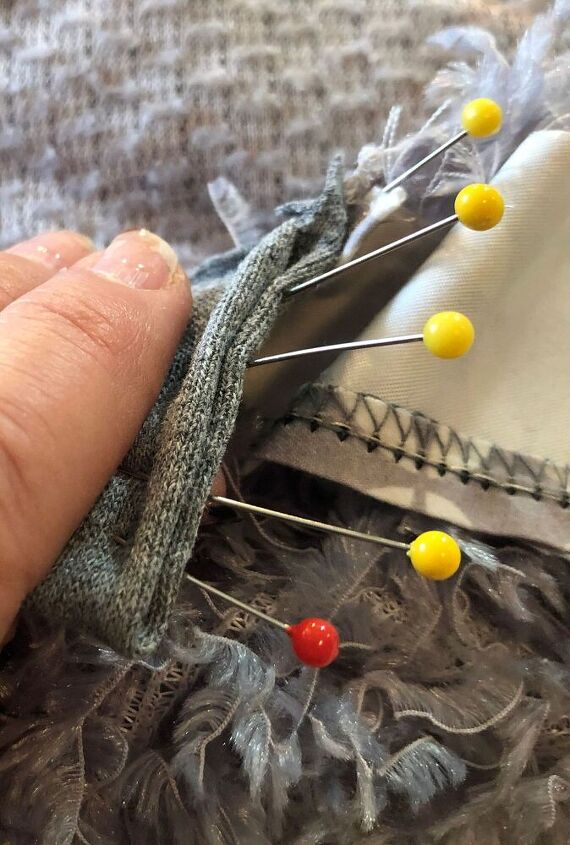
As I had cut through the ribbing as well as the front bodice to create the cardigan opening it needed to be finished as well. I tucked the unfinished ribbing edges into the ribbing itself and used lots of pins to hold it in place. I topstitched the ribbing closed then simply continued sewing up the edge of the interfacing.
With everything sewn together I simply had to press the seam of the interfacing and the sweater fabric flat to give the it a nicely finished edge. Make sure that when you press this seam the interfacing is pressed to the backside of the cardigan so it doesn't roll to the front edge of the cardigan. I didn't take a picture, but you can under stitch the interfacing to the inside edge of the front bodice seam, this will help it to lay flat. Pardon the tension on my stitching- this was fixed after the pic. :)
Once the edge of the interfacing was pressed I simply fluffed the feathers at the edge. I slip stitched the bottom edges of both strips of interfacing to the ribbing and to the original neck interfacing to finish everything off.
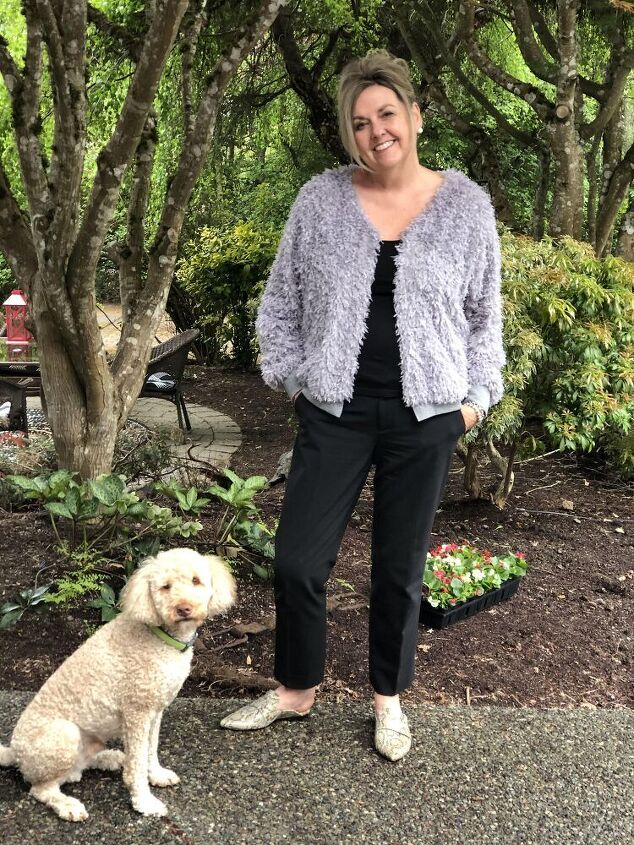
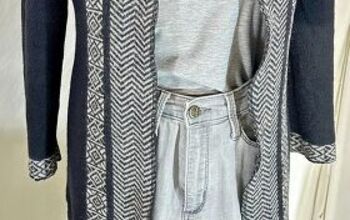
All in all this conversion worked out really well. It didn't take long to complete the whole process, just over an hour from start to finish. Now, I wear the Alice much more often and it has become the staple piece in my wardrobe that I had wanted from the beginning. It just goes to show that you can continue to to make adjustments and to hack patterns even once they are complete. If you are going to sew for yourself, make sure that you love the finished product just as much as your love the process. After all....there is Sew Much To Design.
The author may collect a small share of sales from the links on this page.


Comments
Join the conversation
Awesome idea!