Turn a Sweater Into a Cardigan in 5 Steps

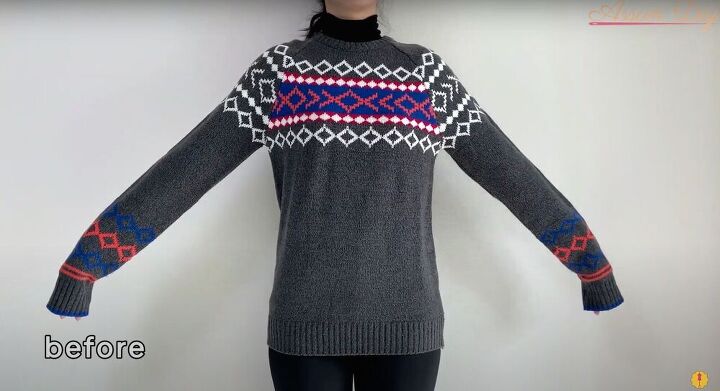
Today, I wanted to teach you guys how to turn a knit sweater into a cardigan. Sometimes, I feel like old pieces need a little bit of refashioning as opposed to an entire makeover. Therefore, today, I am going to teach you guys how to do just that.
Tools and materials:
- Knit sweater
- Zipper
- Tailor’s chalk
- Ruler
- Interfacing
- Iron
- Scissors
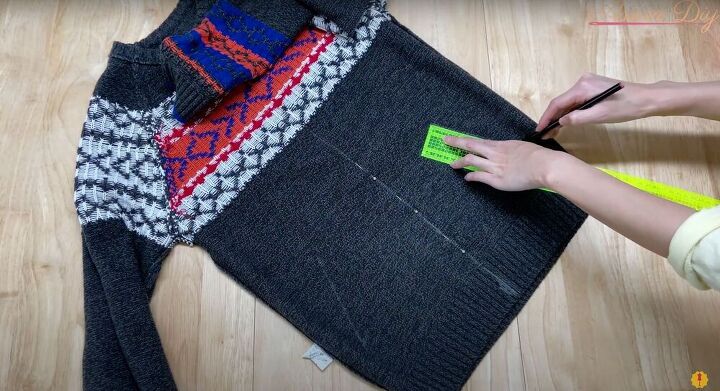
Mark your sweater
The first thing to do is to turn your sweater inside out. Next, find the center mark of your sweater, mark it off on the top and bottom (by the hem and neckline) and use a ruler to connect both markings in a straight line. Once that’s done, find where you want to place your pocket and trace them out onto your sweater as well. (Fold the sweater over to trace the second pocket so that you know both are in the same place).
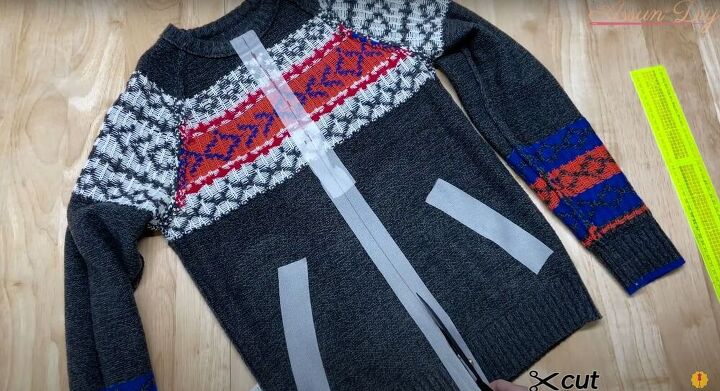
Add interfacing
Take a thin piece of interfacing (about 1.5 inches wide) and place it over the line you drew down the center. Iron it on. Repeat this process for both pocket outlines and then cut down the center of the middle piece of interfacing so that you can insert the zipper. Then, cut down the middle of the sweater along the interfacing.
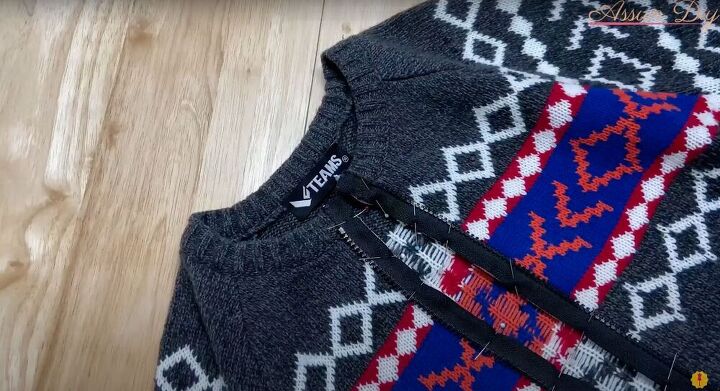
Add the zipper
Turn the sweater right side out and zigzag stitch down the opening you just cut (on both sides). This will secure the opening and keep it from fraying. Next, place the zipper over the opening and mark it off. Turn the zipper over so that the right sides are together and place pins by your markings. Sew the zipper down. Finally, fold the edge of the zipper inwards and pin. Add a top stitch down the length of the zipper to secure it in place. (For the top edge, hand stitch the zipper down to keep from disrupting the neckline).
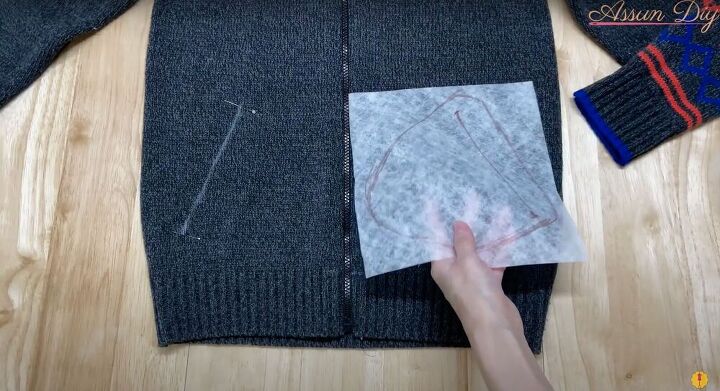
Make your pocket pattern
Take a piece of paper and place it over the area where your pockets will go. Use a ruler to line up the markings you made earlier and trace them onto the paper. However, this time, add a semicircle from the opening line for the body of the pocket (pictured above). Cut out the pocket from the interfacing (including an opening by the original line).
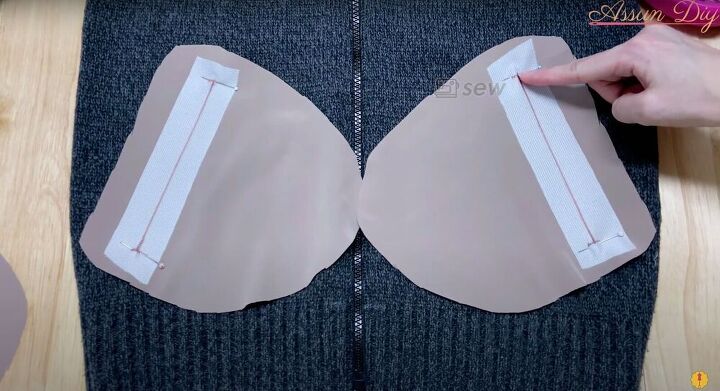
Make your pockets
Take some fabric, fold it in half and place your pocket pattern over it. Then, using the pattern as a guide, cut out your pockets (with about an inch of seam allowance). In the end, you should be left with four identical pocket pieces, however, only two should have openings. Next, grab your interfacing and measure out pieces that are the same length as the opening. Iron them on. Sew around the opening now, attach the pocket to the sweater, and then use a seam picker to rip through the interfacing and reopen the pocket.
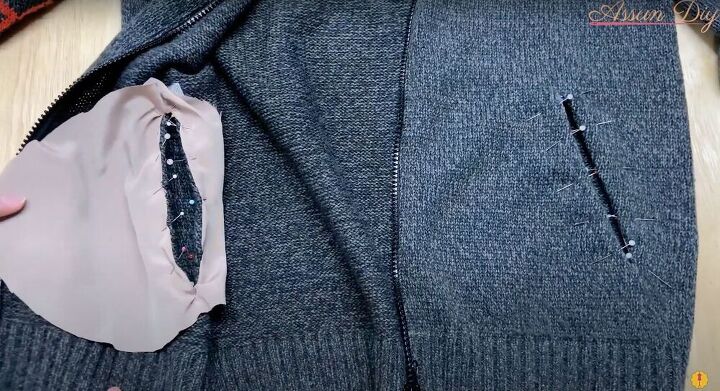
Push the pocket through the cut-out on the sweater and pin the fabric inside. Sew around the pocket opening to keep the fabric of the pocket from coming out. Finally, place the remaining two pieces of fabric over the ones that are already sewn in and pin them into place. Sew around the edges to form the pocket.
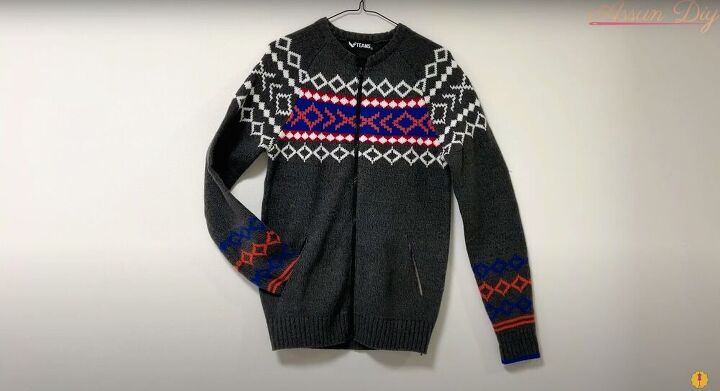
I am loving this sweater into cardigan tutorial! It is so simple and such a small detail, but the pockets and zipper really make this feel like a whole new piece. I know I love to refashion old pieces - especially with ones that don’t really need a makeover - and this is a perfect example of why.
The author may collect a small share of sales from the links on this page.


Comments
Join the conversation
You make this look so easy. love the way it turned out. Great job
I love the idea!