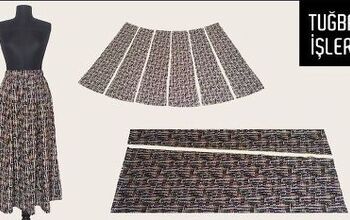
How to Sew a Cozy Cape Cardigan

We are in the midst of fall and winter is right around the corner. With temperatures dropping I thought it would be a good idea to make a simple cape cardigan to elevate my wardrobe.
This is a simple beginner-friendly project, made from woolen fabric that keeps you warm and cozy. Read on to find out how to sew your own cape cardigan.
Tools and materials:
- Woolen fabric
- Ruler
- Pins
- Fabric chalk
- Sewing machine
You want to use a woolen fabric, 47x40 inches, with a 4-way stretch.
1. Lay your fabric flat
Lay your fabric, right side up, on a flat surface with the 47-inch side in front of you.
2. Fold the fabric
Fold the fabric in half so the length is now 20 inches.
3. Create arm holes
Measure 6 inches from the folded edge and make a mark with fabric chalk.
From that mark measure and draw a 1-inch line from the raw edge. Then, draw a straight line from that point to the end of the fabric.
Repeat on the other side.
Pin both sides in place.
Then sew them along the lines.
You should now have an arm hole.
4. Neaten the seams
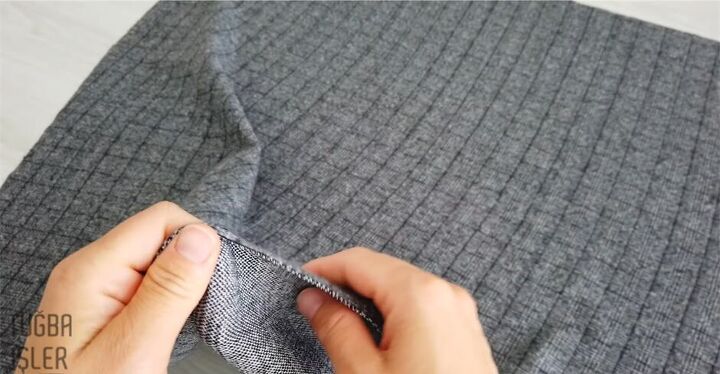
Underneath the arm hole is the seam you just sewed.
Separate the edging of the seam and pin the front edge down.
Repeat this all the way along the seam, including around the arms.
Continue pinning around the back.
Sew the seams down starting at the bottom of one side.
Sew around the arm opening.
Finish sewing at the bottom of the second side.
Don’t forget to backstitch when beginning and ending your seams to prevent those points from unraveling and stretching out of shape.
5. Measure and sew the hem
Fold the sleeves in on either side so that it is easier to measure and mark in the next step.
Using a ruler make a line on both seams at approximately 8 inches.
Now you need to continue marking at 8 inches from the raw edge around the whole cardigan.
Here, I am marking along the back of the cardigan at 8 inches.
Turn the piece over and continue marking 8 inches along the width of the cardigan.
Now it’s time to pin the edges. Make sure that the raw edge is folded and pinned all the way around the cardigan to meet the marks you created.
When pinning, double-fold the hem. To do this make a small fold on the bottom edge.
Then bring the smaller fold up to the point you are hemming and pin.
Sew the hem all the way around, beginning and ending with a backstitch.
DIY cape cardigan
That’s the cardigan done. Slip your arms through each hole.
And wrap it around you like a warm trendy blanket.
This cape cardigan is going to keep you snug while you are out and about during the fall and winter seasons. The project couldn’t be easier for beginners, so please give it a try and let me know how it went.
Remember to make it your own by choosing a color and pattern that suits you.
To see more of my tutorials, follow me on TikTok @tugbaisler. See you next time!
Enjoyed the project?
The author may collect a small share of sales from the links on this page.


Comments
Join the conversation
This is SOOO Cute and looks so EASY!! I bought a heavier knit cape at an Arts & Crafts Fest, so now I can make my own & won't be so pricey! Thank You so much!!!!!!
How would you measure if you are making this for a larger person, especially back, shoulders and bust. I can guess but I want to know for sure.
Thank you for any help.