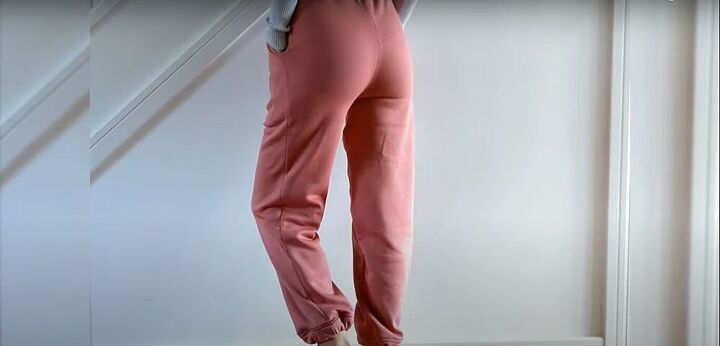
How to Make & Sew an Easy Sweatpants Pattern With Pockets

Today, I'm going to show you how to make a DIY sweatpants pattern, as well as how to sew the sweatpants.
I’ve made sweatpants before, but I’ve learned so much more about sewing since then. I wanted to give updated instructions on how to make sweatpants so you can create the best possible version of these super-comfortable and super-cute DIY sweatpants.
Let’s get started!
Tools and materials:
- Paper (to draw pattern)
- Pair of loose-fitting shorts
- One yard of fleece-lined jersey fabric
- Wide elastic
- Eyelet kit
- Scissors
- Pins
- Safety pin
- Sewing machine
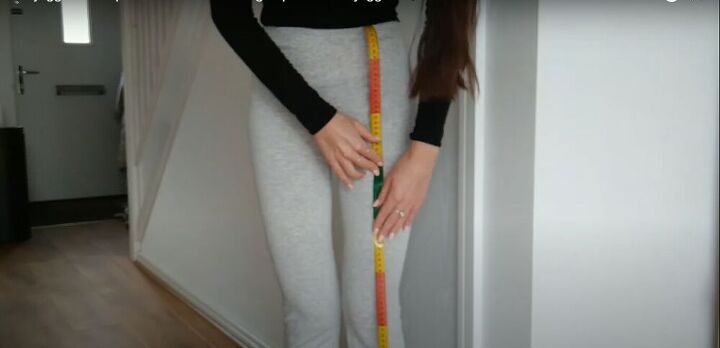
1. Take measurements
Before creating the sweatpants pattern, I took my measurements. First, I measured the length from my waist to my ankle.
Then, I measured the circumference of my ankle.
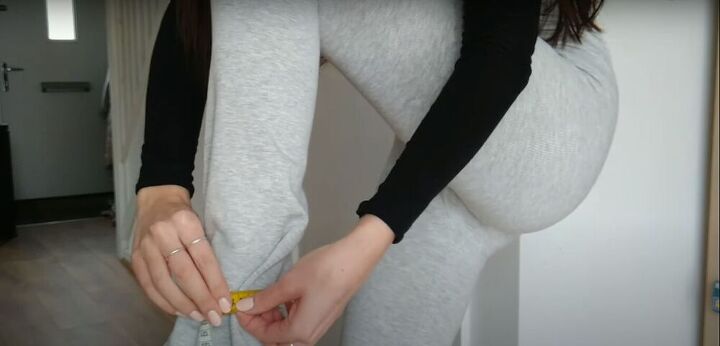
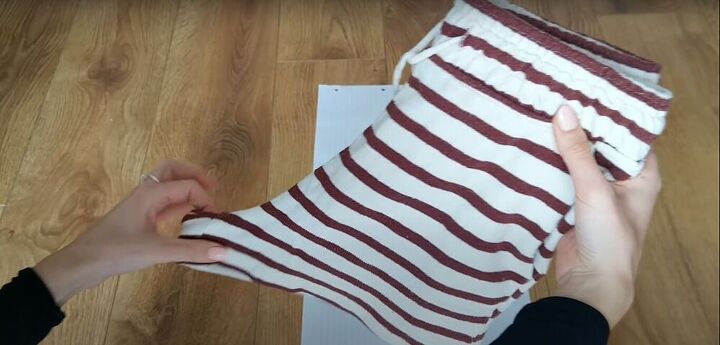
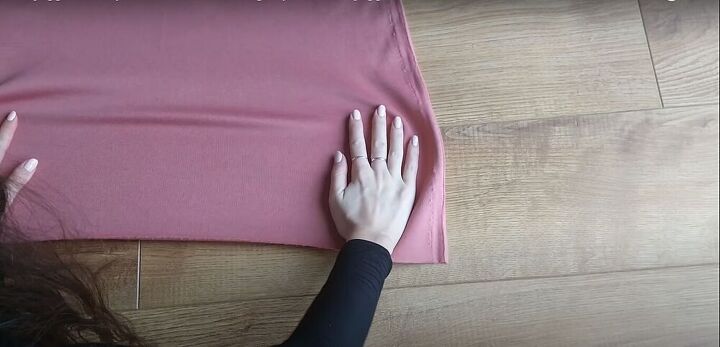
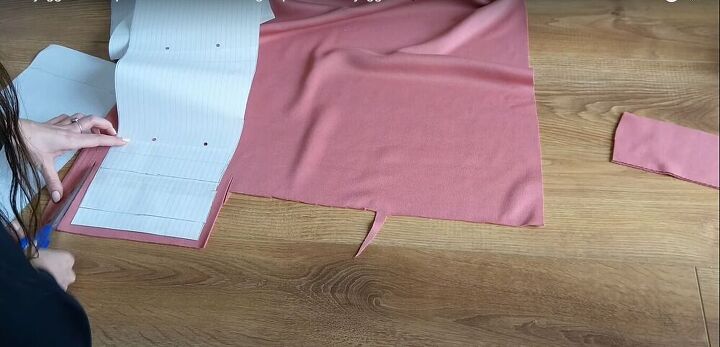
2. Trace around shorts
To draft the sweatpants pattern, I folded a pair of shorts in half with the back side of the shorts facing outwards. I pulled the seam of the crotch outwards so I could trace around the curve.

3. Draw a waistband
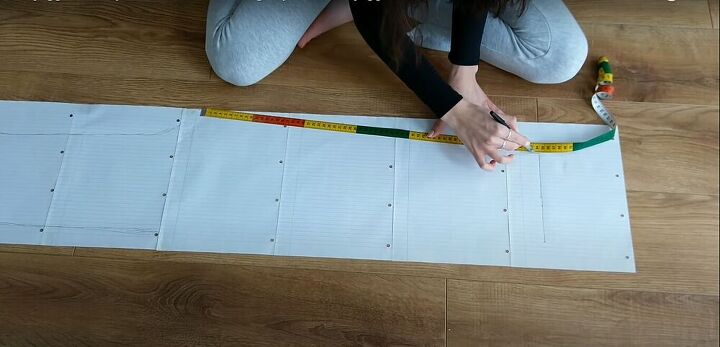
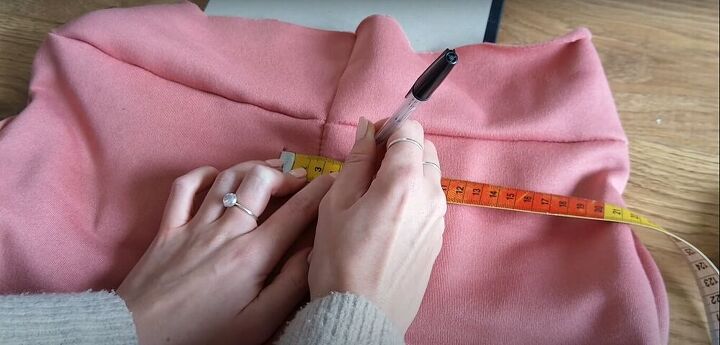
From the top edge of the pattern, I added 6 centimeters (2.5 inches) for the waistband.
4. Draw the length
Using the measurement I took from my waist to my ankle, I measured out the length of my sweatpants and made a mark at the bottom.
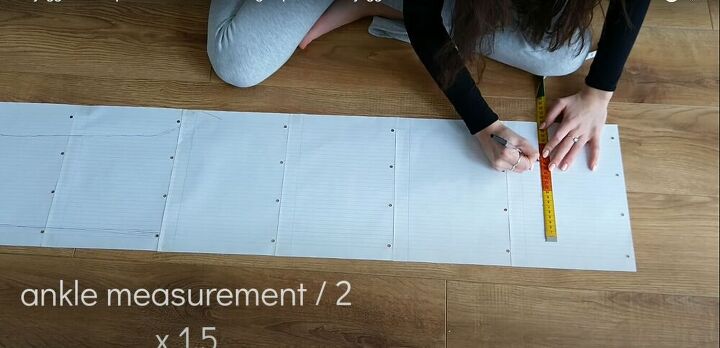
5. Draw the width of the bottom hem
I took my ankle measurement, divided it by two, and then multiplied that number by 1.5 to determine the measurement for the bottom edge of the pattern.
Then, I just connected the bottom line to the top part of the pattern with straight lines.
6. Draw a cuff
At the bottom of the pattern, I added 10 centimeters (4 inches) to ensure I had enough space for an elasticized cuff.
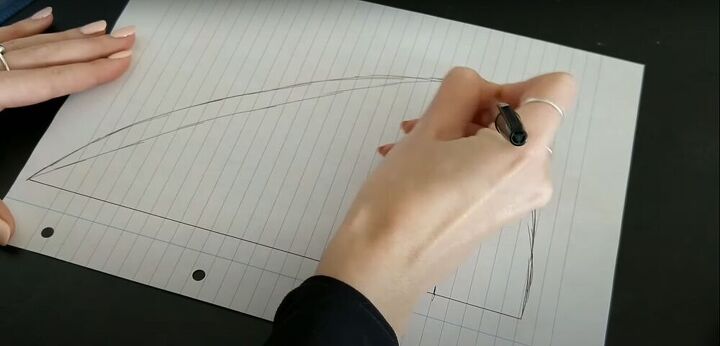
7. Draw the front pattern
To draw the front pattern of the sweatpants, I simply folded the shorts in the opposite direction, with the front facing out, and repeated the same steps as I followed for the back pattern.
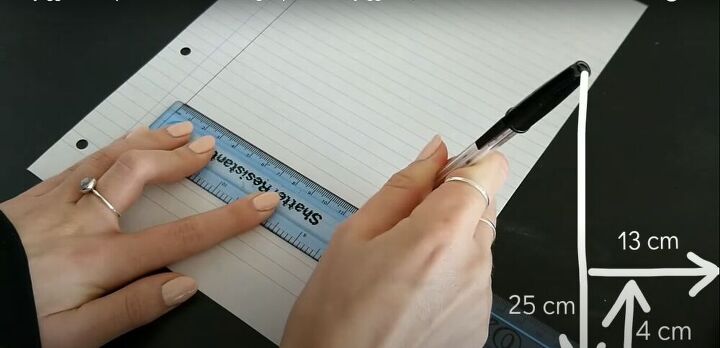
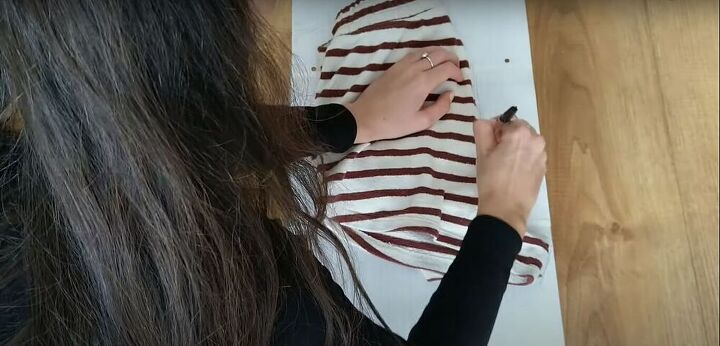
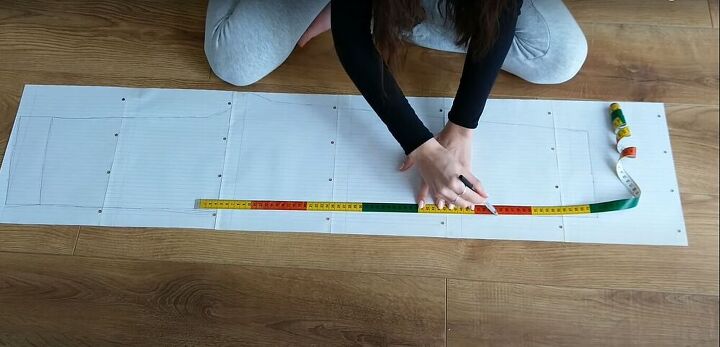
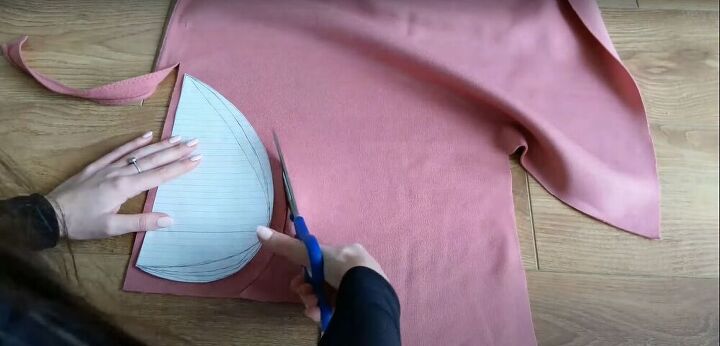
8. Draw a pattern for the pockets
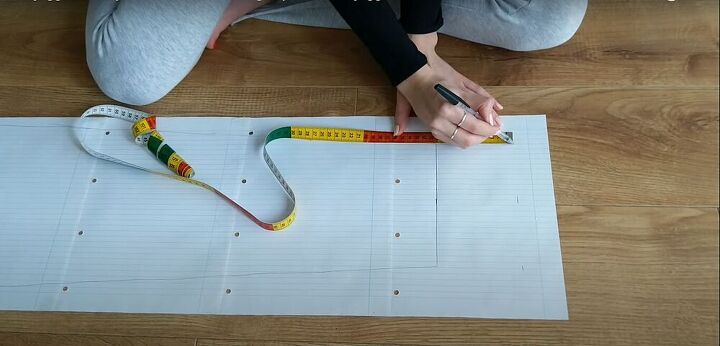
To draw the pattern for the pockets, I drew a 25-centimeter (10-inch) line and then measured 4 centimeters (1.5 inches) from the bottom of the line. From that point, drew a 13-centimeter (5 inch) line perpendicular to the first line.
I freehanded the curved lines connecting the three points.
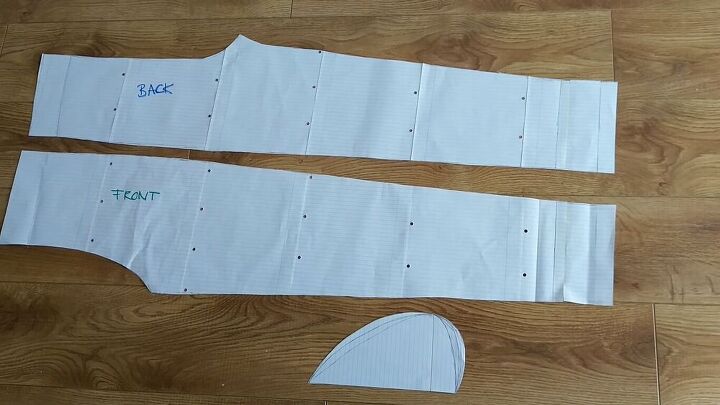
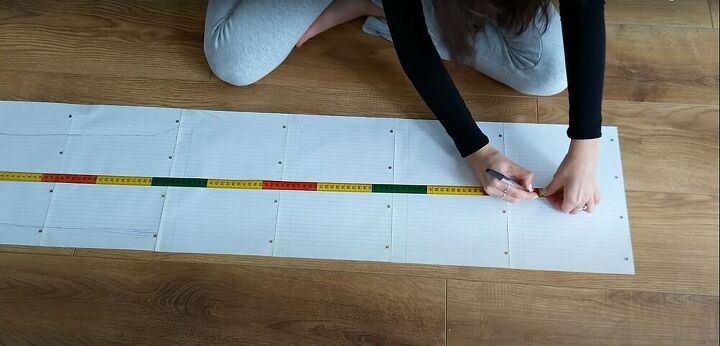
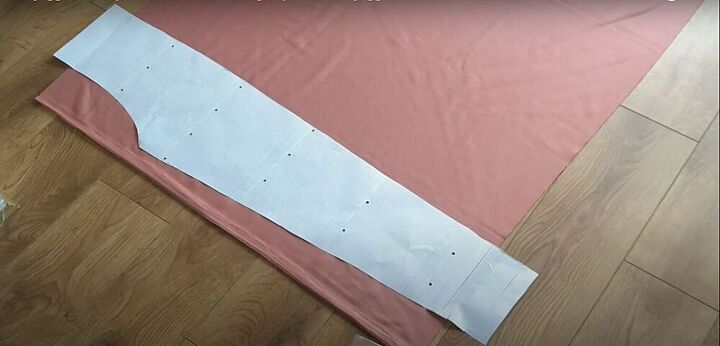
9. Cut out all the pattern pieces
I cut out all the pattern pieces: one front piece, one back piece, and one pocket piece.
10. Lay out the fabric
With this kind of fabric, it’s important to know which way it stretches. Lay the fabric so the width of the pattern lays in the direction in which the fabric stretches.
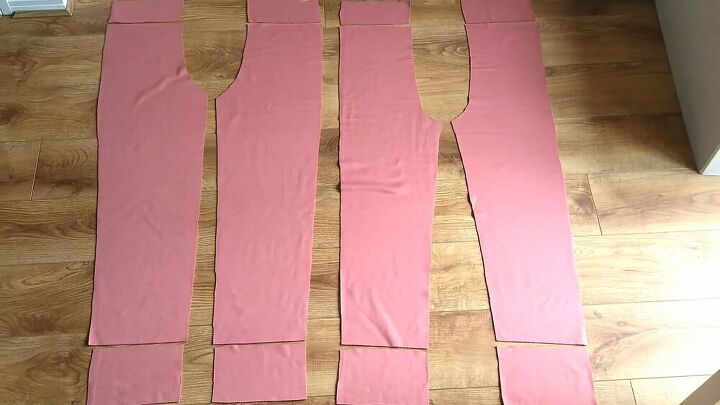
For me, this meant that my pattern was too long to fit on the fabric, so I had to cut the waistband and the cuffs separately from the rest of the pattern. If you have the option to cut it all together, that is preferable.
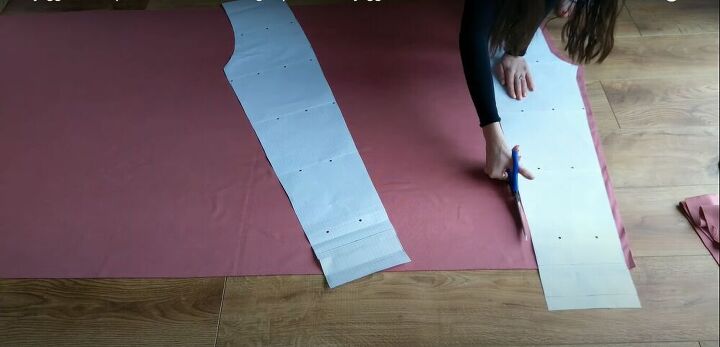
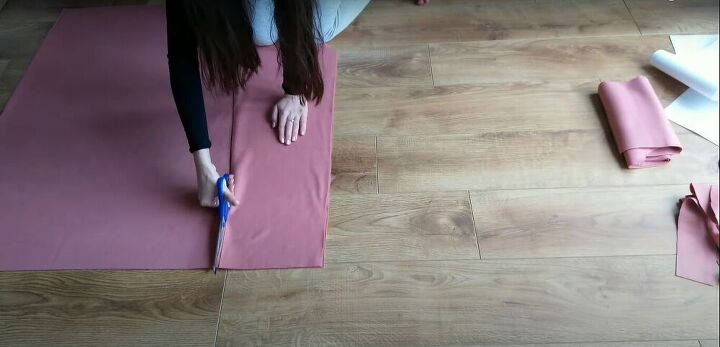
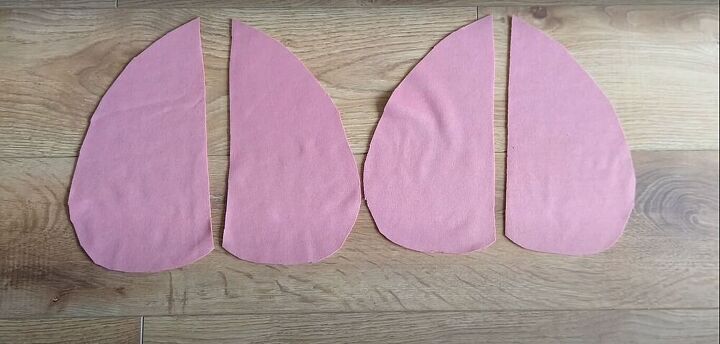
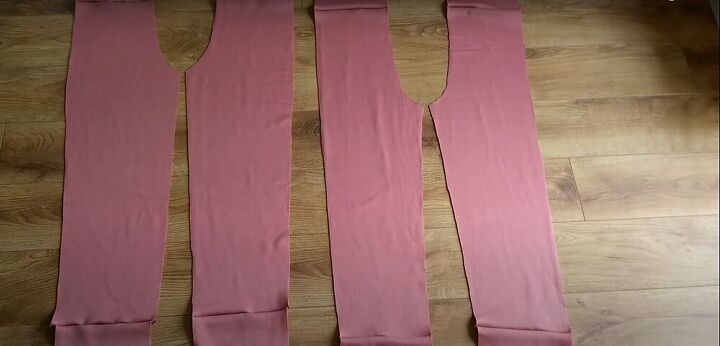
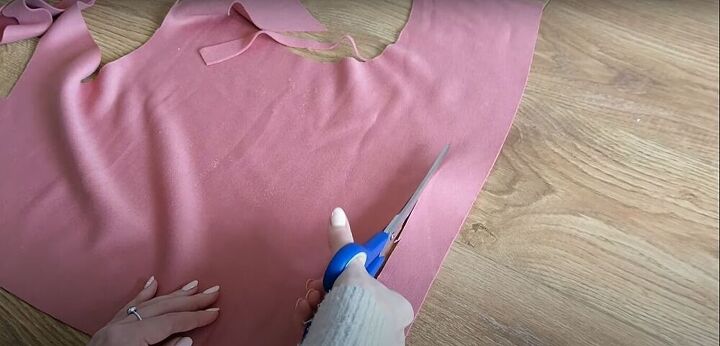
11. Cut out the pieces of your pattern
I cut around my pattern pieces, leaving a one-inch seam allowance around the pattern.
I cut two front pieces and two back pieces, flipping the first front piece over and using that as a guide to cut the second front piece, and repeating the process for the two back pieces.
Then I cut out four waistband pieces, and four cuff pieces, leaving a one-inch seam allowance around the pattern as I cut.
Finally, I cut out four pockets.
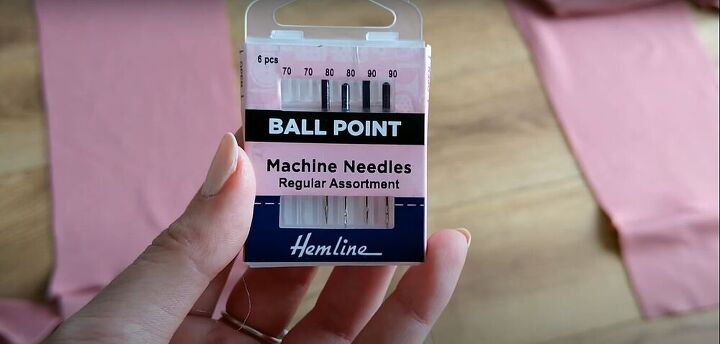
12. Use the right needle
To help retain the stretch of the fabric, I used a ballpoint needle in my sewing machine.
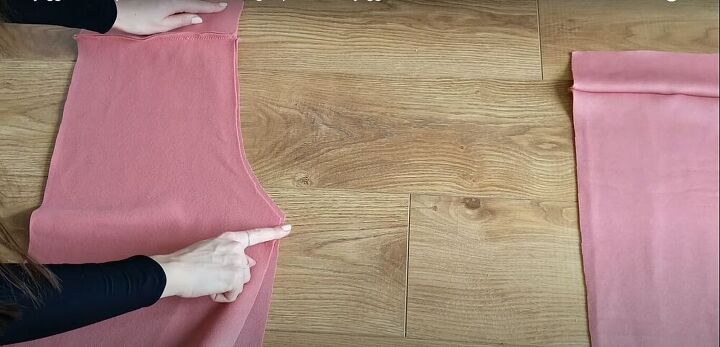
13. Sew the waistband and cuffs onto the leg pieces
As I mentioned before, my fabric was not long enough, so I had to cut the waistband pieces and cuff pieces separately. The first thing I did was sew a waistband piece and cuff piece onto the top and bottom of each leg piece.
I used a tight zigzag stitch to help retain the stretch of the fabric.
14. Sew the pieces together along the curve
Next, I sewed the two front pieces together and two back pieces together, right sides facing, just along the curved edges.
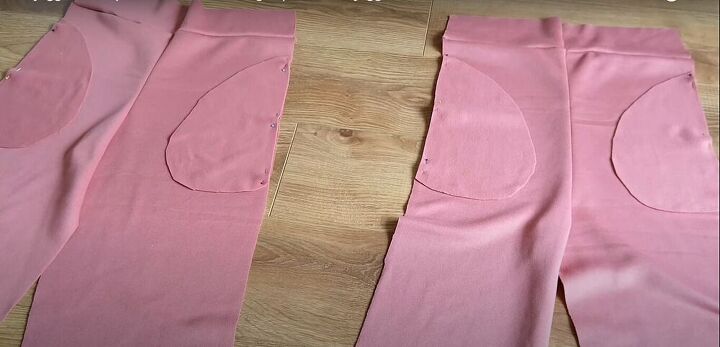
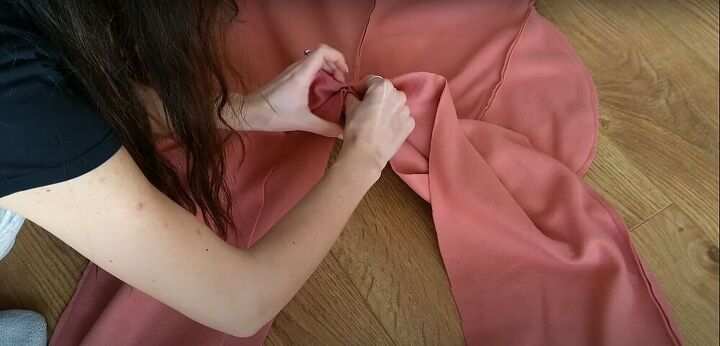
15. Pin and sew the pocket pieces
I measured 4 centimeters (1.5 inches) down from the waistband and pinned each pocket piece along the side edges of each leg piece, right sides facing each other.
16. Sew down the pocket pieces
Then I sewed the pocket pieces in place.
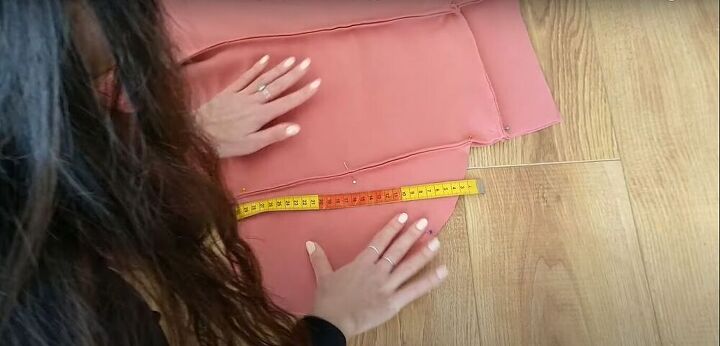
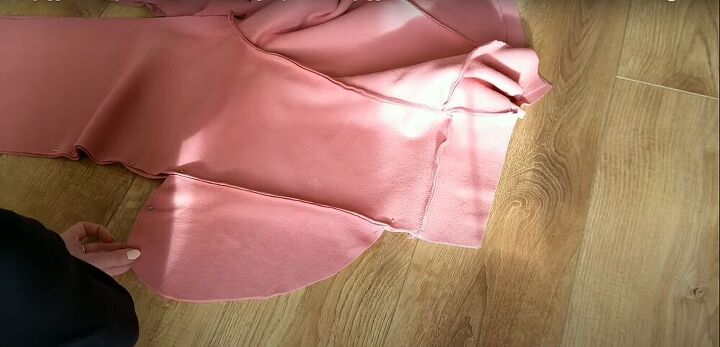
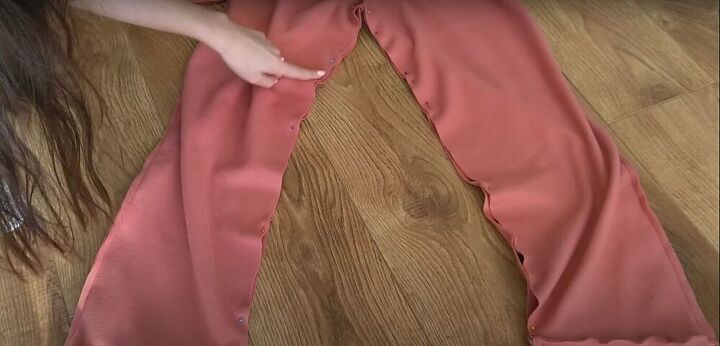
17. Pin and sew the side seams of the pants together
I pinned the side seams of the front and back pieces together, including the pockets. I made sure the seams of the waistbands and cuffs were lined up as I pinned, as well as the pockets.
I measured 15 centimeters (6 inches) down from the top of the pockets, and left that unpinned, but pinned the two sides of the sweatpants together along the rest of the pocket seam.
Then, I sewed the side seams together, making sure to sew the pocket seam, as well.
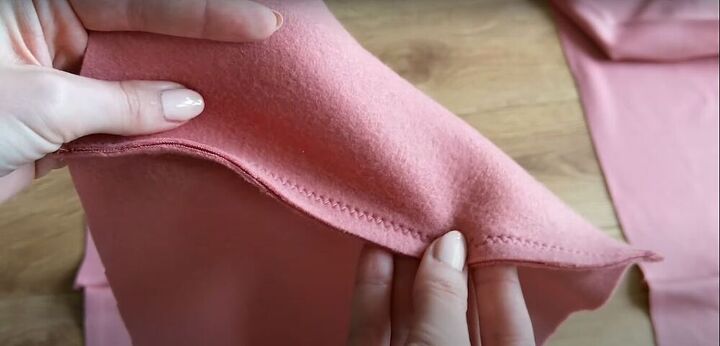
18. Topstitch around the pocket
To make sure the pocket laid flat, I topstitched around the opening of the pocket on the front side of the sweatpants.
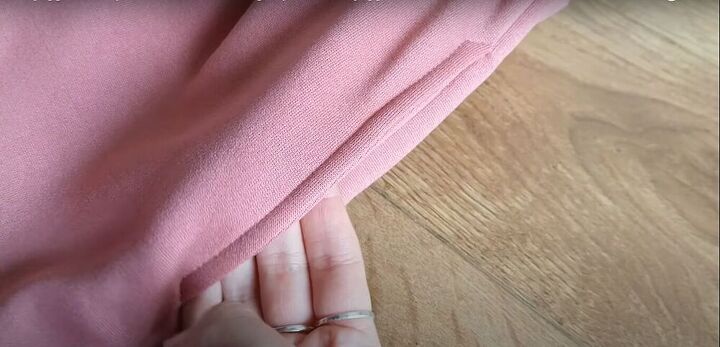
19. Pin and sew the inner seams
Once the outer seams and pockets were sewn together, I pinned the inner seams together, starting by matching up the crotch seams.
I pinned along the entire inner seam on both sides and sewed everything down.

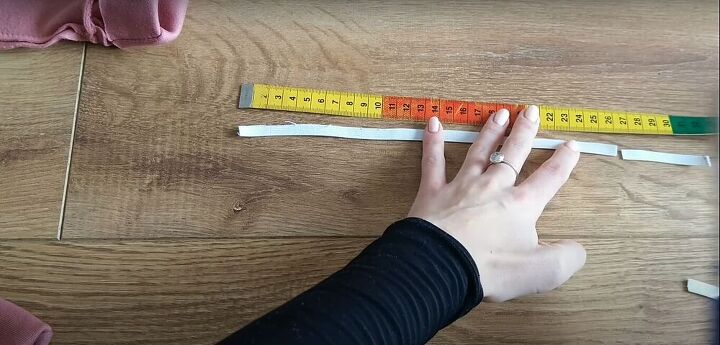
20. Cut the elastic
I cut two pieces of elastic the length of the circumference of my ankle, plus a one-inch seam allowance. I started with this thin elastic, but I recommend using a wider elastic.
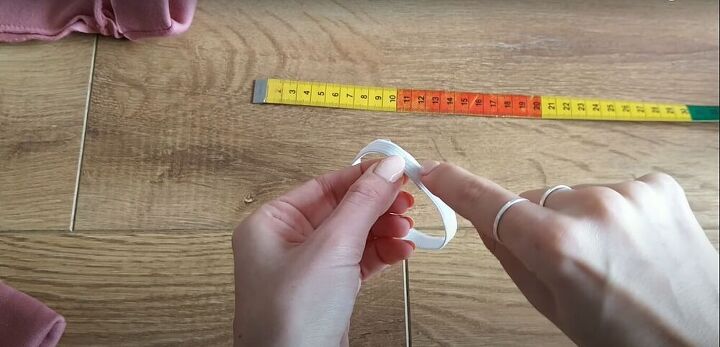
21. Sew the ends of the elastic together
I made a circle with the elastic and sewed the ends together with a zigzag stitch.
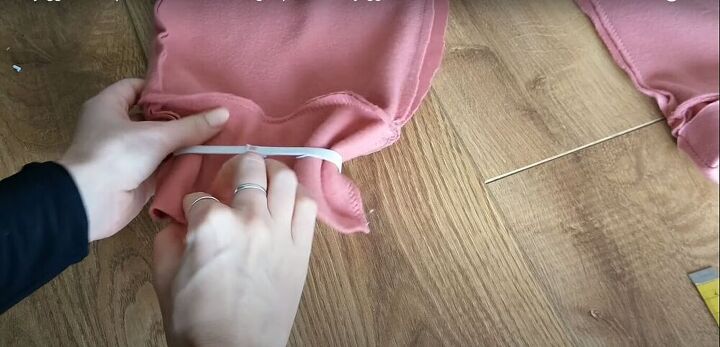
22. Sew the cuffs over the elastic
I placed the elastic around the cuff of my sweatpants.
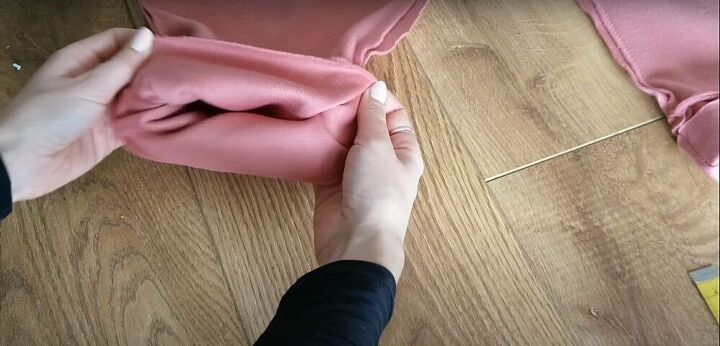
Then. I flipped the cuff up to cover the elastic.
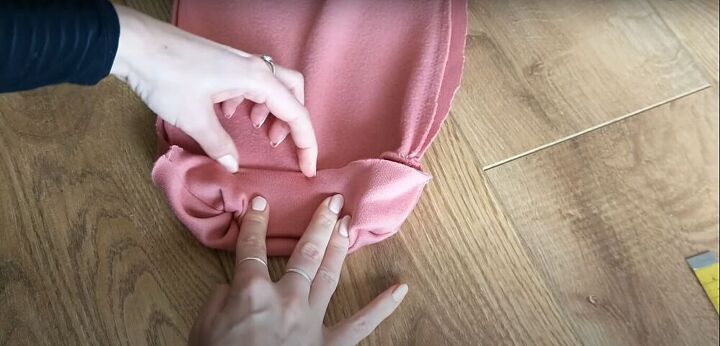
Next, I sewed the cuff in place over the elastic. I folded the raw edge inward and stretched the fabric as I sewed.
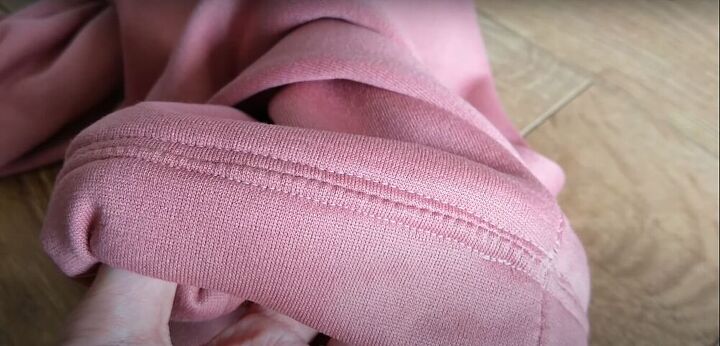
23. Topstitch the cuff
Though this was not necessary for the construction of the sweatpants, I thought it looked better to topstitch around the cuff seams.
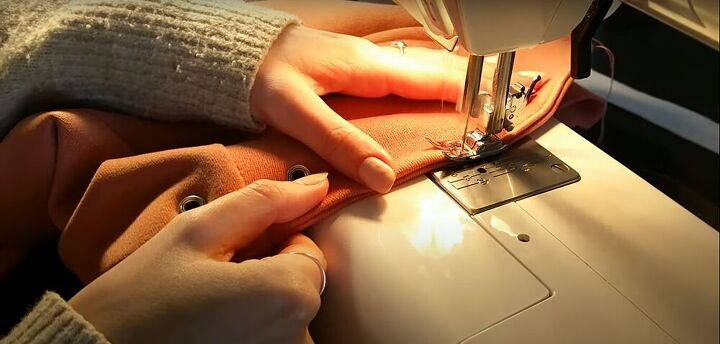
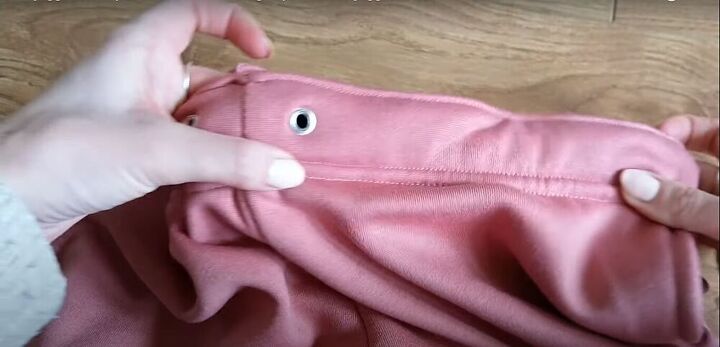
24. Place the eyelets
I made a mark 2.5 centimeters (1 inch) from the center front seam, on either side of the seam to mark where the eyelets would go.
Then I made holes at the points I marked.
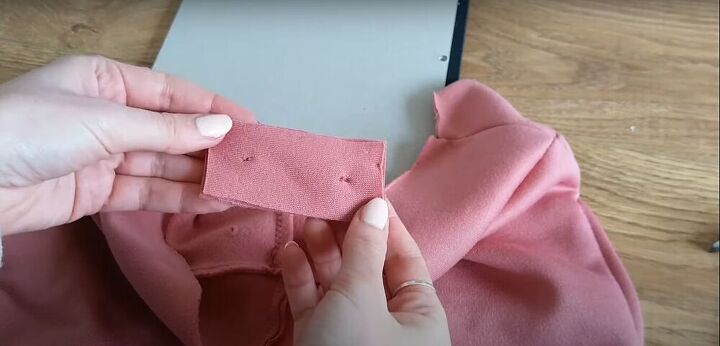
I took two small pieces of fabric, and made holes in them, as well, 5 centimeters (2 inches) apart.
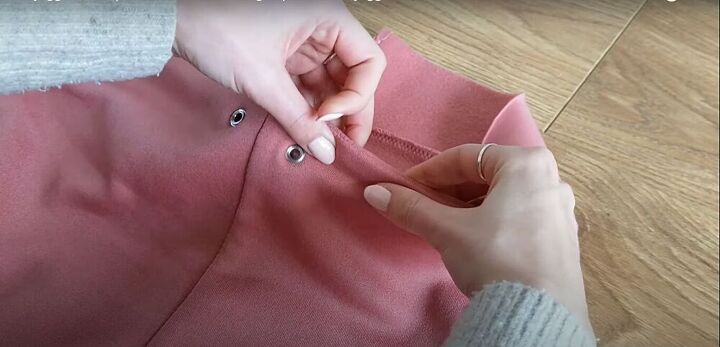
I followed the instructions of my eyelet kit to insert the eyelets correctly.
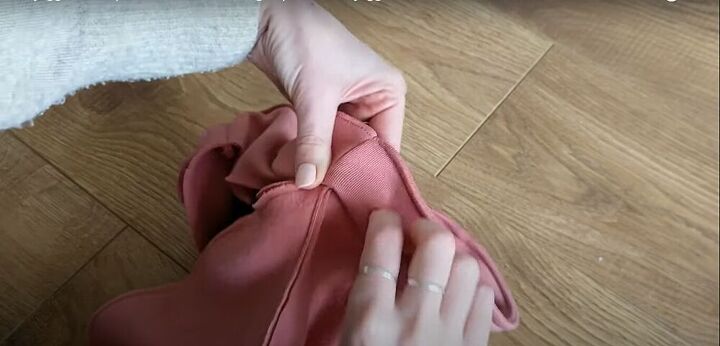
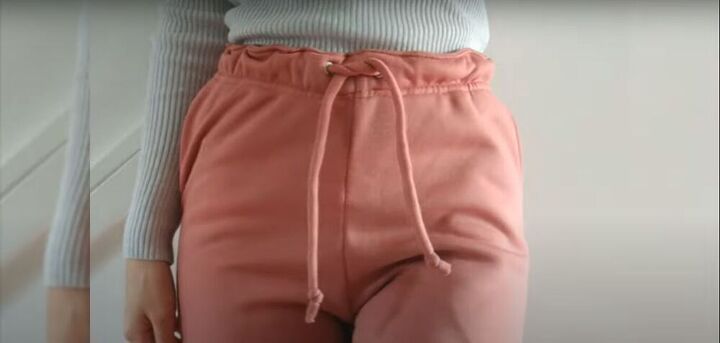
25. Fold and sew the waistband
Next, I folded the waistband inwards and sewed it down along the top edge of the pants.
26. Cut and place the elastic
I cut a piece of elastic that fit comfortably around my waist, sewed the ends together, and placed it around the top of my sweatpants, underneath the waistband.
27. Pin and sew down the waistband
With the elastic inside, I matched up the seams and pinned the waistband down. Then I sewed the waistband down, folding the raw edge inward, and stretching the fabric as I went.
28. Topstitch the waistband
Once again, I topstitched around the seam of the waistband because I thought it looked better that way.
29. Make a drawstring
I cut two long pieces of fabric for the drawstring.
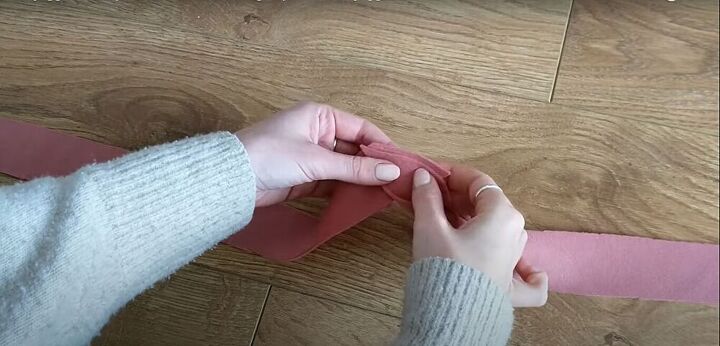
I connected the strips along an angled edge.
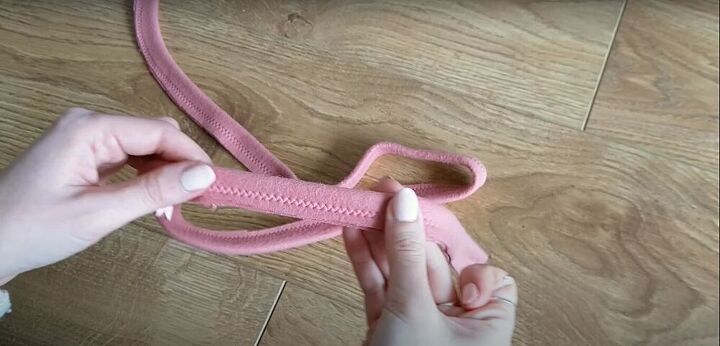
Then I folded the strip in half lengthwise and stitched it closed with a zigzag stitch, leaving the ends open.
30. Turn the drawstring right side out
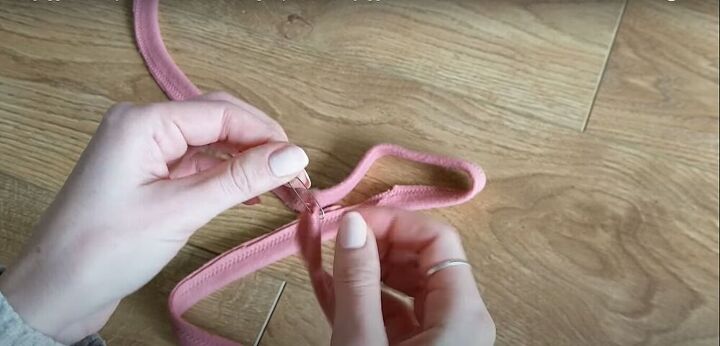
I attached a safety pin to one end of the drawstring and inserted it into one open end.
I worked the pin through the tunnel of fabric until it came out the other side, and I was able to pull it out, pulling the fabric through with it, so the seam was hidden inside.
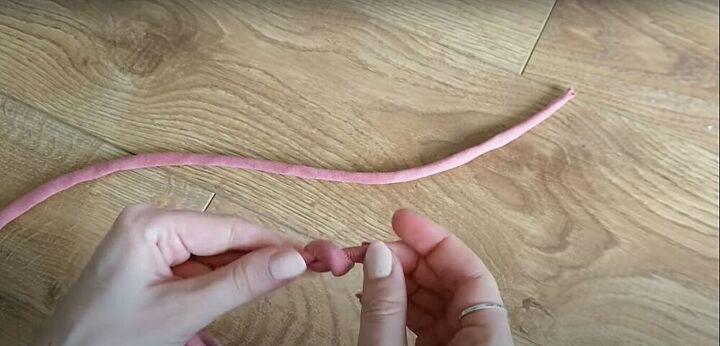
31. Tie a knot
I tied a knot on one end of the drawstring.
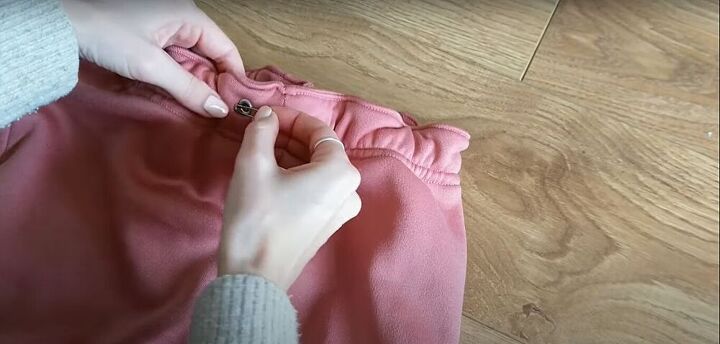
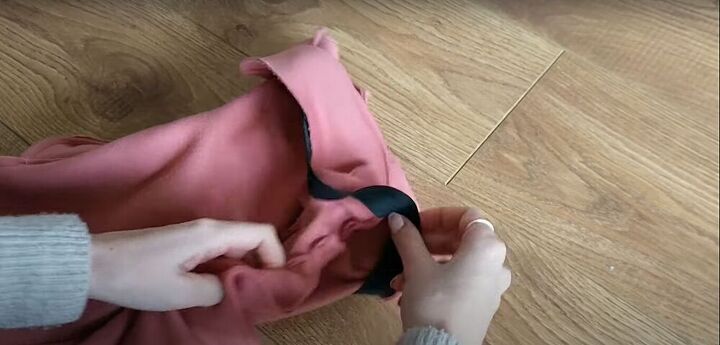
32. Pull the drawstring through the waistband
I attached a safety pin to the unknotted side of the drawstring and inserted it into one of the eyelets. Then I worked the pin through the waistband until it came out through the second eyelet. Then I knotted the second end of the drawstring.
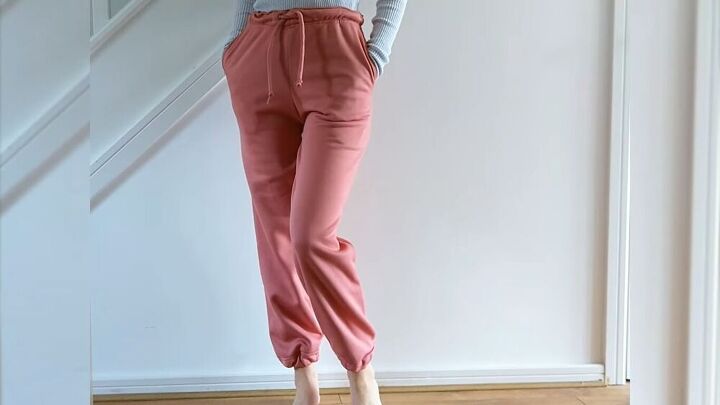
How to make & sew a DIY sweatpants pattern
I absolutely love these DIY sweatpants because they were super-easy to make but they do not look like DIY at all. They are super comfortable, and I’m sure I will get a ton of wear out of them.
If you use this tutorial to make your own DIY sweatpants, I would love to see your results.
The author may collect a small share of sales from the links on this page.


Comments
Join the conversation
Very nice tutorial and thank you for sharing how you accomplished making the pattern. I also am giving you kudos on knowing that the front and back of pants are different and that the front has a different curve. I have seen that most tutorials on making pants only copy the back of the pants and the fit is awful.
You're very welcome!