How to Dupe an Expensive Tie Dye Band T-Shirt
Summer is the season of t-shirts!
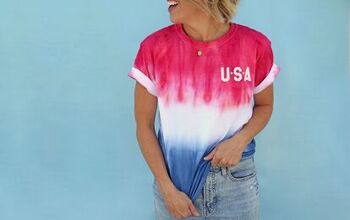
90's and Y2K trends have brought back tie-dye, AND the great musicians and bands of the past.
You can buy expensive versions of these *vintage* distressed tie-dye t-shirts ... but who has up to $75 to spend on one t-shirt?
I found a few t-shirts (that were not actually vintage -- recently printed -- don't worry, we're not destroying collectibles here!) in the thrift store and decided to give them a little color.
The truth is anytime I find a white tee shirt in the thrift store, most likely it has some kind of minor flaw. This $2 Kurt Cobain tee had some *minor* pink spots as if it was accidentally thrown into the wash with a new red shirt.
That's where tie-dye comes in to save the day and create a one-of-a kind summer piece with colors that make a Cobain t-shirt bring to life the grunge look of the 90s.
If you'd like to see how I dyed this t-shirt, and a few others check out the video above! I duped several designer pieces including blazers, sweaters, and t-shirts using both the ice dye and regular tie dye methods.

To prep this Cobain t-shirt for dying I made a soda ash bath by following the water/soda ash directions ratio on my soda ash bag.
Soda ash is essential for pigmented, long-lasting results when ice dying. It removes any sort of buildup or oils to prepare the fabric to absorb the dye properly. If you're ever been disappointed with poor pigmentation in natural fiber dye project, this is something to try out.
My t-shirt was 100% cotton which is ideal for the type of dye I used. A polyester blend may produce lighter pigmented results.
You should wear gloves and a dust mask while handling soda ash for safety reasons.
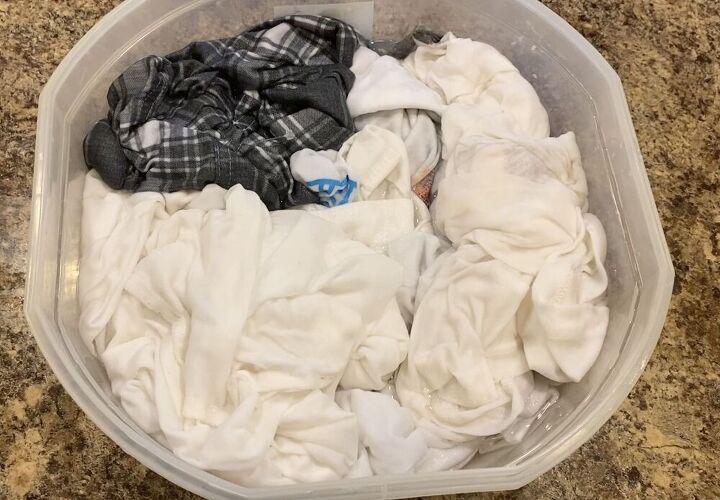
As I was dying many pieces in this batch I put everything in the soda ash bath and let it sit for about 30 minutes.
After that I carefully wrung out the pieces to remove as much soda as as possible -- but do not wash out the soda ash! Just get the pieces as dry as possible.
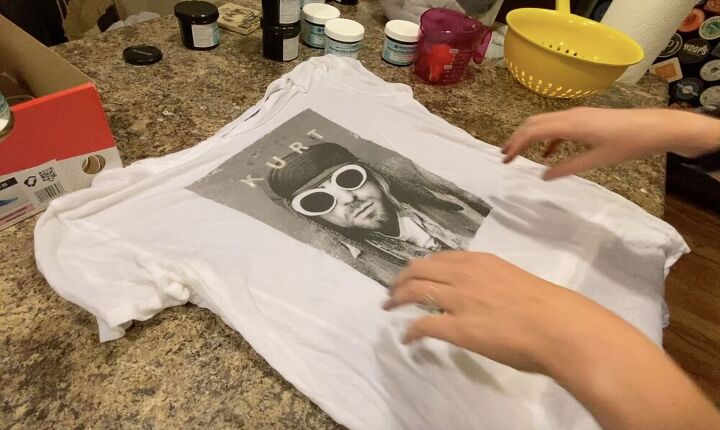
Here's my Kurt Cobain shirt all wrung out. As I mentioned, I was lucky enough to find this one in a thrift store. I couldn't find the exact shirt online, but if you just have to have a Kurt shirt and can't find it in the thrift store - here is a similar 100% cotton shirt white shirt available on Amazon now.
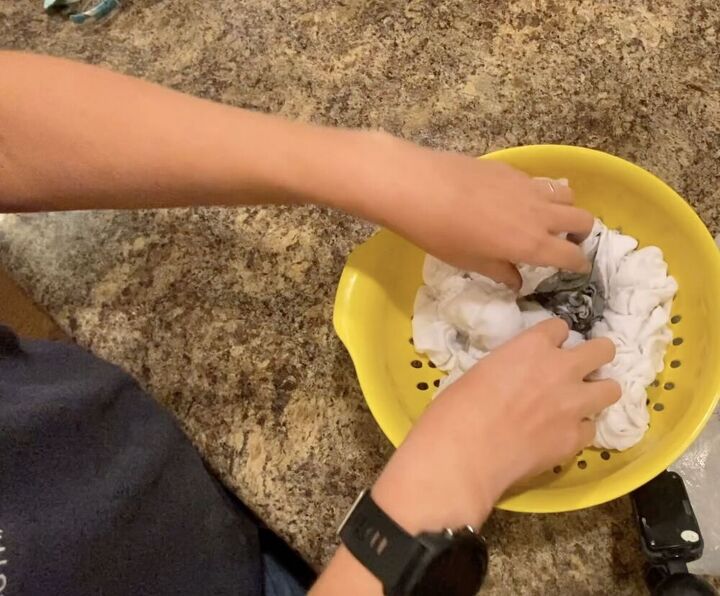
I scrunched up the shirt with my fingers and placed it into an old kitchen strainer. This strainer has been retired for food use, I only use it for dying now. Anything you use dye on should not return to your kitchen. You don't want to accidentally ingest dye with your food.
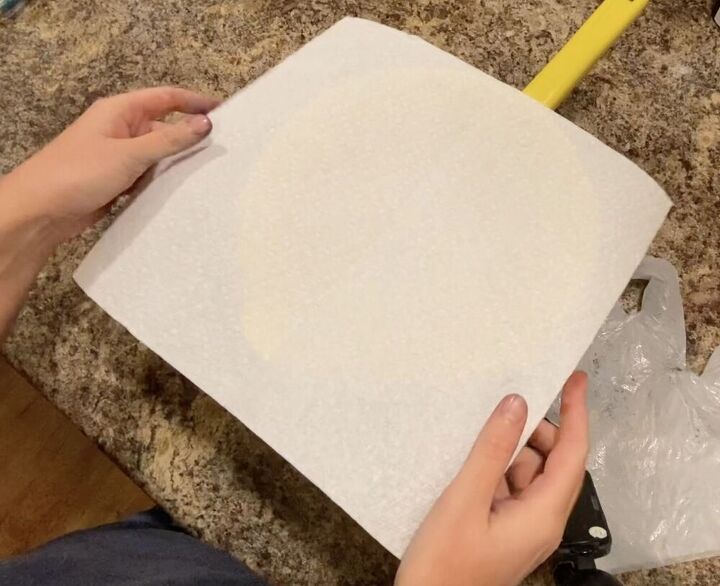
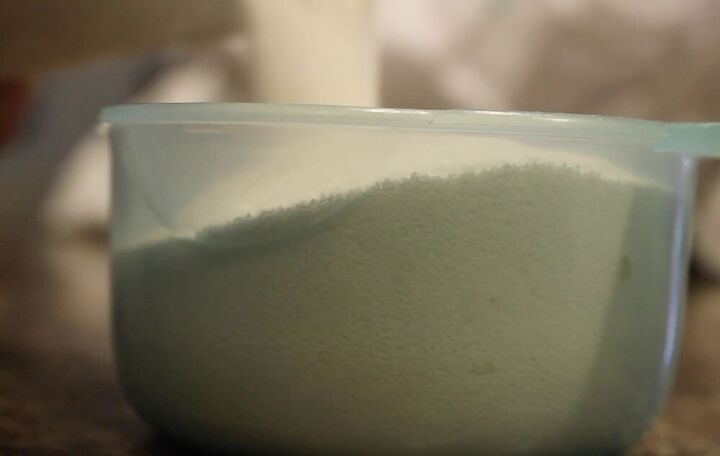
Today I wanted to try a new method of ice dying that involves laying the powdered dye on a paper towel ... then placing the ice *over* the dye so the melted water runs into the powder dye and down the garment in random but more pigmented ice dye design.
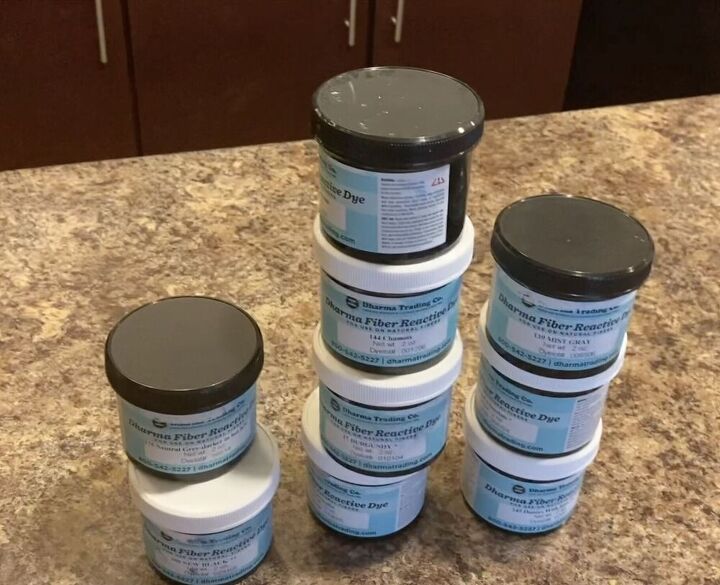
My dyes of choice for natural fibers are the Dharma fiber reactive dyes. However, I have to be honest and admit the shipping time can be longer with this company and they often run out of stock of colors you order *after* you order them. However, they do have a very wide range of color options and if you plan on doing a lot of ice dying, this is an affordable way to get large amounts of powder dye.
If you're looking for something delivered to your house faster and only plan to do a few projects, this tulip dye kit is affordable and will also work great! You could mix the colors included to create your desired tie dye colors. For an ice dye project like this, just be sure *not* to add water to the dye bottles as the instructions suggest. You'll just be using the powdered dye that is inside the bottles.
**anytime you are working powdered dye you should wear a dust mask to prevent breathing in any of the small particles.**
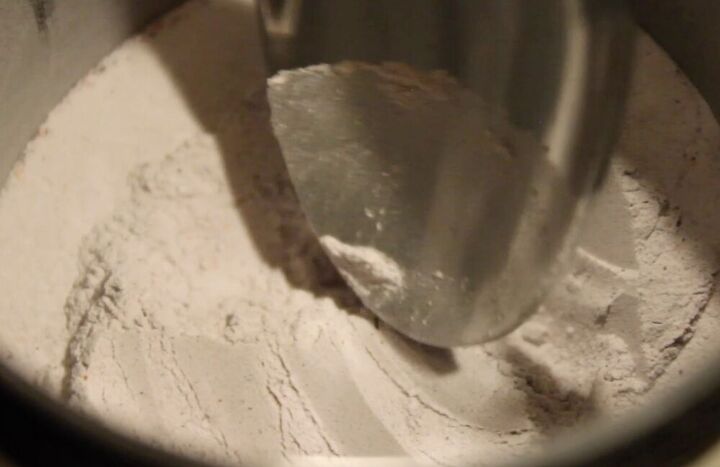
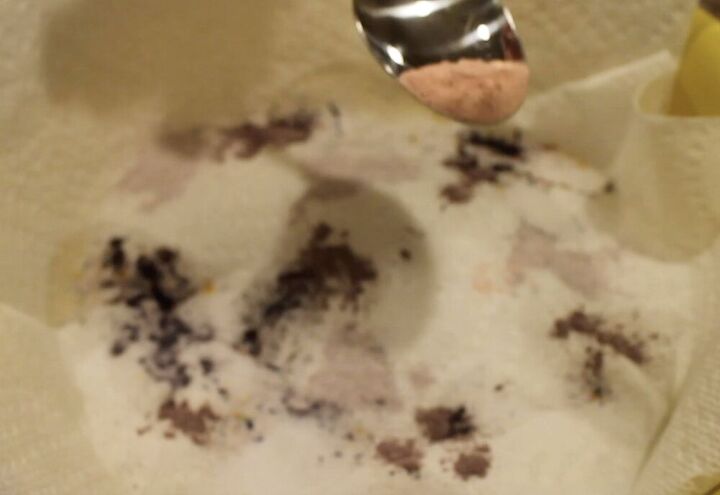
I use an old spoon to carefully spread my chosen dye colors out over the paper towels. I used a grey, taupe, and mushroom color. I would recommend sticking to about three colors of powder dye because the pigments in the dye will separate creating quite a colorful result with just three colors.
Once I had my dye laid out, I covered it all with a hefty layer of crushed ice from my freezer.
I placed the whole thing in my tub and let the ice melt right through the strainer and into the tub drain. I let the entire project sit for 24 hours. It's important to let the dye sit for 24 hours to fully absorb into the piece.
Once the 24 hours was up, I rinsed the shirt first with cold water until it ran clear, and then with hot water until it ran clear. I then ran it through a hot water cycle in my washing machine and hung dry. If you are using a new 100% cotton piece, keep it mind it could potentially shrink during this process so make sure you are sizing up if needed.
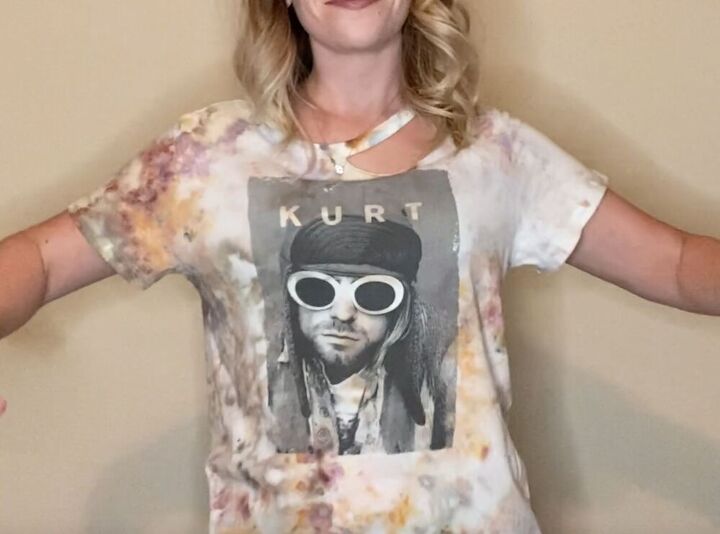
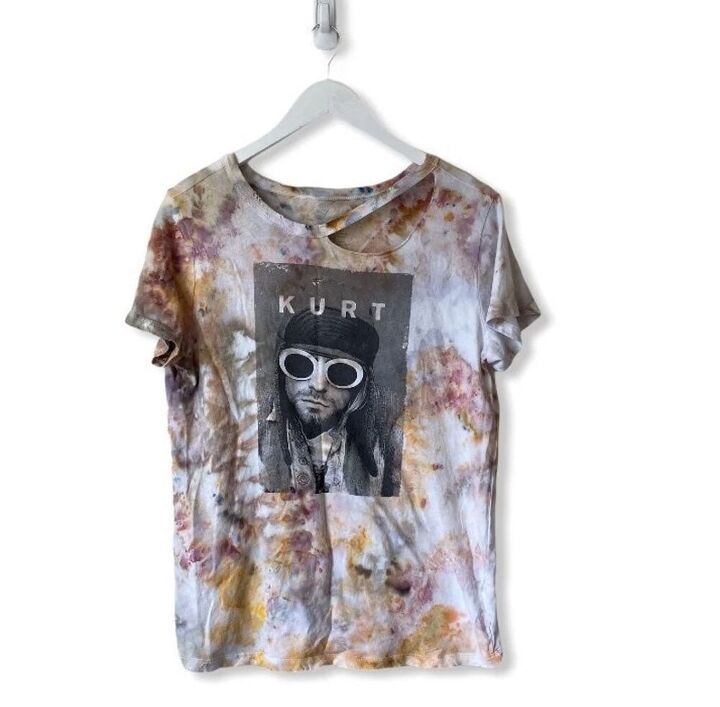
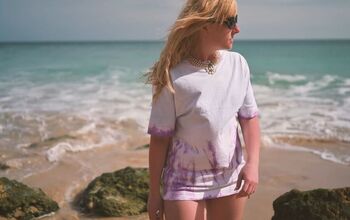
This is how my shirt came out! Unfortunately I didn't stop and take a good picture so all I have is a screenshot of me wearing the shirt while dancing  . Said dance moves can be viewed in the video above lol!
You can see that although I only used grey, taupe and mushroom tones, there is quite a bit of a cranberry and orange tinge to some areas! You truly never know what you're going to get with ice dye which is why I love it!
If you wanted to achieve lighter color results I would recommend placing the powdered dye over the ice, or using less powdered dye in general.
Let me know if you are willing to try this process with any of your stained white t-shirts, or if you'll be hunting for white band t-shirts at the thrift store to try this project yourself!
If you give it a try, tag me on my instagram @SewMuch2Wear! I would love to see your results!
The author may collect a small share of sales from the links on this page.


Comments
Join the conversation
This turned out so cool! I love the 90's grunge vibe.🙌🏻
Yes, where do you get soda ash ?