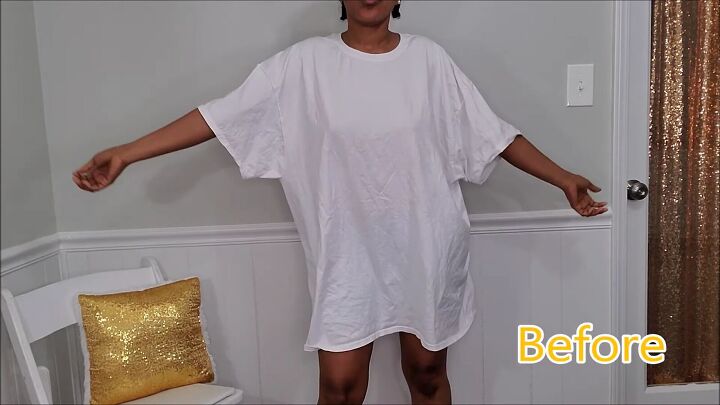
How to Turn an Oversized T-Shirt Into a Cute DIY Tie-Dye Dress

Today, I’m going to be turning this plain white oversized t-shirt into a DIY tie-dye dress. Not only is this a quick transformation, but it’s also a fun process that is pretty easy to follow. So, grab your tie-dye and the rest of the tools you’ll need as listed above, and let’s get this tie-dye dress tutorial underway!
Tools and materials:
- Tie-dye (1 color or more)
- Rubber bands
- Gloves
- Oversized white t-shirt
- Water
- Pins
- Sewing machine
- Maxi dress
- Matching thread
- Scissors
How to tie-dye
1. Prep the dye
Ok, so depending on the tie-dye you’re using, you may need to prep the dye beforehand. I am adding water as per the manufacturer’s instructions.
Tip: Make sure to shake the bottle really well before use.
2. Scrunch the t-shirt
Now that we have the tie-dye ready, we are ready to rock and roll! Scrunch your shirt up into a ball (as tight as you can) and place elastic all around to stay in place. There’s no method to this, really; you can do what you like.
3. Add water
Use as many rubber bands as it takes to keep the shirt into a tight ball without it coming apart. Next, add water to the shirt using a water bottle. This will help the tie-dye absorb into the fabric.
4. Add the tie-dye
This is the fun part! Add the tie-dye to the fabric, making sure you evenly place it around the ball.
Turn the ball over and place more tie-dye everywhere. Make sure you still see some white spots, though. Otherwise, you’ll end up with a completely blue shirt.
Once you’re done, leave it for a while and let is do it’s thing, so that the dye absorbs into all the layers. Then, remove the bands, wash the t-shirt, and dry it.
Tip: You can use cling wrap for the drying process.
How to turn a t-shirt into a dress
Ok, now that the tie-dye is done, let’s turn this t-shirt into a dress!
1. Make the pattern
Once your shirt is washed and dry, lay it down flat and place your favorite maxi dress over top. Make sure the dress fits you well and is a comfy fit.
Place pins right at the top, where the dress neckline meets the neckline of the shirt. Then, stretch and smooth your maxi dress so that it doesn’t move when cutting.
When you’re happy with the positioning, use a rotary cutter (or scissors) to cut around the dress. Make sure to leave a little seam allowance. In my case, I didn't need much because I stretched the dress.
Tip: I encourage you to use the scrap pieces for another DIY. Don’t throw them out!
2. Assemble the dress
Turn your dress inside out and pin the side seams. Then, sew the sides using a zigzag stitch.
I didn’t have to pin the fabric when hemming the arm area. Because it’s cotton, I just let it roll naturally while sewing. Also, for this area, I’m using a straight stitch.
Tip: Hem the neckline if you wish.
DIY tie-dye dress tutorial
I absolutely love this comfy DIY tie-dye dress! The beauty about this method is that you could make it fit tighter or looser; it’s really an easy tutorial to make it the way you want it to be!
I hope you enjoyed this step-by-step guide on how to make a tie-dye dress. Not only do you know how to tie-dye, but you now know how to make a dress from a t-shirt, something great for beginners, too!
Enjoyed the project?
Suggested materials:
- Tie-dye (1 color or more)
- Rubber bands
- Gloves
- Oversized white t-shirt
- Water
- Pins
- Sewing machine
- Maxi dress
- Matching thread
- Scissors
The author may collect a small share of sales from the links on this page.


Comments
Join the conversation
Brilliant! Love the color and your explanation. I think I could even attempt this, and I don’t sew! (But my daughter does-I’d have to borrow her machine. I can handle a straight stitch!)