Unique Tee DIY: How to Print T-Shirts at Home With Transfer Paper

Did you know you can easily print your own t-shirts at home? DIY t-shirt printing is effortless, and the magic behind it is using transfer paper! That’s all there is to it, really.
You can print any logo, print, or artwork you want without having to visit a nearby printing store. Ready to see the magic? Scroll down and let me show you how to print t-shirts with transfer paper with different styles and ideas.
Tools and materials:
- Transfer paper
- Printer
- White t-shirts
- Lace trim
- Iron
- Parchment paper
- Embellishments
- Fabric glue
- Measuring tape
Simple logo

1. Design the logo
If you don’t have a logo to print yet, you can make one online. I used a website called Supreme Logo Generator - Thomas Hobohm to make my own logo.
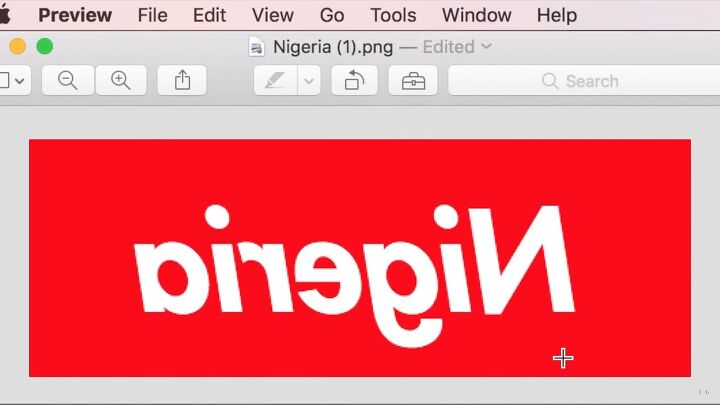
Be sure to flip your logo or artwork around. You can easily do this by selecting “flip horizontal” on your computer.
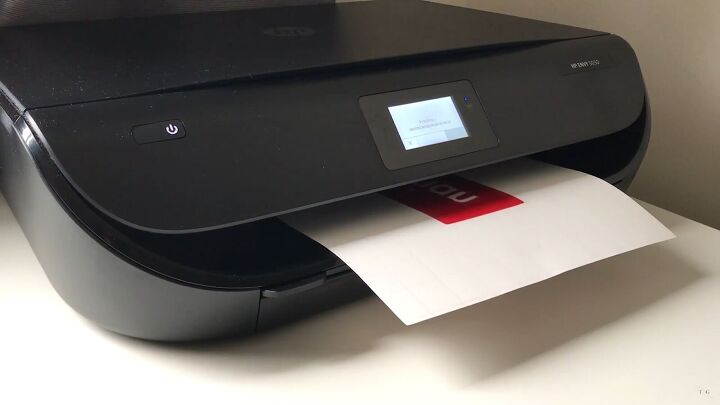
2. Print the logo on transfer paper
Next, print out your artwork, ensuring it is at a high resolution. This should be printed on the transfer paper.
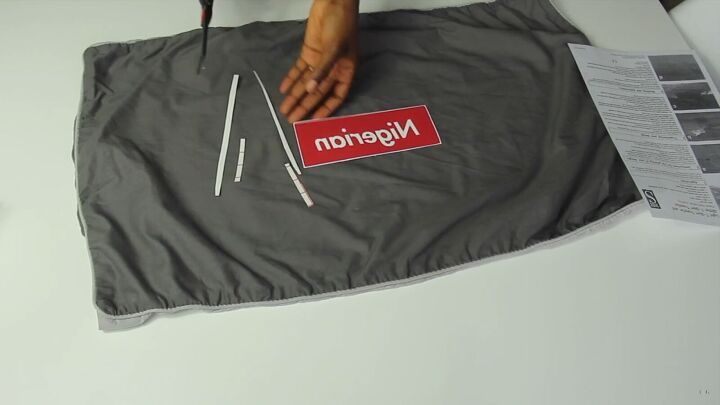
When you cut out your artwork, leave a small border around it.
3. Iron the artwork
Now it's time to start the DIY t-shirt printing process! Iron your t-shirt and then place your logo on top, right side facing the t-shirt. Make sure it’s centered and that it sits straight.
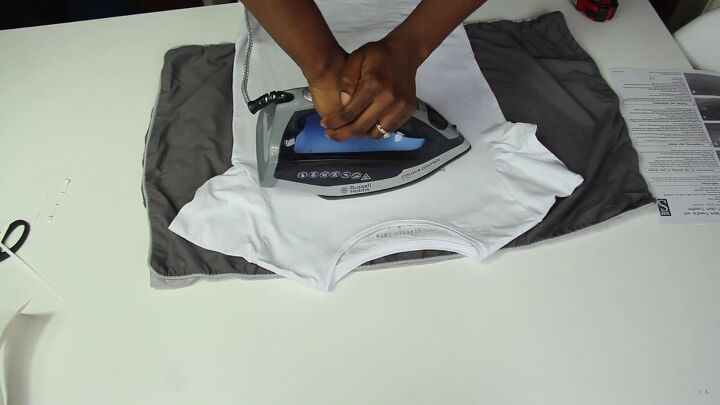
Next, place your iron directly on top of the paper and hold it firmly for a couple of seconds.
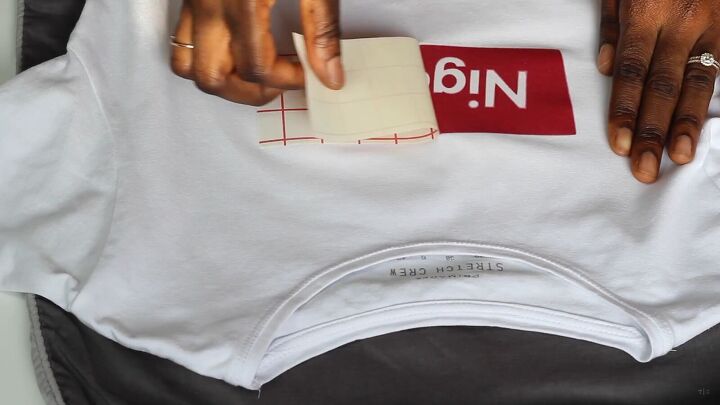
4. Peel the paper
Once it cools down, you simply peel off the paper.

I love this! It’s such a fantastic way to print your own t-shirt without hassle!
Image design
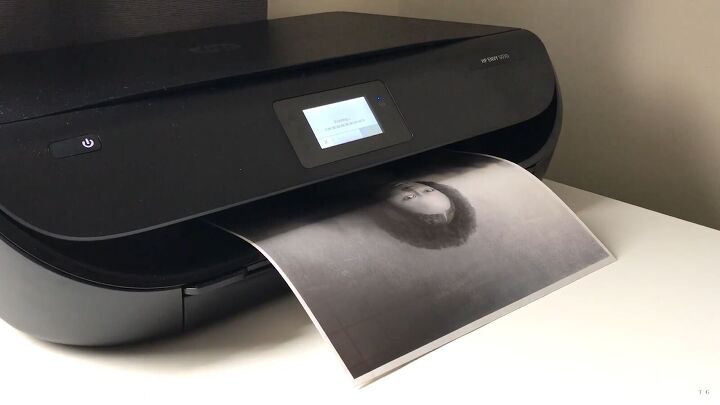
1. Print out an image
Now, if you want something more robust and fancy, then you can definitely take your t-shirt printing up a notch. I followed the same steps as mentioned above. This time, I’m printing an image, as shown.
Note: make sure the image that you're using is free of copyright.
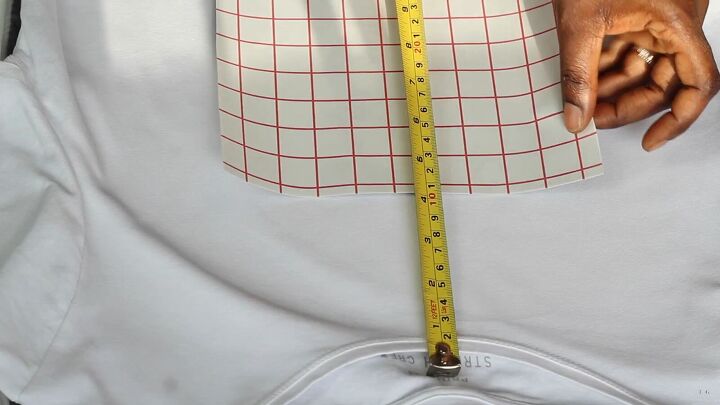
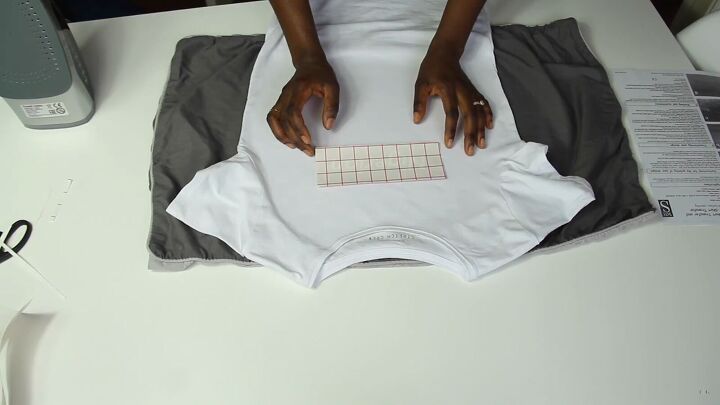
2. Transfer the design
Measure the image and make sure it’s centered on the t-shirt. Next, iron the transfer paper, making sure you reach every corner.
Tip: It’s best to place the image 4 inches below the neckline.

3. Embellish the design
You can opt for a lovely frame by using lace as a border around the picture.
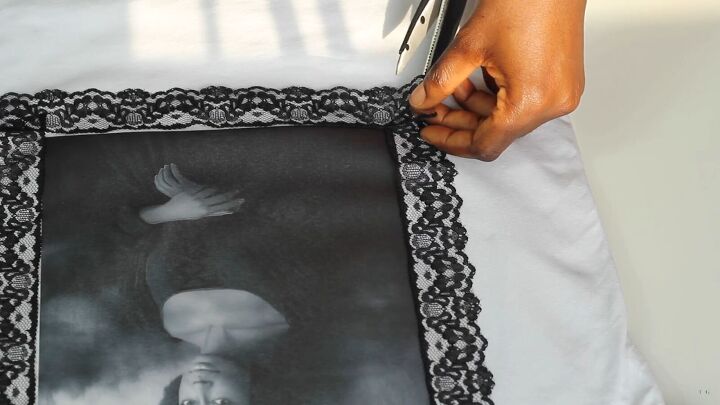
Remember to cut the lace at an angle to come out as a frame.
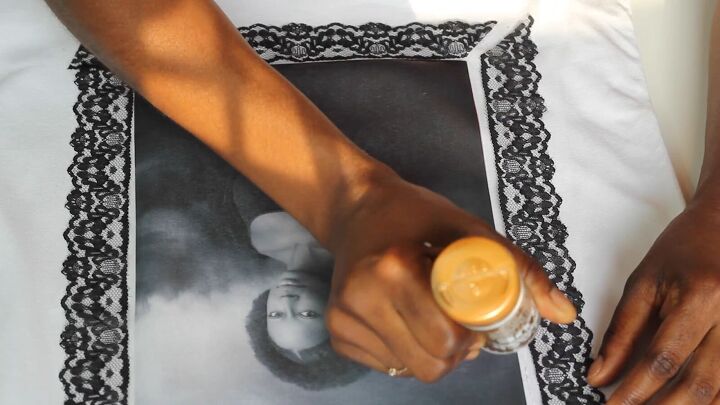
Before you start gluing, place a piece of paper under the t-shirt’s first layer. Then, using a good quality fabric glue, spread it along the sides of the image and stick the lace trim on top.
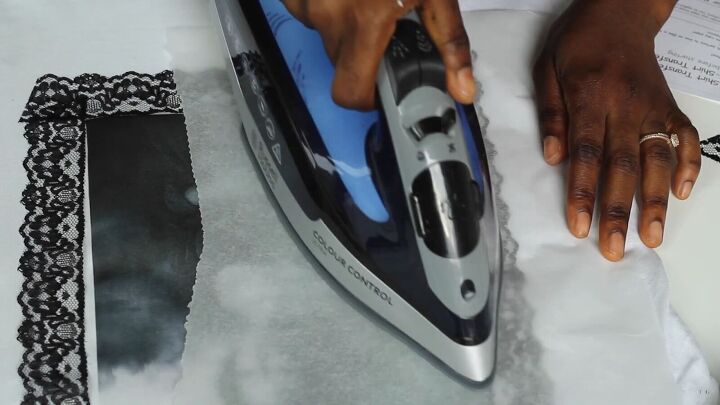
Place a piece of parchment paper over the t-shirt and iron over the strip of glue so that it adheres properly.
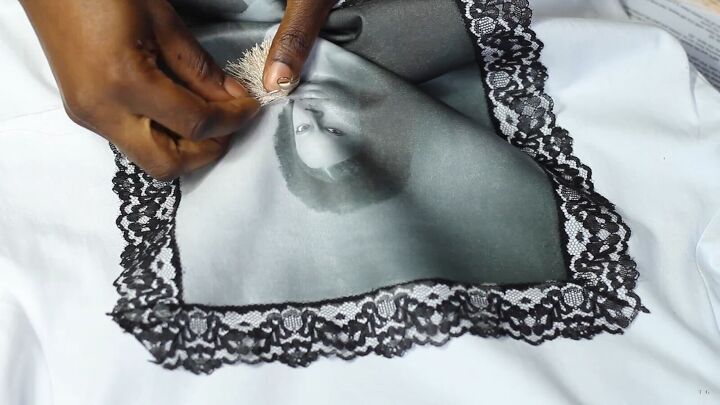
As shown, I added some tassel earrings by sewing them on the shirt.
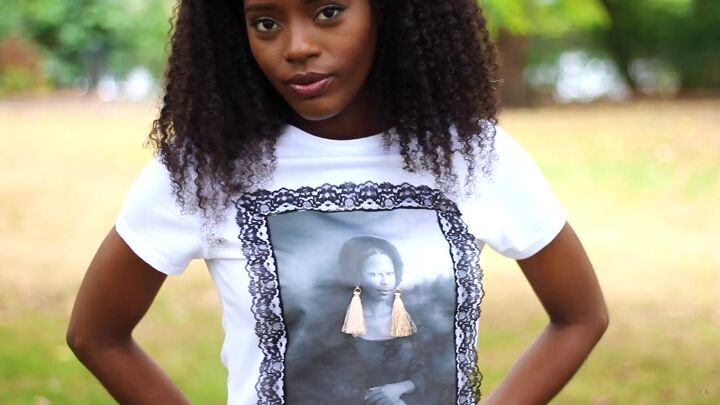
I love this stunning printed t-shirt; it has a lovely artisan touch. DIY t-shirt printing is really fun and so worthwhile!
Iron-on applique (alternative to transfer paper)
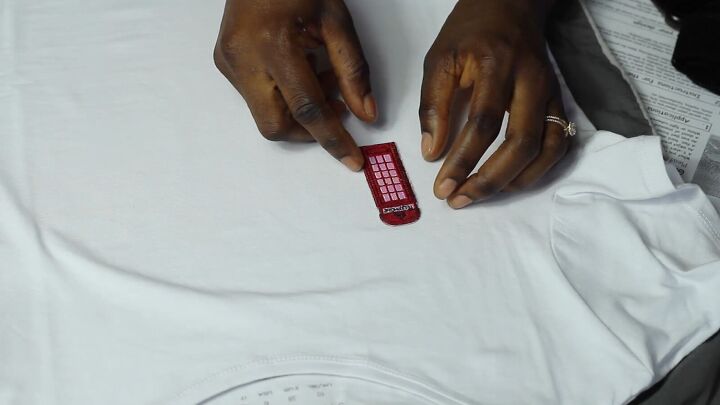
If you don't have a printer, another way to spice up your plain white tee is to use an iron-on applique.
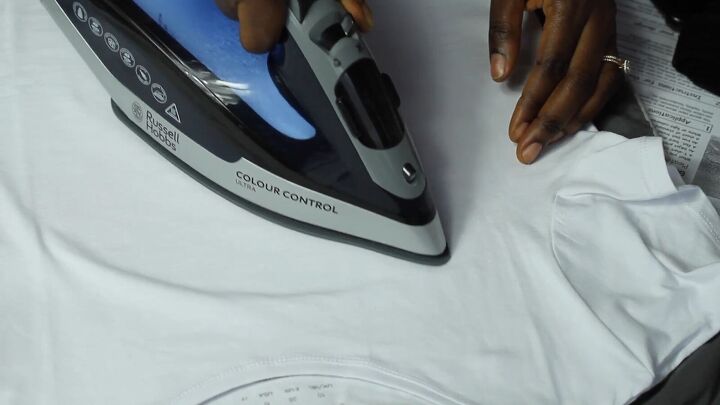
All you have to do is place the applique on the t-shirt and iron it!

This was the easiest of the three because all I had to do was iron the applique for it to stick! So, if you’re not going to attempt the DIY t-shirt printing method, you can go this route.
How to print t-shirts at home with transfer paper
I hope you enjoyed this tutorial and you now have the inspiration to make your very own masterpiece. Good luck and happy printing.
The author may collect a small share of sales from the links on this page.


Comments
Join the conversation
I've got to try this. I could do a picture of family members. I wish I saw this 2 weeks ago so I could have had a special 16th bday t-shirt for my daughter when we went to Universal. Good to know for when my other daughter turns 16.
What a great idea, love your designs.
Great projects, especially the image with the lace frame and earrings! I really appreciated all the extra hints you had in the tutorial.