How to Make a Funky DIY Patchwork Top From Two Old T-Shirts

In this tutorial, I’ll show how to make a DIY patchwork top using old t-shirts. It's a huge waste to throw away clothing that is old or unused. Why? Because there's a whole variety of upcycling projects you could use them for.
This asymmetric patchwork top is so easy to make and the colors are really fun! Keep scrolling to see how to make a patchwork tank top from scratch!
Tools and materials:
- Rotary cutter
- Paper
- Pen
- T-shirts
- Thread
- Sewing machine
- Pins
- Ruler
- Chalk
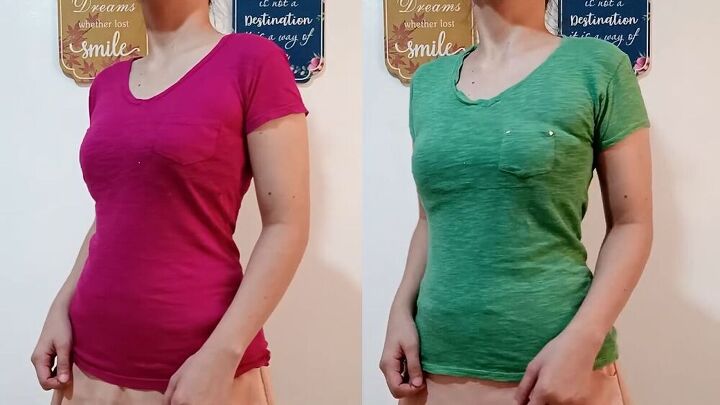
Here are the old t-shirts before I transformed them into one patchwork top.
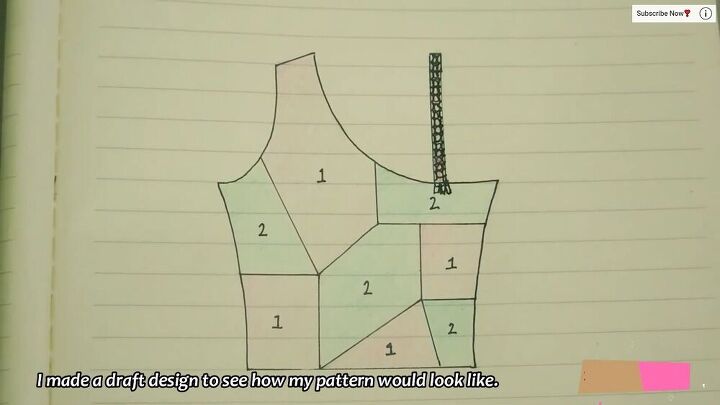
1. Make a draft design
I decided to make a draft design to plan ahead and see what the DIY patchwork top would look like.
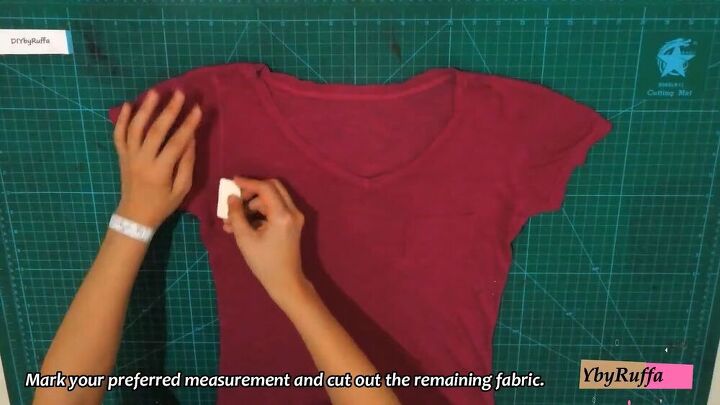
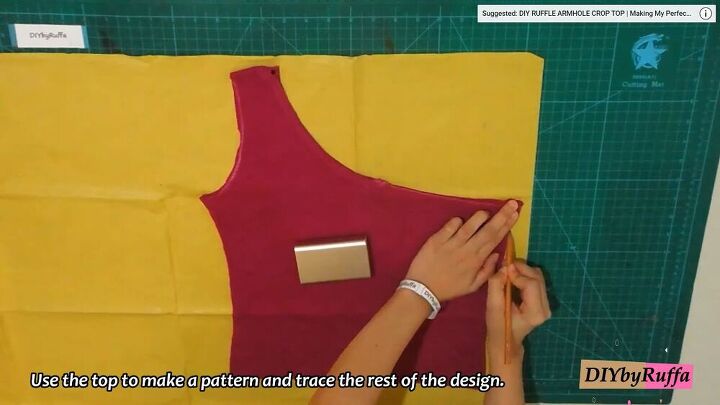
2. Mark the pattern
Using some chalk, mark your design on one of the t-shirts, as shown. Be sure to mark the length of your patchwork top, too.
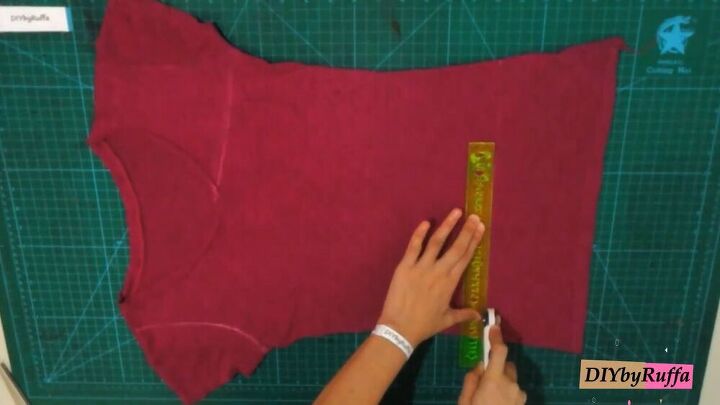
3. Cut the fabric
Using a rotary cutter, cut off the bottom piece.

Then, go ahead and cut the rest of the pattern. This shape will basically be the base for your patchwork top.
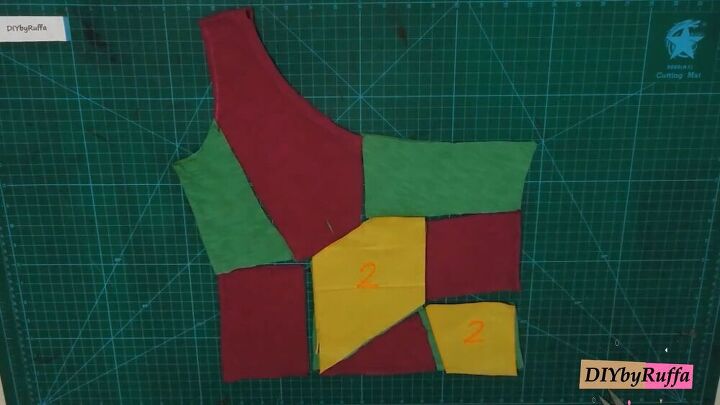
4. Trace & make the design
Trace the shape of the asymmetric top onto a piece of paper.
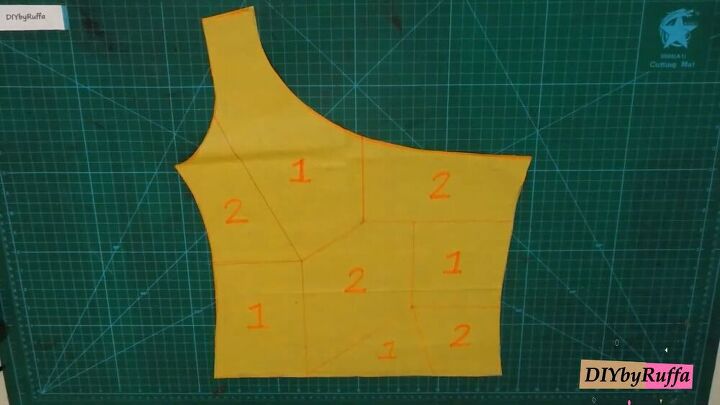
Now, segment the surface of the top by how you’d like your patchwork to be laid out. I used numbers 1 & 2 as a guide. Remember, the whole point is to make a lovely asymmetric top, so the lines and patches should not be square-shaped, but more uneven.
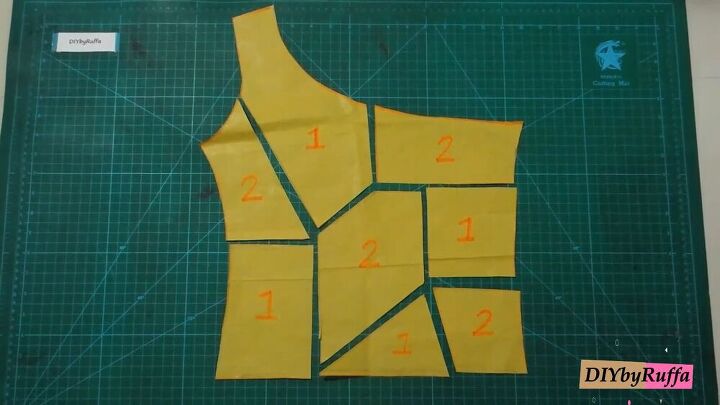
5. Cut out the pattern and fabric pieces
Cut out the paper pieces first. It should almost be like a jigsaw puzzle!
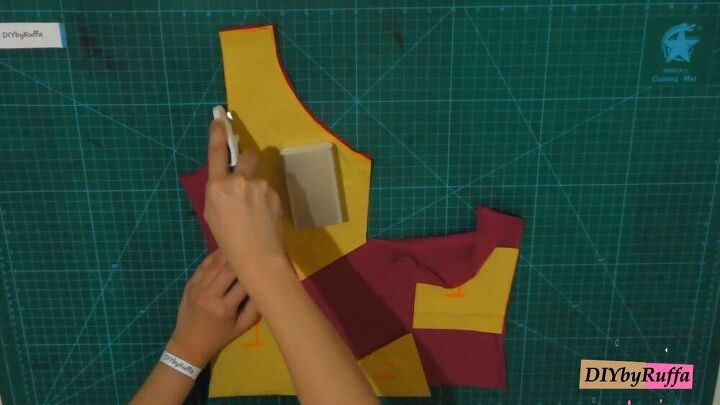
Next, cut the fabric pieces from your t-shirt. I laid the numbers “1” on the already cut-out tank top. Then, I simply cut around each shape using a rotary cutter.
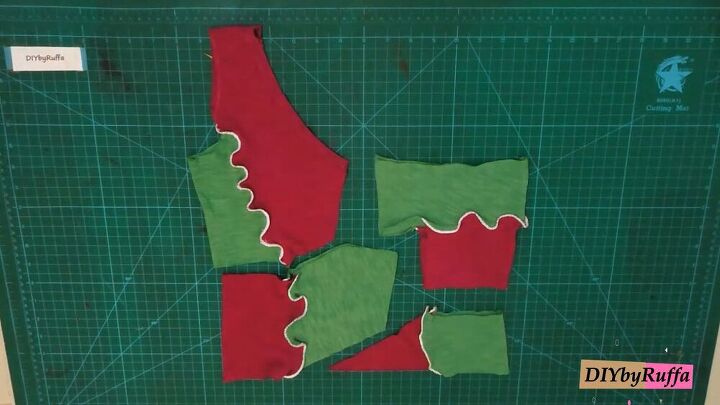
Tip: Remember to cut through both layers of the t-shirt, front and back.
Now, go ahead and repeat the same process on the other shirt, using the alternate pieces.

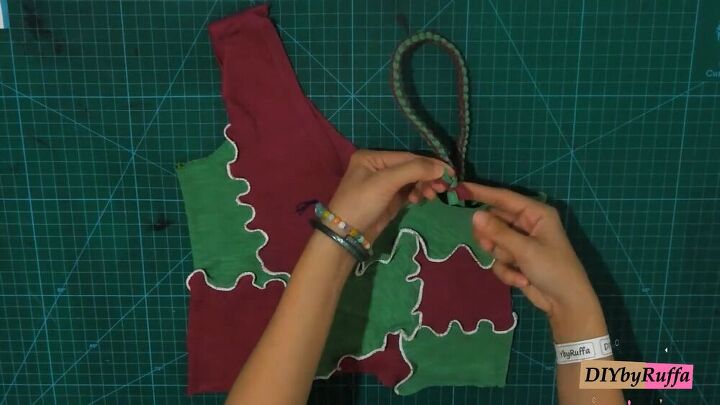
6. Sew the patchwork top
It’s time to sew the top! Sew the seam on the right side of the fabric. Use a zigzag stitch and sew multiple times over the same seam.
This is what you should have when sewing two pieces together.
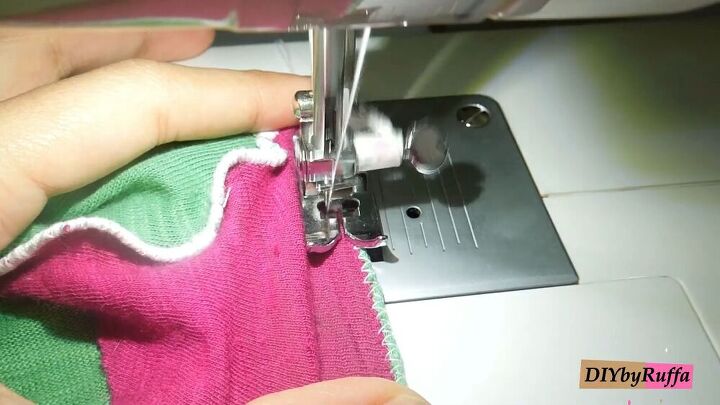
Now, hem all the raw edges.
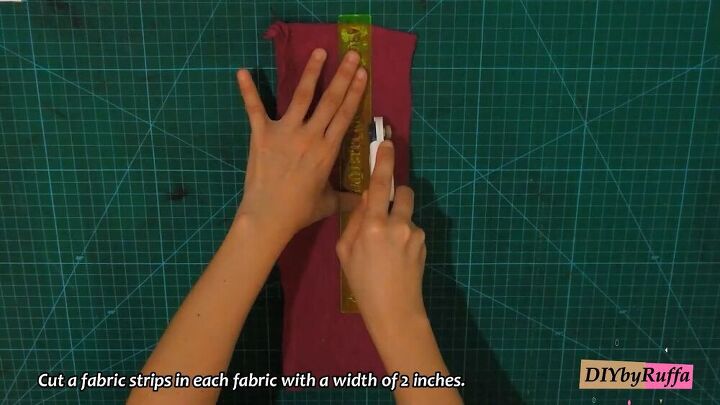
7. Make the shoulder strap
Cut out some strips two inches wide from both t-shirts.
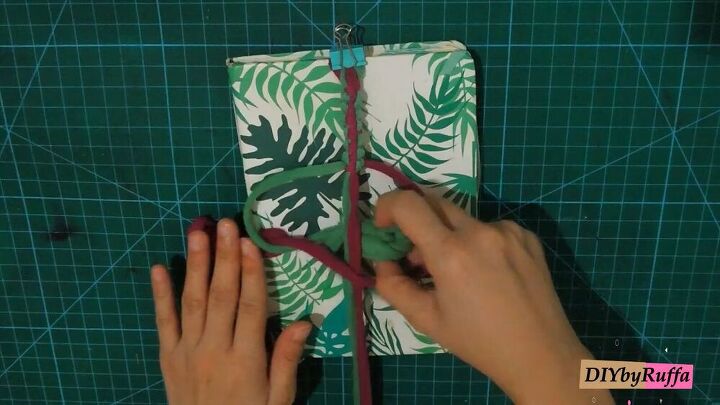
Pull the fabric so that it shapes more into a string. Then, make a square knot tie. To see the exact macrame process, skip to 3:28 minutes on my patchwork top video tutorial.
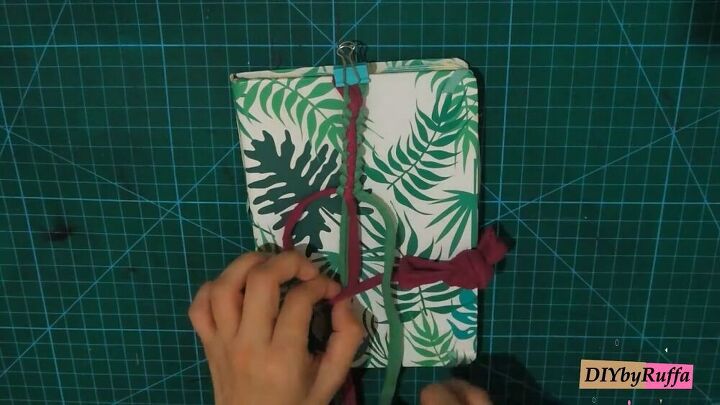
Continue doing these knots until you reach the bottom. Leave a little unknotted fabric at the ends, so that you can sew the strap onto the top easily.
8. Attach the strap to the patchwork top
Pin and sew the strap onto the patchwork top.

DIY patchwork top tutorial
We’re done! I love the colors on this DIY patchwork top - they really make a bold statement. Let me know what you think of this upcycle idea in the comments below.
The author may collect a small share of sales from the links on this page.


Comments
Join the conversation