How to Cinch a Top: 4 Easy Ways

Today, I'm going to show you how to cinch a top in 4 different, easy ways.
I took four tops that I had sitting in my closet and transformed them using different cinching techniques. All the tops turned out perfectly! Let's jump into the tutorial.
Tools and materials:
- Scissors
- Pins
- Safety pin
- Sewing machine
Center-cinched top
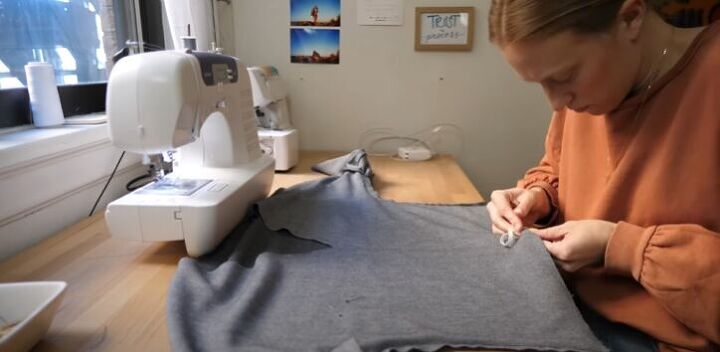
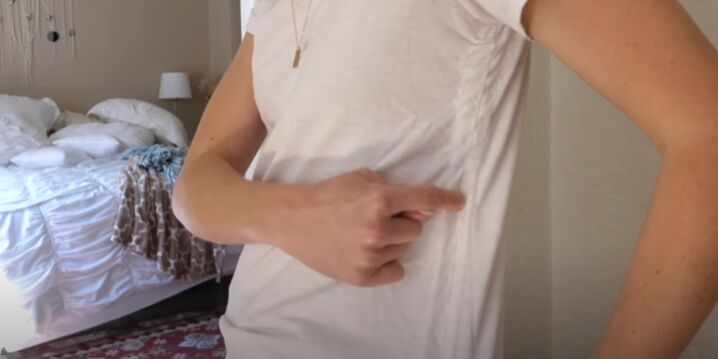
1. Make a front cinched top
For this first style, I turned the top inside out. I cut a small piece of elastic and pinned it vertically along the middle of the top.
I pinned one end to the bottom of the top and the other just under the neckline, stretching it in order to pin it on.

2. Sew on the elastic
To sew on the elastic, I used a zig-zag stitch. The trick is to stretch the elastic from both ends as you sew.

I love this center-cinched look! This piece is now the perfect causal top I have been needing!

Side cinched top
To make this second top, I'll show you how to cinch a shirt on the sides.
1. Cut strips from T-shirt
I actually used a spare T-shirt to help me out. I cut two strips from the spare T-shirt to add to the side seams of the top.

2. Sewing the strip
I went ahead and sewed the strip over the side seam.
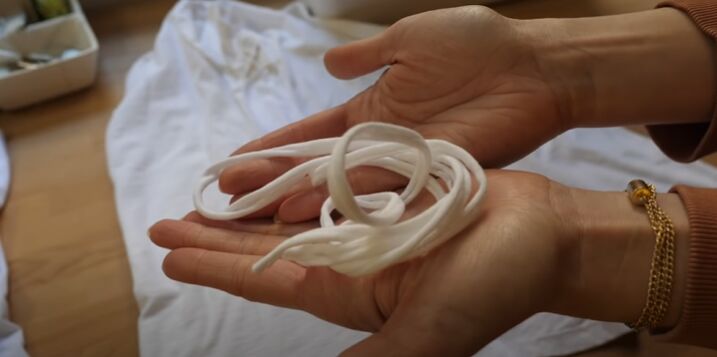
3. Make a tie
Using the scrap fabric from the spare T-shirt, I cut a long strip and stretched it out to make a tie.
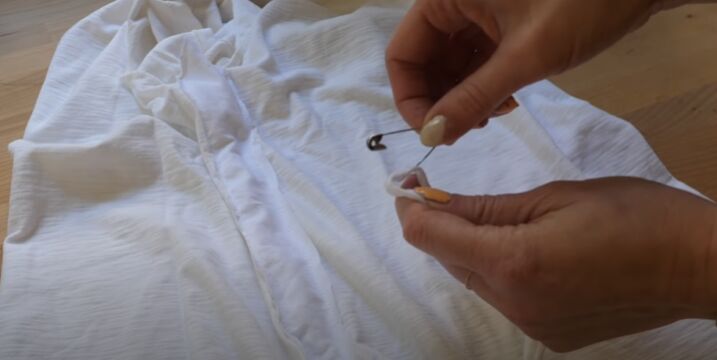
4. Attach a safety pin
I made a small loop in the tie and attached a safety pin to the loop.
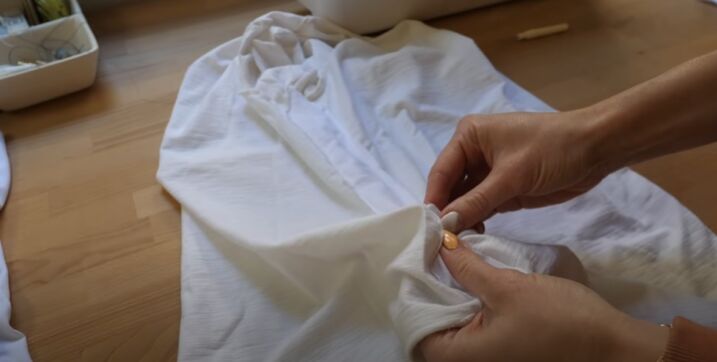
5. Threading the tie
I used the safety pin to help me thread the tie through the channel I had created along the side seam of the top.
6. Separate the two sides
Once the tie was in, I separated the two sides and put one stitch down the center.
After checking that this awesome cinch technique works, I went ahead and did the same on the other side.

This amazing, cinched crop top is so easy to make!

Circle cinched top
1. Create a circle cinch
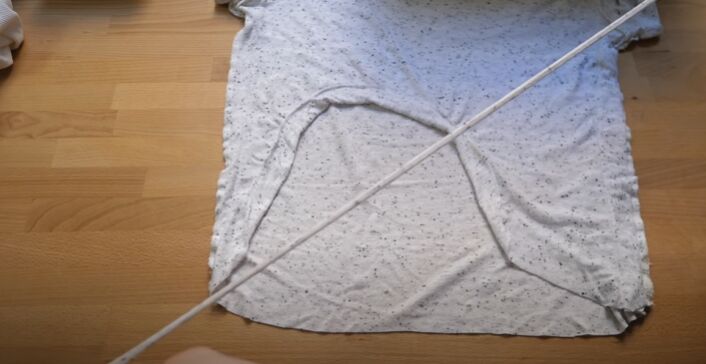
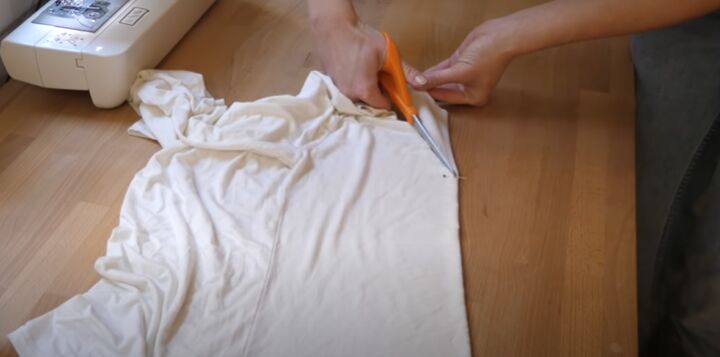
For the third top, I decided to create a circle cinch. First, I had to figure out which way I wanted to cinch it. I then cut out the circle shape from the shirt and made an opening for the tie.
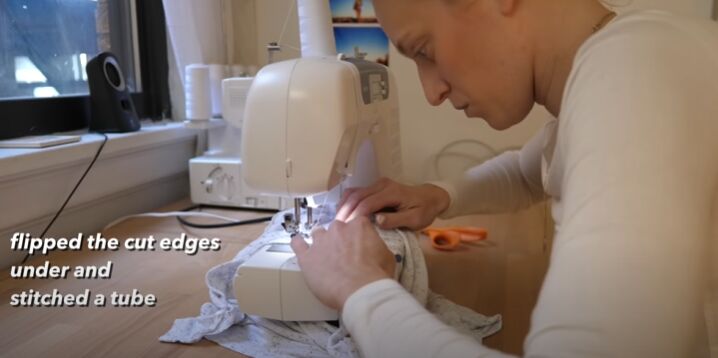
2. Turn over the edge
I then turned the cut edges over and stitched a tube.
3. Make a tie
I cut off the excess of the top to make a tie. I stretched out the strip until it was as long as I needed for the tie.
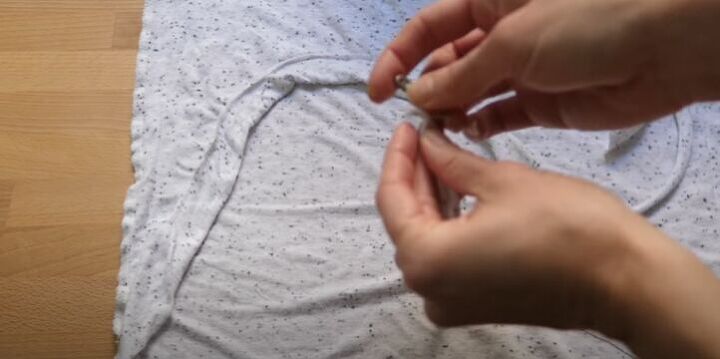
4. Threading the tie
Next, I attached a safety pin to the end of the tie and thread it through the tube I had made on the top.
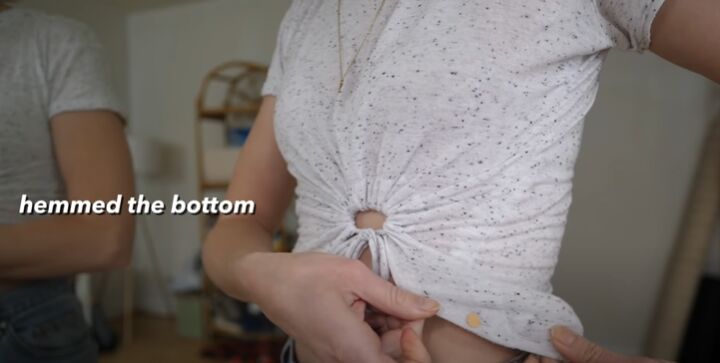
5. Hem the bottom the top
I then went ahead and hemmed the bottom of the top to give it a nice clean finish.
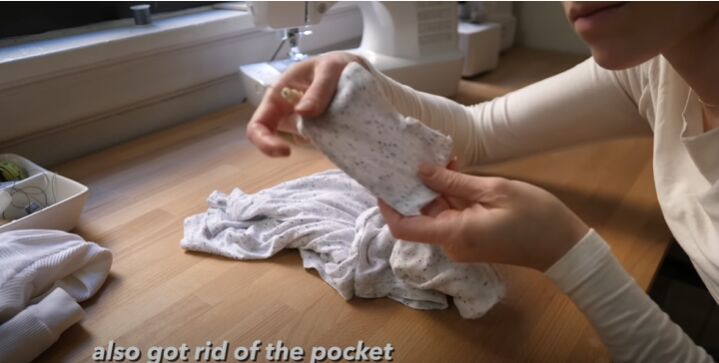
6. Remove the pocket (optional)
I also decided to remove the pocket of the T-shirt.

This is definitely one of my favorite pieces now! Adore this circle cinched top!
Tied center cinched top
1. Create a V-neck
For the next cinched top, I took a tight white turtleneck I had and cut it to make a V-neck.

2. Sew a lettuce hem
I then went ahead and sewed a lettuce hem on the cuffs of the sleeves and on the neckline.
I love a good lettuce hem. Even though it was a risk, I decided to go for it. To learn how to do a lettuce hem, check out this on how to make a DIY Lettuce Hem Top.
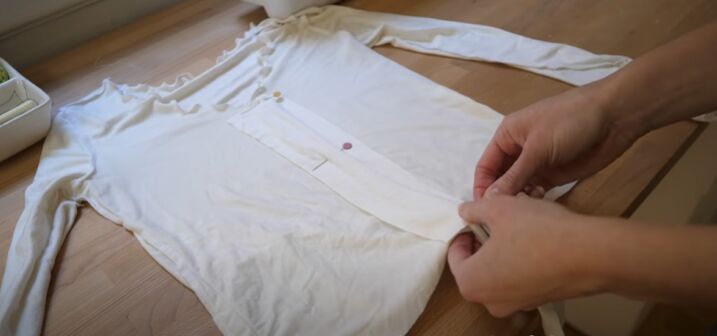
3. Attaching the tie
To create the cinch for this top, I used the exact same method I had used before to make the side cinches.
I sewed a tube on the inside of the shirt, down the center using fabric from the turtleneck.
I then sewed a seam down the center between the two sides of the tie that I put through the tube. I took in some fabric from the sides of the top and sewed a lettuce hem at the bottom.

How to cinch a top
Now you know how to cinch a top in 4 different ways!
I am obsessed with these cinched tops! Which style do you like best? Let me know in the comments below.
The author may collect a small share of sales from the links on this page.


Comments
Join the conversation
these are awesome ! LOVE the last one !! You are quite the seamstress !!!
I love that idea! As a teen, I made skirts out of old blue jeans. This is great!